Cirkit Designer
Your all-in-one circuit design IDE
Home /
Project Documentation
Arduino UNO Controlled I2C LCD Display
Circuit Documentation
Summary of the Circuit
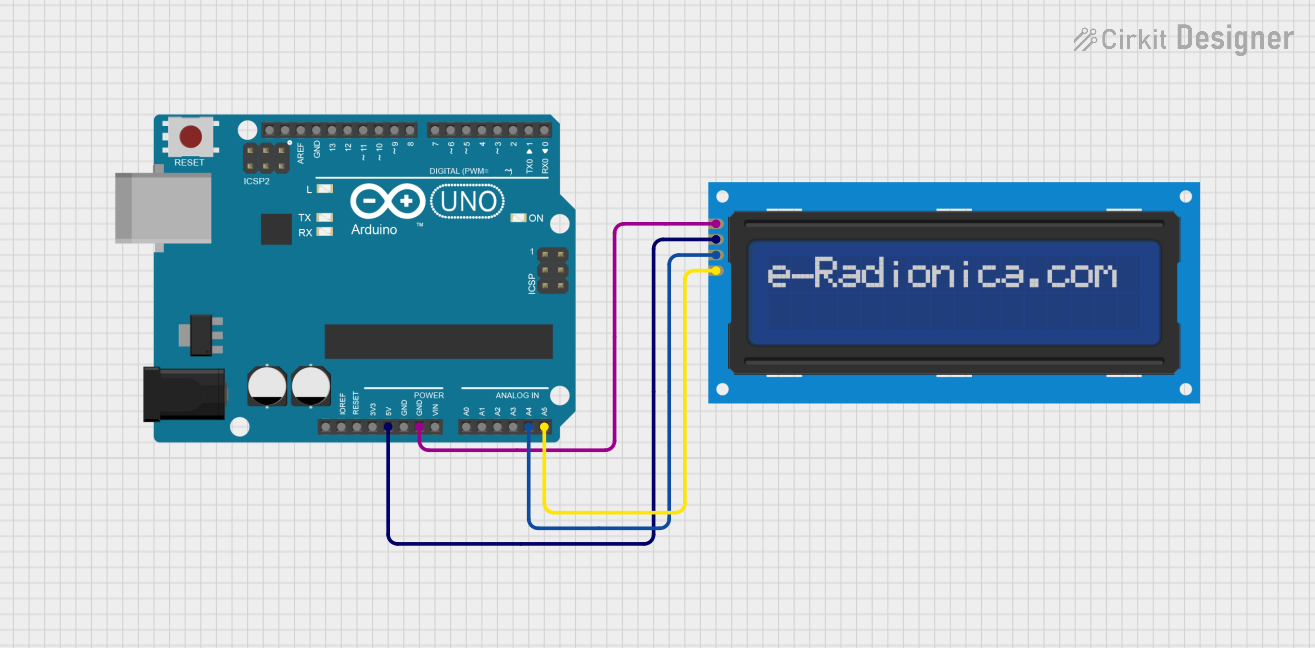
This circuit consists of an Arduino UNO microcontroller board interfaced with a 16x2 LCD screen that uses an I2C communication protocol. The Arduino UNO provides power to the LCD screen and facilitates data communication via the I2C bus. The LCD screen is used to display text or data processed by the Arduino UNO.
Component List
Arduino UNO
- Description: A microcontroller board based on the ATmega328P.
- Purpose: Acts as the central processing unit of the circuit, controlling the LCD screen and executing the embedded code.
- Pins: UNUSED, IOREF, Reset, 3.3V, 5V, GND, Vin, A0-A5, SCL, SDA, AREF, D0-D13.
LCD screen 16x2 I2C
- Description: A 16-character by 2-line display that communicates over the I2C bus.
- Purpose: Displays information sent from the Arduino UNO.
- Pins: SCL, SDA, VCC, GND.
Wiring Details
Arduino UNO
- 5V to LCD screen 16x2 I2C VCC
- GND to LCD screen 16x2 I2C GND
- A4 (SDA) to LCD screen 16x2 I2C SDA
- A5 (SCL) to LCD screen 16x2 I2C SCL
LCD screen 16x2 I2C
- VCC connected to Arduino UNO 5V
- GND connected to Arduino UNO GND
- SDA connected to Arduino UNO A4 (SDA)
- SCL connected to Arduino UNO A5 (SCL)
Documented Code
Arduino UNO Code (sketch.ino)
void setup() {
  // put your setup code here, to run once:

}

void loop() {
  // put your main code here, to run repeatedly:

}
Additional Notes
- The provided code is a template and does not include specific instructions for initializing the I2C communication or controlling the LCD screen. This will need to be added to the
setup()andloop()functions as required by the application. - The
documentation.txtfile is empty and does not contain any additional information about the code or circuit.