Cirkit Designer Logo
Cirkit Designer
Your all-in-one circuit design IDE
Home / 
Component Documentation

How to Use Wemos Li-ion Battery Shield for D1 Mini: Examples, Pinouts, and Specs

Image of Wemos Li-ion Battery Shield for D1 Mini
Cirkit Designer LogoDesign with Wemos Li-ion Battery Shield for D1 Mini in Cirkit Designer

Introduction

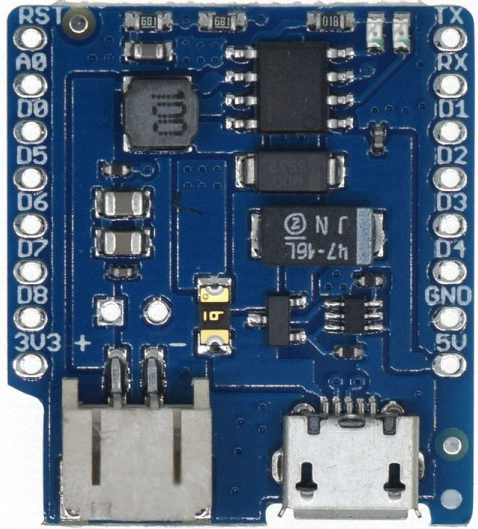
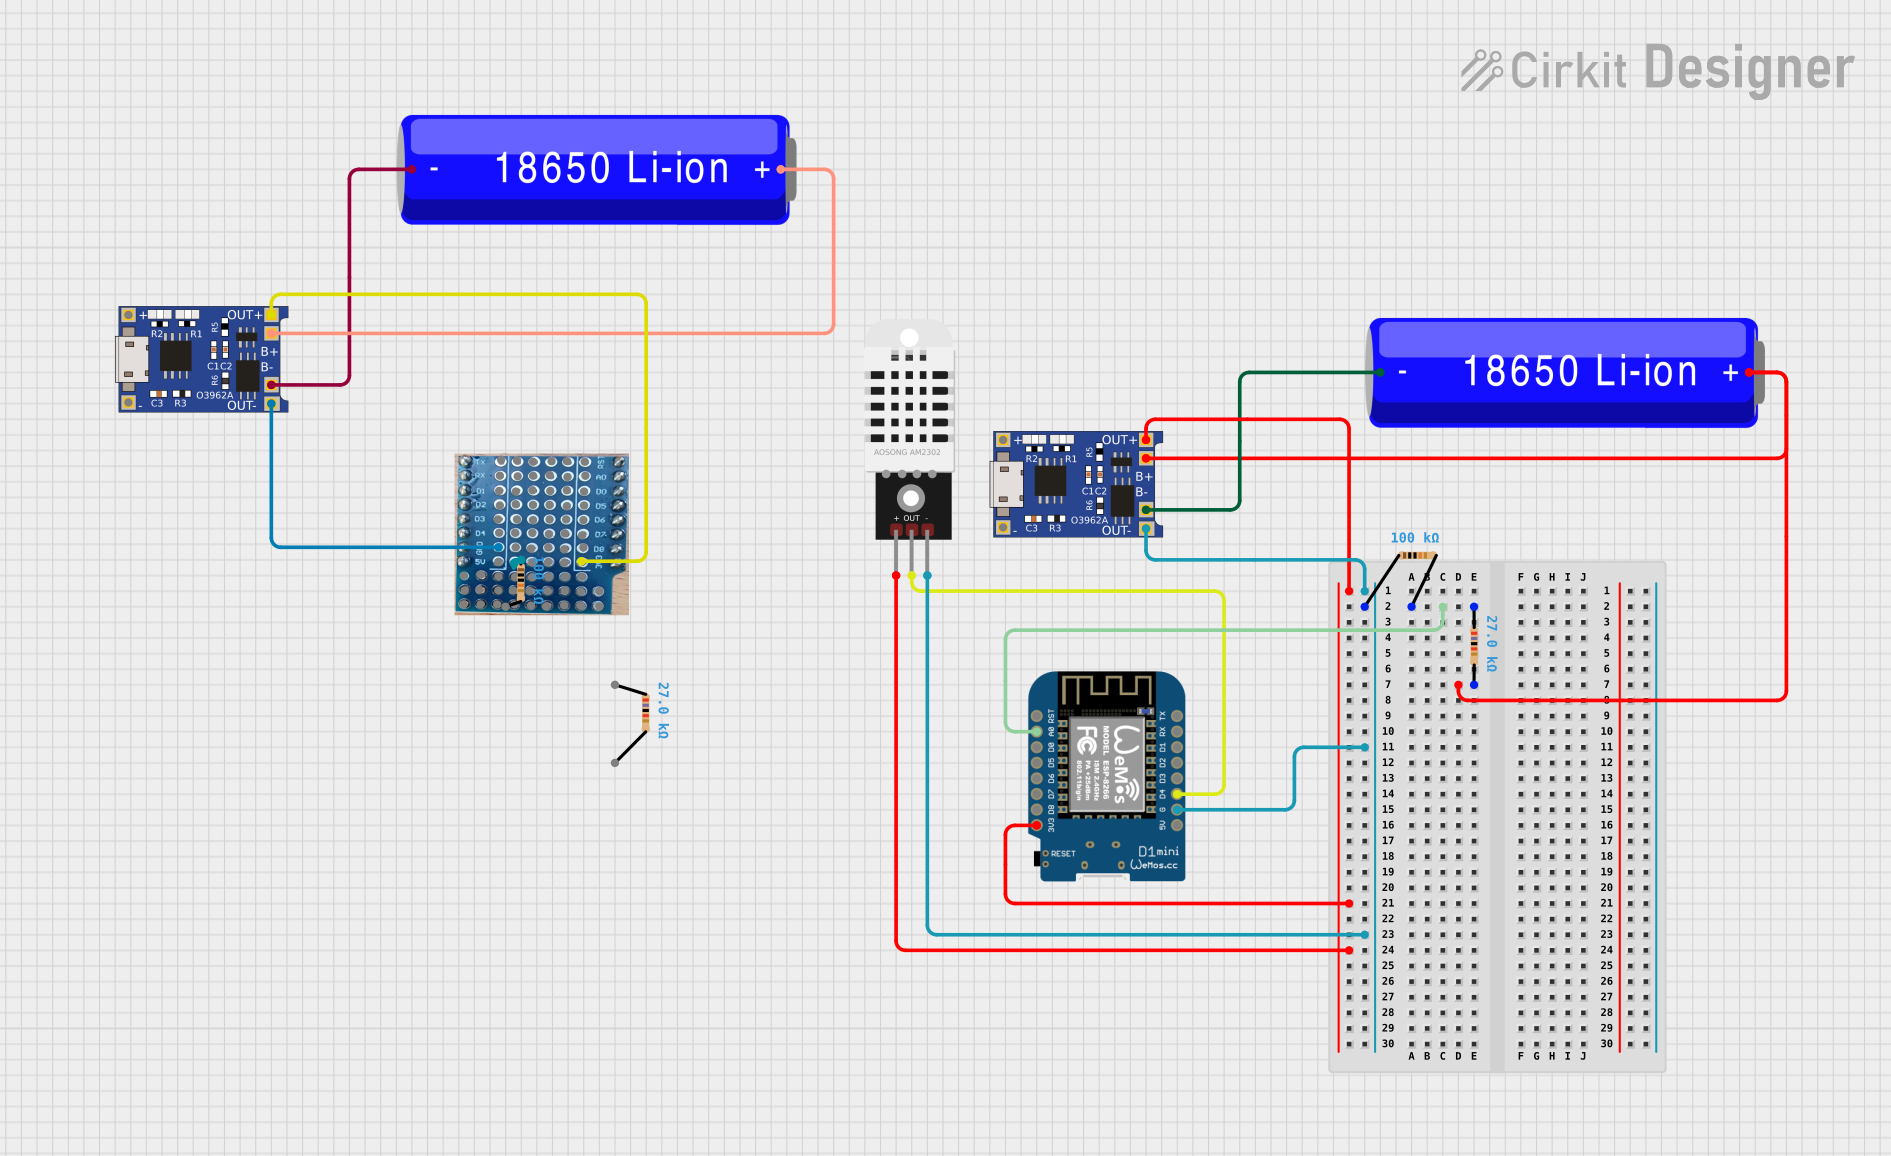
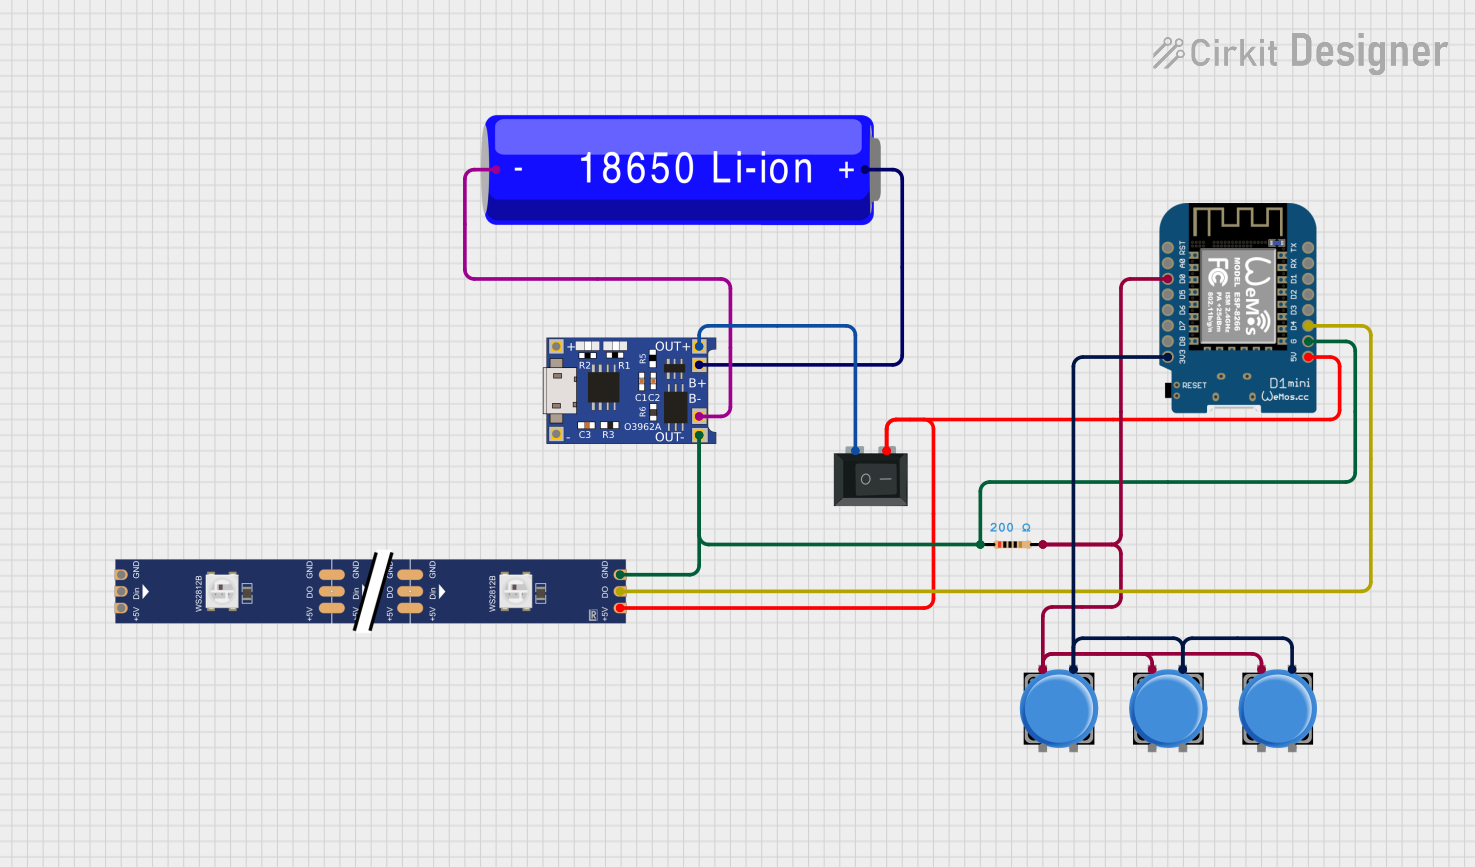
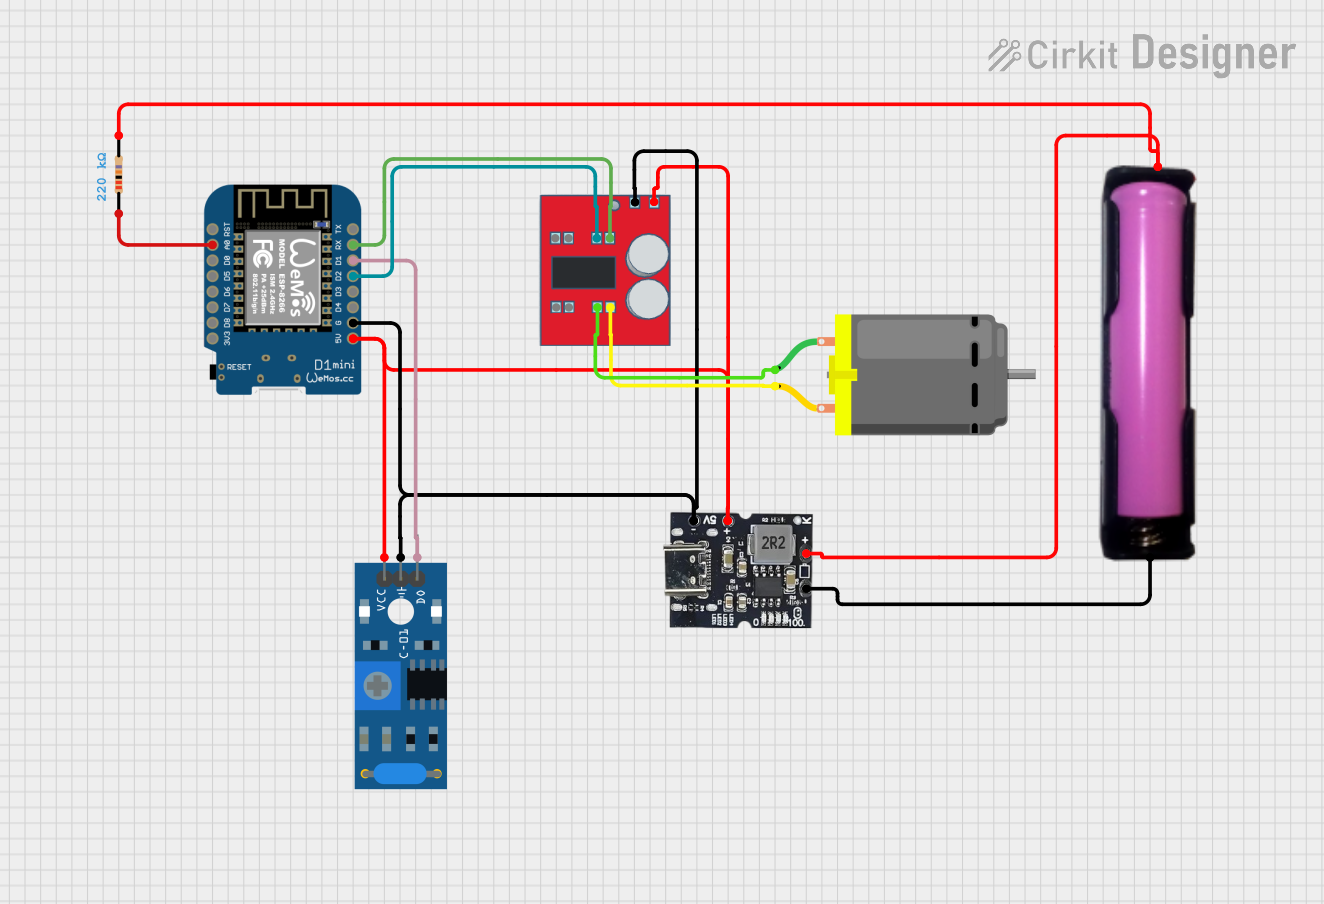
The Wemos Li-ion Battery Shield for D1 Mini is a compact and efficient battery management module designed specifically for the Wemos D1 Mini development board. This shield allows users to connect a Li-ion or LiPo battery to power the D1 Mini, making it ideal for portable and low-power IoT applications. It features integrated charging circuitry, battery level indicators, and seamless integration with the D1 Mini ecosystem.

Explore Projects Built with Wemos Li-ion Battery Shield for D1 Mini

Use Cirkit Designer to design, explore, and prototype these projects online. Some projects support real-time simulation. Click "Open Project" to start designing instantly!
Battery-Powered Wi-Fi Temperature and Humidity Monitor with Wemos D1 Mini and DHT22
Image of Temp, humidity battery powered D1 sensor: A project utilizing Wemos Li-ion Battery Shield for D1 Mini in a practical application
This circuit appears to be a sensor node with a DHT22 temperature and humidity sensor interfaced with a Wemos D1 Mini microcontroller. The Wemos D1 Mini is powered by a 18650 Li-ion battery, which is charged and protected by a TP4056 charging module. The sensor's data output is connected to the D4 pin of the Wemos D1 Mini for digital signal processing, and voltage dividers made of resistors are likely used for level shifting or pull-up/pull-down purposes.
Cirkit Designer LogoOpen Project in Cirkit Designer
Wi-Fi Controlled RGB LED Strip with Battery Management System
Image of OpenTimingProject - Basic node: A project utilizing Wemos Li-ion Battery Shield for D1 Mini in a practical application
This circuit features a Wemos D1 Mini microcontroller powered by a 18650 Li-ion battery through a TP4056 charging module, with power control managed by a rocker switch. The Wemos D1 Mini controls a WS2812 RGB LED strip, with the data line connected to the D4 pin and power lines controlled by the switch. Multiple pushbuttons are connected to the D0 pin through a resistor, likely for user input to control the LED strip or other functions in the microcontroller's code.
Cirkit Designer LogoOpen Project in Cirkit Designer
Wi-Fi Controlled Vibration-Sensing Robot with Battery Monitoring
Image of Vibration Trash: A project utilizing Wemos Li-ion Battery Shield for D1 Mini in a practical application
This circuit features a Wemos D1 Mini microcontroller connected to a MX1508 DC Motor Driver for controlling a DC motor, a SW-420 Vibration Sensor for detecting vibrations, and a Type-c Power Bank Module with an 18650 battery holder for power supply. The microcontroller monitors the vibration sensor and controls the motor driver based on the sensor's output, while also measuring the battery voltage through an ADC pin with a connected resistor for voltage scaling. The embedded code enables WiFi connectivity, OTA updates, and integration with Home Assistant for remote monitoring and control.
Cirkit Designer LogoOpen Project in Cirkit Designer
Dual-Microcontroller Audio Processing System with Visual Indicators and Battery Management
Image of proto thesis 2: A project utilizing Wemos Li-ion Battery Shield for D1 Mini in a practical application
This is a portable audio-visual device featuring two Wemos microcontrollers for processing, Adafruit MAX4466 microphone amplifiers for audio input, and an LCD TFT screen for display. It includes power management with TP4056 modules and LiPo batteries, and user-controlled toggle and rocker switches.
Cirkit Designer LogoOpen Project in Cirkit Designer

Explore Projects Built with Wemos Li-ion Battery Shield for D1 Mini

Use Cirkit Designer to design, explore, and prototype these projects online. Some projects support real-time simulation. Click "Open Project" to start designing instantly!
Image of Temp, humidity battery powered D1 sensor: A project utilizing Wemos Li-ion Battery Shield for D1 Mini in a practical application
Battery-Powered Wi-Fi Temperature and Humidity Monitor with Wemos D1 Mini and DHT22
This circuit appears to be a sensor node with a DHT22 temperature and humidity sensor interfaced with a Wemos D1 Mini microcontroller. The Wemos D1 Mini is powered by a 18650 Li-ion battery, which is charged and protected by a TP4056 charging module. The sensor's data output is connected to the D4 pin of the Wemos D1 Mini for digital signal processing, and voltage dividers made of resistors are likely used for level shifting or pull-up/pull-down purposes.
Cirkit Designer LogoOpen Project in Cirkit Designer
Image of OpenTimingProject - Basic node: A project utilizing Wemos Li-ion Battery Shield for D1 Mini in a practical application
Wi-Fi Controlled RGB LED Strip with Battery Management System
This circuit features a Wemos D1 Mini microcontroller powered by a 18650 Li-ion battery through a TP4056 charging module, with power control managed by a rocker switch. The Wemos D1 Mini controls a WS2812 RGB LED strip, with the data line connected to the D4 pin and power lines controlled by the switch. Multiple pushbuttons are connected to the D0 pin through a resistor, likely for user input to control the LED strip or other functions in the microcontroller's code.
Cirkit Designer LogoOpen Project in Cirkit Designer
Image of Vibration Trash: A project utilizing Wemos Li-ion Battery Shield for D1 Mini in a practical application
Wi-Fi Controlled Vibration-Sensing Robot with Battery Monitoring
This circuit features a Wemos D1 Mini microcontroller connected to a MX1508 DC Motor Driver for controlling a DC motor, a SW-420 Vibration Sensor for detecting vibrations, and a Type-c Power Bank Module with an 18650 battery holder for power supply. The microcontroller monitors the vibration sensor and controls the motor driver based on the sensor's output, while also measuring the battery voltage through an ADC pin with a connected resistor for voltage scaling. The embedded code enables WiFi connectivity, OTA updates, and integration with Home Assistant for remote monitoring and control.
Cirkit Designer LogoOpen Project in Cirkit Designer
Image of proto thesis 2: A project utilizing Wemos Li-ion Battery Shield for D1 Mini in a practical application
Dual-Microcontroller Audio Processing System with Visual Indicators and Battery Management
This is a portable audio-visual device featuring two Wemos microcontrollers for processing, Adafruit MAX4466 microphone amplifiers for audio input, and an LCD TFT screen for display. It includes power management with TP4056 modules and LiPo batteries, and user-controlled toggle and rocker switches.
Cirkit Designer LogoOpen Project in Cirkit Designer

Common Applications and Use Cases

  • Portable IoT devices
  • Battery-powered sensor nodes
  • Wearable electronics
  • Remote monitoring systems
  • Prototyping low-power wireless applications

Technical Specifications

Below are the key technical details of the Wemos Li-ion Battery Shield:

Parameter Value
Input Voltage (USB) 5V (via Micro-USB port)
Battery Type Li-ion or LiPo (3.7V nominal voltage)
Charging Current 500mA (default, adjustable via resistor)
Output Voltage 5V (regulated) or 3.3V (via D1 Mini pins)
Charging Indicator LEDs Red (charging), Blue (fully charged)
Dimensions 34.2mm x 25.6mm

Pin Configuration and Descriptions

The shield connects directly to the Wemos D1 Mini via its pin headers. Below is the pin configuration:

Pin Description
5V Regulated 5V output from the battery or USB input
3V3 Regulated 3.3V output (useful for powering low-voltage peripherals)
GND Ground connection
D+ / D- USB data lines (not typically used for battery management)
BAT Direct connection to the battery's positive terminal (unregulated voltage)

Usage Instructions

How to Use the Shield in a Circuit

  1. Connect the Battery: Attach a 3.7V Li-ion or LiPo battery to the JST connector on the shield. Ensure correct polarity to avoid damage.
  2. Stack the Shield: Place the shield on top of the Wemos D1 Mini, aligning the pin headers.
  3. Power the Shield:
    • Use the Micro-USB port to charge the battery and power the D1 Mini simultaneously.
    • Alternatively, the battery alone can power the D1 Mini when USB is disconnected.
  4. Monitor Charging: Observe the onboard LEDs:
    • Red LED: Battery is charging.
    • Blue LED: Battery is fully charged.

Important Considerations and Best Practices

  • Battery Selection: Use only 3.7V Li-ion or LiPo batteries with a JST connector. Ensure the battery has built-in protection circuitry to prevent overcharging or over-discharging.
  • Charging Current Adjustment: The default charging current is 500mA. To adjust it, replace the onboard resistor labeled "R3" with a different value. Refer to the TP4056 datasheet for resistor values corresponding to desired charging currents.
  • Heat Management: Avoid prolonged charging in high-temperature environments, as the shield may become warm during operation.
  • Voltage Monitoring: Use the BAT pin to monitor the battery voltage in your circuit. Ensure your code accounts for the unregulated nature of this pin.

Example Code for Arduino UNO

If you are using the Wemos D1 Mini with the battery shield, you can monitor the battery voltage using the BAT pin. Below is an example sketch:

// Example code to monitor battery voltage using the BAT pin
// Connect the BAT pin to an analog input (e.g., A0) on the D1 Mini

const int BATTERY_PIN = A0;  // Analog pin connected to BAT
const float VOLTAGE_DIVIDER_RATIO = 2.0; // Adjust if a voltage divider is used
const float ADC_RESOLUTION = 1023.0;     // 10-bit ADC resolution
const float REFERENCE_VOLTAGE = 3.3;     // Reference voltage of the D1 Mini

void setup() {
  Serial.begin(9600); // Initialize serial communication
  Serial.println("Battery Voltage Monitoring");
}

void loop() {
  int rawValue = analogRead(BATTERY_PIN); // Read the analog value from BAT pin
  float batteryVoltage = (rawValue / ADC_RESOLUTION) * REFERENCE_VOLTAGE * VOLTAGE_DIVIDER_RATIO;

  // Print the battery voltage to the Serial Monitor
  Serial.print("Battery Voltage: ");
  Serial.print(batteryVoltage);
  Serial.println(" V");

  delay(1000); // Wait for 1 second before the next reading
}

Note: If you use a voltage divider to scale down the battery voltage, adjust the VOLTAGE_DIVIDER_RATIO accordingly.

Troubleshooting and FAQs

Common Issues and Solutions

  1. Battery Not Charging

    • Cause: Incorrect battery connection or damaged battery.
    • Solution: Verify the battery polarity and ensure the battery is functional.
  2. Shield Overheating

    • Cause: Prolonged charging at high current or high ambient temperature.
    • Solution: Reduce the charging current by replacing the R3 resistor or charge in a cooler environment.
  3. No Output Voltage

    • Cause: Battery is depleted or not connected.
    • Solution: Check the battery connection and charge the battery via USB.
  4. LEDs Not Working

    • Cause: Faulty LEDs or damaged charging circuitry.
    • Solution: Inspect the shield for physical damage and test with a different battery.

FAQs

  • Can I use a different type of battery? No, the shield is designed specifically for 3.7V Li-ion or LiPo batteries. Using other types may damage the shield or the battery.

  • What happens if I connect both USB and battery? The shield will prioritize USB power for charging the battery and powering the D1 Mini.

  • Can I adjust the charging current? Yes, replace the R3 resistor with a value corresponding to your desired charging current. Refer to the TP4056 datasheet for details.

  • Is the shield compatible with other boards? The shield is designed for the Wemos D1 Mini but may work with other boards that share the same pinout. Verify compatibility before use.