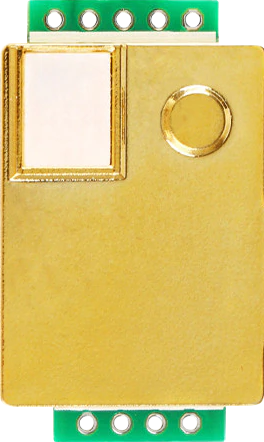
The MH-Z19B is an infrared carbon dioxide sensor module capable of measuring CO2 concentrations in the air. This sensor is widely used in HVAC (Heating, Ventilation, and Air Conditioning) systems, indoor air quality monitoring, and other applications where monitoring of CO2 levels is necessary for environmental control or health standards.
Explore Projects Built with MH-Z19B
Use Cirkit Designer to design, explore, and prototype these projects online. Some projects support real-time simulation. Click "Open Project" to start designing instantly!
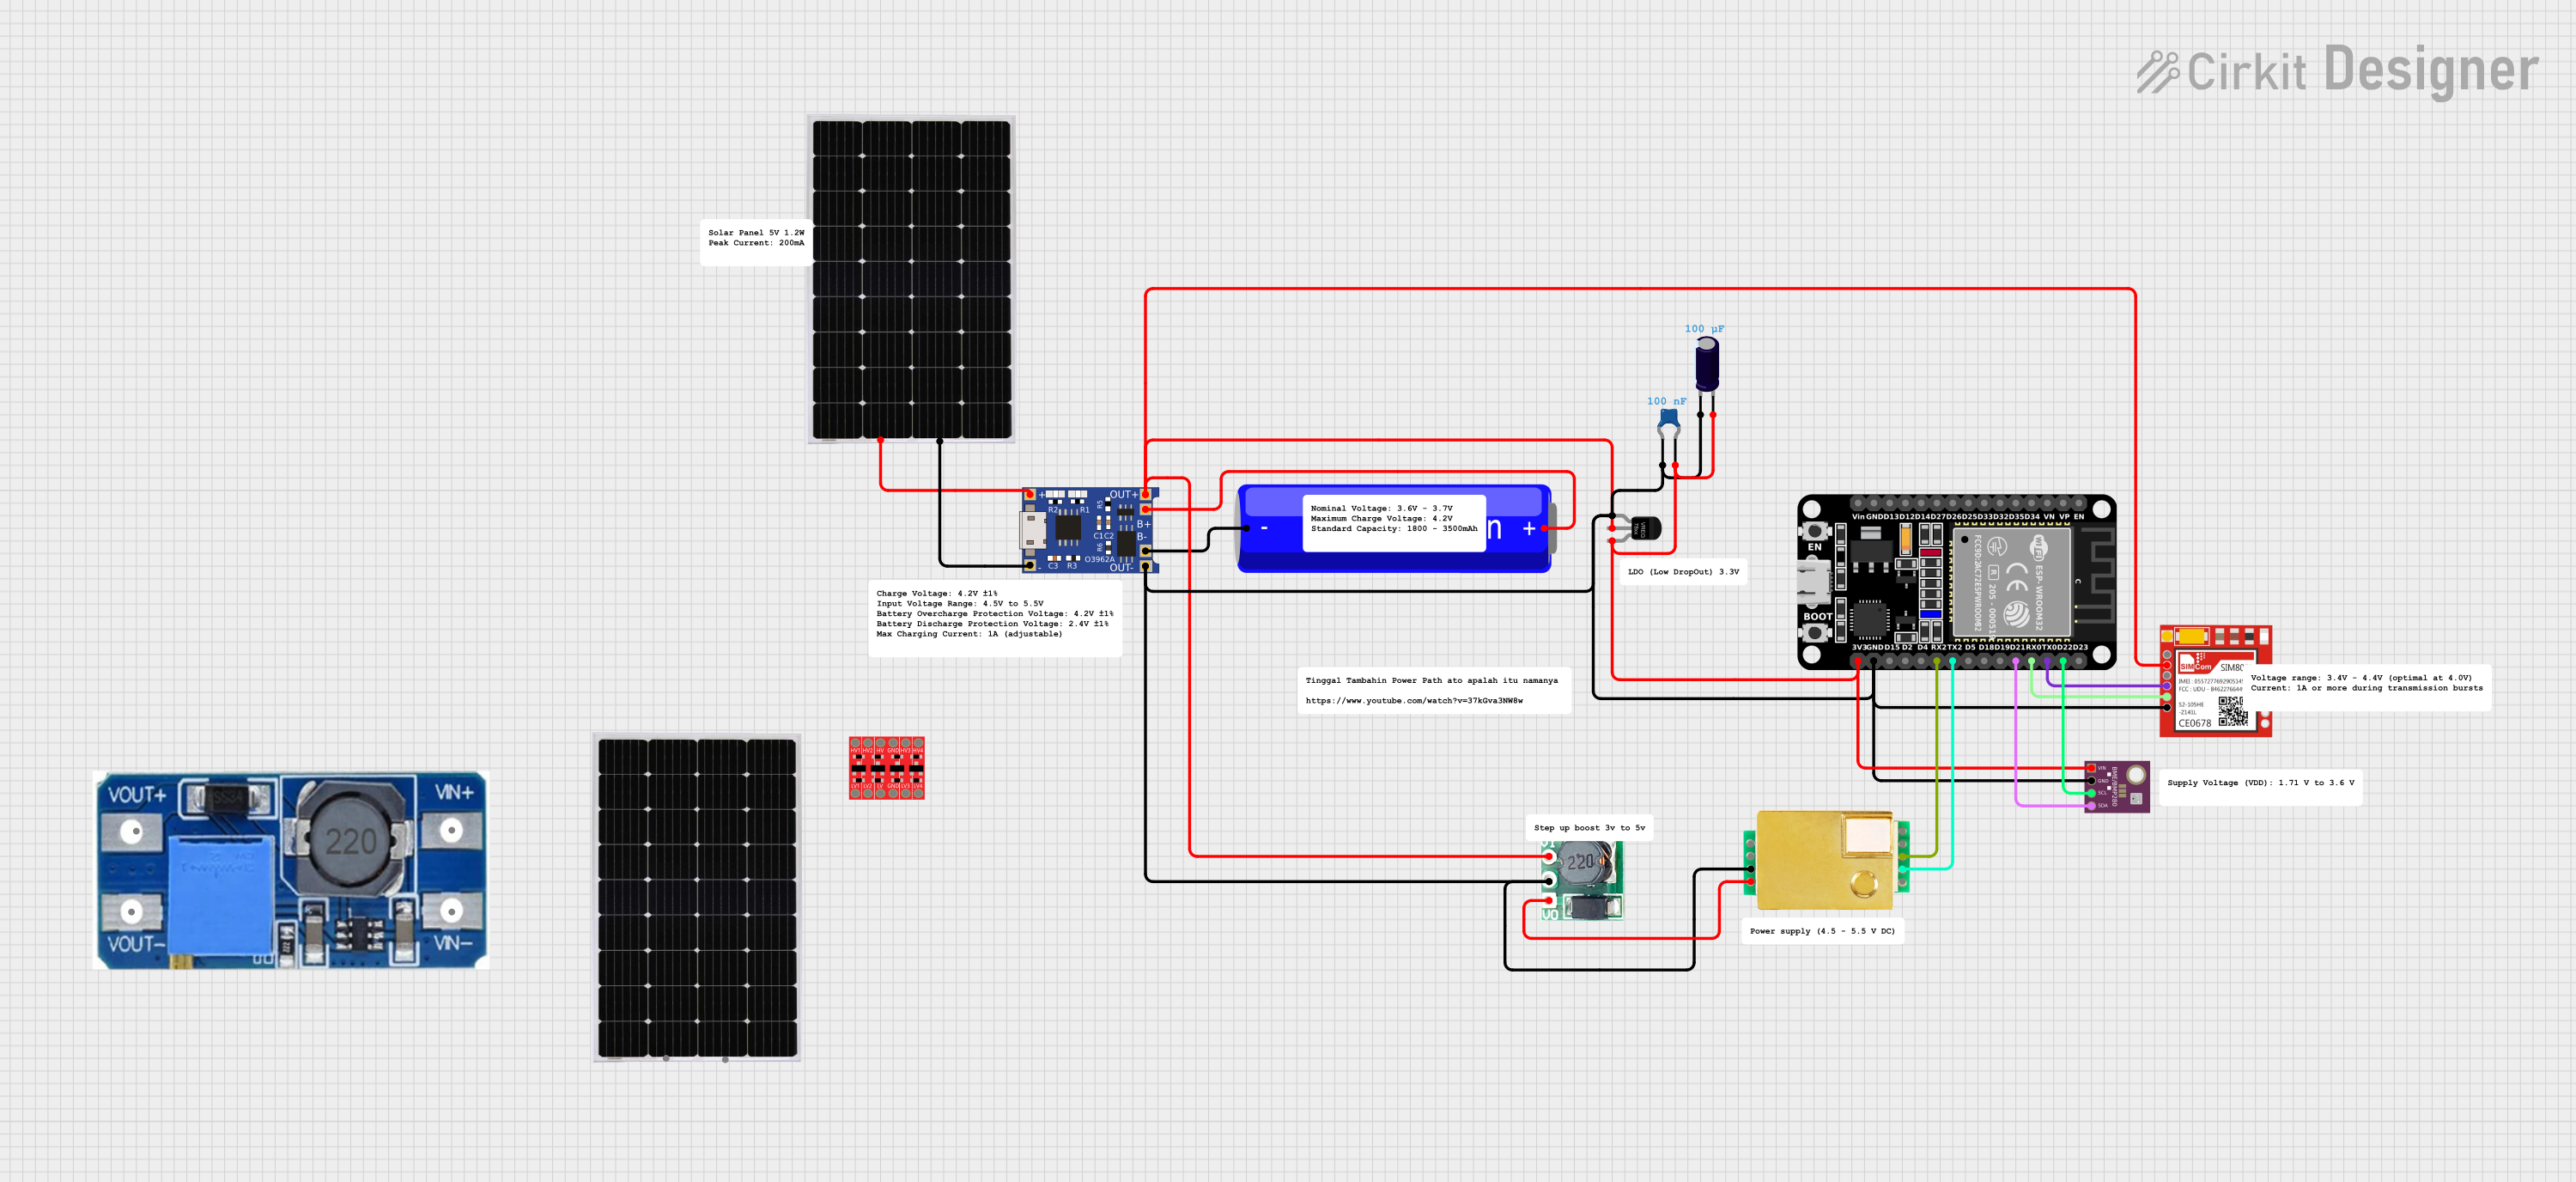
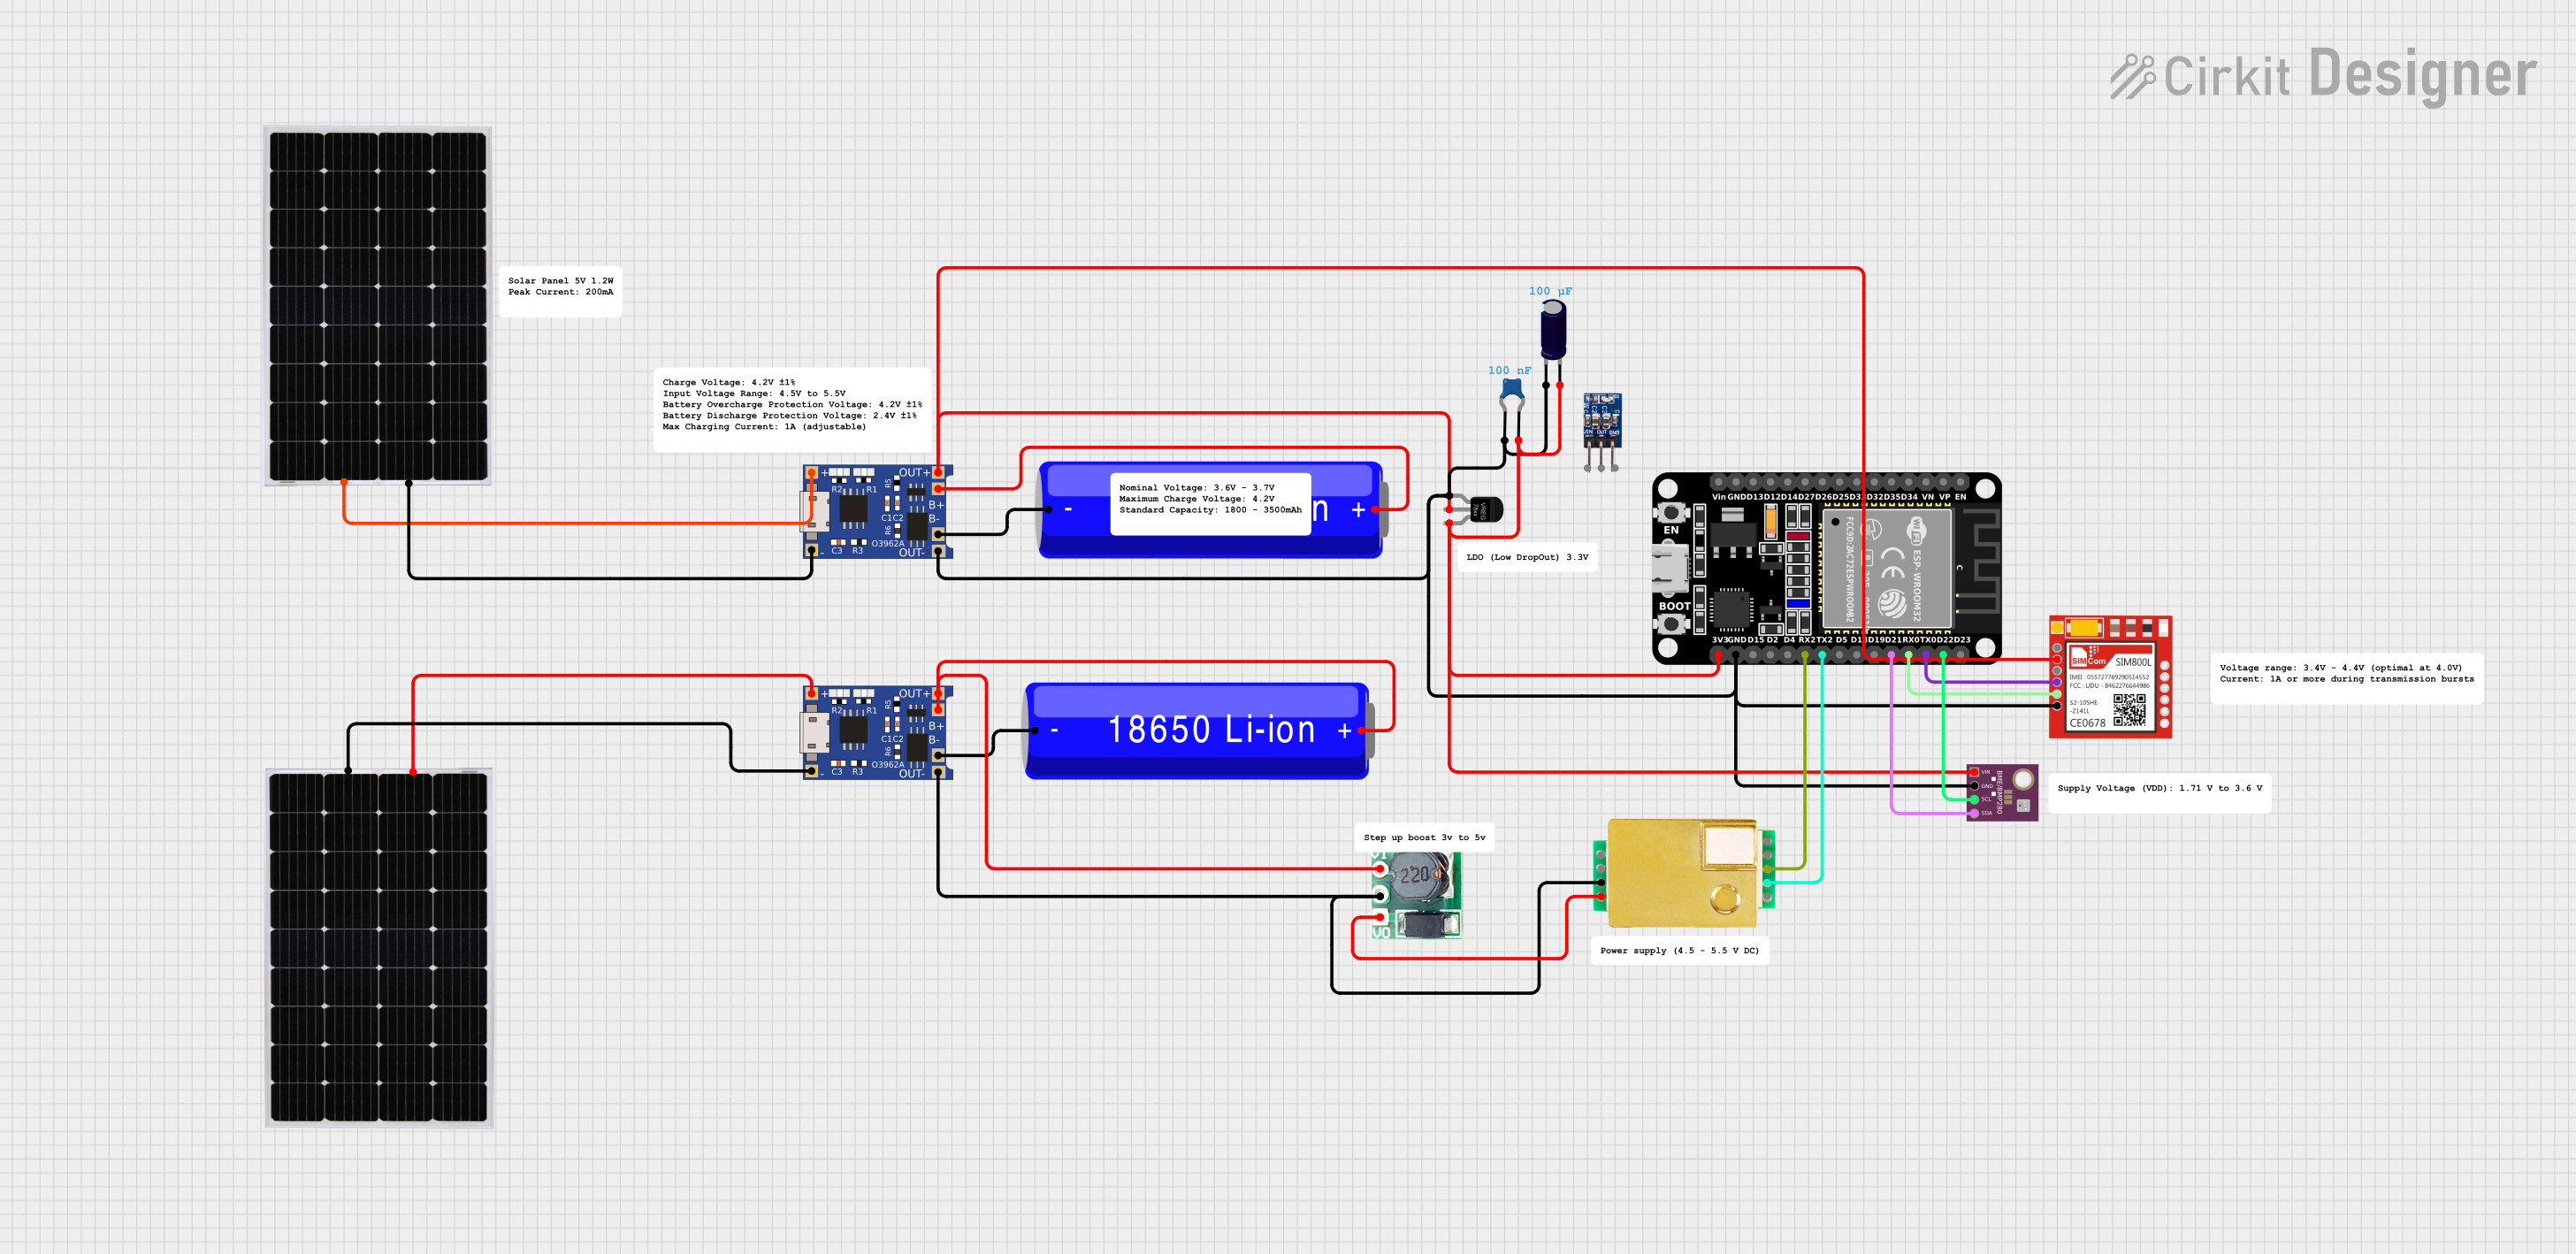
This circuit features an ESP32 microcontroller interfaced with a BME/BMP280 sensor for environmental monitoring and an MH-Z19B sensor for CO2 measurement, both communicating via I2C (SCL, SDA) and serial (TX, RX) connections respectively. It includes a SIM800L module for GSM communication, connected to the ESP32 via serial (TXD, RXD). Power management is handled by two TP4056 modules for charging 18650 Li-ion batteries via solar panels, with a step-up boost converter to provide consistent voltage to the MH-Z19B, and voltage regulation for the SIM800L. Decoupling capacitors are used to stabilize the power supply to the BME/BMP280 and ESP32.
This circuit features an ESP32 microcontroller interfaced with a BME/BMP280 sensor for environmental data and an MH-Z19B sensor for CO2 measurement, both communicating via I2C (SCL, SDA) and serial (TX, RX) connections respectively. It includes a TP4056 module for charging an 18650 Li-ion battery from a solar panel, with a step-up boost converter to provide stable voltage to the MH-Z19B sensor and a voltage regulator for the SIM800L GSM module. The capacitors are likely used for power supply filtering or decoupling.
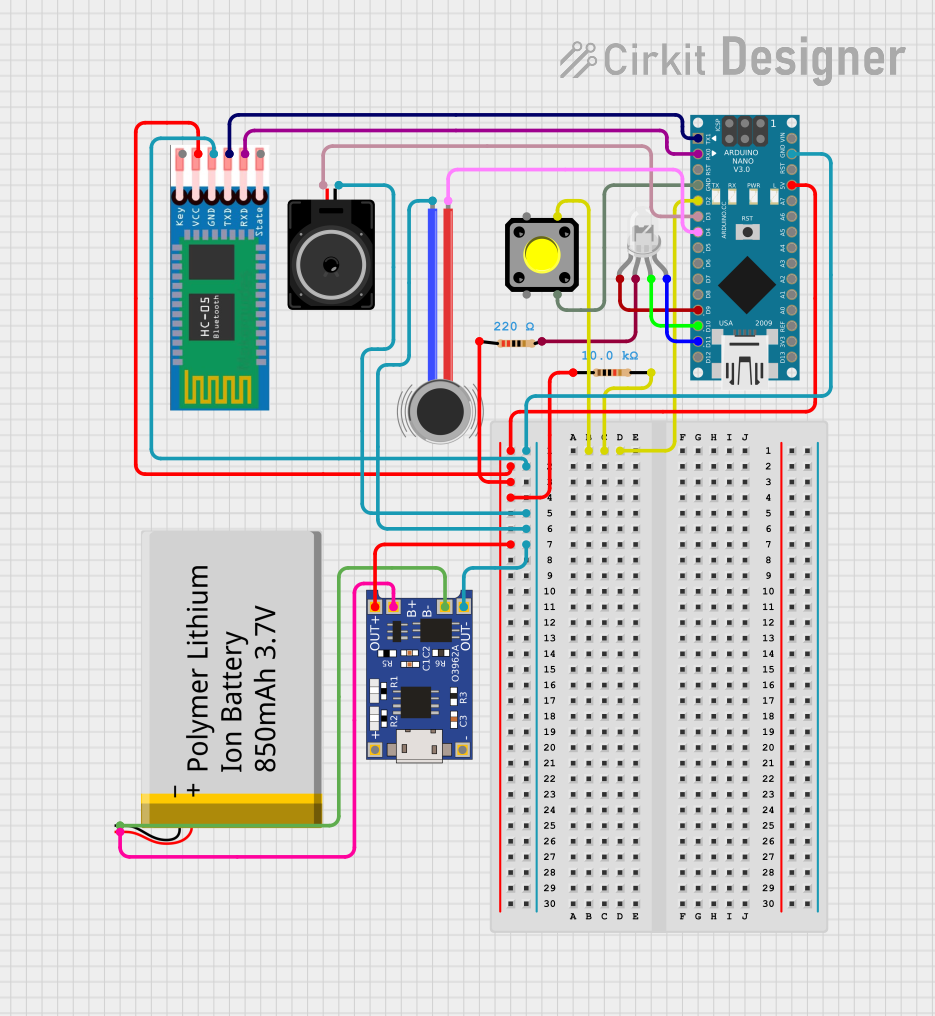
This is a portable, microcontroller-driven interactive device featuring Bluetooth connectivity, visual (RGB LED), auditory (loudspeaker), and haptic (vibration motor) feedback, user input (pushbutton), and a rechargeable power system (TP4056 with Li-ion battery).
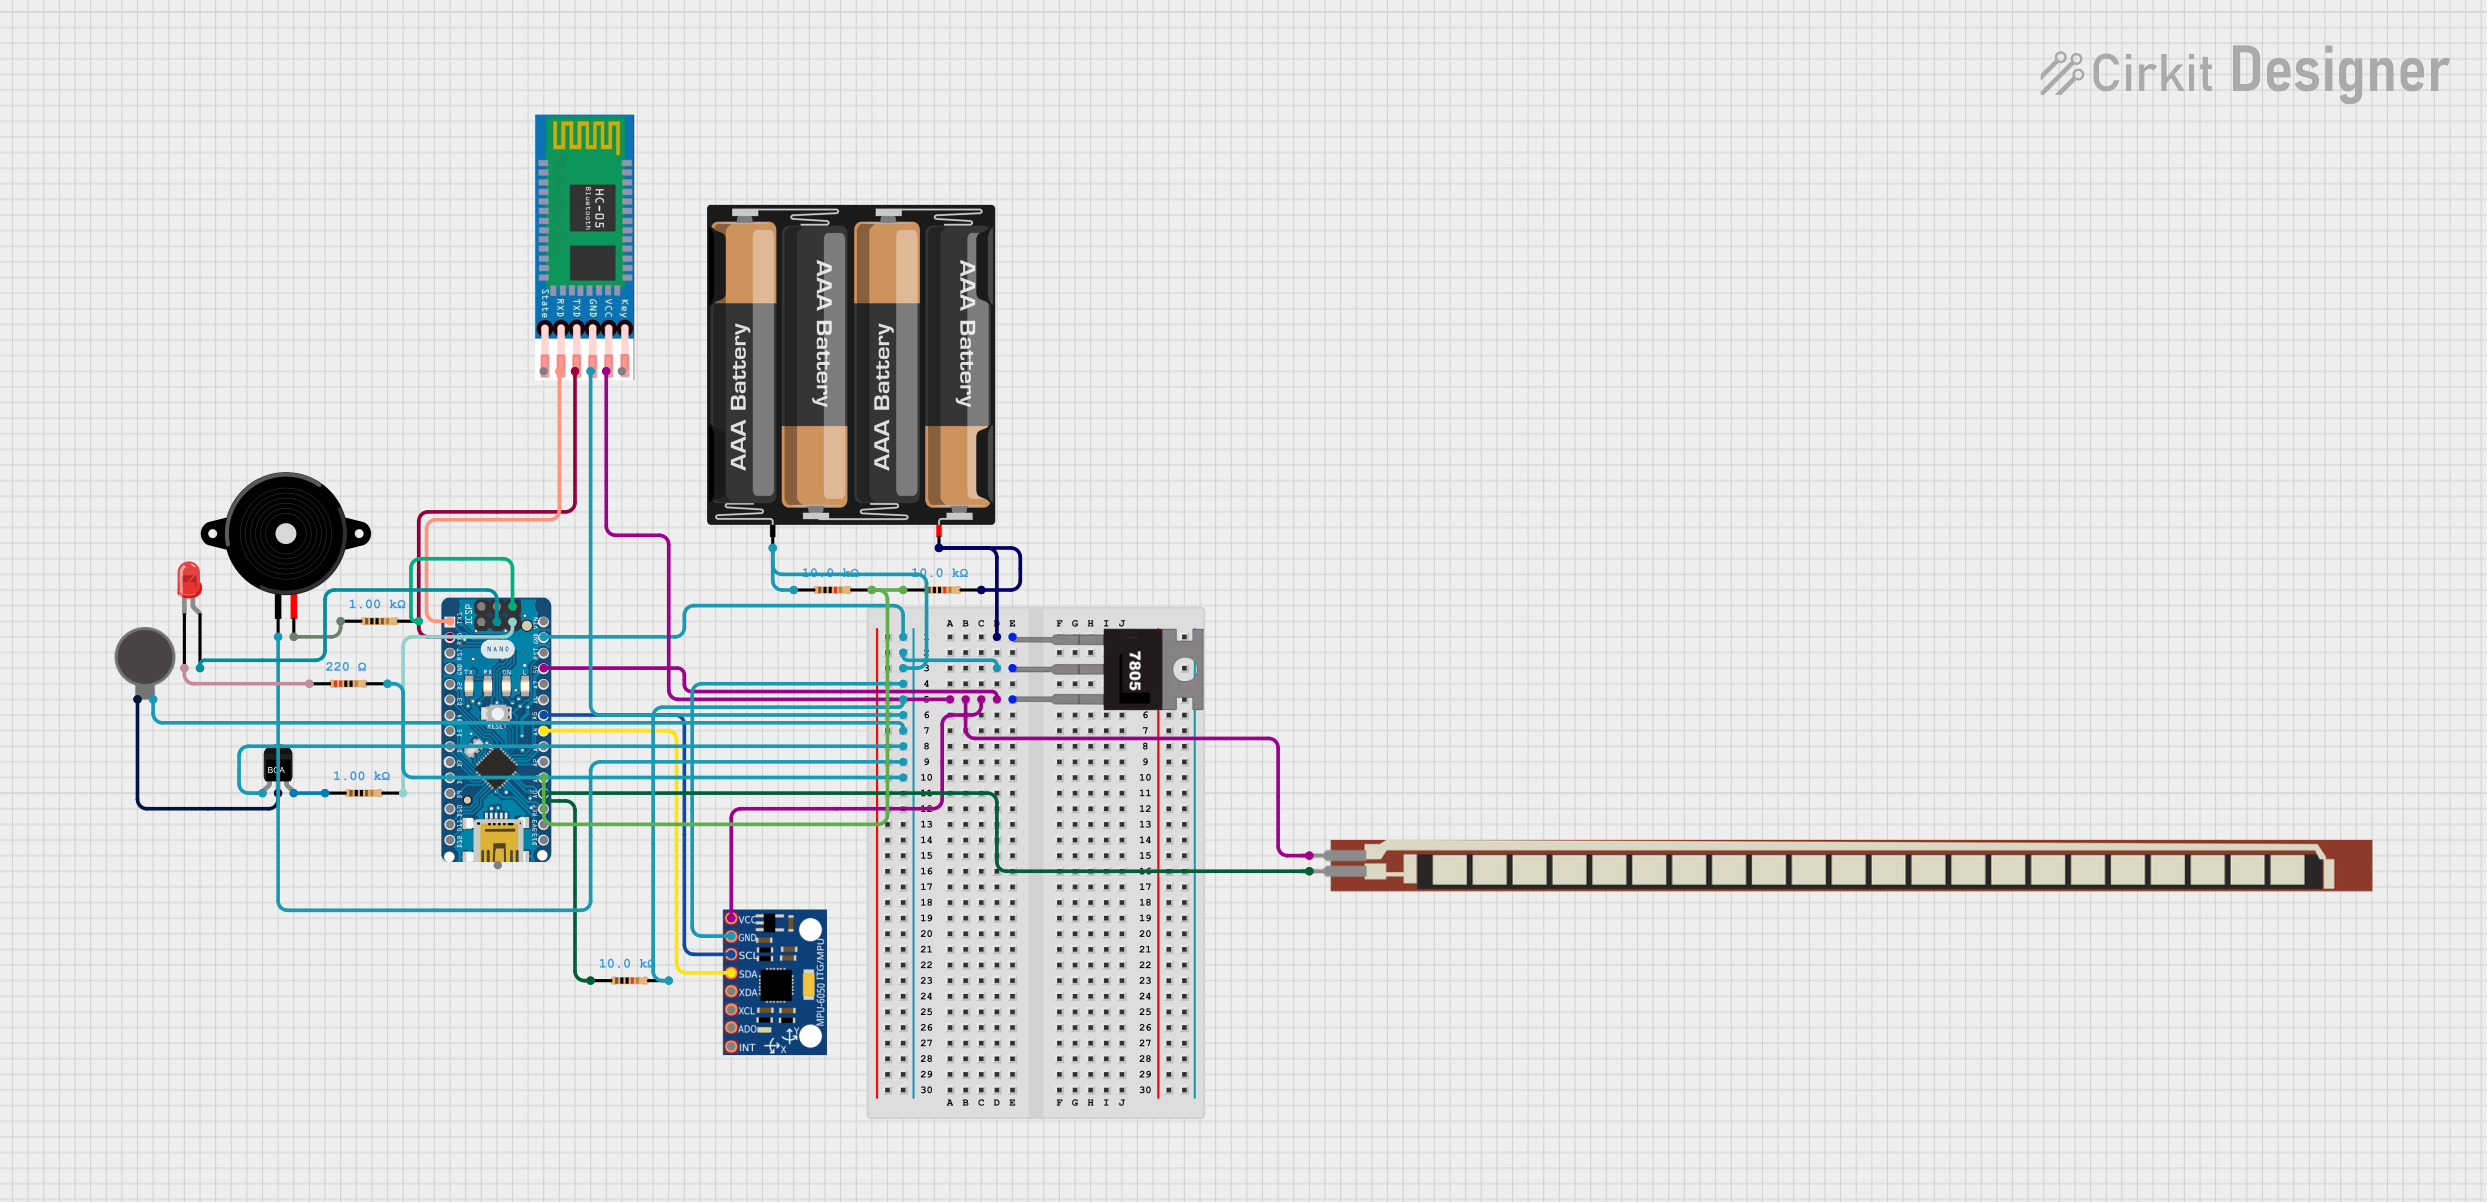
This is a battery-powered sensor system with Bluetooth communication, featuring an Arduino Nano for control, an MPU-6050 for motion sensing, and an HC-05 module for wireless data transmission. It includes a vibration motor for haptic feedback, a flex resistor as an additional sensor, and a piezo speaker and LED for alerts or status indication.
Educational projects related to environmental science
Technical Specifications
Key Technical Details
Detection Gas: Carbon dioxide (CO2)
Measurement Range: 0 - 5000 ppm
Output Signal: UART (serial), PWM
Preheat Time: 3 minutes
Response Time: T90 < 120 seconds
Working Voltage: 4.5 - 5.5 V DC
Average Current: < 18 mA
Peak Current: 150 mA
Working Temperature: 0 - 50°C
Working Humidity: 0 - 95% RH (non-condensing)
Pin Configuration and Descriptions
Pin Number
Name
Description
1
V_in
Power supply (4.5 - 5.5 V DC)
2
GND
Ground
3
TX
UART Transmit (connect to RX of MCU)
4
RX
UART Receive (connect to TX of MCU)
5
HD
PWM/HD (selectable output)
6
NC
Not connected
Usage Instructions
How to Use the Component in a Circuit
Connect the V_in pin to a 5V power supply.
Connect the GND pin to the ground of the power supply.
For UART communication, connect the TX pin of the MH-Z19B to the RX pin of your microcontroller (e.g., Arduino) and the RX pin to the TX pin of the microcontroller.
If using PWM output, connect the HD pin to a digital input on your microcontroller.
Important Considerations and Best Practices
Ensure that the sensor is preheated for at least 3 minutes before taking measurements.
Avoid placing the sensor in environments with high concentrations of volatile organic compounds (VOCs) as they may affect the readings.
The sensor should be calibrated periodically to maintain accuracy. Follow the manufacturer's calibration procedure.
Avoid touching the sensor's optical components to prevent contamination and inaccurate readings.
Example Code for Arduino UNO
#include <SoftwareSerial.h>

SoftwareSerial mySerial(10, 11); // RX, TX

void setup() {
  Serial.begin(9600);
  mySerial.begin(9600);
}

void loop() {
  if (mySerial.available() > 0) {
    int high = mySerial.read();
    int low = mySerial.read();
    if (high == 0xFF) {
      int ppm = (256 * high) + low;
      Serial.print("CO2 Concentration: ");
      Serial.print(ppm);
      Serial.println("ppm");
    }
  }
}
Note: This example assumes that the MH-Z19B is connected via UART using pins 10 and 11 on the Arduino UNO for software serial communication. Adjust the pin numbers as needed for your specific setup.
Troubleshooting and FAQs
Common Issues Users Might Face
Inaccurate Readings: Ensure the sensor is properly calibrated and not exposed to VOCs or other gases.
No Data Output: Check all connections, including power supply and UART/PWM wiring. Ensure the correct baud rate is set for UART communication.
Sensor Not Responding: Verify that the sensor has been preheated for the recommended time.
Solutions and Tips for Troubleshooting
Calibration: Perform zero-point calibration in fresh air or use a known CO2 concentration for span calibration.
Wiring Check: Double-check all connections, especially the UART lines, ensuring TX is connected to RX and vice versa.
Power Supply: Confirm that the power supply is stable and within the specified voltage range.
FAQs
Q: How often should the sensor be calibrated?
A: The manufacturer recommends calibrating the sensor every six months or whenever there is a significant change in the operating environment.
Q: Can the sensor measure CO2 levels outdoors?
A: While the MH-Z19B can measure CO2 levels outdoors, it is designed primarily for indoor use and may not perform optimally in outdoor conditions.
Q: Is the sensor resistant to humidity?
A: The sensor can operate in 0 - 95% RH non-condensing environments. High humidity levels may affect the sensor's performance over time.
For further assistance, consult the manufacturer's datasheet and user manual.

 Open Project in Cirkit Designer