How to Use Oled-Rotary-Encoder: Examples, Pinouts, and Specs
Introduction
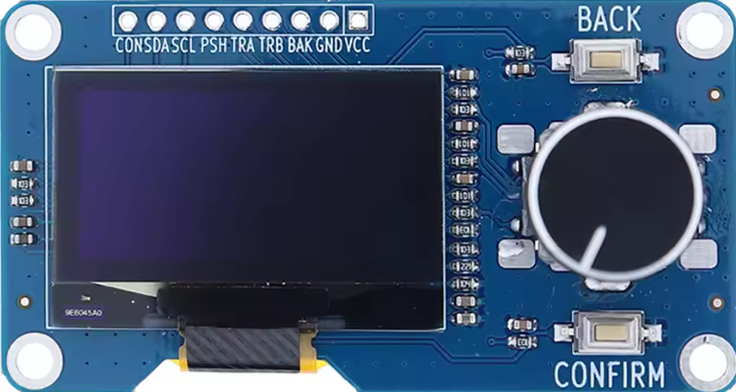
The OLED-Rotary-Encoder by SAMIROB (Part ID: Rotary Encoder) is a versatile device that combines an OLED display with a rotary encoder. This integration allows for both visual feedback and user input through rotation and pressing. The component is ideal for applications requiring compact user interfaces, such as menu navigation, parameter adjustment, and real-time data display.
Explore Projects Built with Oled-Rotary-Encoder
Explore Projects Built with Oled-Rotary-Encoder
Common Applications and Use Cases
- User interface for embedded systems
- Menu navigation in microcontroller-based projects
- Real-time data visualization
- Volume or parameter control in audio and industrial systems
- Compact control panels for IoT devices
Technical Specifications
Key Technical Details
| Parameter | Value |
|---|---|
| Manufacturer | SAMIROB |
| Part ID | Rotary Encoder |
| OLED Display Type | 128x64 pixels, monochrome |
| OLED Interface | I2C (Inter-Integrated Circuit) |
| Rotary Encoder Type | Incremental |
| Encoder Resolution | 20 steps per revolution |
| Push Button | Integrated (momentary switch) |
| Operating Voltage | 3.3V - 5V |
| Current Consumption | ~20mA (OLED active) |
| Dimensions | 30mm x 30mm x 15mm |
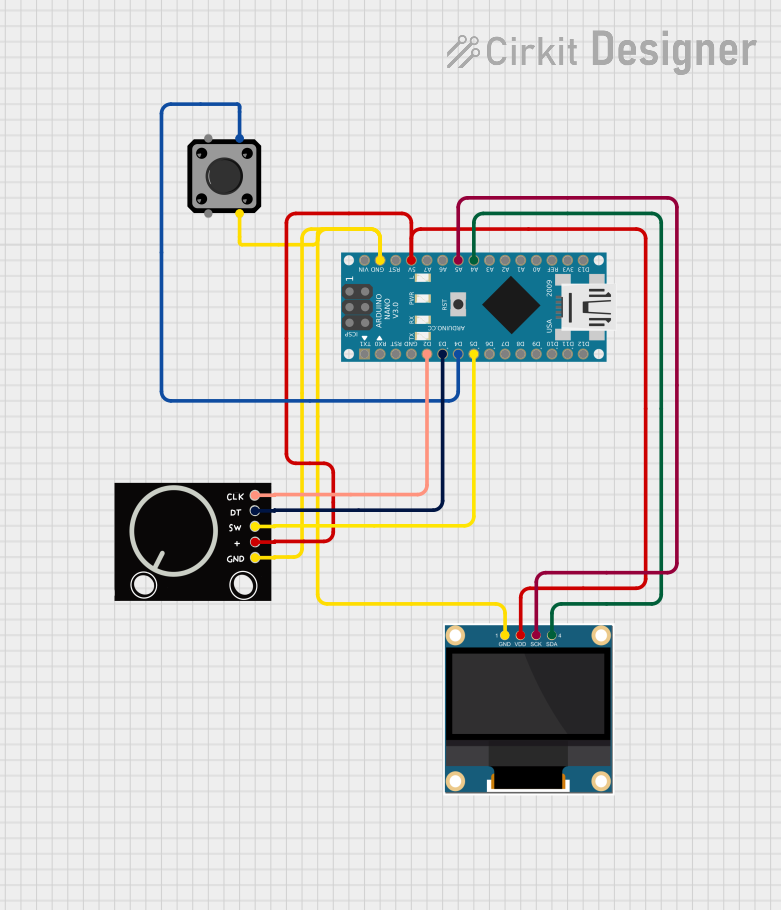
Pin Configuration and Descriptions
OLED Display Pins
| Pin Name | Description | Notes |
|---|---|---|
| VCC | Power supply (3.3V - 5V) | Connect to the power source |
| GND | Ground | Common ground for the circuit |
| SCL | I2C Clock Line | Connect to microcontroller SCL |
| SDA | I2C Data Line | Connect to microcontroller SDA |
Rotary Encoder Pins
| Pin Name | Description | Notes |
|---|---|---|
| CLK | Clock signal output | Connect to microcontroller pin |
| DT | Data signal output | Connect to microcontroller pin |
| SW | Push button signal output | Connect to microcontroller pin |
| GND | Ground | Common ground for the circuit |
| VCC | Power supply (3.3V - 5V) | Connect to the power source |
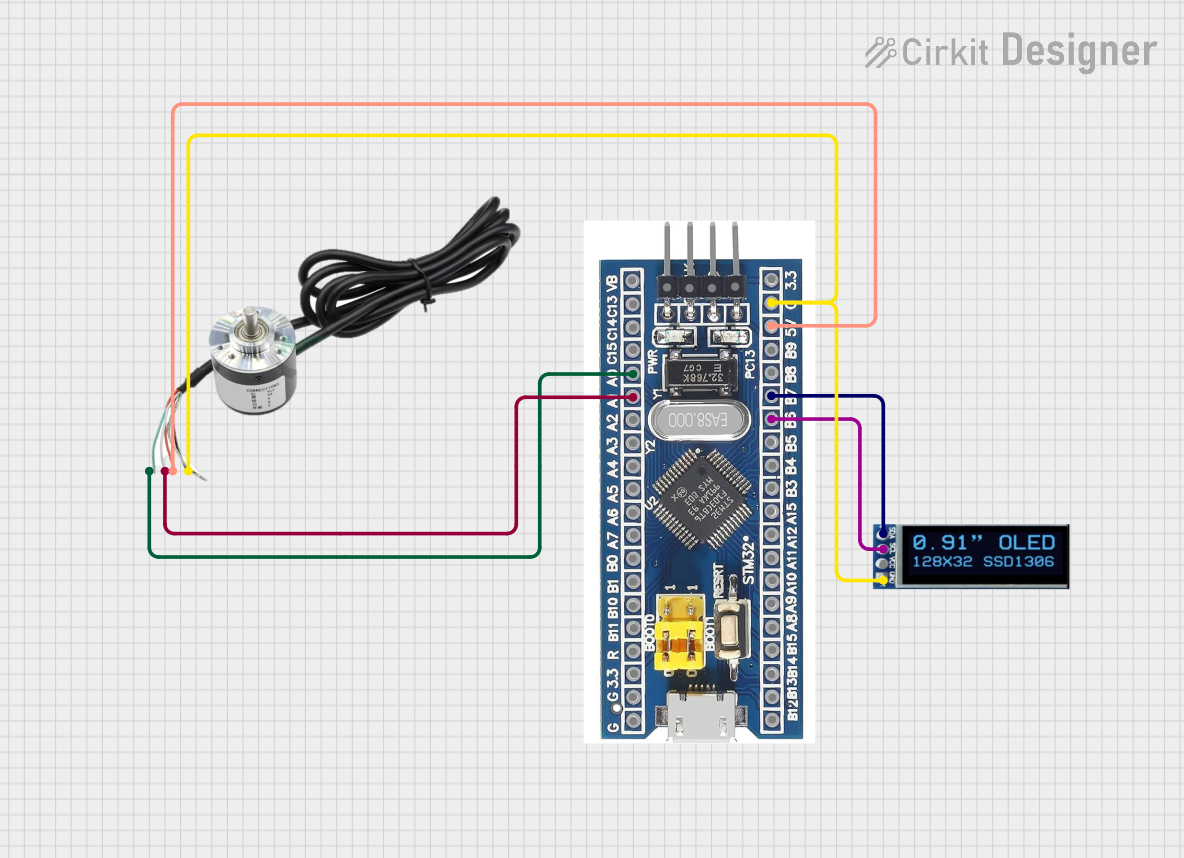
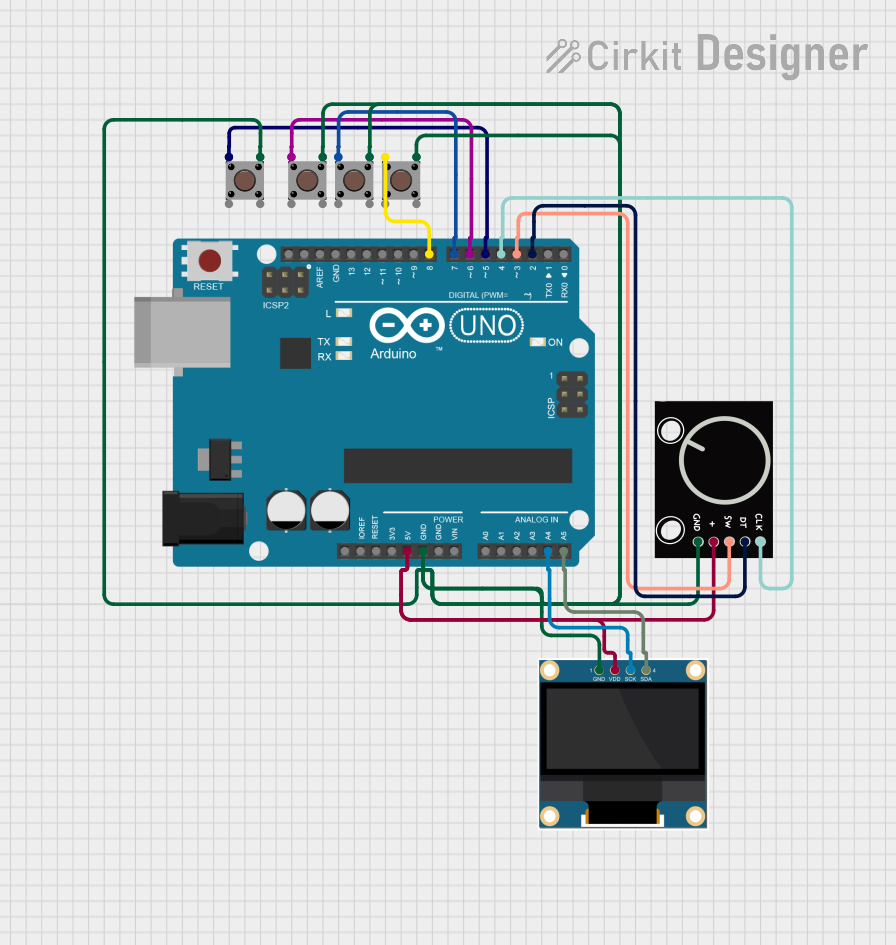
Usage Instructions
How to Use the Component in a Circuit
- Power Connections: Connect the VCC and GND pins of both the OLED and rotary encoder to the power supply (3.3V or 5V).
- I2C Communication: Connect the OLED's SDA and SCL pins to the corresponding I2C pins on your microcontroller (e.g., Arduino UNO: A4 for SDA, A5 for SCL).
- Rotary Encoder Connections:
- Connect the CLK and DT pins to digital input pins on the microcontroller.
- Connect the SW pin to another digital input pin for push-button functionality.
- Pull-Up Resistors: Use pull-up resistors (typically 10kΩ) on the SDA, SCL, and SW lines if not already integrated.
- Code Implementation: Use libraries for I2C OLED displays (e.g., Adafruit SSD1306) and rotary encoders to simplify programming.
Important Considerations and Best Practices
- Ensure the power supply voltage matches the component's operating range (3.3V - 5V).
- Avoid excessive mechanical force on the rotary encoder to prevent damage.
- Use debounce techniques in software to handle rotary encoder and push-button signals.
- Verify the I2C address of the OLED display (default: 0x3C) and adjust in the code if necessary.
Example Code for Arduino UNO
#include <Wire.h>
#include <Adafruit_GFX.h>
#include <Adafruit_SSD1306.h>
#include <Encoder.h>

// OLED display dimensions
#define SCREEN_WIDTH 128
#define SCREEN_HEIGHT 64

// I2C address for the OLED display
#define OLED_ADDR 0x3C

// Initialize OLED display
Adafruit_SSD1306 display(SCREEN_WIDTH, SCREEN_HEIGHT, &Wire, -1);

// Rotary encoder pins
#define ENCODER_CLK 2
#define ENCODER_DT 3
#define ENCODER_SW 4

// Initialize rotary encoder
Encoder myEnc(ENCODER_CLK, ENCODER_DT);

void setup() {
  // Initialize serial communication
  Serial.begin(9600);

  // Initialize OLED display
  if (!display.begin(SSD1306_I2C_ADDRESS, OLED_ADDR)) {
    Serial.println(F("OLED initialization failed!"));
    while (true); // Halt execution if OLED fails
  }
  display.clearDisplay();
  display.setTextSize(1);
  display.setTextColor(SSD1306_WHITE);
  display.setCursor(0, 0);
  display.println(F("OLED-Rotary-Encoder"));
  display.display();

  // Configure rotary encoder button pin
  pinMode(ENCODER_SW, INPUT_PULLUP);
}

void loop() {
  // Read rotary encoder position
  static long oldPosition = -999;
  long newPosition = myEnc.read() / 4; // Adjust for encoder resolution
  if (newPosition != oldPosition) {
    oldPosition = newPosition;
    display.clearDisplay();
    display.setCursor(0, 0);
    display.print(F("Position: "));
    display.println(newPosition);
    display.display();
  }

  // Check if the button is pressed
  if (digitalRead(ENCODER_SW) == LOW) {
    display.setCursor(0, 20);
    display.println(F("Button Pressed!"));
    display.display();
    delay(200); // Debounce delay
  }
}
Troubleshooting and FAQs
Common Issues and Solutions
OLED Display Not Turning On:
- Verify the power connections (VCC and GND).
- Check the I2C address (default: 0x3C) and update the code if necessary.
- Ensure the OLED library is correctly installed.
Rotary Encoder Not Responding:
- Confirm the CLK and DT pins are connected to the correct microcontroller pins.
- Check for loose connections or damaged wires.
- Implement software debouncing to handle noisy signals.
Push Button Not Working:
- Ensure the SW pin is connected to a digital input pin with a pull-up resistor.
- Verify the button press logic in the code (LOW indicates a press).
Flickering or Unstable Display:
- Use a stable power supply to avoid voltage fluctuations.
- Add decoupling capacitors (e.g., 0.1µF) near the VCC and GND pins.
FAQs
Q: Can I use this component with a 3.3V microcontroller like ESP32?
A: Yes, the OLED-Rotary-Encoder supports both 3.3V and 5V logic levels.
Q: What is the default I2C address of the OLED display?
A: The default I2C address is 0x3C. Check the datasheet or use an I2C scanner if unsure.
Q: How do I handle noisy signals from the rotary encoder?
A: Use software debouncing techniques or external capacitors (e.g., 10nF) on the CLK and DT lines.
Q: Can I change the OLED display's text size?
A: Yes, use the setTextSize() function in the Adafruit SSD1306 library to adjust the text size.