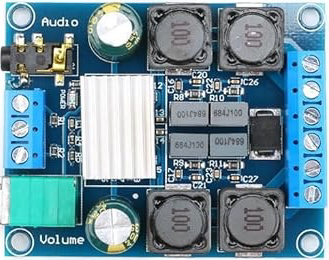
The TPA3116D2 Digital Amplifier Board Audio 2x50W, manufactured by EC Buying with the part ID XY-502, is a high-performance audio amplifier designed for a wide range of applications. Utilizing the TPA3116D2 amplifier chip, this board is capable of delivering an impressive 2x50 watts of power, making it ideal for powering speakers in home audio systems, desktop audio setups, and DIY audio projects.
Explore Projects Built with TPA3116D2 Digital Amplifier Board Audio 2x50w
Use Cirkit Designer to design, explore, and prototype these projects online. Some projects support real-time simulation. Click "Open Project" to start designing instantly!
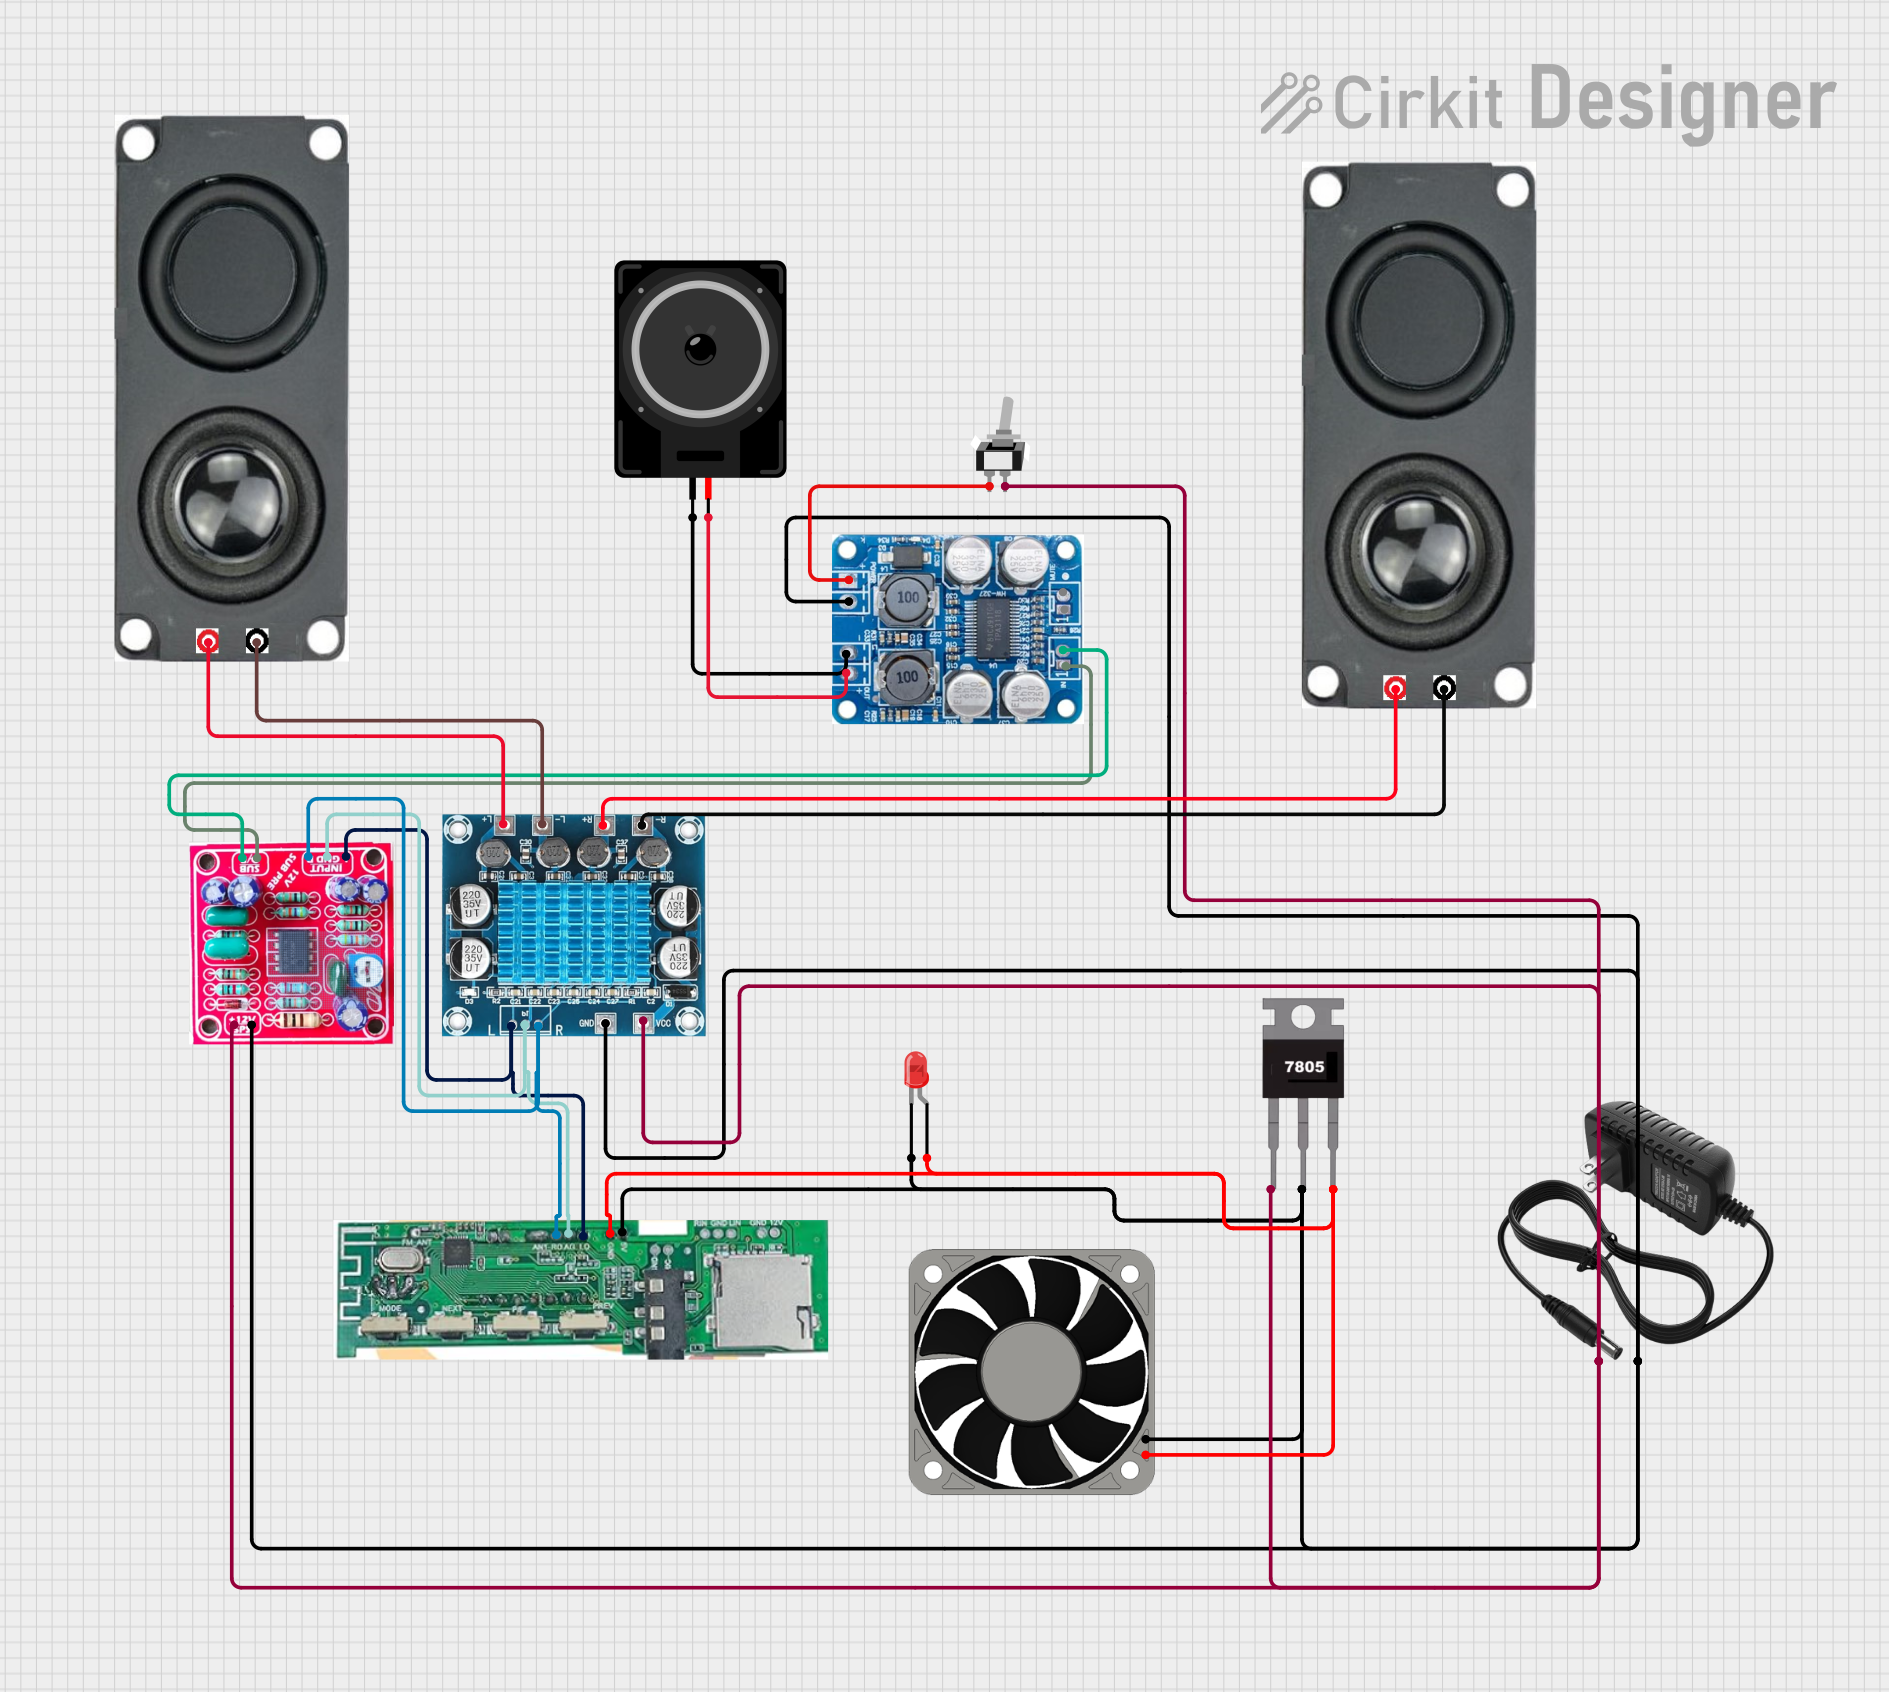
This circuit is a Bluetooth-enabled audio amplifier system with a subwoofer pre-amp and dual 8-ohm speakers. It includes a 12V power supply, a 7805 voltage regulator, and a cooling fan, with a toggle switch to control power. The Bluetooth module provides audio input to the amplifiers, which drive the speakers and subwoofer.
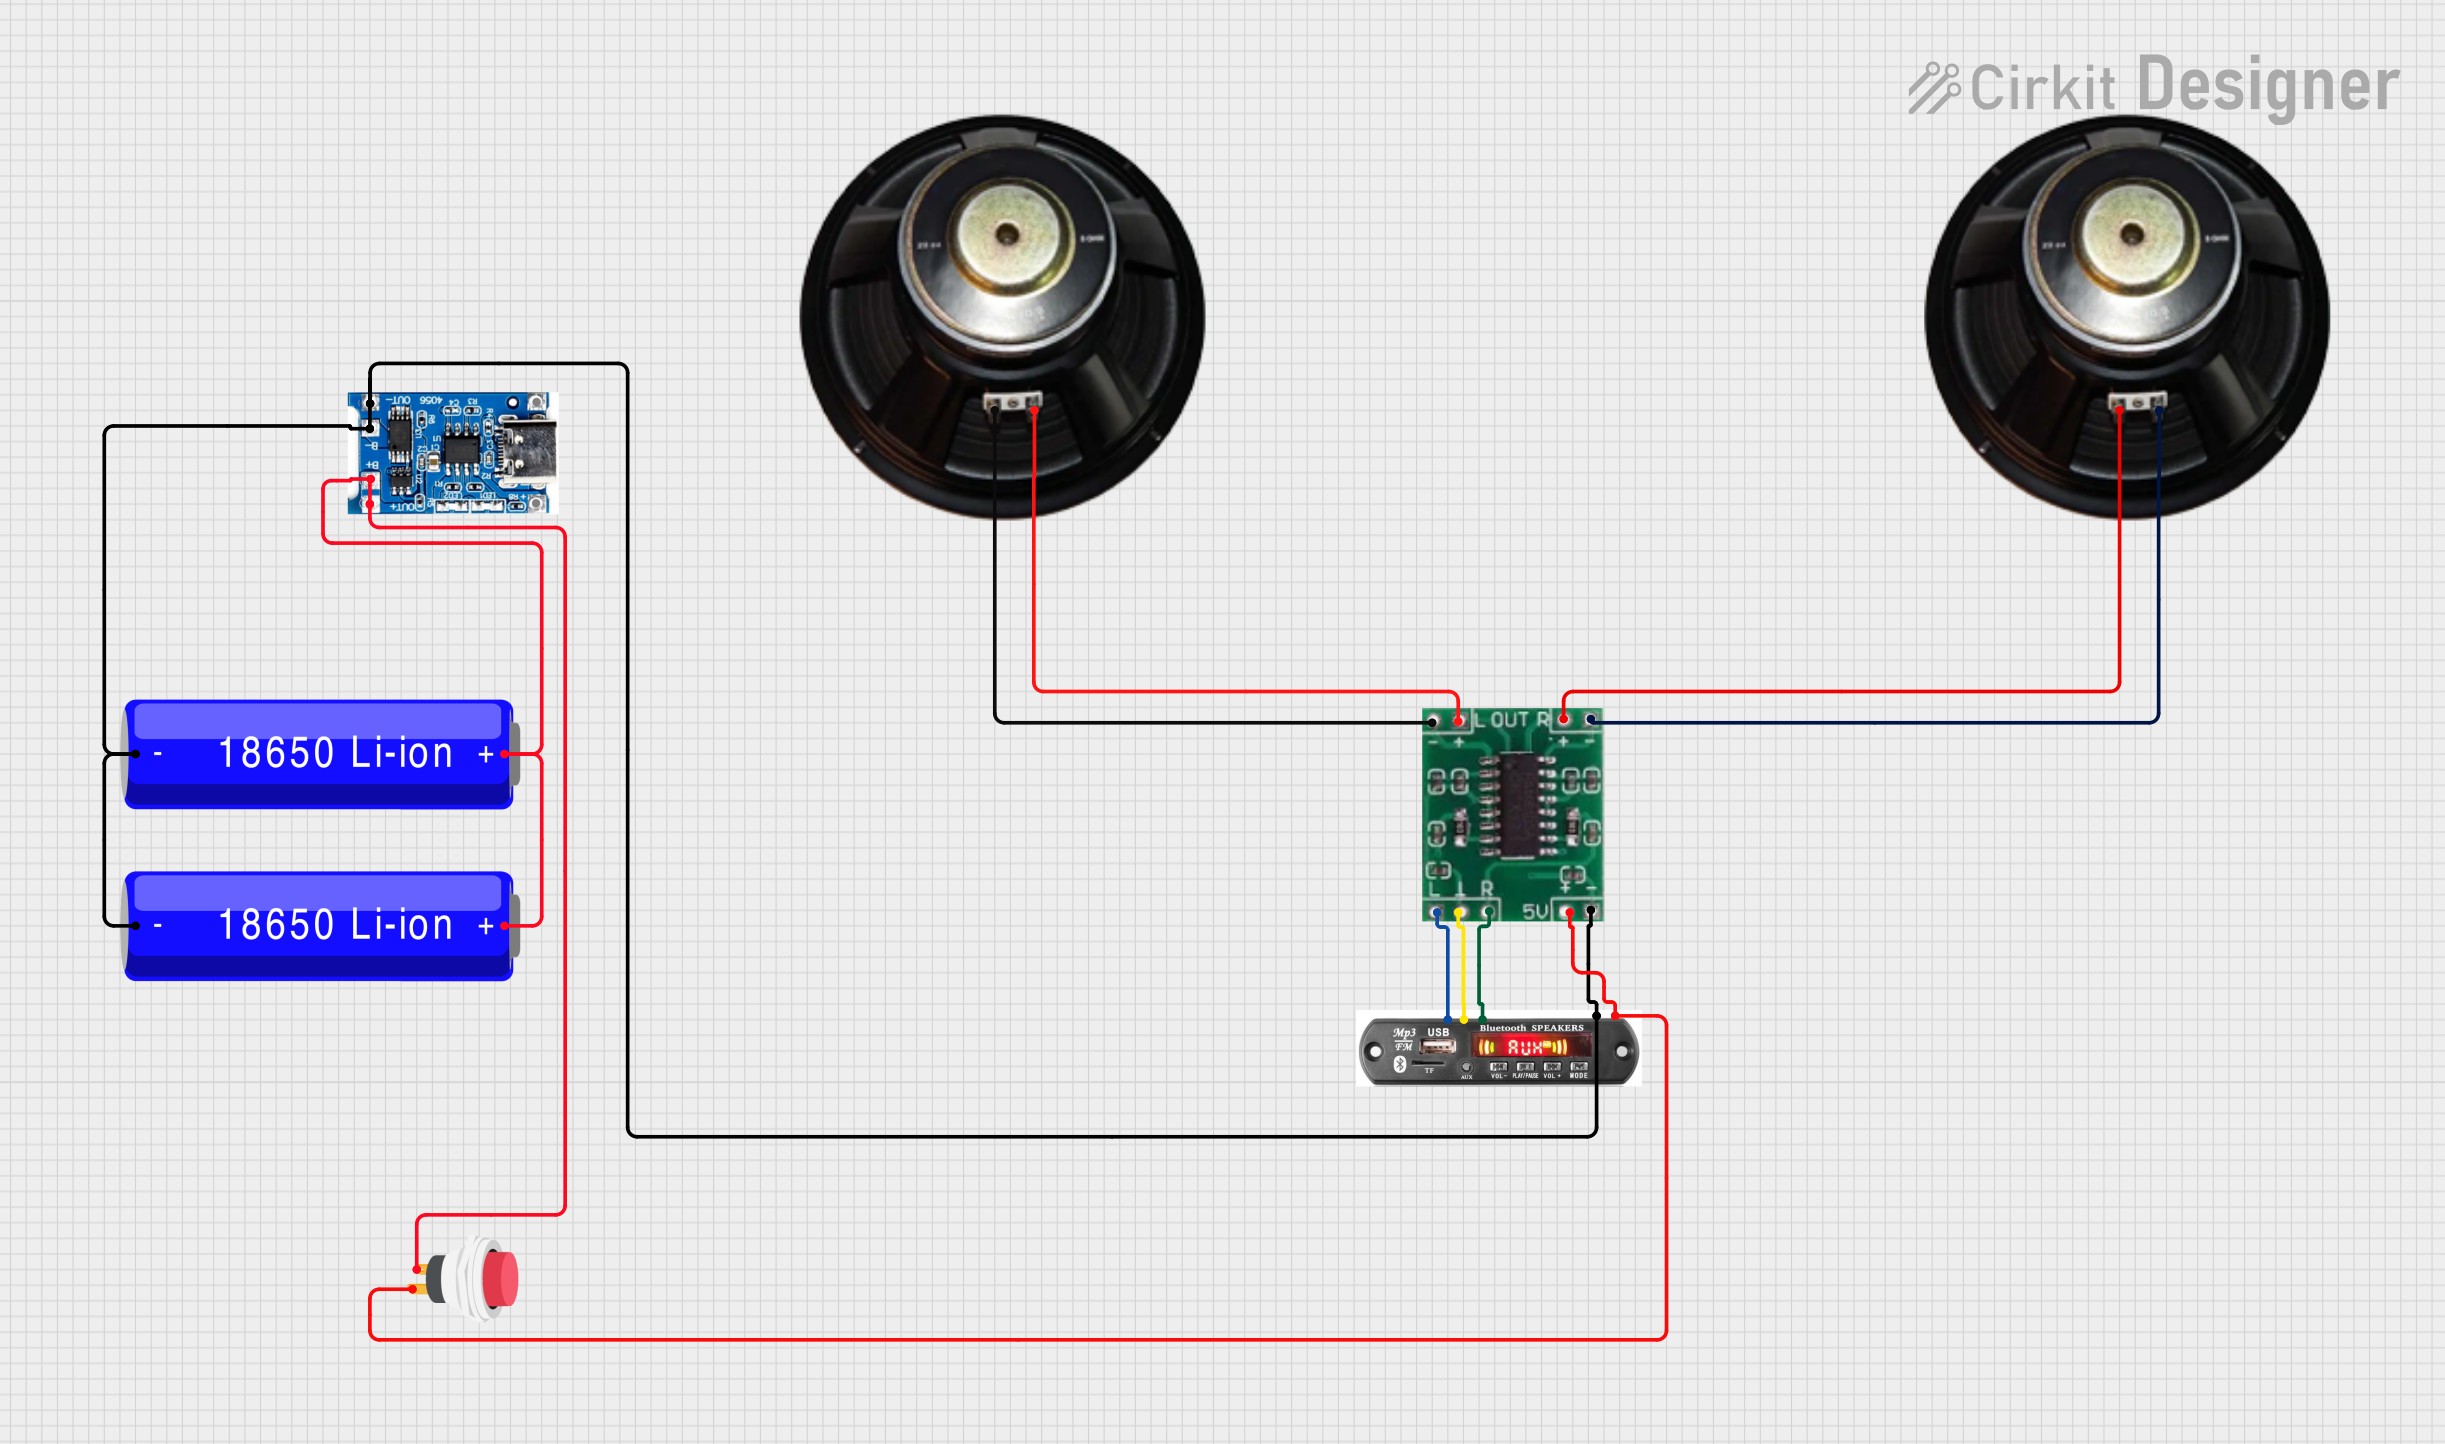
This circuit is a portable audio playback system powered by two 18650 Li-ion batteries, which are charged and protected by a TP4056 module. The MP3 module provides audio signals to a 5V amplifier board, which then drives two speakers. A push switch is used to control the power to the MP3 module and amplifier.
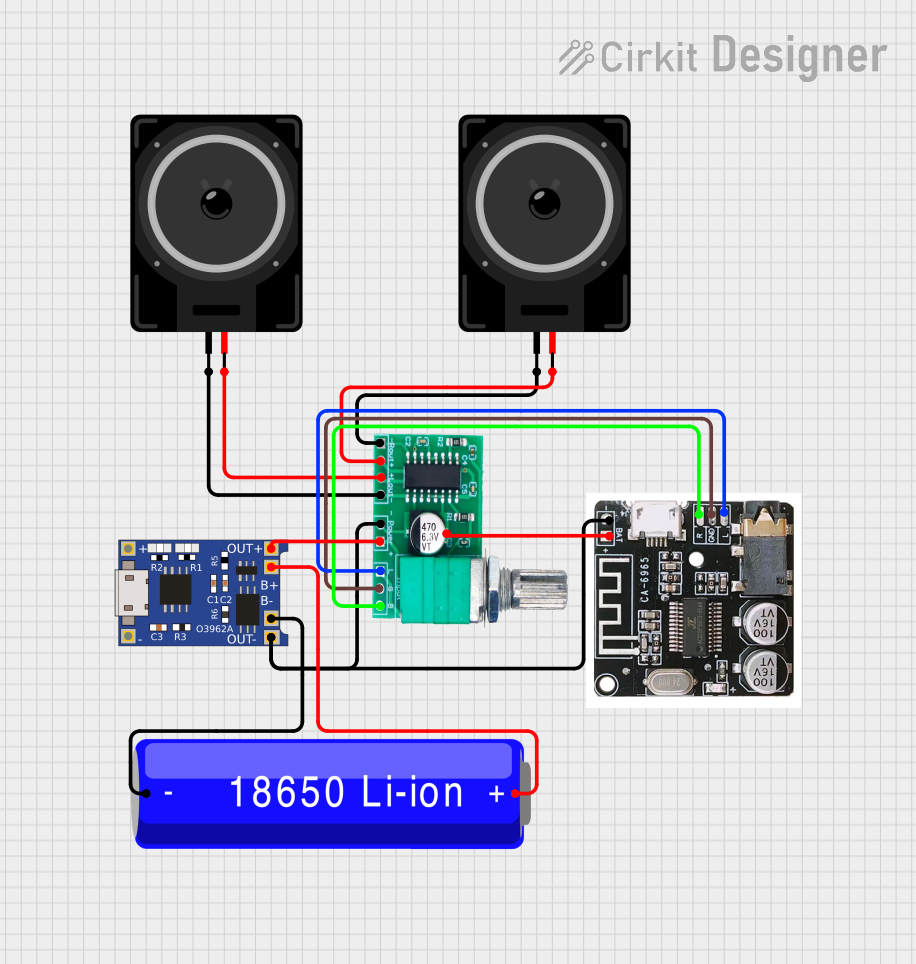
This circuit is a Bluetooth-enabled audio system powered by a rechargeable 18650 Li-ion battery. It includes a TP4056 module for battery charging and protection, a PAM8403 amplifier with volume control to drive two loudspeakers, and a Bluetooth audio receiver to wirelessly receive audio signals.
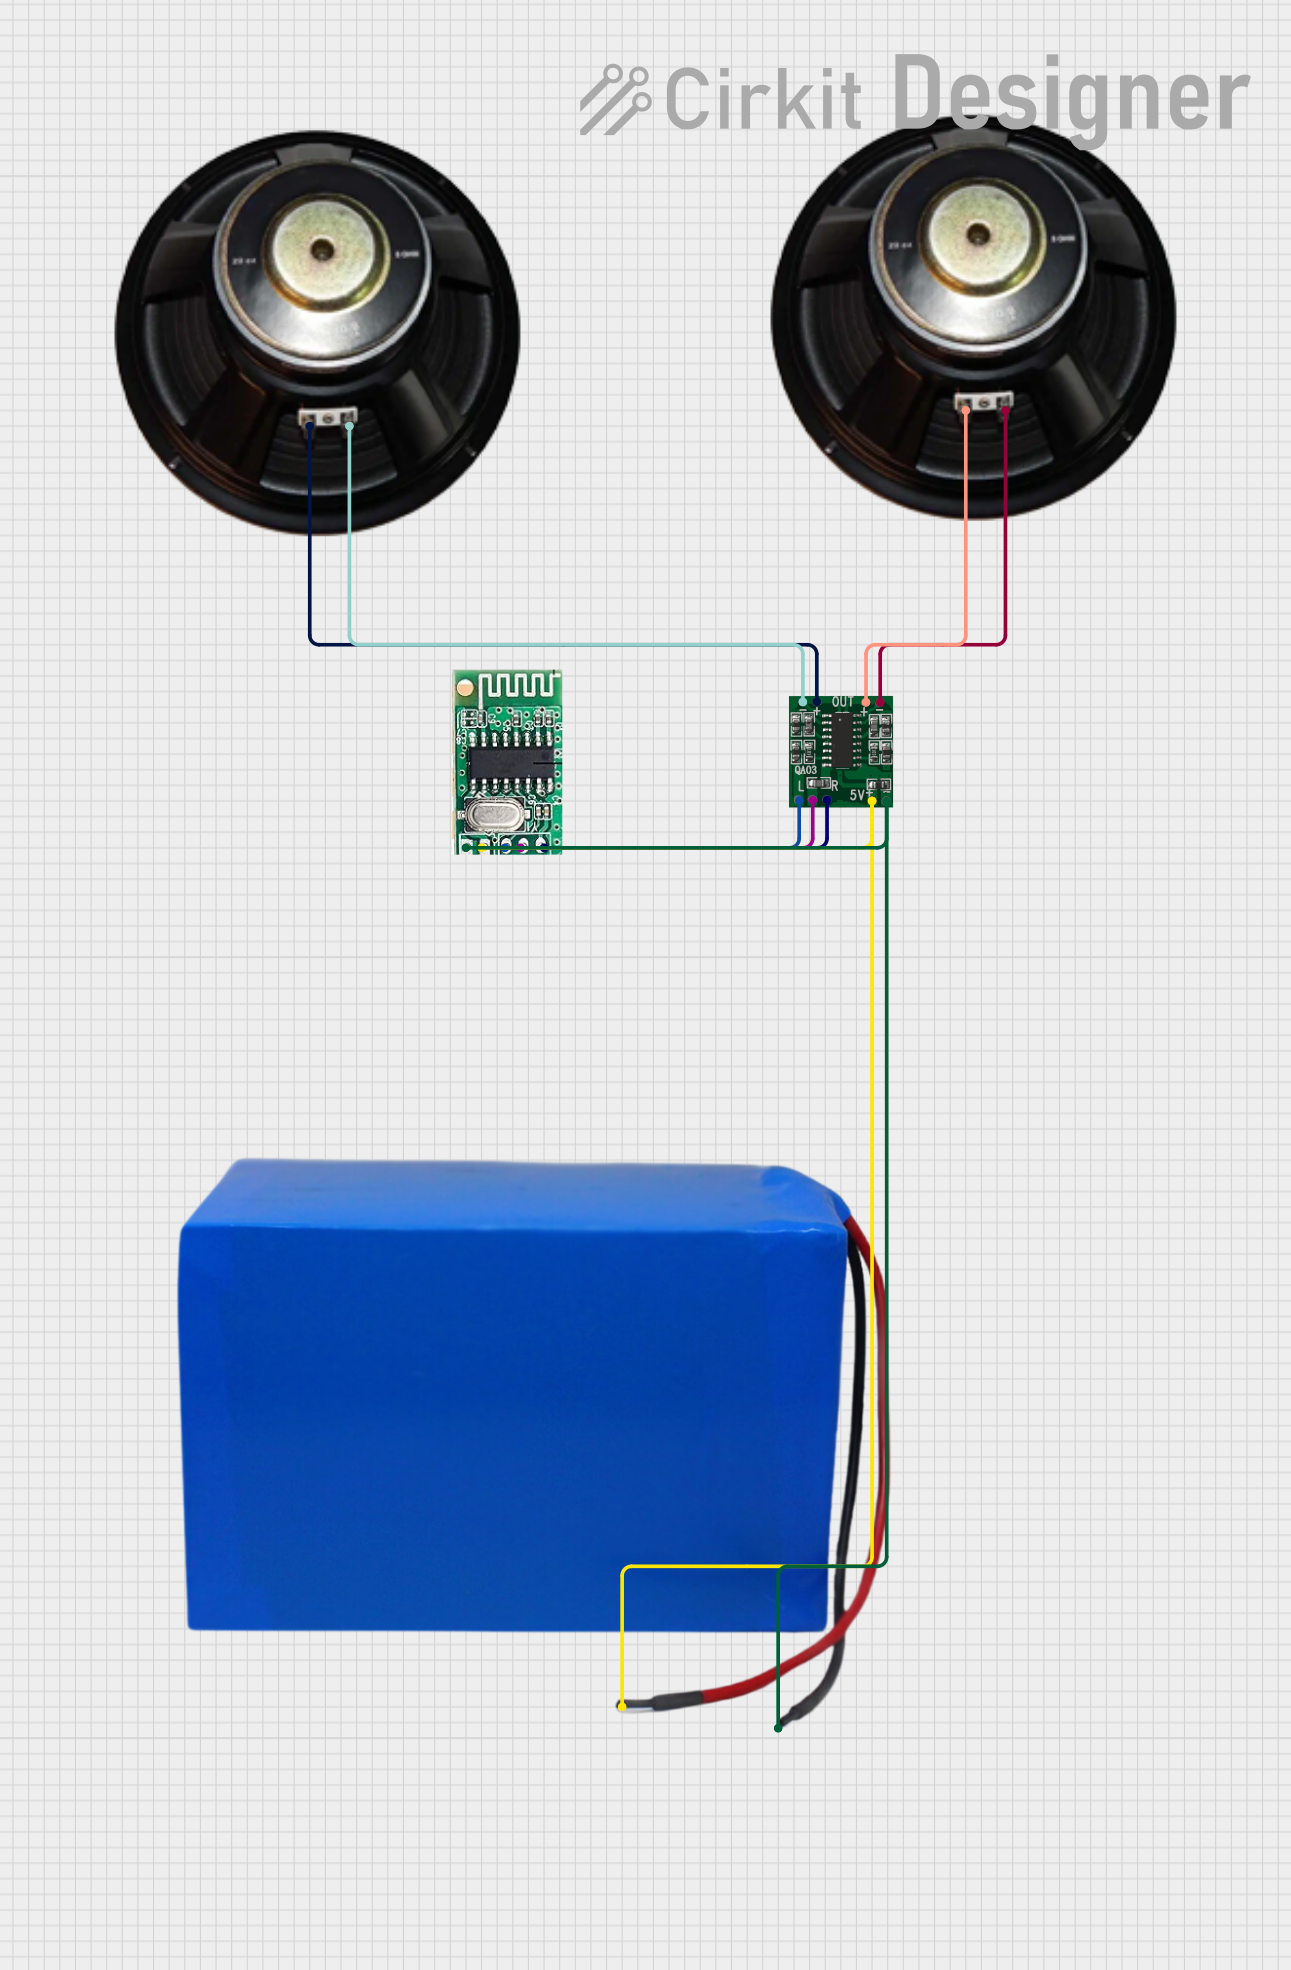
This circuit is a Bluetooth audio amplifier system powered by a 38.5V battery. It uses a 5V Bluetooth audio receiver to receive audio signals, which are then amplified by a PAM8403 amplifier and output to two speakers for stereo sound.
Power Supply Connection: Connect a DC power supply ranging from 12V to 24V to the VCC and GND pins. Ensure the power supply can handle the current requirements of the amplifier.
Audio Input Connection: Connect the audio source to the IN+ and IN- pins. This can be done using a 3.5mm jack or directly from another audio source.
Speaker Connection: Connect the speakers to the OUT+L/OUT-L and OUT+R/OUT-R pins. Ensure the speakers are compatible with the output power and impedance.
Turn On: Once all connections are secure, turn on the power supply to start using the amplifier.
Important Considerations and Best Practices
Use a power supply with sufficient current capacity to avoid power shortages.
Ensure proper heat dissipation for the amplifier chip to prevent overheating.
Use shielded cables for audio input to minimize noise and interference.
Do not exceed the recommended voltage and power ratings to avoid damaging the board.
Troubleshooting and FAQs
Common Issues Users Might Face
No Sound Output: Check all connections, ensure the power supply is working, and verify that the audio source is active.
Distorted Sound: This could be due to overdriving the input signal or a power supply issue. Lower the input signal level or check the power supply.
Overheating: Ensure adequate ventilation around the amplifier board. If necessary, add a heatsink to the TPA3116D2 chip.
Solutions and Tips for Troubleshooting
Check Connections: Loose connections can often cause issues. Double-check all connections.
Power Supply: Verify that the power supply is within the specified voltage range and can deliver enough current.
Input Signal: Ensure the input signal level is not too high, which can cause clipping and distortion.
FAQs
Q: Can I use a 4-ohm speaker with this amplifier?
A: Yes, the TPA3116D2 is capable of driving 4-ohm speakers.
Q: What is the maximum supply voltage for the amplifier board?
A: The maximum supply voltage is 24V DC.
Q: Can this amplifier board be used with an Arduino UNO?
A: While the amplifier board does not directly interface with an Arduino UNO, you can control the audio input to the amplifier using an Arduino for various projects.
Example Arduino UNO Code
Below is an example of how you might control an audio signal using an Arduino UNO. This example assumes you have a digital-to-analog converter (DAC) or a PWM output with a low-pass filter to create an analog audio signal.
// Example code to control audio signal to TPA3116D2 amplifier using Arduino UNO

int audioSignalPin = 9; // PWM output connected to audio input on amplifier

void setup() {
  pinMode(audioSignalPin, OUTPUT);
}

void loop() {
  // Generate a simple tone on the audio output
  for (int i = 0; i < 255; i++) {
    analogWrite(audioSignalPin, i);
    delay(10);
  }
  for (int i = 255; i >= 0; i--) {
    analogWrite(audioSignalPin, i);
    delay(10);
  }
}
Note: This code is a simple example and may not produce high-quality audio. For better audio quality, use a proper DAC with the Arduino UNO.
Remember to follow all safety precautions when working with electronics and ensure that all connections are secure before powering up the system.

 Open Project in Cirkit Designer