How to Use PIC18F452: Examples, Pinouts, and Specs

Introduction
The PIC18F452 is an 8-bit microcontroller from Microchip's PIC18 family, designed for high-performance embedded applications. It features 32 KB of Flash memory, 1536 bytes of RAM, and a 10-bit Analog-to-Digital Converter (ADC). With its robust architecture and versatile peripherals, the PIC18F452 is widely used in industrial automation, consumer electronics, automotive systems, and IoT devices.
Explore Projects Built with PIC18F452

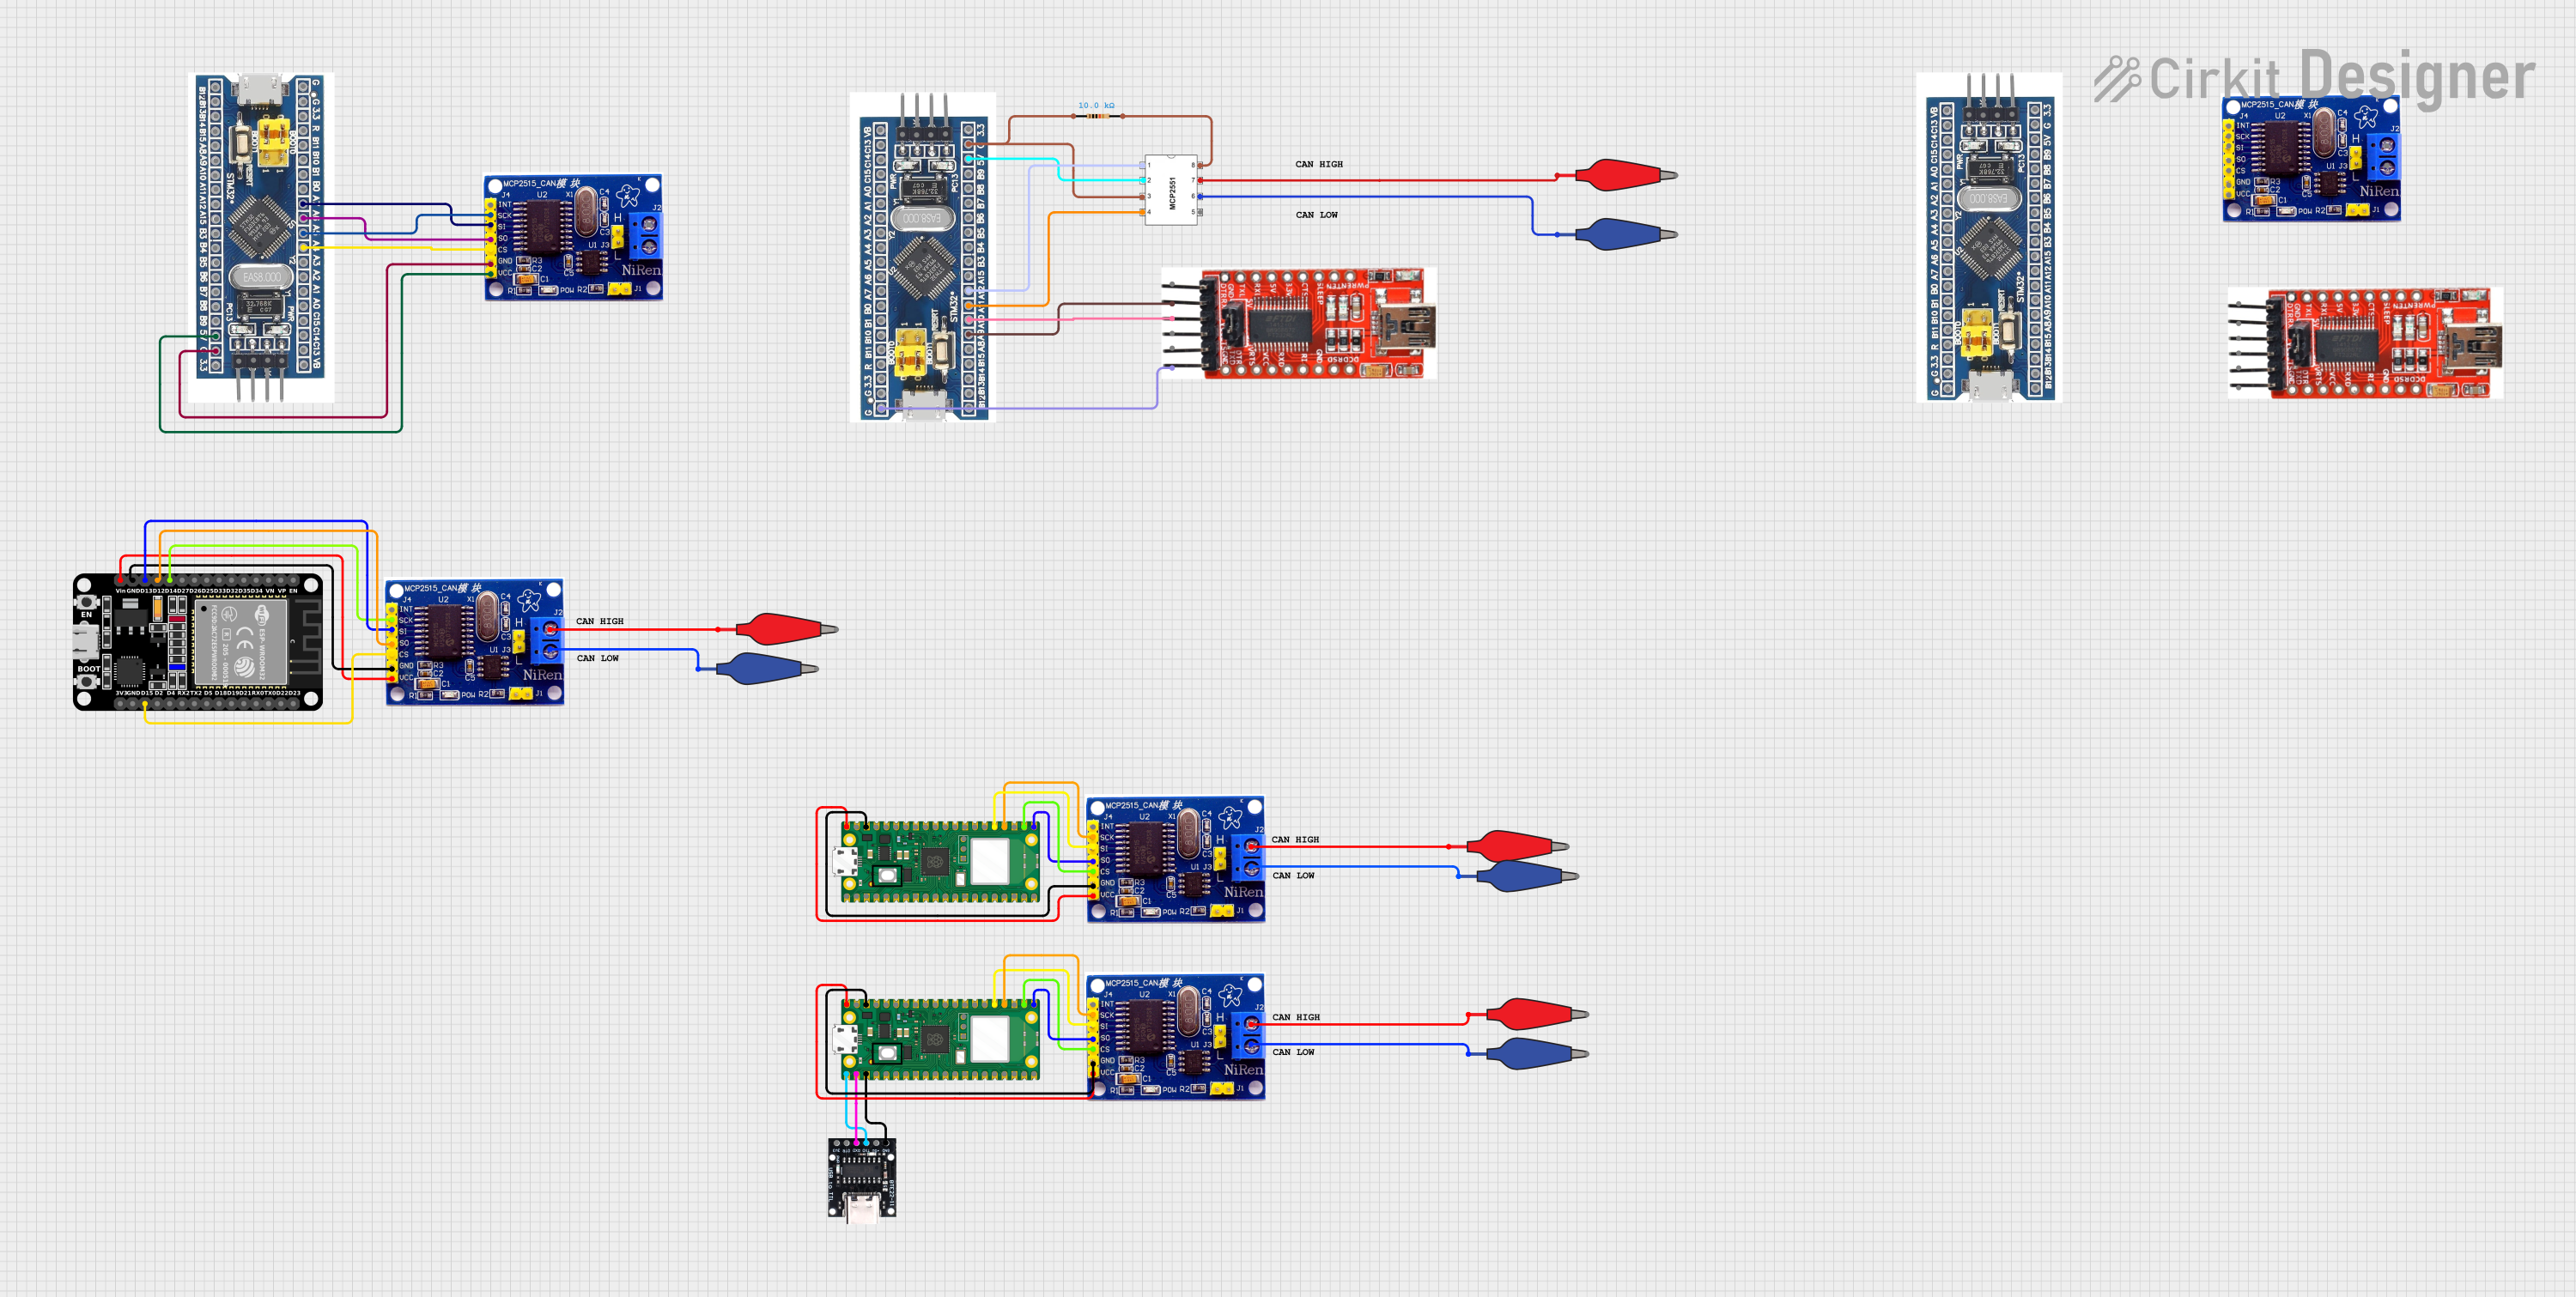

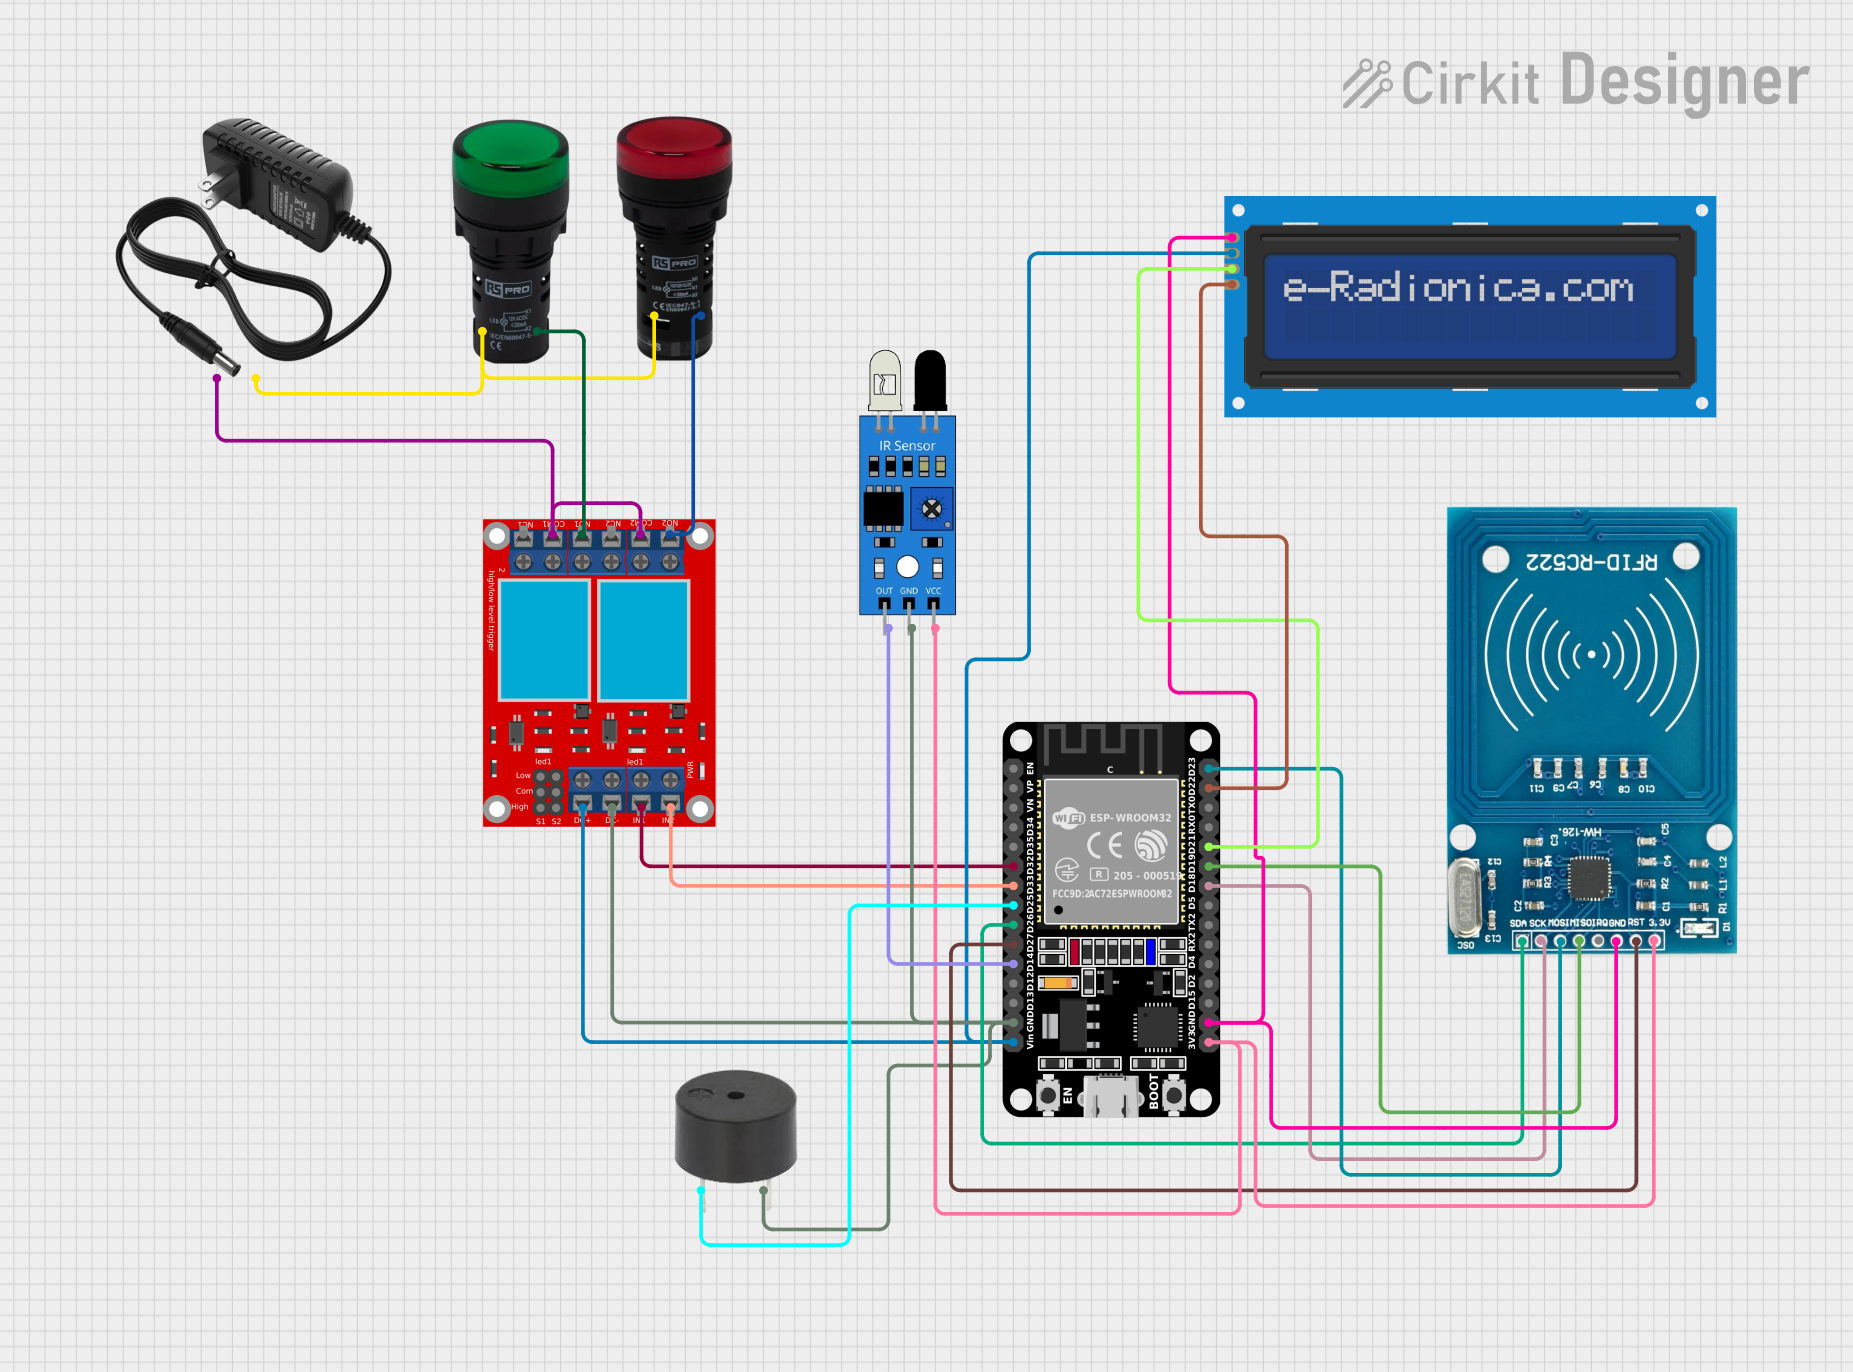
Explore Projects Built with PIC18F452
Common Applications
- Industrial control systems
- Data acquisition and processing
- Home automation
- Motor control
- Embedded IoT devices
Technical Specifications
The following table outlines the key technical details of the PIC18F452 microcontroller:
| Parameter | Value |
|---|---|
| CPU Architecture | 8-bit |
| Program Memory (Flash) | 32 KB |
| Data Memory (RAM) | 1536 bytes |
| EEPROM | 256 bytes |
| Operating Voltage Range | 2.0V to 5.5V |
| Clock Speed | Up to 40 MHz (10 MIPS) |
| I/O Pins | 34 |
| ADC Resolution | 10-bit |
| ADC Channels | 8 |
| Timers | 3 (16-bit) |
| Communication Interfaces | UART, SPI, I²C |
| Package Types | DIP-40, QFP-44, TQFP-44 |
Pin Configuration
The PIC18F452 has 40 pins in its DIP package. Below is a summary of the pin configuration:
| Pin Number | Pin Name | Description |
|---|---|---|
| 1 | MCLR/VPP | Master Clear (Reset) / Programming Voltage |
| 2-7 | RA0-RA5 | Analog/Digital I/O (Port A) |
| 8 | VSS | Ground |
| 9 | OSC1/CLKIN | Oscillator Input / External Clock Input |
| 10 | OSC2/CLKOUT | Oscillator Output / Clock Output |
| 11-18 | RB0-RB7 | Digital I/O (Port B) |
| 19 | VDD | Positive Supply Voltage |
| 20-27 | RC0-RC7 | Digital I/O (Port C) |
| 28 | VSS | Ground |
| 29-36 | RD0-RD7 | Digital I/O (Port D) |
| 37-40 | RE0-RE3 | Analog/Digital I/O (Port E) |
For a complete pinout and detailed descriptions, refer to the official datasheet.
Usage Instructions
Using the PIC18F452 in a Circuit
- Power Supply: Ensure the microcontroller is powered within its operating voltage range (2.0V to 5.5V). Connect VDD to the positive supply and VSS to ground.
- Oscillator Configuration: Connect an external crystal oscillator (e.g., 20 MHz) between OSC1 and OSC2 pins, along with appropriate capacitors (typically 22 pF) for stable operation.
- Reset Circuit: Connect a pull-up resistor (10 kΩ) to the MCLR pin for proper reset functionality.
- I/O Pins: Configure the I/O pins as input or output in the software, depending on your application.
- ADC Usage: To use the ADC, connect the analog input signals to the appropriate ANx pins (e.g., RA0 for AN0). Configure the ADC module in the software.
Example: Interfacing PIC18F452 with Arduino UNO
The PIC18F452 can communicate with an Arduino UNO via UART. Below is an example Arduino code to send data to the PIC18F452:
// Arduino UNO UART Communication with PIC18F452
void setup() {
  Serial.begin(9600); // Initialize UART at 9600 baud rate
}

void loop() {
  Serial.println("Hello, PIC18F452!"); // Send data to PIC18F452
  delay(1000); // Wait for 1 second
}
On the PIC18F452 side, configure the UART module to receive the data. Refer to the PIC18F452 datasheet for UART initialization details.
Best Practices
- Use decoupling capacitors (0.1 µF) near the VDD and VSS pins to reduce noise.
- Avoid leaving unused pins floating; configure them as outputs or connect them to ground via pull-down resistors.
- Ensure proper grounding and shielding in high-frequency applications to minimize interference.
Troubleshooting and FAQs
Common Issues
Microcontroller Not Responding
- Cause: Incorrect power supply or missing connections.
- Solution: Verify the power supply voltage and ensure all required pins (e.g., VDD, VSS, MCLR) are properly connected.
ADC Not Working
- Cause: Incorrect ADC configuration or improper analog input connections.
- Solution: Check the ADC configuration in the software and ensure the analog input voltage is within the specified range.
UART Communication Fails
- Cause: Mismatched baud rates or incorrect wiring.
- Solution: Ensure both devices use the same baud rate and verify the TX and RX connections.
FAQs
Can the PIC18F452 operate without an external oscillator?
- Yes, the PIC18F452 has an internal oscillator, but using an external crystal provides better accuracy for timing-critical applications.
What is the maximum clock speed of the PIC18F452?
- The maximum clock speed is 40 MHz, achieved using a 10 MHz crystal with the internal PLL enabled.
How many I/O pins are available?
- The PIC18F452 has 34 general-purpose I/O pins, configurable as input or output.
By following this documentation, users can effectively integrate the PIC18F452 into their projects and troubleshoot common issues. For more advanced configurations, refer to the official Microchip datasheet.