
How to Use WS2815 RGB LED strip: Examples, Pinouts, and Specs

 Design with WS2815 RGB LED strip in Cirkit Designer
Introduction
The WS2815 RGB LED strip is a flexible lighting solution featuring individually addressable RGB LEDs. Each LED can display a wide range of colors and brightness levels, enabling dynamic lighting effects and animations. Unlike its predecessor, the WS2815 operates at a 12V power supply, which reduces voltage drop over long strips and ensures consistent brightness. Additionally, it includes a built-in data backup feature, allowing the strip to continue functioning even if one LED fails or a data signal is interrupted.
Explore Projects Built with WS2815 RGB LED strip
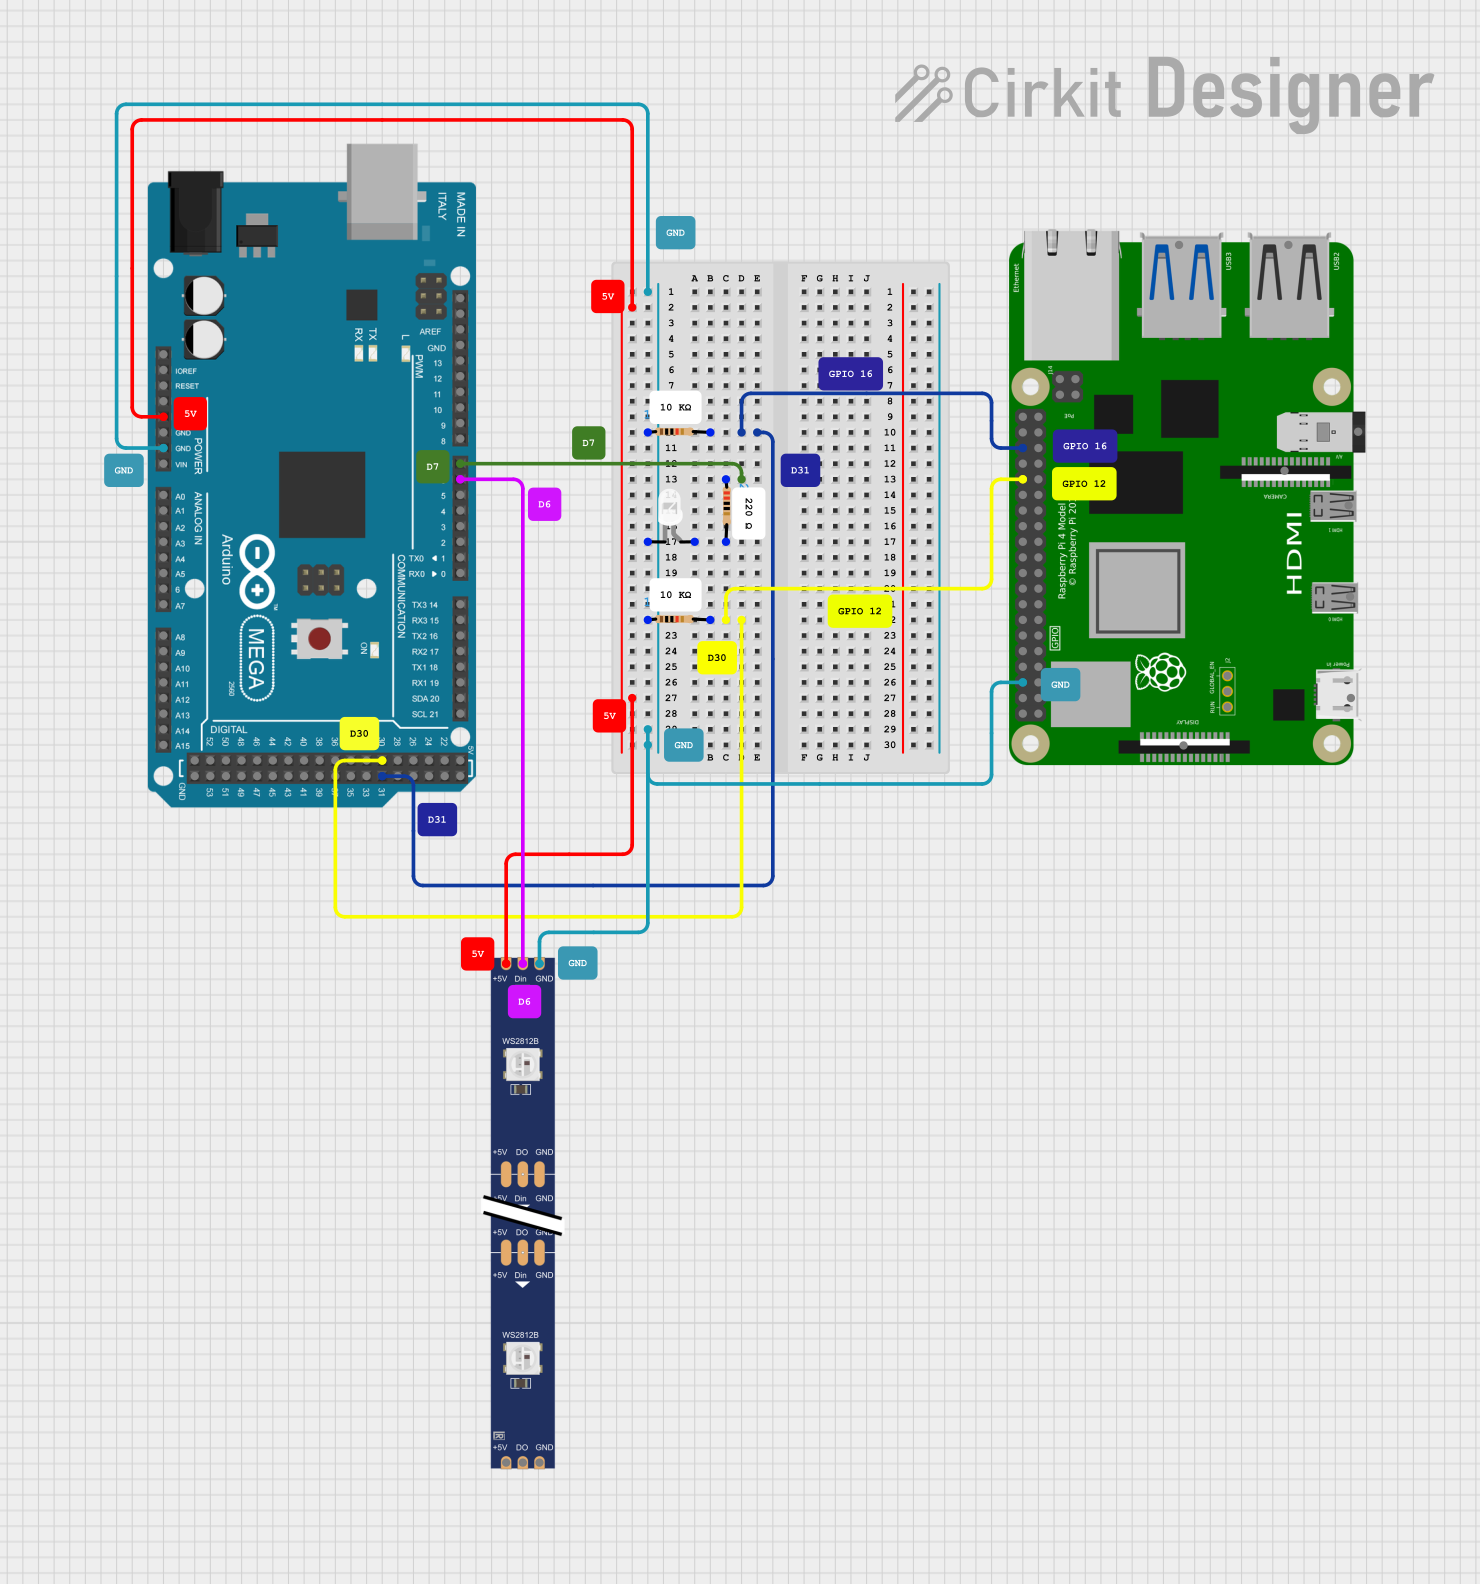 Open Project in Cirkit Designer
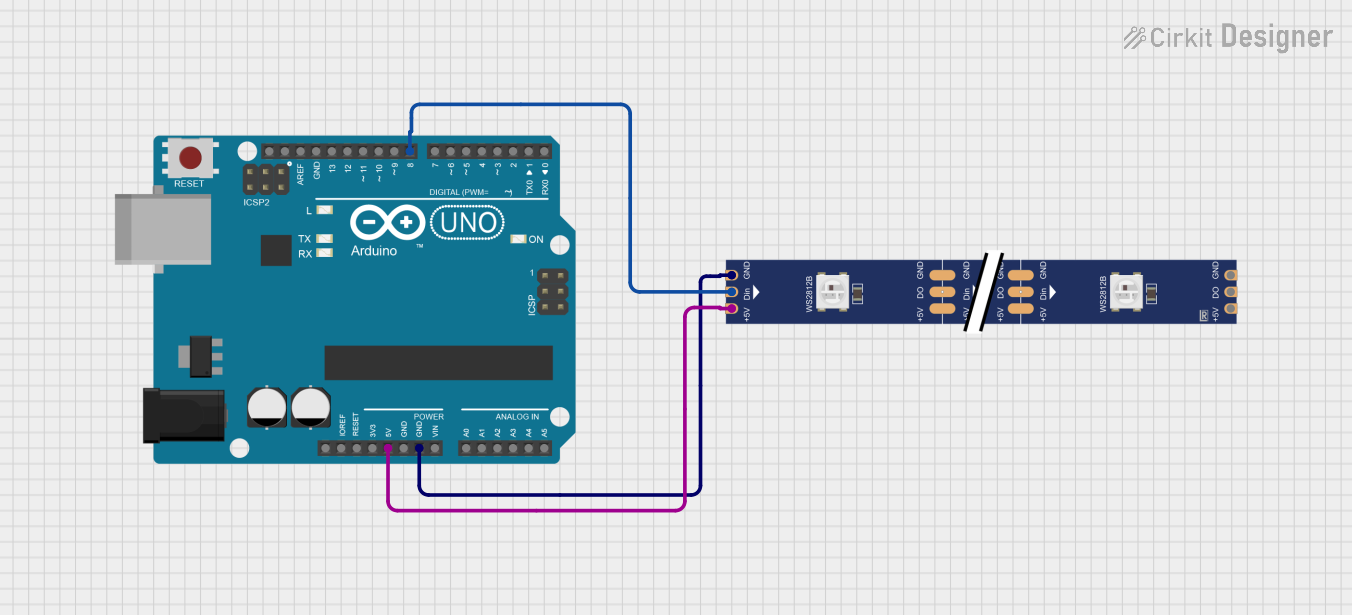 Open Project in Cirkit Designer
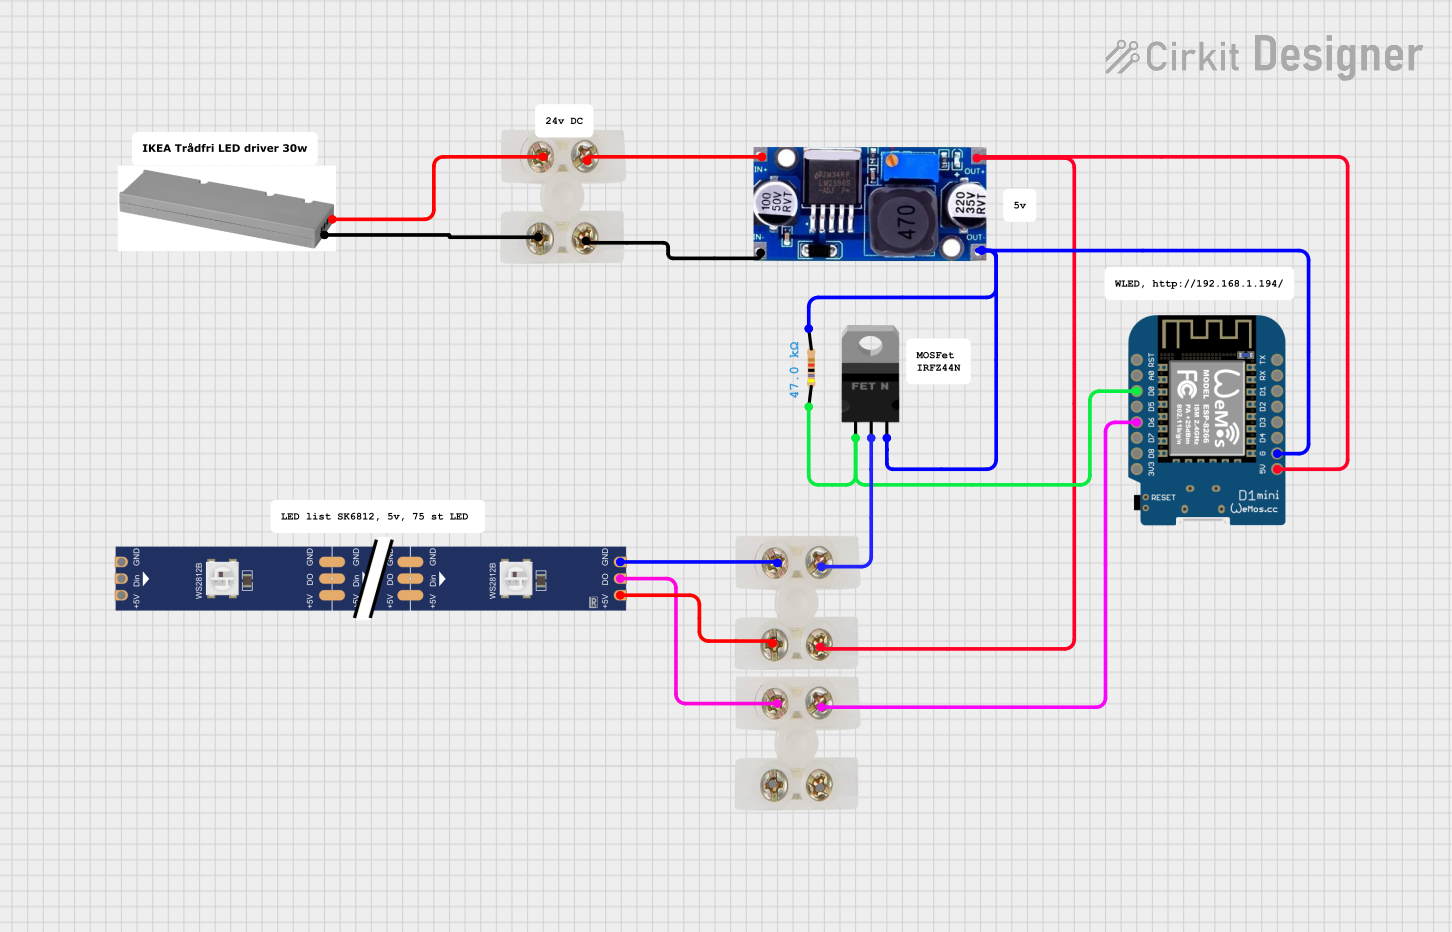 Open Project in Cirkit Designer
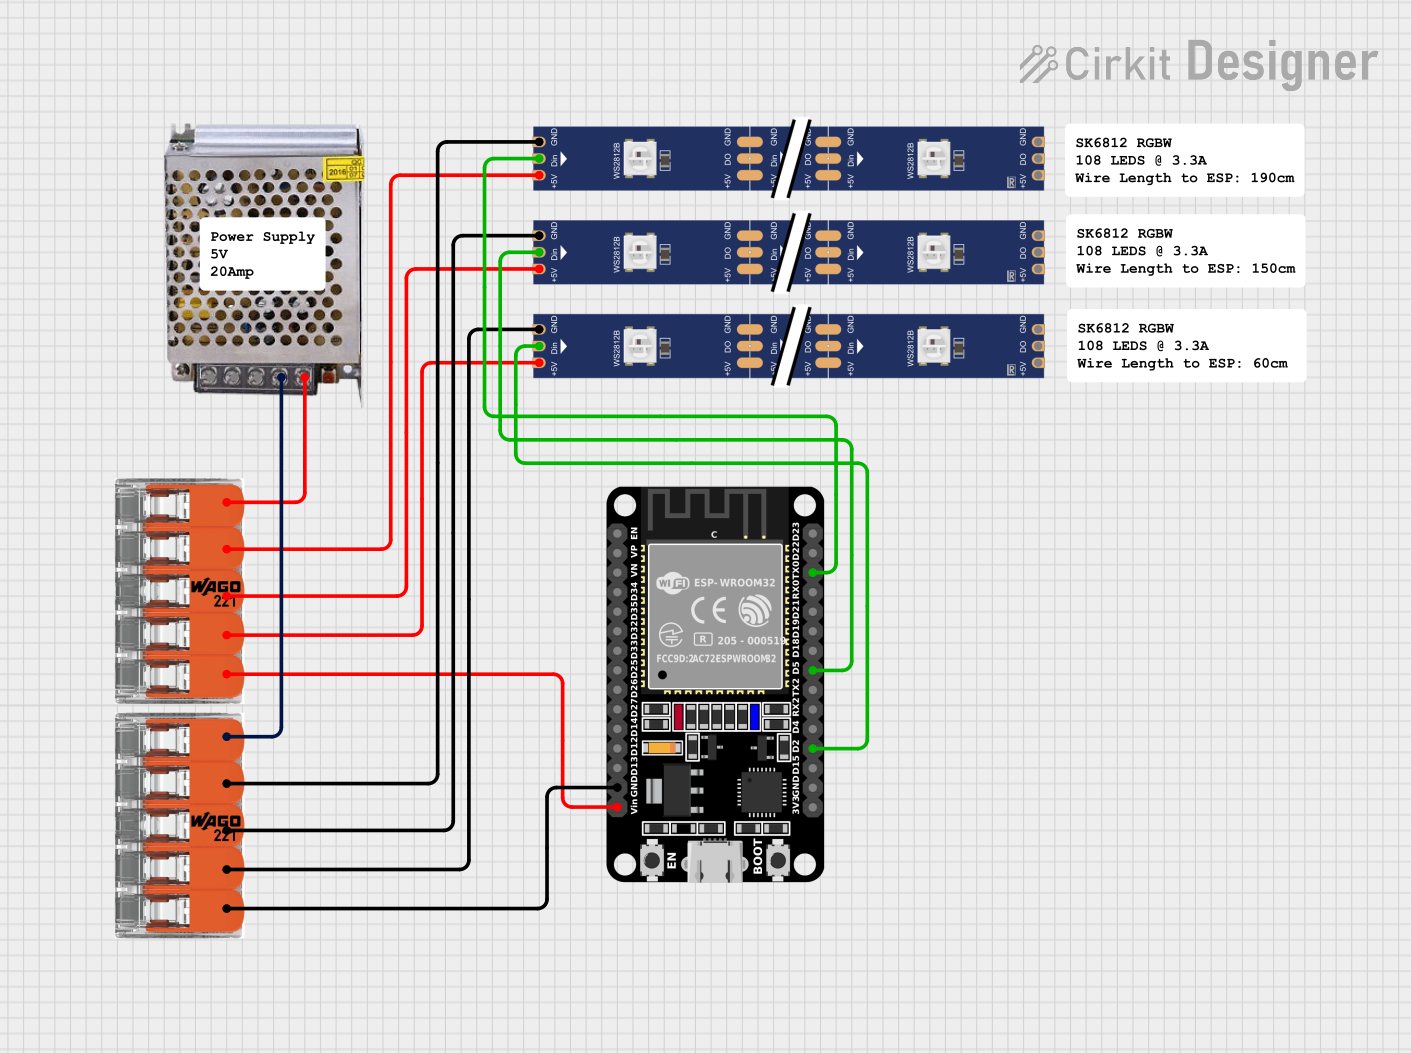 Open Project in Cirkit Designer
Explore Projects Built with WS2815 RGB LED strip
Open Project in Cirkit DesignerOpen Project in Cirkit DesignerOpen Project in Cirkit DesignerOpen Project in Cirkit DesignerCommon Applications and Use Cases
- Decorative lighting for homes, offices, and events
- Customizable backlighting for TVs, monitors, and furniture
- Dynamic lighting effects for gaming setups
- Architectural lighting and signage
- DIY projects and hobbyist electronics
- Stage lighting and artistic installations
Technical Specifications
Key Technical Details
| Parameter | Specification |
|---|---|
| Operating Voltage | 12V DC |
| LED Type | 5050 RGB LEDs |
| IC Type | WS2815 |
| Data Protocol | Single-wire (800kHz) |
| LED Density | 30, 60, or 144 LEDs per meter |
| Power Consumption | ~0.3W per LED (at full brightness) |
| Data Backup Feature | Yes (continues operation if one LED fails) |
| Operating Temperature | -20°C to 60°C |
| Waterproof Rating | IP30, IP65, or IP67 (varies by model) |
Pin Configuration and Descriptions
| Pin Name | Description |
|---|---|
| +12V | Power input (connect to a 12V DC power supply) |
| GND | Ground connection (common ground for power and data) |
| DI | Data input (receives control signals from a microcontroller or controller) |
| BI | Backup data input (used for the data backup feature) |
| DO | Data output (connects to the next LED strip for cascading multiple strips) |
Usage Instructions
How to Use the WS2815 RGB LED Strip in a Circuit
- Power Supply: Connect the +12V pin to a 12V DC power supply and the GND pin to the ground of the power supply.
- Data Signal: Connect the DI pin to the data output pin of a microcontroller (e.g., Arduino). Ensure the microcontroller shares a common ground with the LED strip.
- Backup Data: Optionally, connect the BI pin to the backup data output of the microcontroller for enhanced reliability.
- Cascading Strips: To connect multiple strips, link the DO pin of the first strip to the DI pin of the next strip.
- Resistor and Capacitor: Place a 330Ω resistor between the microcontroller's data pin and the DI pin of the strip to protect against voltage spikes. Add a 1000µF capacitor across the +12V and GND pins to stabilize the power supply.
Important Considerations and Best Practices
- Use a power supply with sufficient current capacity. For example, a 5-meter strip with 60 LEDs per meter may require up to 6A at full brightness.
- Avoid bending the strip excessively to prevent damage to the circuit.
- For long strips, inject power at multiple points to prevent voltage drop and ensure consistent brightness.
- Use a level shifter if the microcontroller operates at 3.3V logic levels, as the WS2815 requires a 5V data signal.
Example Code for Arduino UNO
Below is an example of how to control the WS2815 RGB LED strip using the Arduino UNO and the Adafruit NeoPixel library.
#include <Adafruit_NeoPixel.h>

// Define the pin connected to the DI pin of the WS2815 strip
#define LED_PIN 6

// Define the number of LEDs in the strip
#define NUM_LEDS 60

// Create a NeoPixel object
Adafruit_NeoPixel strip = Adafruit_NeoPixel(NUM_LEDS, LED_PIN, NEO_GRB + NEO_KHZ800);

void setup() {
  strip.begin();  // Initialize the LED strip
  strip.show();   // Turn off all LEDs initially
}

void loop() {
  // Example: Cycle through red, green, and blue colors
  for (int i = 0; i < strip.numPixels(); i++) {
    strip.setPixelColor(i, strip.Color(255, 0, 0));  // Set LED to red
  }
  strip.show();  // Update the strip to display the color
  delay(1000);   // Wait for 1 second

  for (int i = 0; i < strip.numPixels(); i++) {
    strip.setPixelColor(i, strip.Color(0, 255, 0));  // Set LED to green
  }
  strip.show();
  delay(1000);

  for (int i = 0; i < strip.numPixels(); i++) {
    strip.setPixelColor(i, strip.Color(0, 0, 255));  // Set LED to blue
  }
  strip.show();
  delay(1000);
}
Troubleshooting and FAQs
Common Issues and Solutions
LEDs Not Lighting Up
- Ensure the power supply is connected and providing 12V DC.
- Verify that the GND pin is connected to the microcontroller's ground.
- Check the data connection between the microcontroller and the DI pin.
Flickering or Incorrect Colors
- Add a 330Ω resistor between the microcontroller's data pin and the DI pin.
- Use a 1000µF capacitor across the +12V and GND pins to stabilize the power supply.
- Ensure the microcontroller's data pin is outputting a 5V signal. Use a level shifter if necessary.
Voltage Drop Over Long Strips
- Inject power at multiple points along the strip to maintain consistent brightness.
- Use thicker wires for power connections to reduce resistance.
One LED Fails
- The WS2815's data backup feature ensures the rest of the strip continues to function. Replace the faulty LED if needed.
FAQs
Q: Can I cut the WS2815 strip to a custom length?
A: Yes, the strip can be cut at designated points (usually marked with a scissor icon). Ensure you reconnect the power and data lines properly.
Q: How many LEDs can I control with one microcontroller?
A: This depends on the microcontroller's memory. For example, an Arduino UNO can control approximately 500 LEDs, but this varies based on the complexity of your code.
Q: Is the WS2815 compatible with 3.3V microcontrollers like the ESP32?
A: Yes, but you will need a level shifter to convert the 3.3V data signal to 5V for reliable operation.
Q: Can I use the WS2815 outdoors?
A: Yes, but ensure you select a waterproof version (IP65 or IP67) for outdoor use.