How to Use Humidifier: Examples, Pinouts, and Specs
Introduction
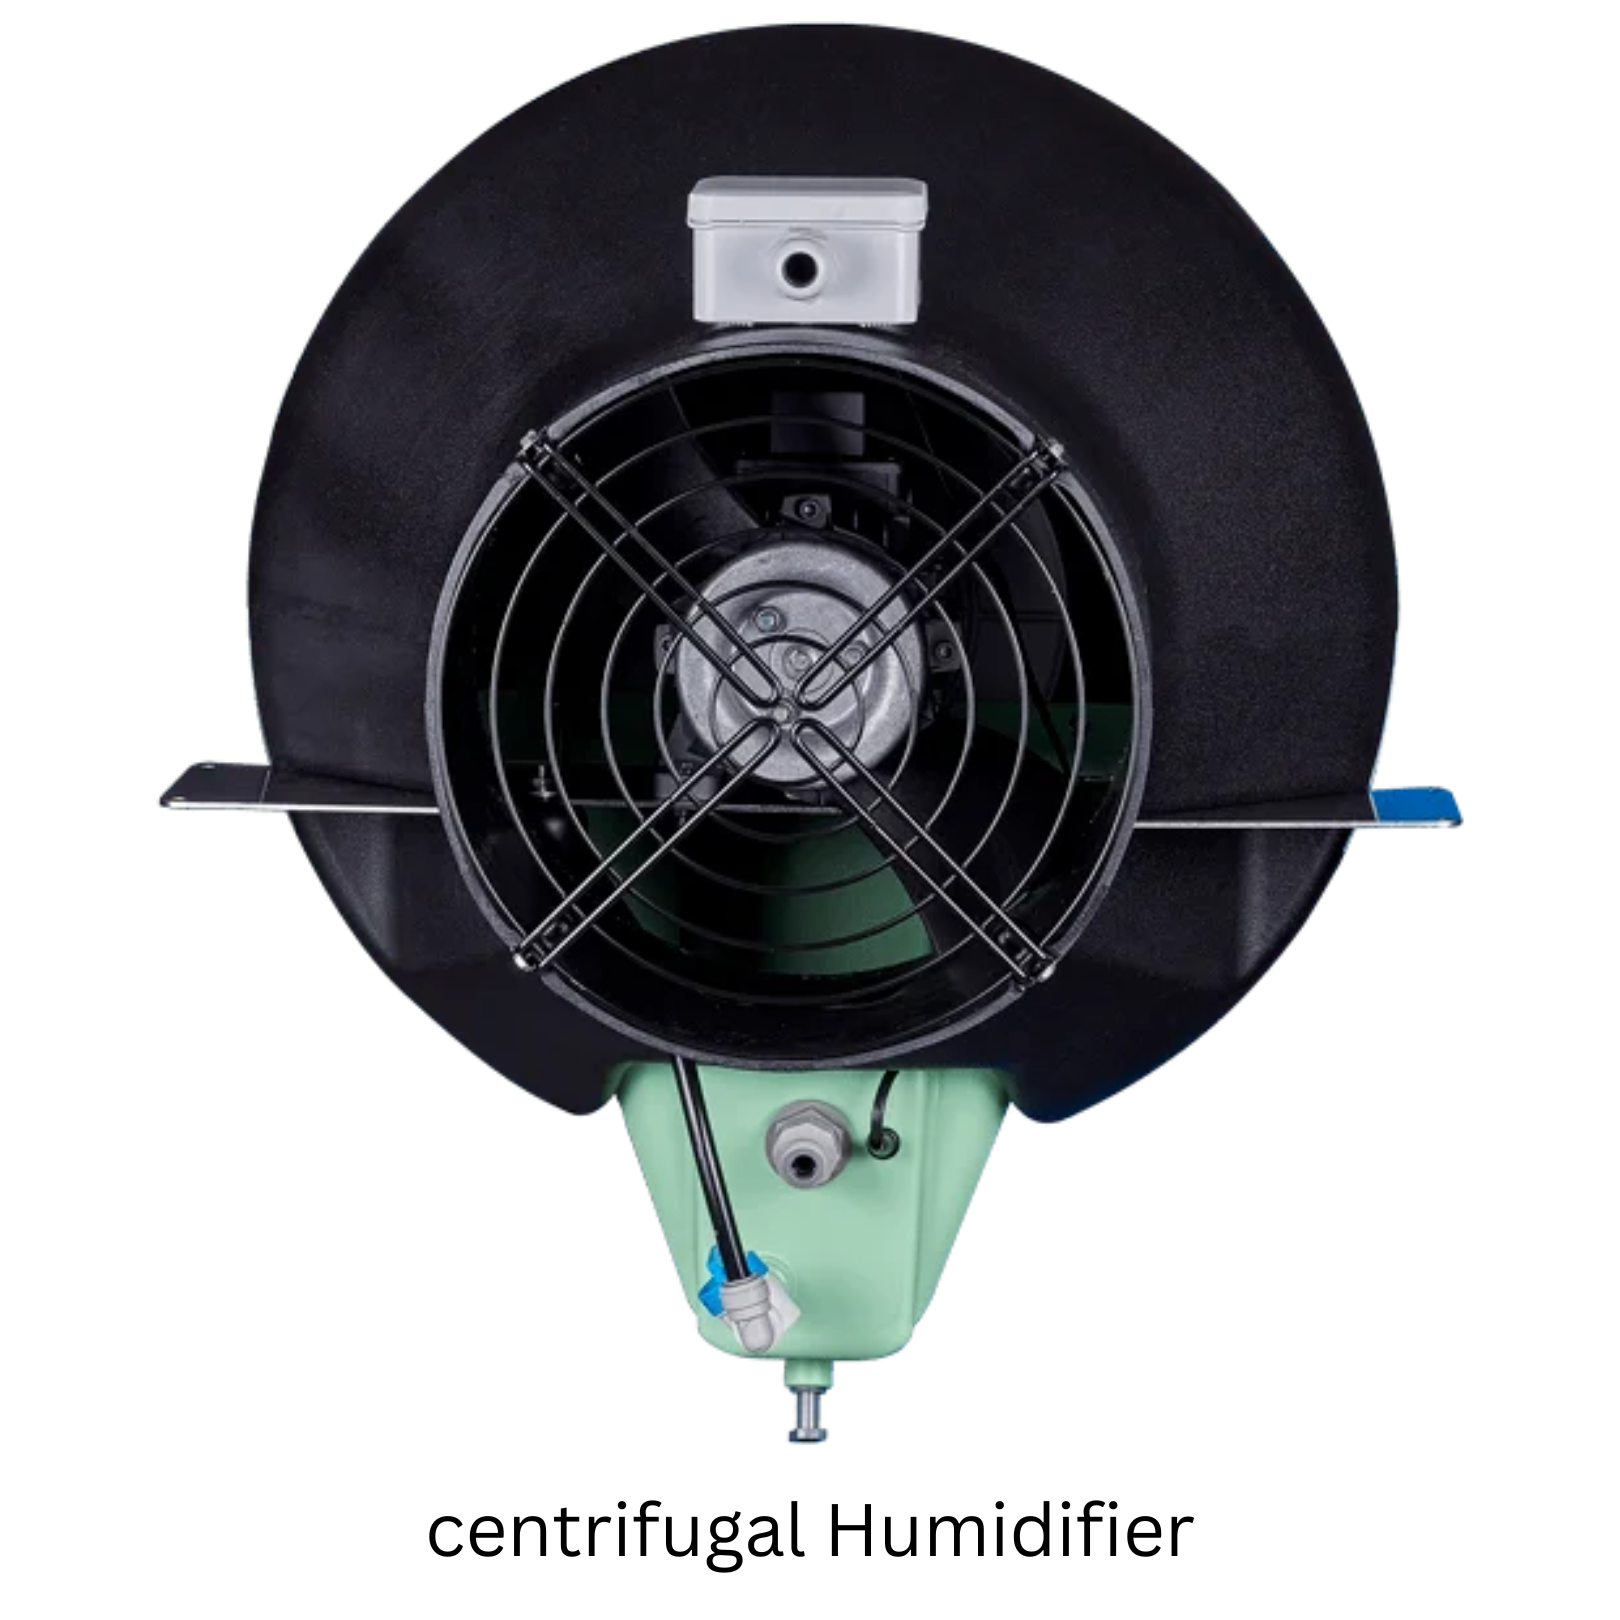
A humidifier is an electronic device designed to add moisture to the air, thereby preventing dryness that can cause irritation in various parts of the body. It is commonly used in homes, offices, and healthcare settings to maintain optimal humidity levels, which can help alleviate symptoms of dry skin, throat irritation, and respiratory issues.
Explore Projects Built with Humidifier
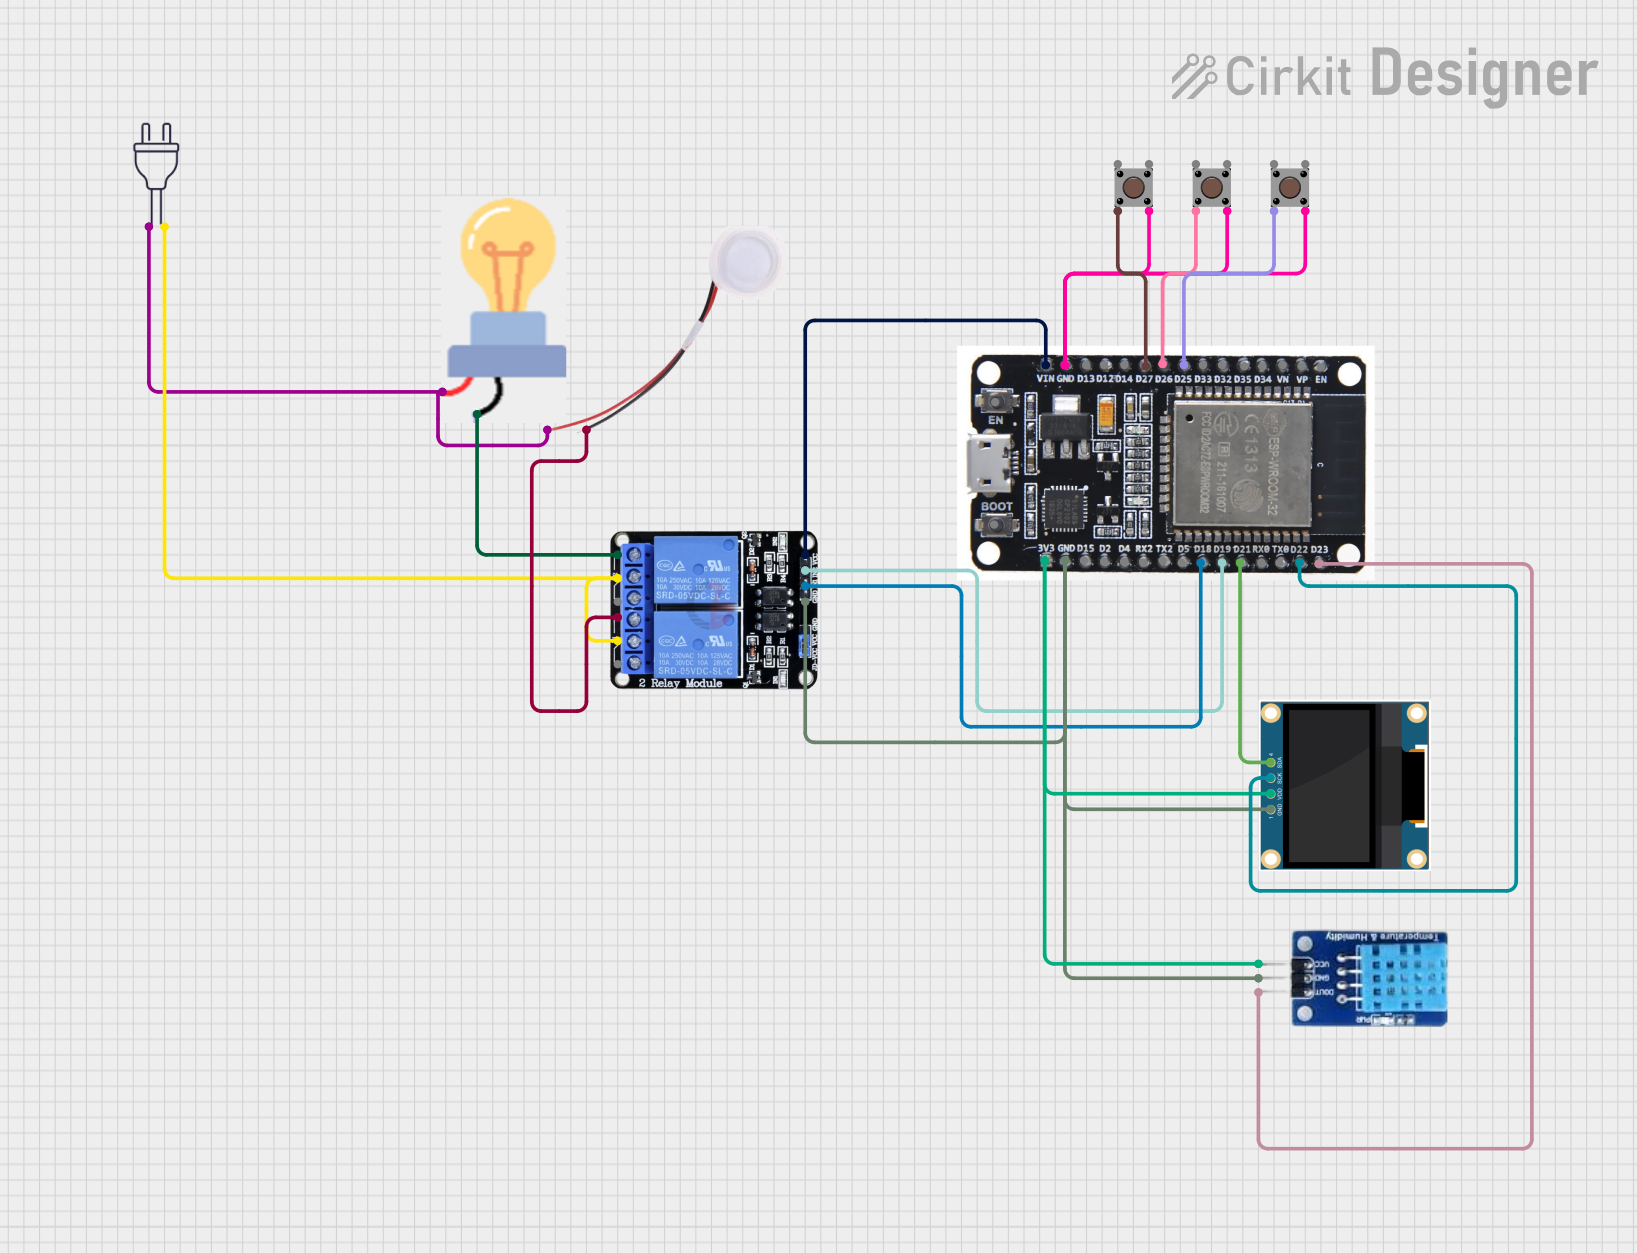
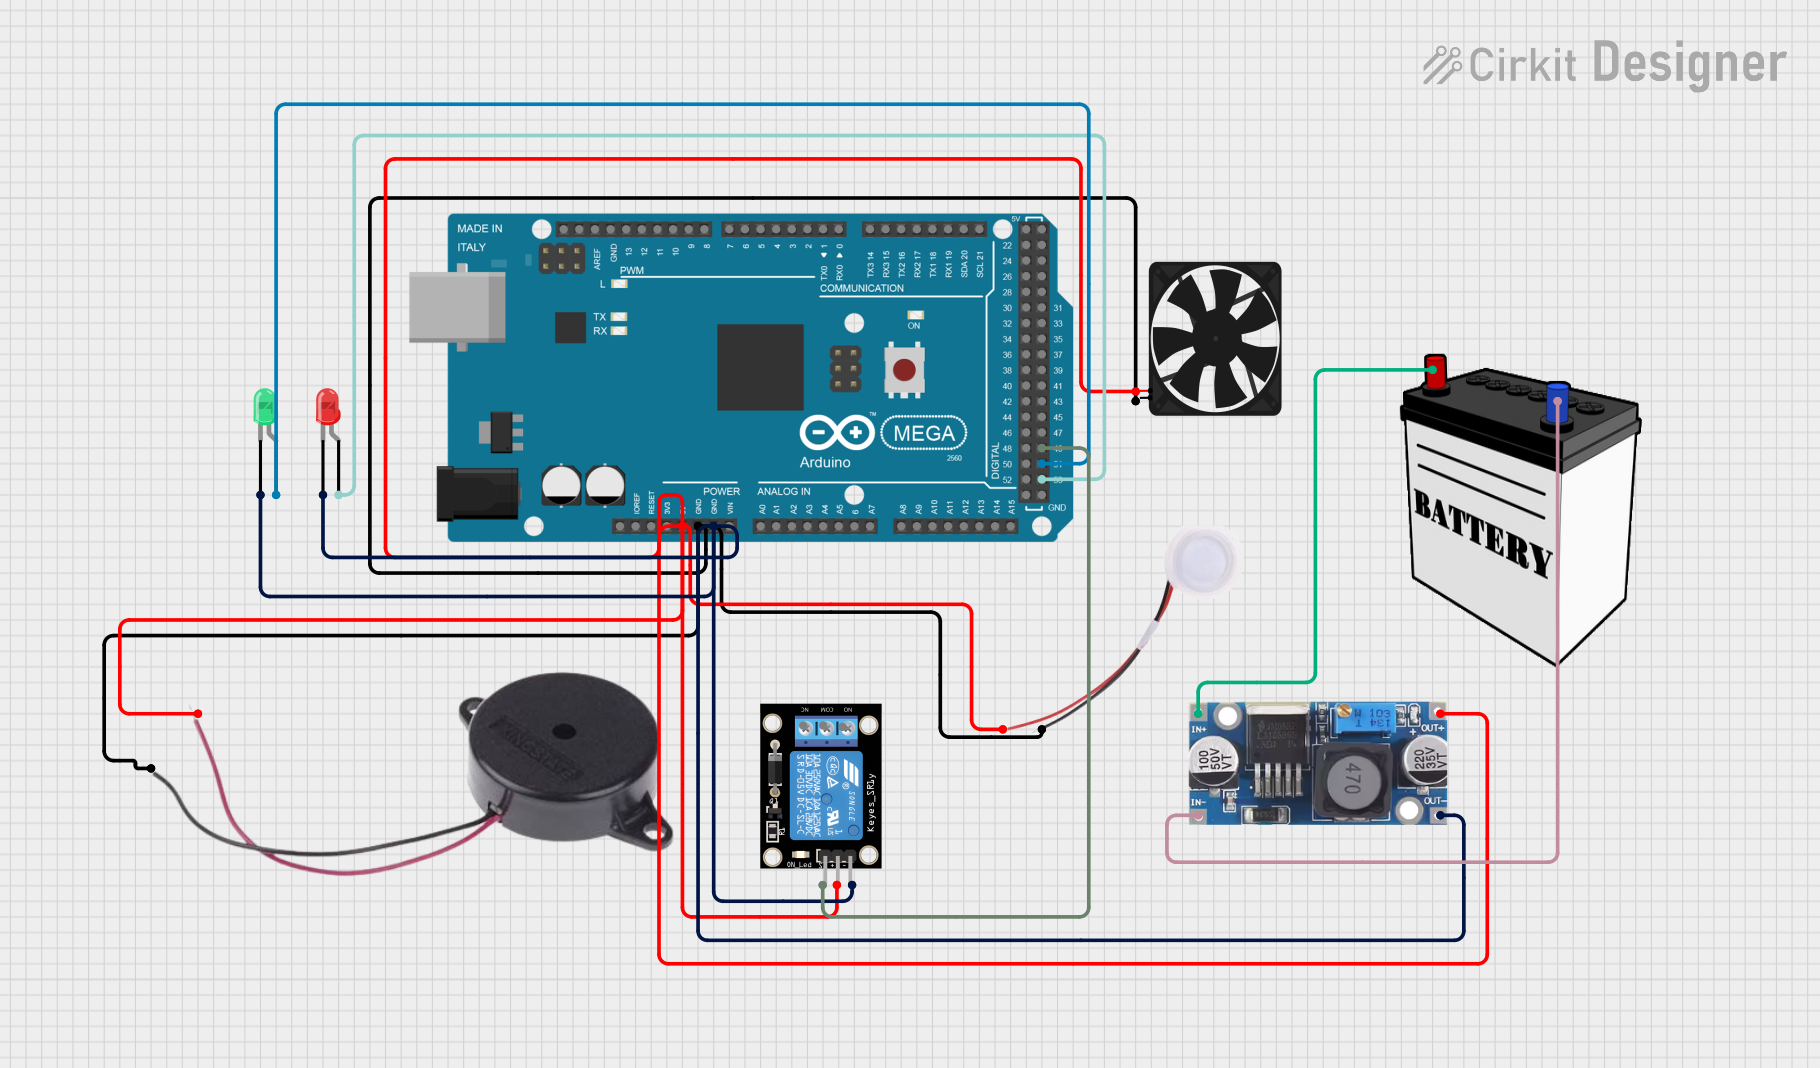
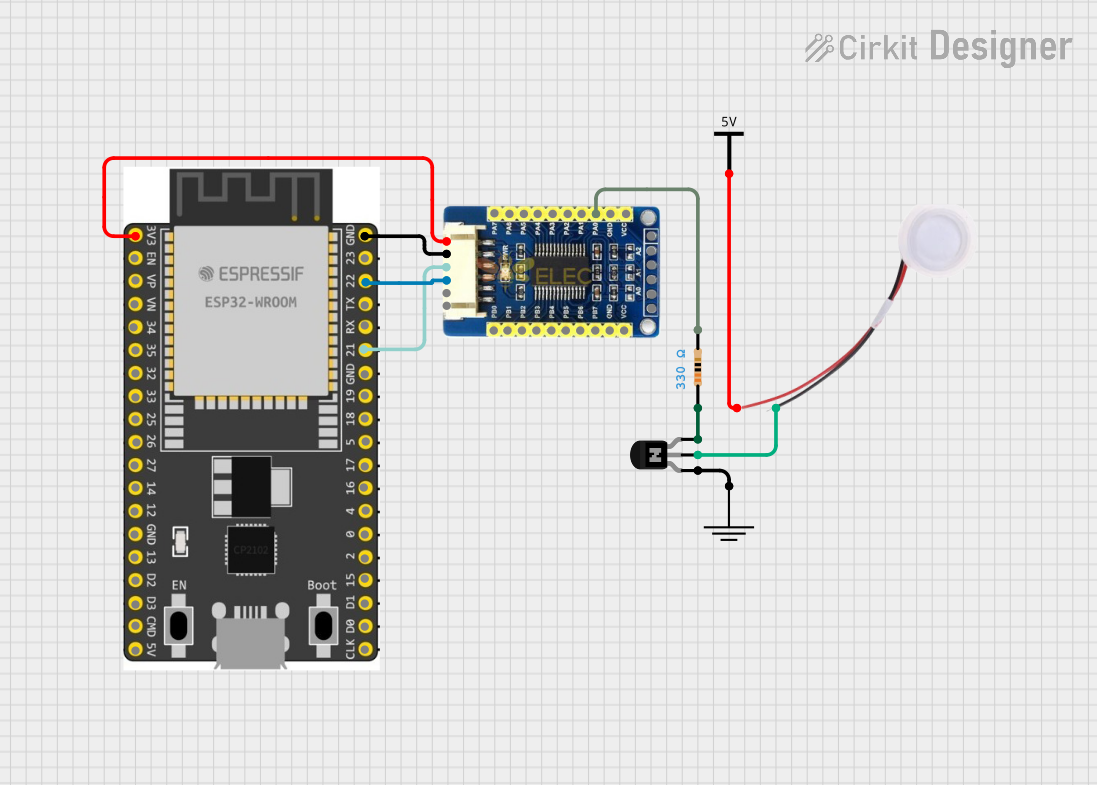
Explore Projects Built with Humidifier
Common Applications and Use Cases
- Home Environment: To maintain comfortable humidity levels, especially during winter.
- Healthcare: To provide relief from dry air symptoms for patients.
- Office Spaces: To improve air quality and comfort for employees.
- Greenhouses: To maintain humidity levels for plant growth.
Technical Specifications
Key Technical Details
| Parameter | Value |
|---|---|
| Operating Voltage | 5V DC |
| Current Rating | 300mA |
| Power Rating | 1.5W |
| Humidification | 30-50ml/h |
| Water Tank Capacity | 200ml |
| Dimensions | 100mm x 100mm x 150mm |
| Weight | 250g |
Pin Configuration and Descriptions
| Pin Number | Pin Name | Description |
|---|---|---|
| 1 | VCC | Power supply (5V DC) |
| 2 | GND | Ground |
| 3 | CONTROL | Control signal input (PWM or digital) |
Usage Instructions
How to Use the Humidifier in a Circuit
Power Connection:
- Connect the VCC pin to a 5V DC power supply.
- Connect the GND pin to the ground of the power supply.
Control Signal:
- Connect the CONTROL pin to a microcontroller (e.g., Arduino) to manage the humidifier's operation.
Important Considerations and Best Practices
- Water Quality: Use distilled or purified water to prevent mineral buildup.
- Regular Cleaning: Clean the water tank and internal components regularly to prevent mold and bacteria growth.
- Proper Ventilation: Ensure the humidifier is placed in a well-ventilated area to distribute moisture evenly.
- Avoid Over-Humidification: Monitor humidity levels to avoid excessive moisture, which can lead to mold growth.
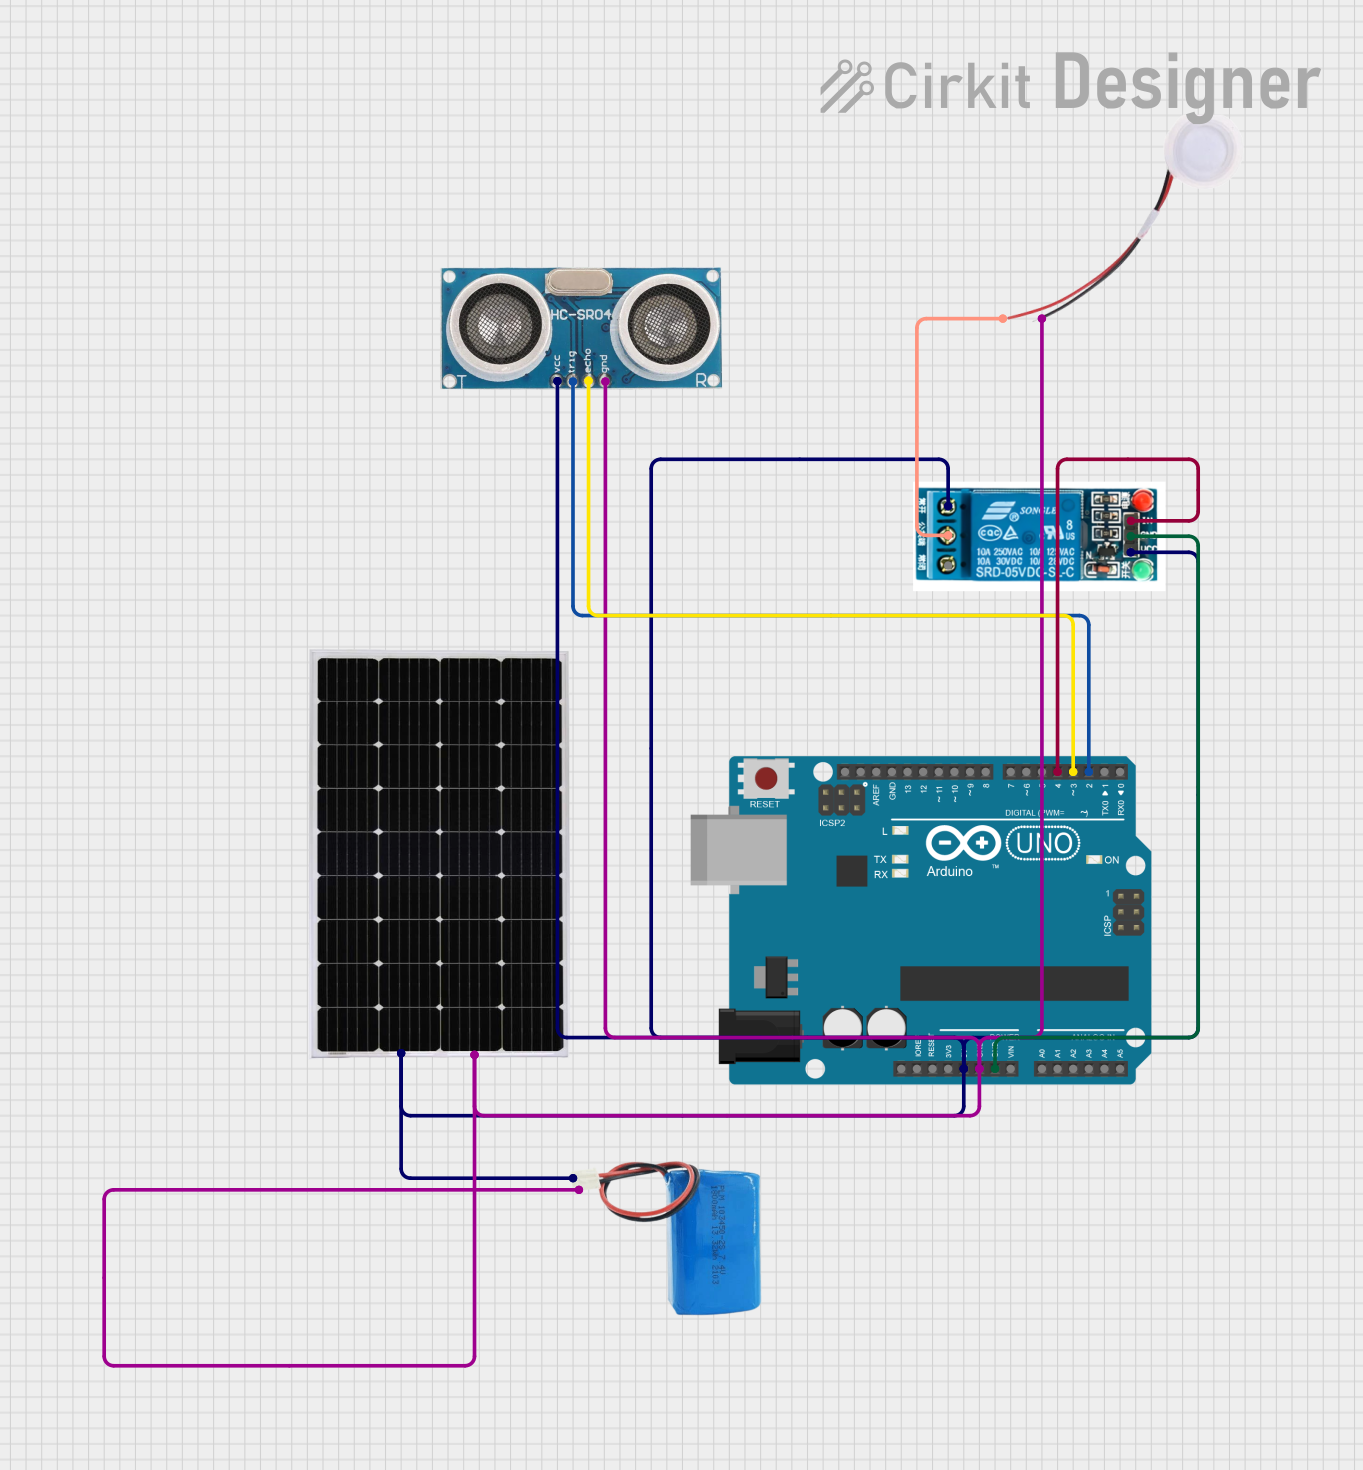
Example Circuit with Arduino UNO
/*
 * Example code to control a humidifier using Arduino UNO.
 * The humidifier is connected to pin 9 for PWM control.
 */

const int humidifierPin = 9; // Pin connected to the CONTROL pin of the humidifier

void setup() {
  pinMode(humidifierPin, OUTPUT); // Set the humidifier pin as an output
}

void loop() {
  analogWrite(humidifierPin, 128); // Set humidifier to 50% power
  delay(10000); // Run for 10 seconds
  analogWrite(humidifierPin, 0); // Turn off humidifier
  delay(10000); // Wait for 10 seconds before repeating
}
Troubleshooting and FAQs
Common Issues and Solutions
Humidifier Not Turning On:
- Solution: Check the power connections and ensure the power supply is providing 5V DC. Verify that the CONTROL pin is receiving the correct signal from the microcontroller.
Low Humidification Output:
- Solution: Ensure the water tank is filled with clean water. Check for any blockages in the humidifier's nozzle or internal components.
Excessive Noise:
- Solution: Clean the humidifier to remove any mineral deposits or debris. Ensure the device is placed on a stable, flat surface.
FAQs
Q: Can I use tap water in the humidifier?
- A: It is recommended to use distilled or purified water to prevent mineral buildup and ensure optimal performance.
Q: How often should I clean the humidifier?
- A: Clean the humidifier at least once a week to prevent mold and bacteria growth.
Q: Can I control the humidifier with a digital signal instead of PWM?
- A: Yes, the CONTROL pin can accept both PWM and digital signals for on/off control.
This documentation provides a comprehensive guide to understanding, using, and troubleshooting a humidifier. Whether you are a beginner or an experienced user, these instructions and tips will help you get the most out of your device.