How to Use VEX 2 Wire Motor: Examples, Pinouts, and Specs
Introduction
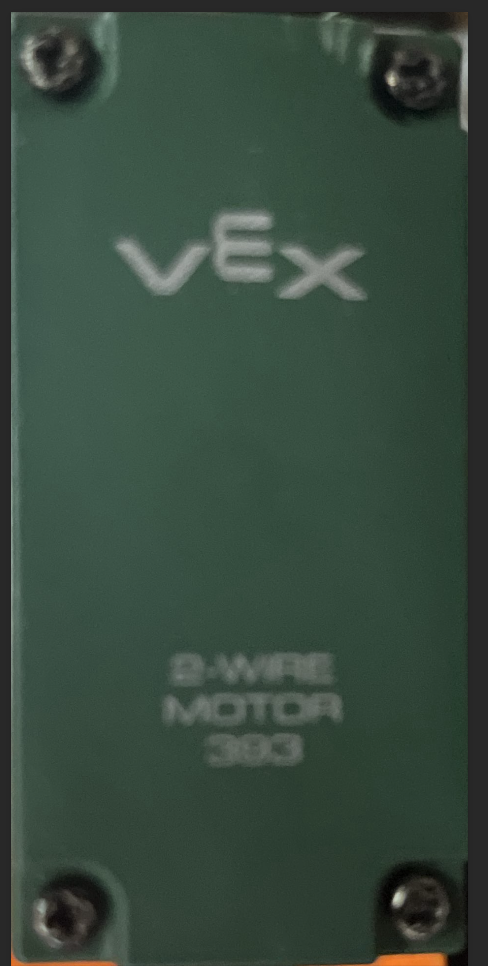
The VEX 2 Wire Motor is a compact DC motor designed for use in robotics and other electromechanical applications. It features a simple two-wire connection for power and is capable of providing reliable rotational motion. This motor is commonly used in educational robotics platforms, hobbyist projects, and small-scale automation systems. Its robust design and ease of integration make it a popular choice for both beginners and experienced users.
Explore Projects Built with VEX 2 Wire Motor
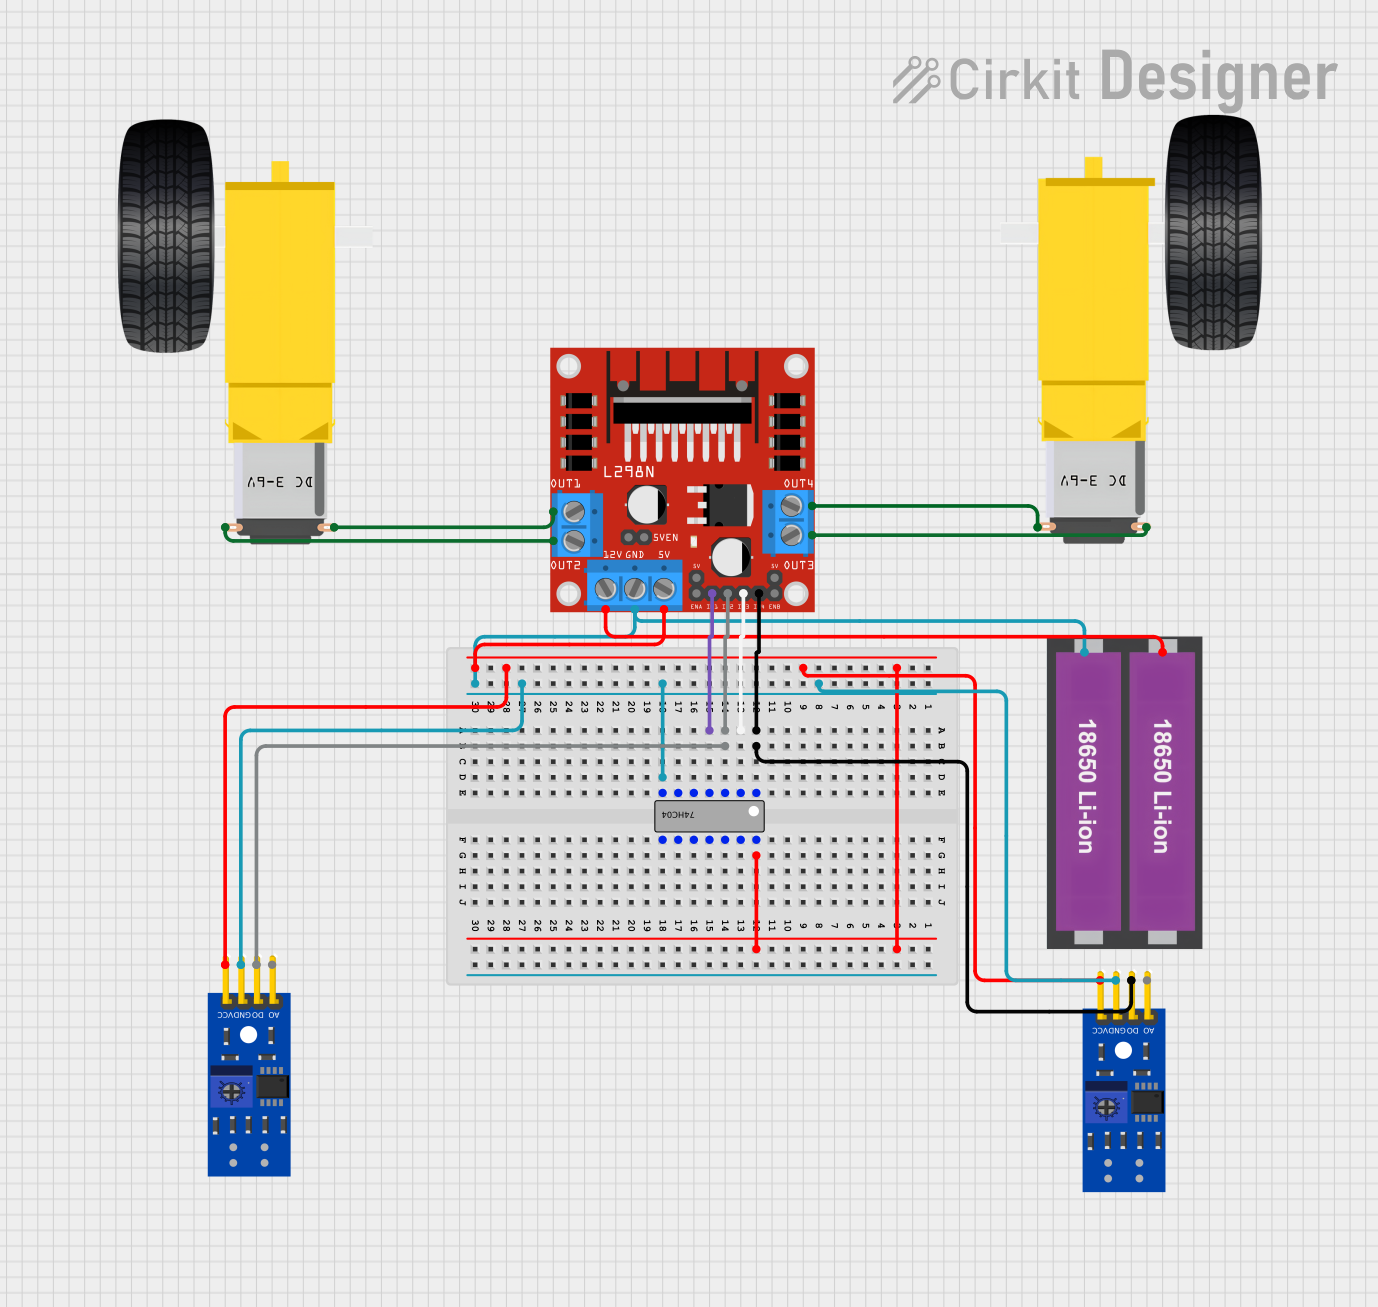
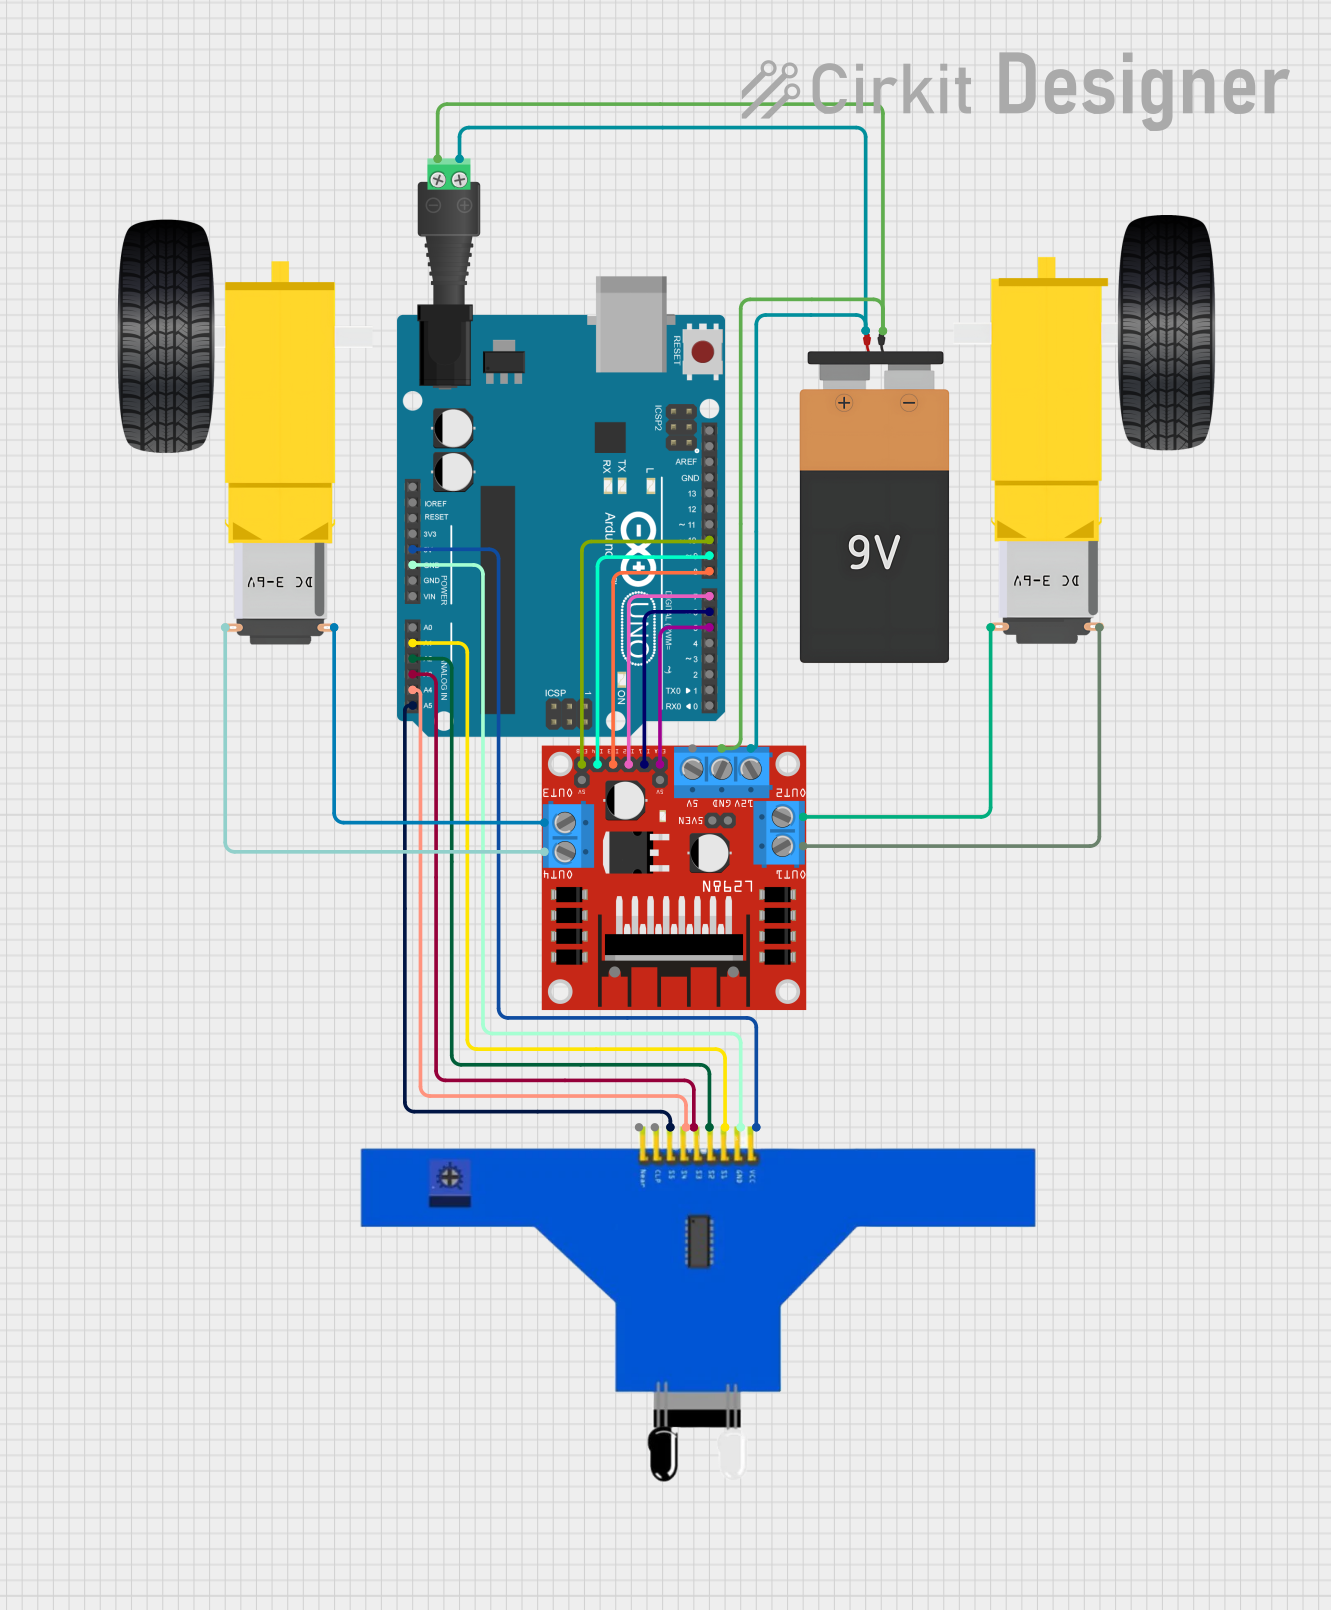
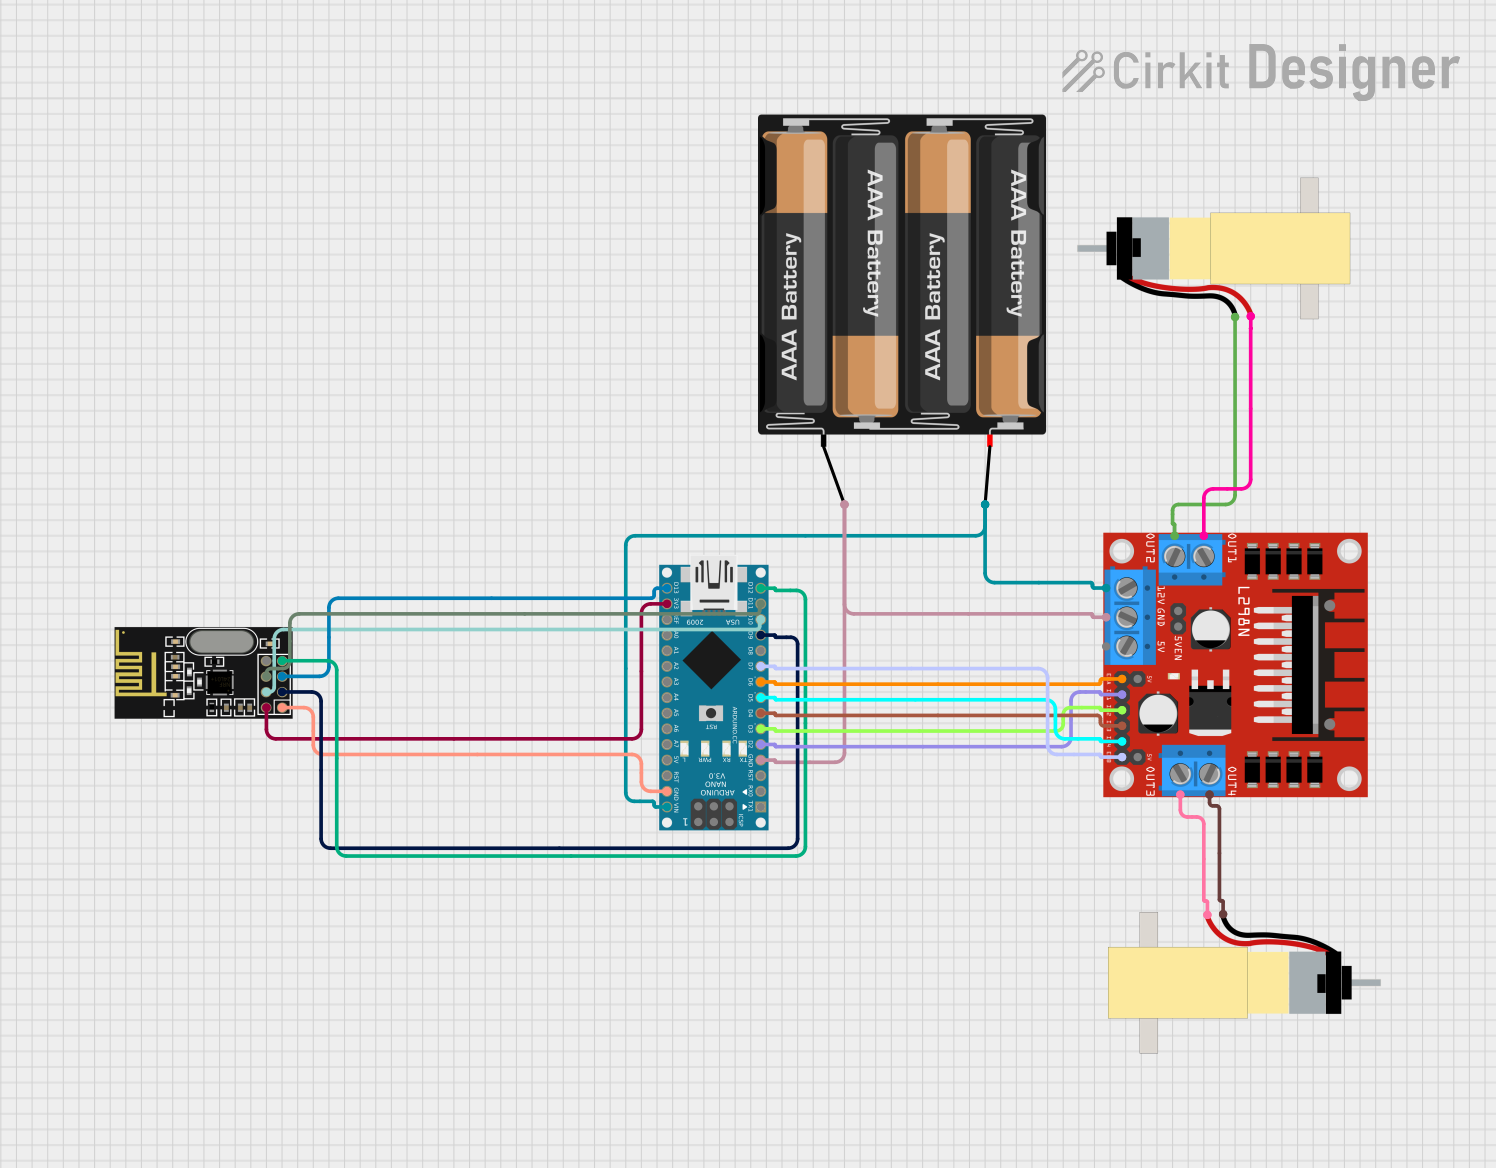

Explore Projects Built with VEX 2 Wire Motor
Common Applications and Use Cases
- Driving wheels or tracks in robotic vehicles
- Actuating arms, grippers, or other mechanical components
- Educational robotics projects
- Small-scale automation systems
- Prototyping and hobbyist projects
Technical Specifications
Below are the key technical details of the VEX 2 Wire Motor:
| Specification | Value |
|---|---|
| Operating Voltage | 4.0V to 8.4V |
| Stall Current | ~3.6A |
| Free-Running Current | ~0.37A |
| Stall Torque | ~0.17 Nm |
| Free Speed | ~100 RPM (at 7.2V) |
| Motor Type | Brushed DC Motor |
| Wire Type | 2-wire (red: positive, black: negative) |
| Dimensions | 2.5" x 1.25" x 1.25" |
| Weight | ~0.2 lbs (90g) |
Pin Configuration and Descriptions
The VEX 2 Wire Motor has a simple two-wire interface:
| Wire Color | Function |
|---|---|
| Red | Positive power input (+V) |
| Black | Negative power input (GND) |
Usage Instructions
How to Use the Component in a Circuit
- Power Connection: Connect the red wire to the positive terminal of your power source and the black wire to the ground terminal. Ensure the power supply voltage is within the motor's operating range (4.0V to 8.4V).
- Motor Control: To control the motor's speed and direction, use a motor controller or an H-bridge circuit. The motor's direction can be reversed by swapping the red and black wire connections.
- Mounting: Secure the motor to your project using screws or brackets. Ensure the motor shaft is aligned with the load to avoid unnecessary stress.
Important Considerations and Best Practices
- Current Limiting: Use a motor controller or fuse to prevent excessive current draw, especially during stall conditions.
- Heat Management: Avoid prolonged stalling or overloading, as this can cause the motor to overheat.
- Power Supply: Use a stable power source to ensure consistent performance. Batteries or regulated DC power supplies are recommended.
- Noise Suppression: Add a capacitor (e.g., 0.1 µF) across the motor terminals to reduce electrical noise.
Example: Connecting to an Arduino UNO
The VEX 2 Wire Motor can be controlled using an Arduino UNO and an H-bridge motor driver (e.g., L298N). Below is an example code snippet to control the motor's speed and direction:
// Example: Controlling a VEX 2 Wire Motor with Arduino UNO and L298N

// Define motor control pins
const int motorPin1 = 9; // IN1 on L298N
const int motorPin2 = 10; // IN2 on L298N
const int enablePin = 11; // ENA on L298N (PWM pin)

void setup() {
  // Set motor control pins as outputs
  pinMode(motorPin1, OUTPUT);
  pinMode(motorPin2, OUTPUT);
  pinMode(enablePin, OUTPUT);
}

void loop() {
  // Rotate motor forward at 50% speed
  digitalWrite(motorPin1, HIGH);
  digitalWrite(motorPin2, LOW);
  analogWrite(enablePin, 128); // 50% duty cycle (0-255)

  delay(2000); // Run for 2 seconds

  // Rotate motor backward at 75% speed
  digitalWrite(motorPin1, LOW);
  digitalWrite(motorPin2, HIGH);
  analogWrite(enablePin, 192); // 75% duty cycle

  delay(2000); // Run for 2 seconds

  // Stop the motor
  digitalWrite(motorPin1, LOW);
  digitalWrite(motorPin2, LOW);
  analogWrite(enablePin, 0); // 0% duty cycle

  delay(2000); // Wait for 2 seconds
}
Troubleshooting and FAQs
Common Issues and Solutions
Motor Does Not Spin:
- Check the power supply voltage and ensure it is within the operating range.
- Verify the wiring connections (red to positive, black to ground).
- Ensure the motor controller or H-bridge is functioning correctly.
Motor Spins in the Wrong Direction:
- Reverse the red and black wire connections to change the motor's direction.
- Update the control logic in your code if using a microcontroller.
Motor Overheats:
- Avoid stalling the motor for extended periods.
- Reduce the load on the motor or use a lower duty cycle for PWM control.
Excessive Noise or Interference:
- Add a capacitor (e.g., 0.1 µF) across the motor terminals to suppress electrical noise.
- Ensure proper grounding in your circuit.
FAQs
Q: Can I power the motor directly from an Arduino UNO?
A: No, the Arduino UNO cannot supply enough current to drive the motor. Use an external power source and a motor driver (e.g., L298N).
Q: What is the maximum load the motor can handle?
A: The motor's stall torque is approximately 0.17 Nm. Avoid exceeding this limit to prevent damage.
Q: Can I use the motor with a 12V power supply?
A: No, the motor is designed for a maximum voltage of 8.4V. Using a higher voltage may damage the motor.
Q: How do I reverse the motor's direction?
A: Swap the red and black wire connections or adjust the control signals if using a motor driver.