
How to Use Forward Camera: Examples, Pinouts, and Specs
 Design with Forward Camera in Cirkit Designer
Introduction
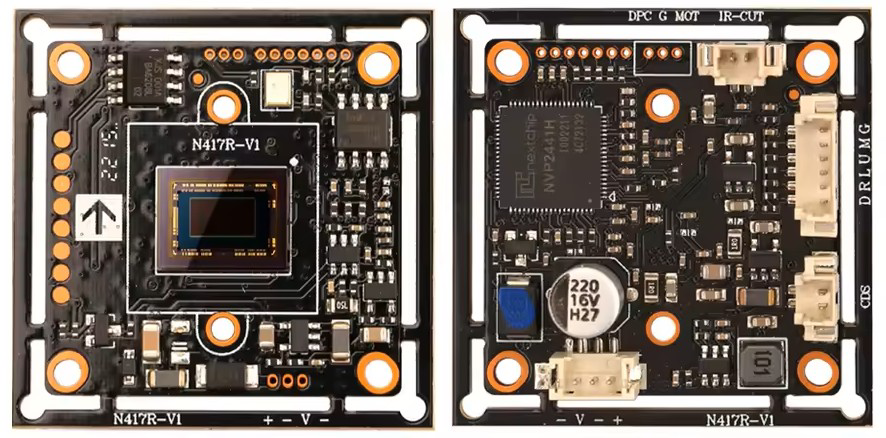
A forward camera is an imaging device designed to capture real-time video or images of the environment directly in front of a vehicle or robotic system. It plays a critical role in applications such as navigation, obstacle detection, and advanced driver assistance systems (ADAS). Forward cameras are commonly used in autonomous vehicles, drones, and robotics to enhance situational awareness and improve safety.
Explore Projects Built with Forward Camera
 Open Project in Cirkit Designer
 Open Project in Cirkit Designer
 Open Project in Cirkit Designer
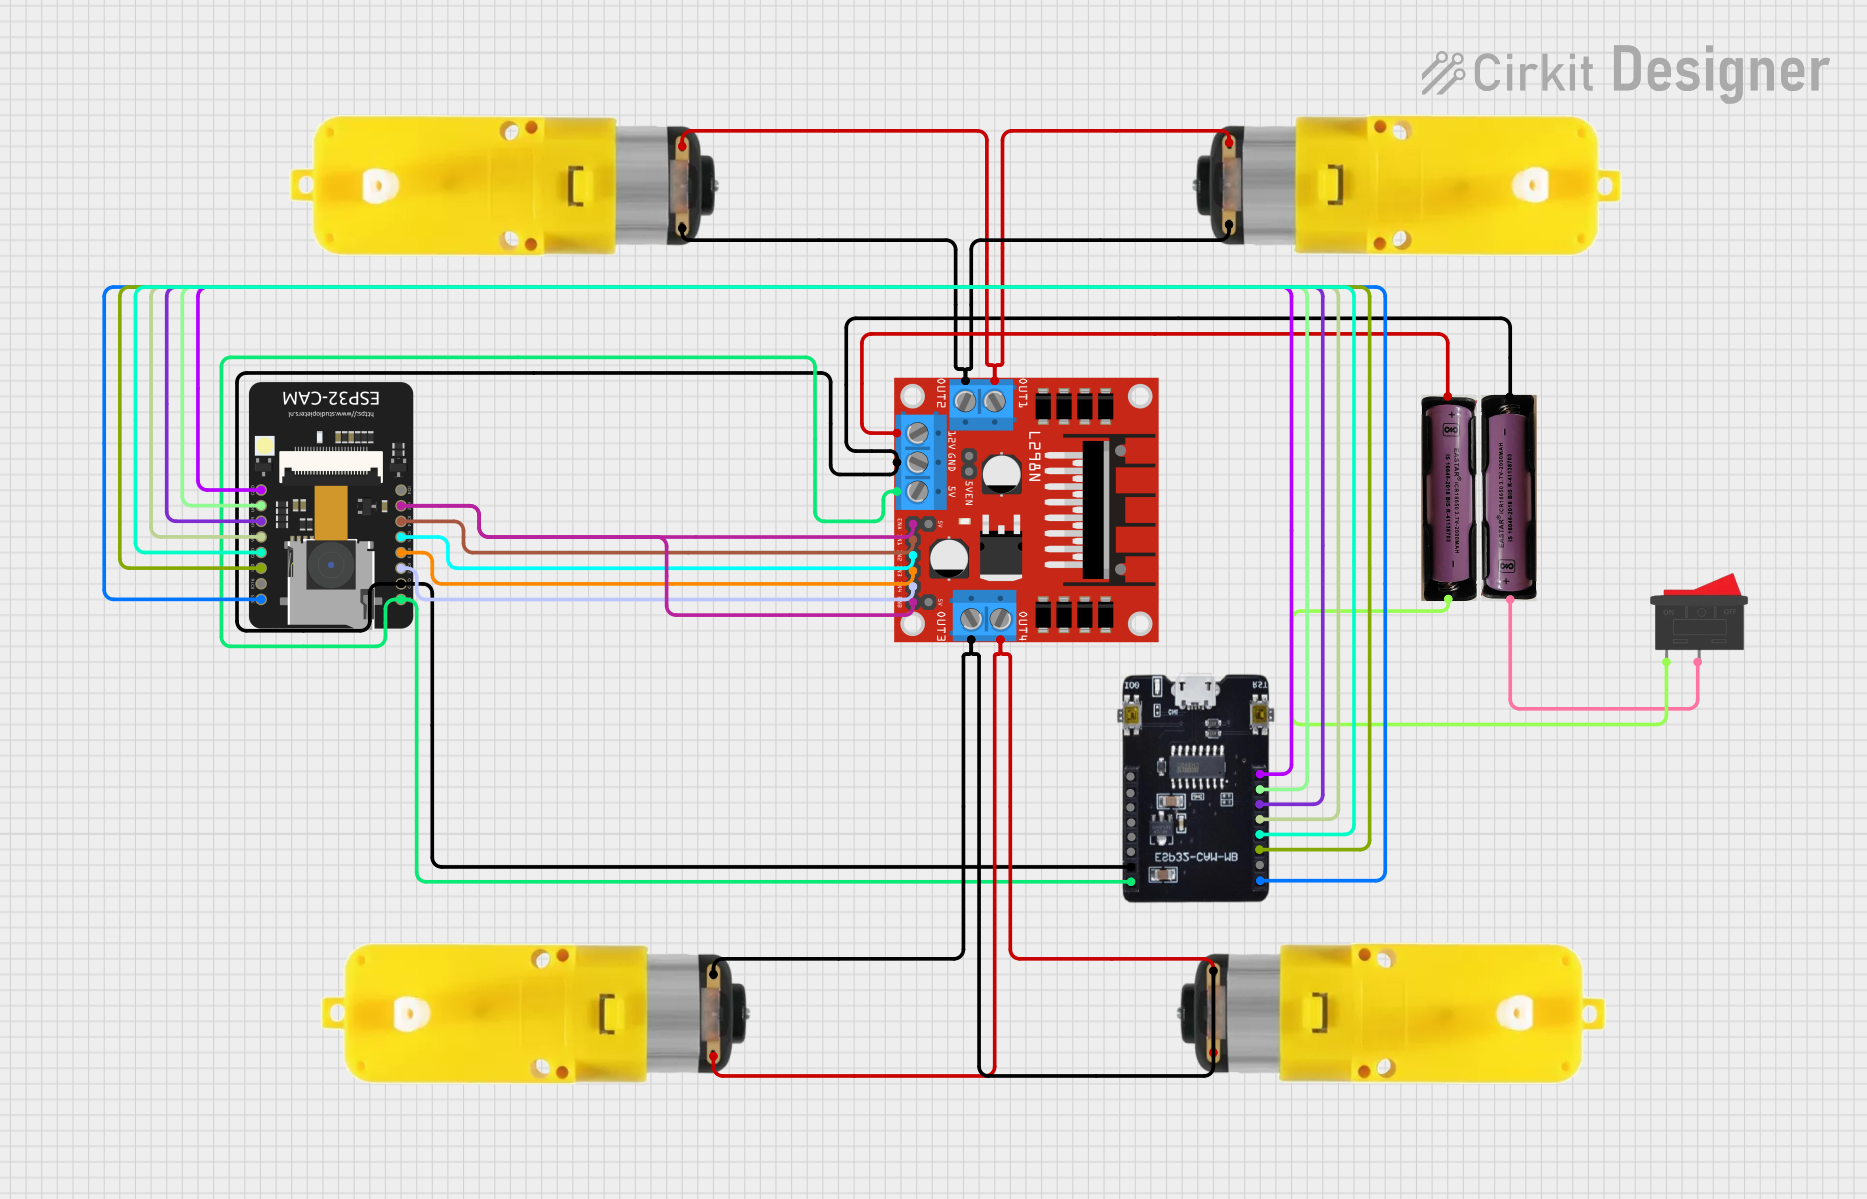 Open Project in Cirkit Designer
Explore Projects Built with Forward Camera
Open Project in Cirkit DesignerOpen Project in Cirkit DesignerOpen Project in Cirkit DesignerOpen Project in Cirkit DesignerCommon Applications and Use Cases
- Autonomous Vehicles: Used for lane detection, traffic sign recognition, and obstacle avoidance.
- Driver Assistance Systems: Supports features like collision warning, adaptive cruise control, and parking assistance.
- Robotics: Enables robots to navigate and interact with their environment.
- Drones: Provides a live feed for navigation and object tracking.
- Surveillance Systems: Used for monitoring and recording in security applications.
Technical Specifications
Below are the key technical details of a typical forward camera:
| Parameter | Specification |
|---|---|
| Resolution | 1920x1080 (Full HD) |
| Frame Rate | 30 FPS (Frames Per Second) |
| Field of View (FOV) | 120° |
| Interface | MIPI CSI-2 or USB |
| Power Supply Voltage | 3.3V or 5V |
| Operating Temperature | -20°C to 70°C |
| Dimensions | 25mm x 25mm x 10mm |
| Lens Type | Fixed focus or auto-focus |
Pin Configuration and Descriptions
For a forward camera with a MIPI CSI-2 interface, the pin configuration is as follows:
| Pin Name | Description |
|---|---|
| VCC | Power supply input (3.3V or 5V) |
| GND | Ground |
| CLK+ / CLK- | Differential clock signal for data transmission |
| D0+ / D0- | Differential data lane 0 |
| D1+ / D1- | Differential data lane 1 |
| I2C_SCL | I2C clock for configuration |
| I2C_SDA | I2C data for configuration |
| RESET | Reset signal for the camera |
| PWDN | Power-down mode control |
Usage Instructions
How to Use the Forward Camera in a Circuit
- Power Supply: Connect the VCC pin to a 3.3V or 5V power source, depending on the camera's specifications. Ensure the GND pin is connected to the ground of the circuit.
- Data Interface: Connect the MIPI CSI-2 pins (CLK+, CLK-, D0+, D0-, etc.) to the corresponding pins on the host processor or microcontroller.
- Configuration: Use the I2C interface (SCL and SDA) to configure the camera settings, such as resolution, frame rate, and exposure.
- Reset and Power-Down: Use the RESET and PWDN pins to control the camera's operational state.
Important Considerations and Best Practices
- Power Stability: Ensure a stable power supply to avoid image artifacts or camera resets.
- Cable Length: Keep the MIPI CSI-2 cable as short as possible to minimize signal degradation.
- Lens Cleaning: Regularly clean the lens to maintain image quality.
- Heat Management: If the camera operates in high-temperature environments, consider adding a heat sink or cooling mechanism.
- Firmware Updates: Check for firmware updates from the manufacturer to improve performance and compatibility.
Example: Connecting to an Arduino UNO
While the Arduino UNO does not natively support MIPI CSI-2, you can use a USB-based forward camera module with an Arduino-compatible USB host shield. Below is an example of interfacing a USB camera with an Arduino UNO:
#include <USBHost.h> // Include USB Host library for Arduino

USBHost usb;         // Create USB host object
USBDevice camera;    // Create USB device object for the camera

void setup() {
  Serial.begin(9600); // Initialize serial communication
  usb.begin();        // Initialize USB host
  if (usb.attach(camera)) {
    Serial.println("Camera connected successfully!");
  } else {
    Serial.println("Failed to connect camera.");
  }
}

void loop() {
  // Check if the camera is connected
  if (camera.connected()) {
    Serial.println("Camera is active.");
    // Add code here to process camera data if supported
  } else {
    Serial.println("Camera is not connected.");
  }
  delay(1000); // Wait for 1 second
}
Note: The above example assumes the use of a USB camera module and a USB host shield. For advanced applications, consider using a microcontroller or development board with native camera support, such as the Raspberry Pi or NVIDIA Jetson Nano.
Troubleshooting and FAQs
Common Issues and Solutions
No Image Output:
- Cause: Incorrect wiring or configuration.
- Solution: Verify all connections and ensure the camera is properly powered. Check the I2C configuration settings.
Image Flickering or Artifacts:
- Cause: Unstable power supply or interference.
- Solution: Use a decoupling capacitor near the VCC pin and ensure proper grounding.
Camera Overheating:
- Cause: Prolonged operation in high-temperature environments.
- Solution: Add a heat sink or improve ventilation around the camera.
Camera Not Detected by Host:
- Cause: Incompatible interface or driver issues.
- Solution: Ensure the host processor supports the camera's interface (e.g., MIPI CSI-2 or USB). Install the correct drivers or firmware.
FAQs
Q: Can the forward camera be used in low-light conditions?
- A: Yes, many forward cameras include low-light enhancement features or support external infrared (IR) illumination.
Q: What is the maximum cable length for MIPI CSI-2?
- A: Typically, the cable length should not exceed 30cm to maintain signal integrity.
Q: Can I use the forward camera with a Raspberry Pi?
- A: Yes, most forward cameras with a MIPI CSI-2 interface are compatible with Raspberry Pi boards.
Q: How do I clean the camera lens?
- A: Use a microfiber cloth and lens cleaning solution to gently clean the lens without scratching it.