How to Use solenoid: Examples, Pinouts, and Specs

 Design with solenoid in Cirkit Designer
Introduction
A solenoid is an electromechanical device that converts electrical energy into linear motion. It consists of a coil of wire that generates a magnetic field when an electric current passes through it. This magnetic field moves a ferromagnetic plunger or core, creating linear motion. Solenoids are widely used in applications requiring controlled mechanical movement, such as opening or closing valves, actuating locks, or triggering mechanical systems.
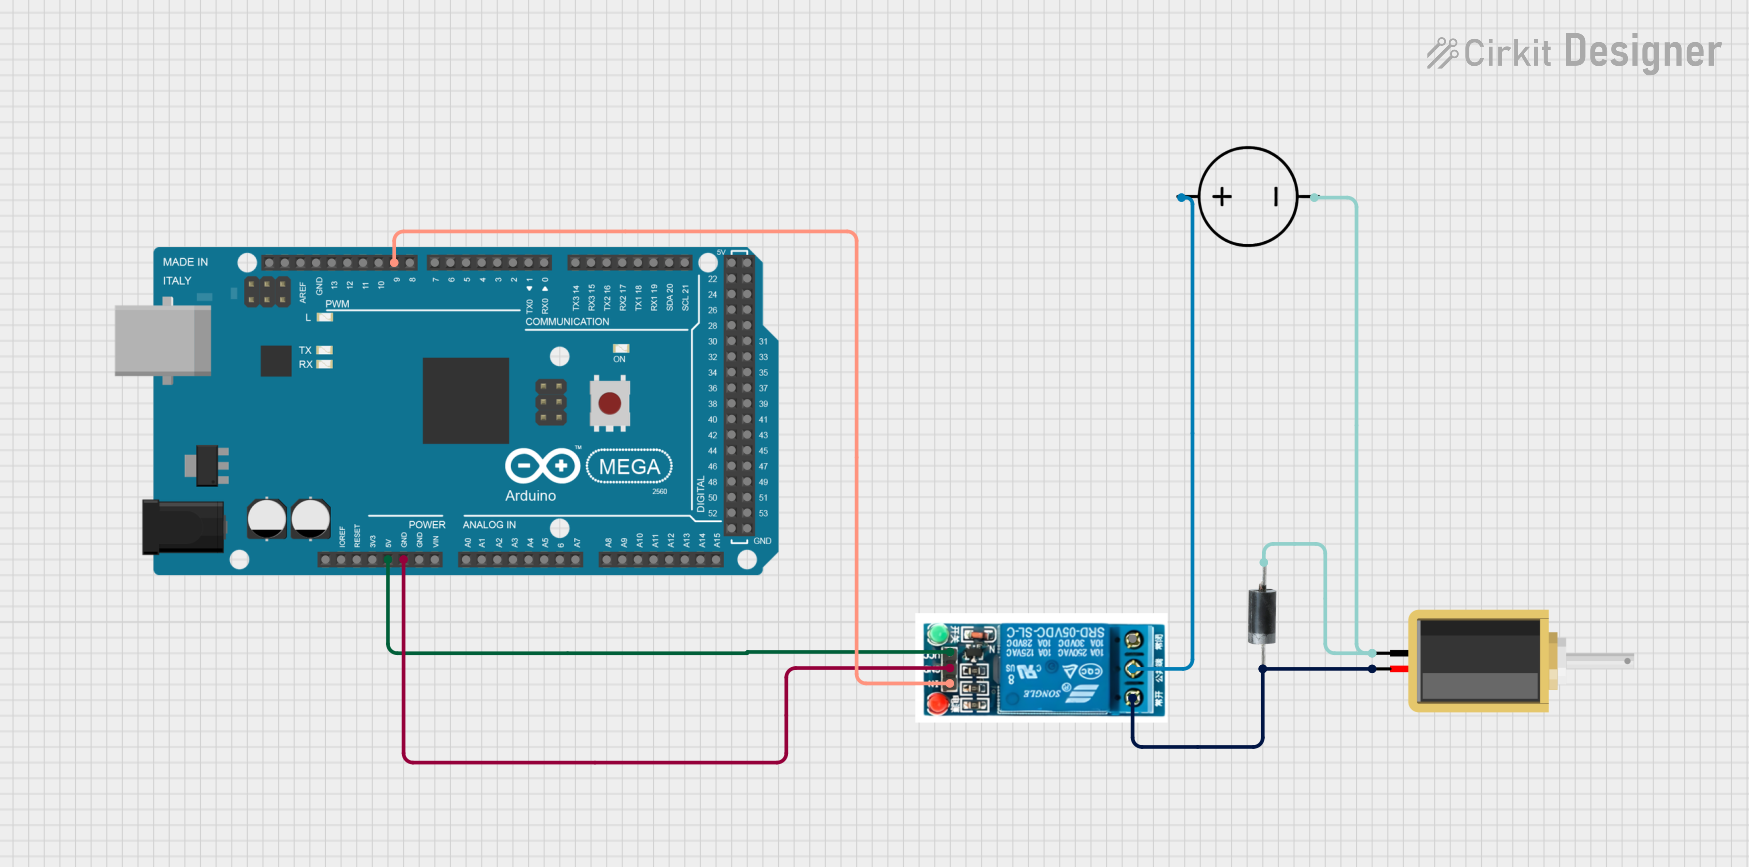
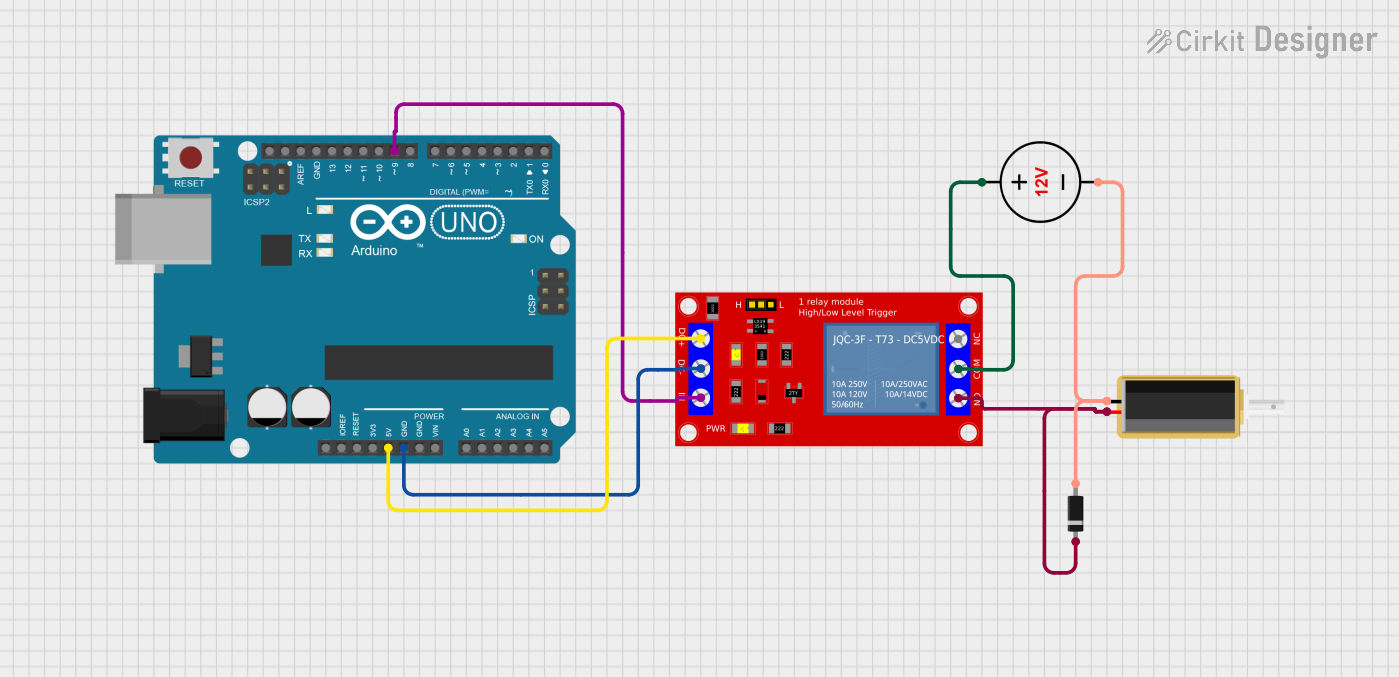
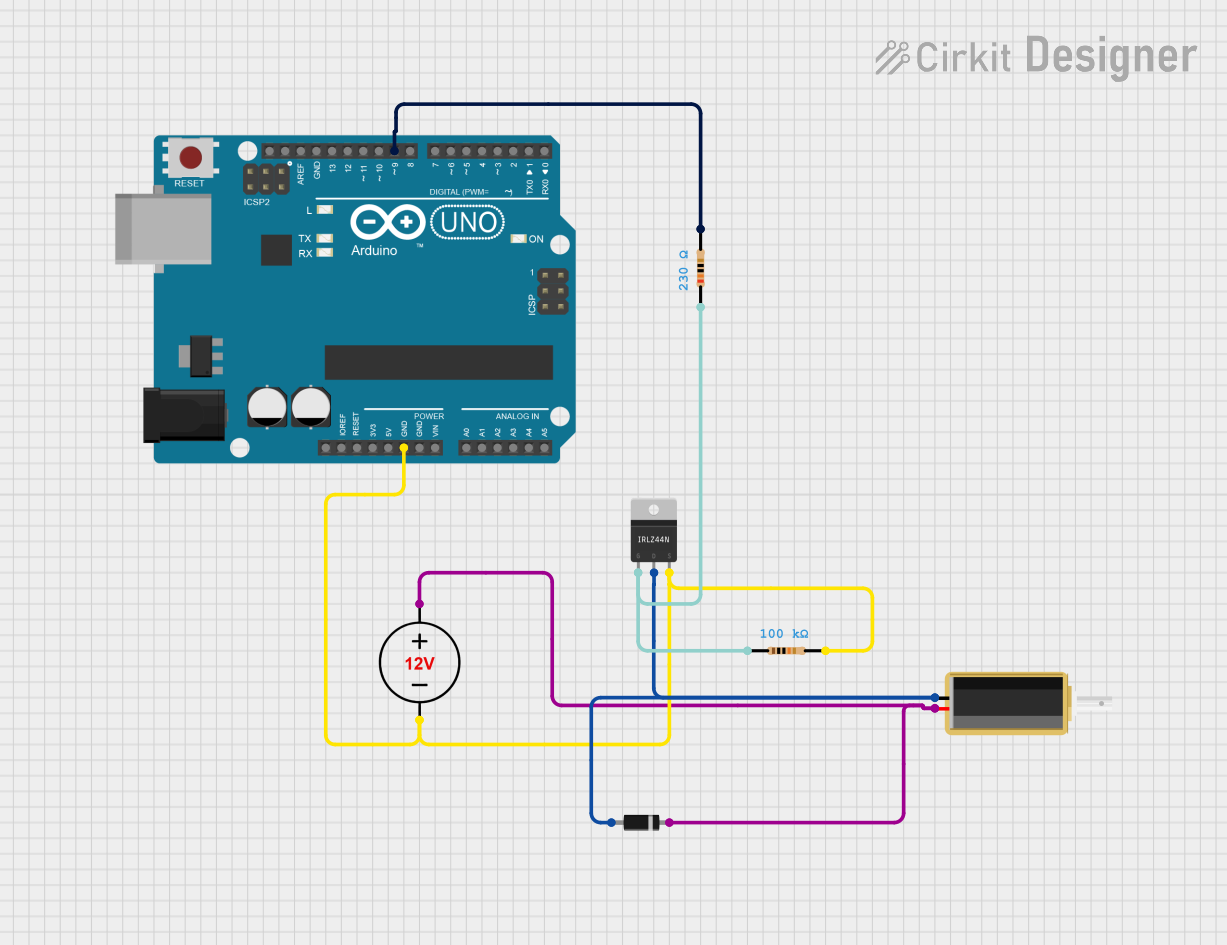
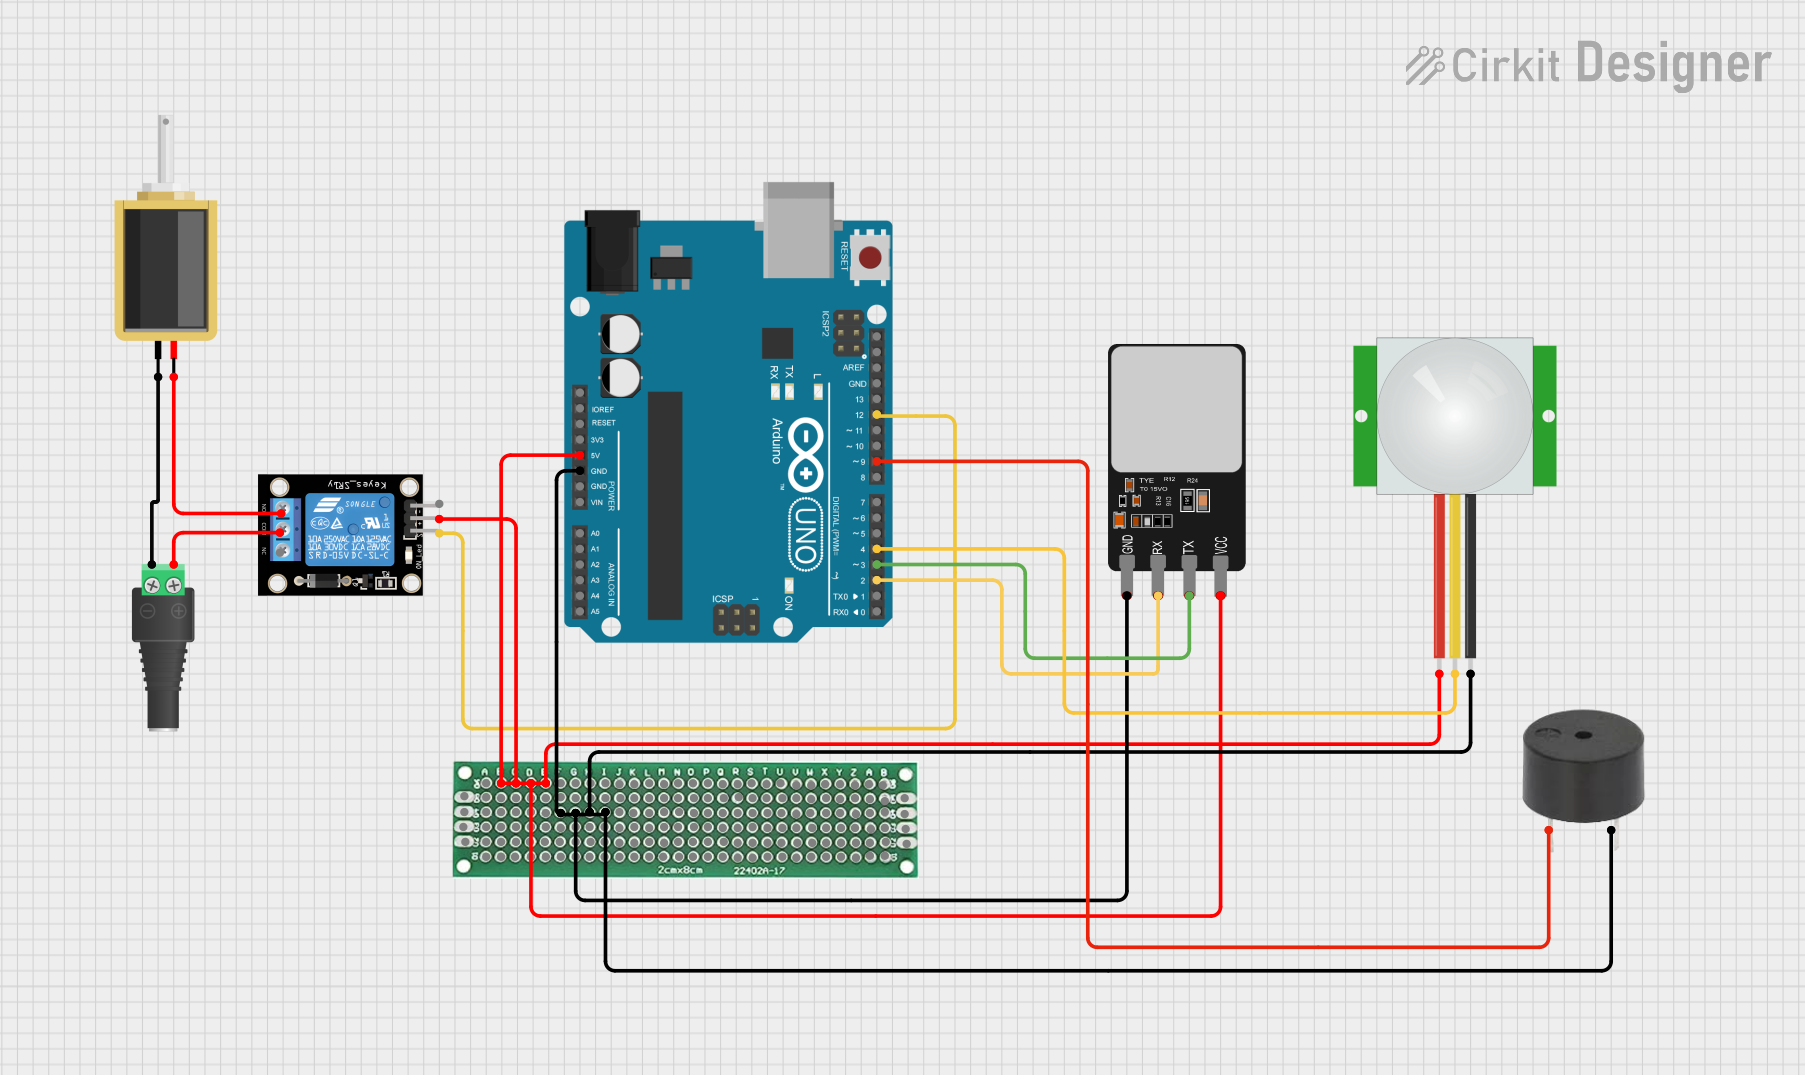
Explore Projects Built with solenoid

 Open Project in Cirkit Designer
 Open Project in Cirkit Designer
 Open Project in Cirkit Designer
 Open Project in Cirkit Designer
Explore Projects Built with solenoid

 Open Project in Cirkit Designer
 Open Project in Cirkit Designer
 Open Project in Cirkit Designer
 Open Project in Cirkit Designer
Common Applications and Use Cases
- Automotive Systems: Used in fuel injectors, starter motors, and door locks.
- Industrial Automation: Actuates valves, relays, and robotic mechanisms.
- Home Appliances: Found in washing machines, dishwashers, and vending machines.
- Access Control: Used in electronic locks and security systems.
- Prototyping and DIY Projects: Commonly used with microcontrollers like Arduino for automation tasks.
Technical Specifications
Key Technical Details
| Parameter | Value/Range |
|---|---|
| Operating Voltage | 5V to 24V DC (varies by model) |
| Current Consumption | 0.2A to 2A (depending on size) |
| Power Rating | 1W to 20W |
| Stroke Length | 2mm to 30mm |
| Force | 0.5N to 50N |
| Coil Resistance | 5Ω to 50Ω |
| Duty Cycle | 10% to 100% (varies by application) |
Pin Configuration and Descriptions
| Pin Name | Description |
|---|---|
| Positive | Connects to the positive terminal of the power supply. |
| Negative | Connects to the negative terminal (ground). |
Usage Instructions
How to Use the Component in a Circuit
- Power Supply: Ensure the solenoid is powered by a voltage source within its operating range (e.g., 12V DC). Use a regulated power supply to avoid damage.
- Control Circuit: Use a transistor or MOSFET to control the solenoid, as it typically requires more current than a microcontroller can provide.
- Diode Protection: Always connect a flyback diode across the solenoid terminals to protect the circuit from voltage spikes caused by the collapsing magnetic field when the solenoid is turned off.
- Microcontroller Integration: Use a microcontroller (e.g., Arduino UNO) to control the solenoid via a digital output pin and a driver circuit.
Circuit Example with Arduino UNO
Below is an example of how to control a solenoid using an Arduino UNO and an NPN transistor (e.g., 2N2222):
Circuit Diagram
- Components Required:
- Solenoid
- NPN Transistor (e.g., 2N2222)
- Flyback Diode (e.g., 1N4007)
- Resistor (1kΩ)
- External Power Supply (e.g., 12V DC)
- Arduino UNO
Arduino Code
// Solenoid Control Example with Arduino UNO
// This code turns the solenoid on for 1 second and off for 1 second in a loop.

const int solenoidPin = 9; // Pin connected to the transistor base via a resistor

void setup() {
  pinMode(solenoidPin, OUTPUT); // Set the solenoid pin as an output
}

void loop() {
  digitalWrite(solenoidPin, HIGH); // Turn the solenoid on
  delay(1000);                     // Wait for 1 second
  digitalWrite(solenoidPin, LOW);  // Turn the solenoid off
  delay(1000);                     // Wait for 1 second
}
Important Considerations and Best Practices
- Power Supply: Ensure the power supply can provide sufficient current for the solenoid.
- Heat Management: Avoid overheating by adhering to the solenoid's duty cycle rating.
- Flyback Diode: Always use a flyback diode to protect the circuit from voltage spikes.
- Mounting: Securely mount the solenoid to prevent mechanical vibrations or misalignment.
- Testing: Test the solenoid with a multimeter to verify coil resistance and continuity before use.
Troubleshooting and FAQs
Common Issues and Solutions
| Issue | Possible Cause | Solution |
|---|---|---|
| Solenoid does not activate | Insufficient power supply voltage/current | Verify the power supply and connections. |
| Solenoid gets too hot | Exceeding duty cycle or overvoltage | Reduce activation time or check voltage. |
| Circuit damage when solenoid turns off | Missing flyback diode | Add a flyback diode across solenoid terminals. |
| Weak or no linear motion | Coil damage or mechanical obstruction | Check coil resistance and clear obstructions. |
FAQs
Can I power a solenoid directly from an Arduino?
- No, most solenoids require more current than an Arduino pin can provide. Use a transistor or MOSFET as a driver.
What is a flyback diode, and why is it necessary?
- A flyback diode protects the circuit from voltage spikes caused by the collapsing magnetic field when the solenoid is turned off.
How do I choose the right solenoid for my application?
- Consider the required voltage, current, stroke length, force, and duty cycle for your specific use case.
Can I use a solenoid with an AC power supply?
- Some solenoids are designed for AC operation, but most require DC. Check the specifications of your solenoid.
What happens if I exceed the solenoid's duty cycle?
- Exceeding the duty cycle can cause overheating and permanent damage to the solenoid.
This documentation provides a comprehensive guide to understanding, using, and troubleshooting solenoids in various applications.