
How to Use tomada 12V carro: Examples, Pinouts, and Specs
 Design with tomada 12V carro in Cirkit Designer
Introduction
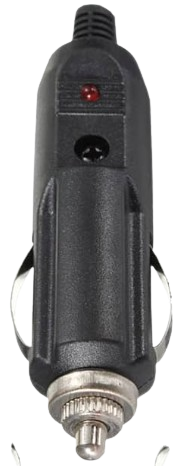
The Tomada 12V Carro is a 12-volt car socket designed for use in automotive applications. It is compatible with standard automotive plugs and is commonly used to power or charge devices such as mobile phones, GPS units, dash cameras, and portable air compressors. This component is robust and reliable, making it an essential accessory for vehicles.
Explore Projects Built with tomada 12V carro
 Open Project in Cirkit Designer
 Open Project in Cirkit Designer
 Open Project in Cirkit Designer
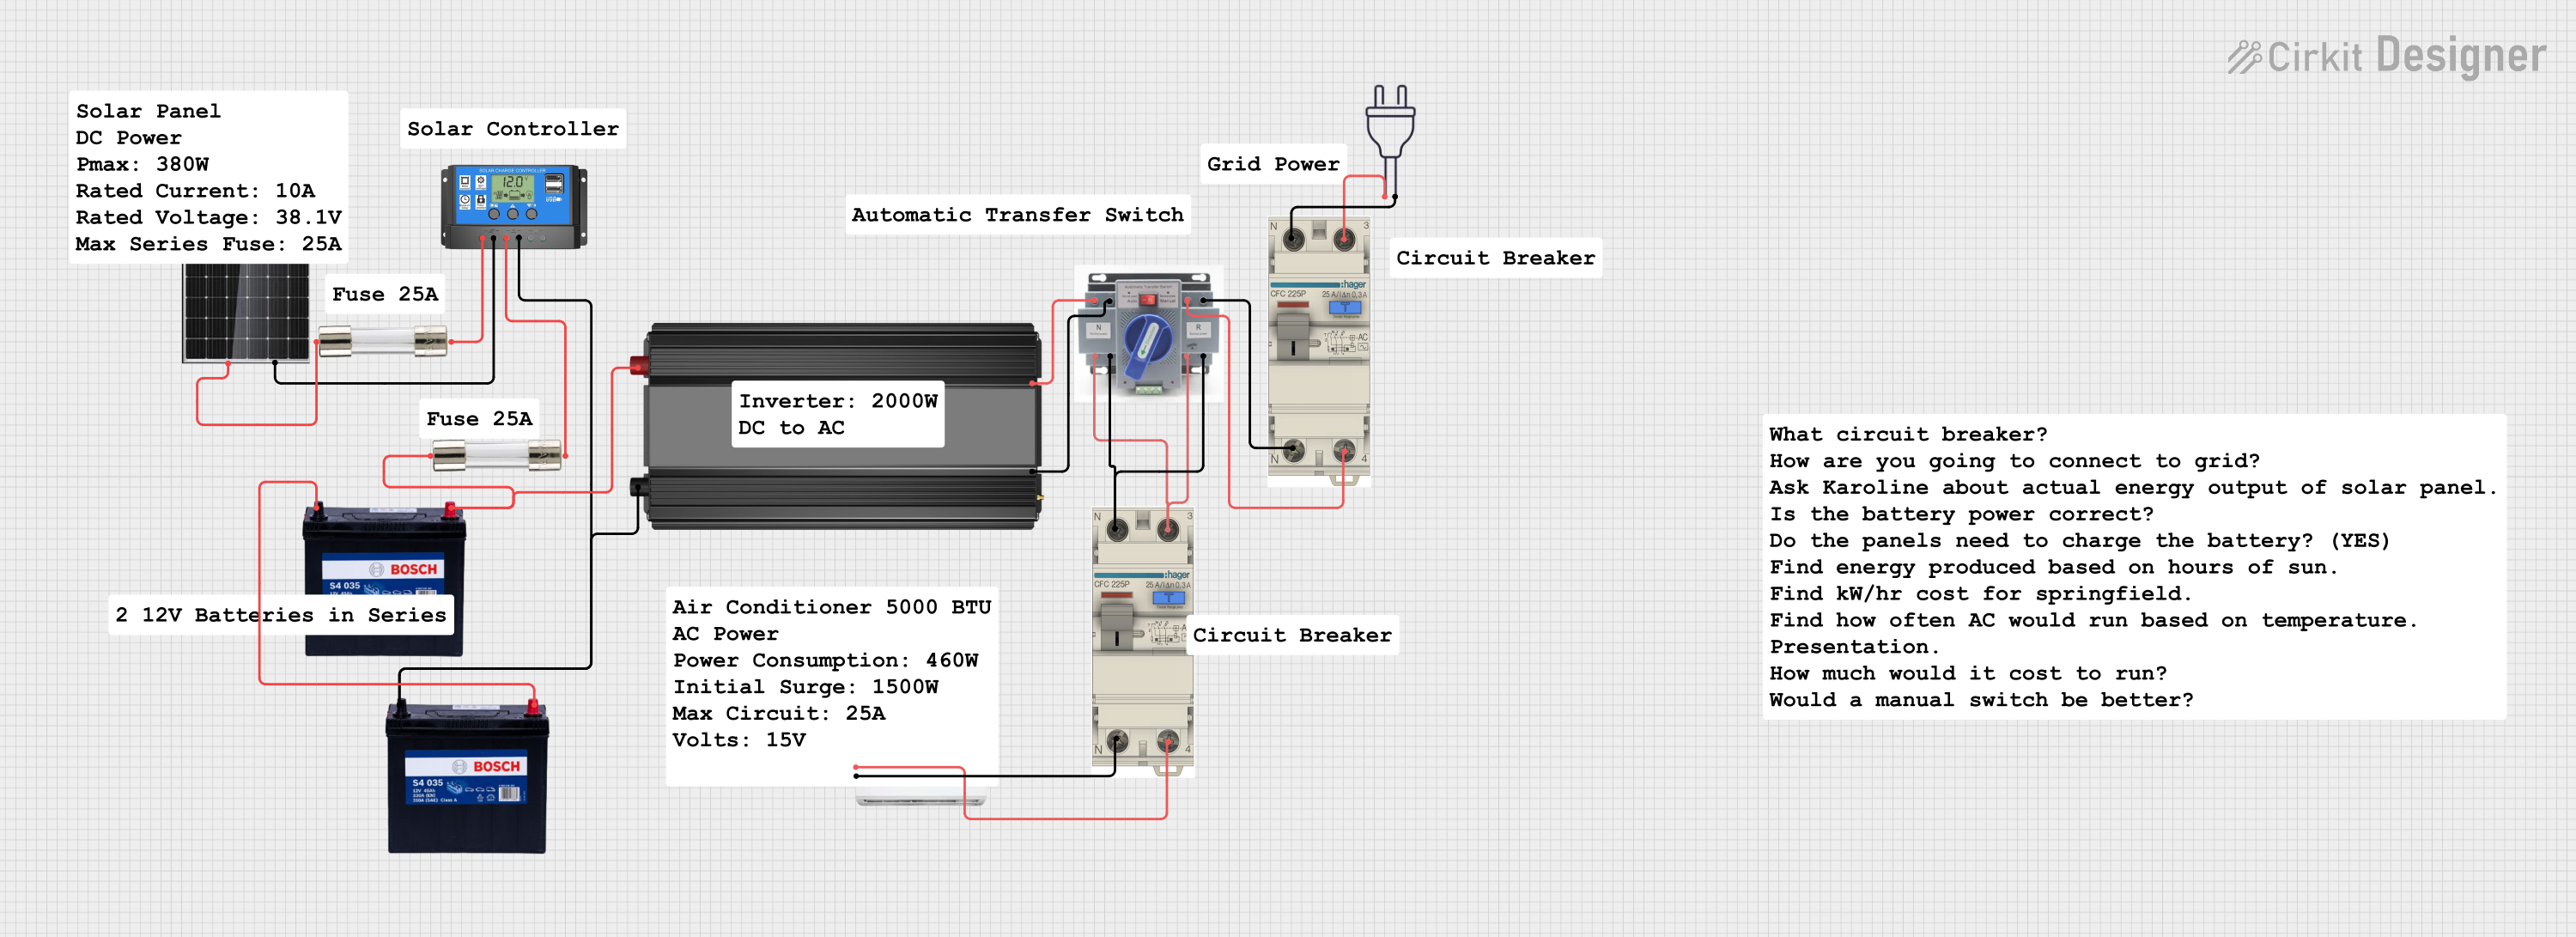 Open Project in Cirkit Designer
Explore Projects Built with tomada 12V carro
Open Project in Cirkit DesignerOpen Project in Cirkit DesignerOpen Project in Cirkit DesignerOpen Project in Cirkit DesignerCommon Applications and Use Cases
- Charging mobile devices and tablets in vehicles
- Powering GPS navigation systems
- Supplying power to dash cameras and radar detectors
- Operating portable air compressors or vacuum cleaners
- Connecting automotive accessories like seat heaters or coolers
Technical Specifications
The following table outlines the key technical details of the Tomada 12V Carro:
| Specification | Details |
|---|---|
| Manufacturer | Carro |
| Manufacturer Part ID | CAR |
| Input Voltage | 12V DC |
| Maximum Current Rating | 10A |
| Power Rating | 120W |
| Material | High-temperature resistant plastic |
| Connector Type | Standard automotive plug socket |
| Mounting Style | Panel mount or surface mount |
| Operating Temperature | -20°C to 70°C |
Pin Configuration and Descriptions
The Tomada 12V Carro has two main terminals for electrical connections:
| Pin | Description | Notes |
|---|---|---|
| +12V | Positive terminal (input power) | Connect to the vehicle's 12V power supply. |
| GND | Ground terminal | Connect to the vehicle's chassis ground. |
Usage Instructions
How to Use the Component in a Circuit
- Mounting the Socket: Secure the socket to the desired location in the vehicle using the panel mount or surface mount option. Ensure the mounting area is clean and accessible.
- Wiring:
- Connect the +12V terminal to the vehicle's 12V power supply (e.g., the fuse box or battery).
- Connect the GND terminal to the vehicle's chassis ground.
- Use appropriate wire gauges (e.g., 16 AWG or thicker) to handle the current load safely.
- Fuse Protection: Install an inline fuse (10A recommended) on the positive wire to protect the circuit from overcurrent or short circuits.
- Testing: After wiring, test the socket by plugging in a compatible 12V device to ensure proper operation.
Important Considerations and Best Practices
- Polarity: Ensure correct polarity when connecting the terminals. Reversed polarity can damage connected devices.
- Fuse Rating: Always use a fuse with the appropriate rating to prevent electrical hazards.
- Heat Dissipation: Avoid overloading the socket to prevent overheating. Do not exceed the 10A current rating.
- Weatherproofing: If the socket is installed in an exposed area, consider using a weatherproof cover to protect it from moisture and debris.
Example: Connecting to an Arduino UNO
While the Tomada 12V Carro is not directly connected to an Arduino UNO, it can be used to power the Arduino via a 12V-to-5V DC-DC converter. Below is an example of how to use the socket to power an Arduino UNO:
- Connect the +12V terminal of the socket to the input of a 12V-to-5V DC-DC converter.
- Connect the output of the converter to the Arduino's 5V and GND pins.
- Plug the socket into the vehicle's 12V power supply.
// Example Arduino code for a device powered via the Tomada 12V Carro
// This code blinks an LED connected to pin 13 of the Arduino UNO

void setup() {
  pinMode(13, OUTPUT); // Set pin 13 as an output for the LED
}

void loop() {
  digitalWrite(13, HIGH); // Turn the LED on
  delay(1000);            // Wait for 1 second
  digitalWrite(13, LOW);  // Turn the LED off
  delay(1000);            // Wait for 1 second
}
Troubleshooting and FAQs
Common Issues Users Might Face
Socket Not Powering Devices:
- Cause: Loose or incorrect wiring.
- Solution: Check the connections to ensure the +12V and GND terminals are properly connected.
Device Overheating:
- Cause: Exceeding the 10A current rating.
- Solution: Reduce the load or use a device with a lower power requirement.
Fuse Blowing Frequently:
- Cause: Short circuit or excessive current draw.
- Solution: Inspect the wiring for shorts and ensure the connected device does not exceed the socket's power rating.
Corrosion or Dirt in the Socket:
- Cause: Exposure to moisture or debris.
- Solution: Clean the socket with a dry cloth and use a weatherproof cover if necessary.
Solutions and Tips for Troubleshooting
- Use a multimeter to verify the voltage at the socket terminals.
- Ensure the vehicle's battery is charged and the fuse is intact.
- If the socket is not working, check the vehicle's fuse box for a blown fuse related to the 12V accessory circuit.
By following this documentation, users can safely and effectively utilize the Tomada 12V Carro for their automotive power needs.