How to Use 12v 7ah Battery: Examples, Pinouts, and Specs
12V 7Ah Rechargeable Lead-Acid Battery Documentation
1. Introduction
The 12V 7Ah Rechargeable Lead-Acid Battery is a sealed, maintenance-free battery designed to provide reliable power for a wide range of applications. With a nominal voltage of 12 volts and a capacity of 7 amp-hours (Ah), this battery is ideal for use in backup power systems, uninterruptible power supplies (UPS), emergency lighting, alarm systems, and small-scale renewable energy setups. Its robust design ensures durability and consistent performance, making it a popular choice for both hobbyists and professionals.
Common Applications:
- Uninterruptible Power Supplies (UPS): Provides backup power during outages.
- Emergency Lighting Systems: Ensures continuous lighting in critical situations.
- Alarm and Security Systems: Powers sensors, alarms, and control panels.
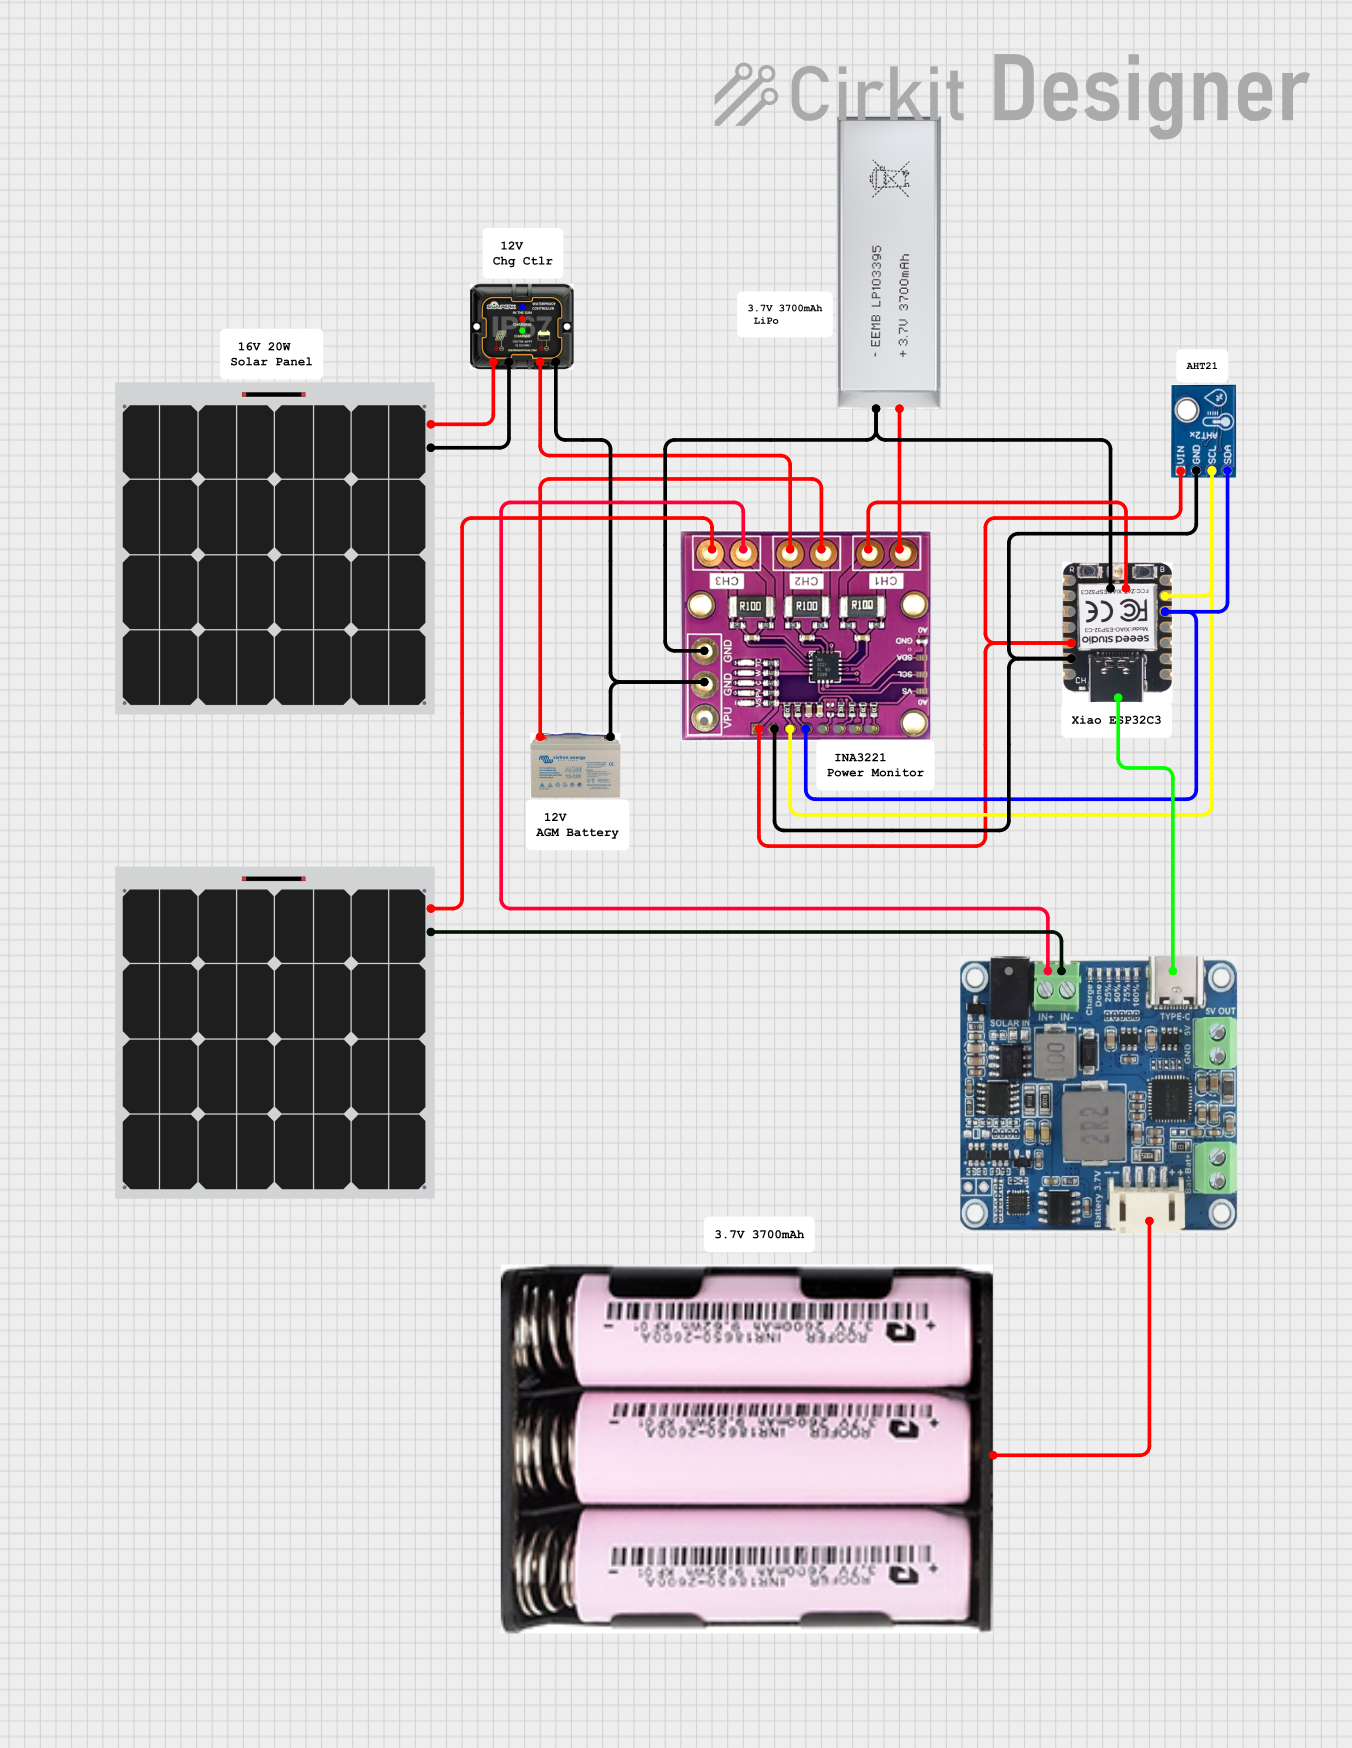
- Solar Power Systems: Stores energy for off-grid or backup use.
- Hobby Electronics: Powers small projects, such as Arduino-based systems or robotics.
- Portable Devices: Used in portable power packs or small electric vehicles.
2. Technical Specifications
The following table outlines the key technical details of the 12V 7Ah battery:
| Parameter | Specification |
|---|---|
| Nominal Voltage | 12V |
| Capacity | 7Ah (7,000mAh) |
| Chemistry | Sealed Lead-Acid (SLA), AGM type |
| Maximum Charging Voltage | 14.4V - 14.7V |
| Float Charging Voltage | 13.5V - 13.8V |
| Maximum Discharge Current | 105A (for 5 seconds) |
| Recommended Discharge Current | ≤ 2.1A (for optimal lifespan) |
| Operating Temperature | -15°C to 50°C (5°F to 122°F) |
| Dimensions (L x W x H) | |
| Weight | ~2.1kg (4.63 lbs) |
| Terminal Type | F1 or F2 Faston Tabs |
| Cycle Life | ~200-300 cycles (at 50% depth of discharge) |
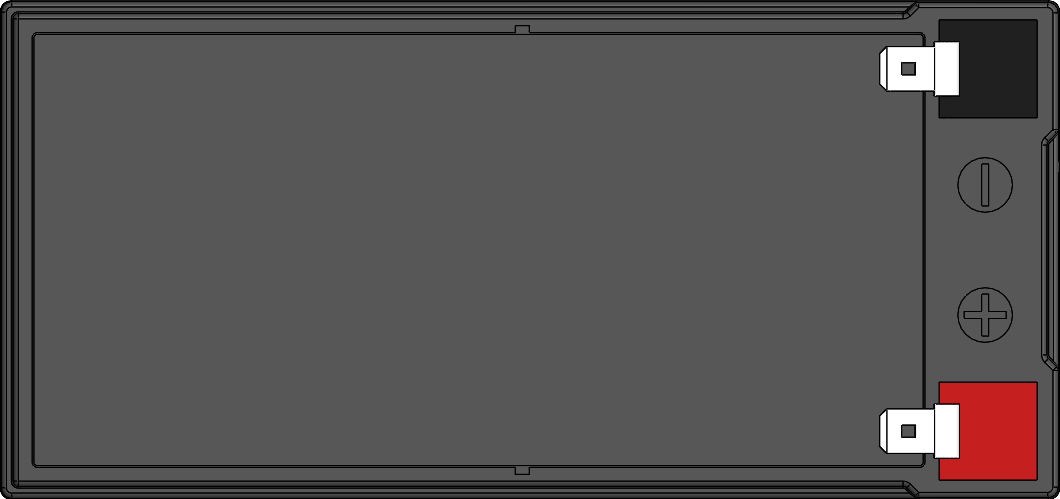
Pin Configuration and Terminal Description
The 12V 7Ah battery typically features two terminals for electrical connections:
| Terminal | Description |
|---|---|
| Positive (+) | Connects to the positive side of the circuit. Usually marked in red. |
| Negative (-) | Connects to the negative side of the circuit. Usually marked in black. |
3. Usage Instructions
Connecting the Battery in a Circuit
Identify the Terminals:
- Locate the positive (+) and negative (-) terminals on the battery.
- Ensure proper polarity to avoid damage to the battery or connected devices.
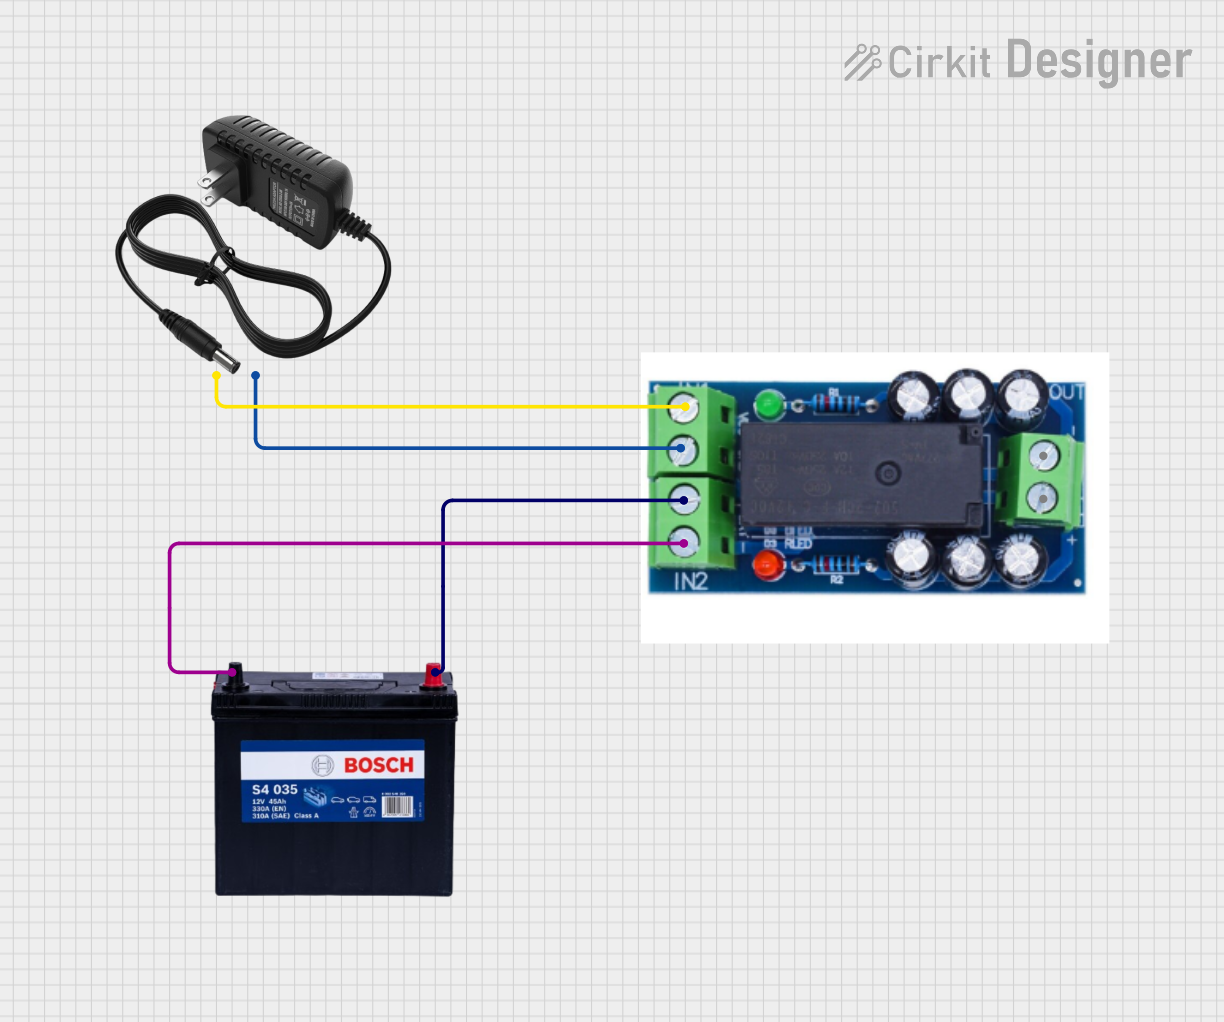
Use Proper Connectors:
- Use Faston connectors (F1 or F2) or compatible spade terminals for secure connections.
- Ensure the connectors are clean and free of corrosion.
Charging the Battery:
- Use a compatible lead-acid battery charger with the correct voltage and current ratings.
- Set the charger to the recommended charging voltage (14.4V - 14.7V for cyclic use or 13.5V - 13.8V for float use).
- Avoid overcharging, as it can damage the battery and reduce its lifespan.
Discharging the Battery:
- Connect the battery to your load, ensuring the current draw does not exceed the recommended discharge current (2.1A for optimal lifespan).
- Avoid deep discharges below 10.5V, as this can permanently damage the battery.
Safety Precautions:
- Do not short-circuit the terminals.
- Avoid exposing the battery to extreme temperatures or direct sunlight.
- Handle with care to prevent physical damage or leaks.
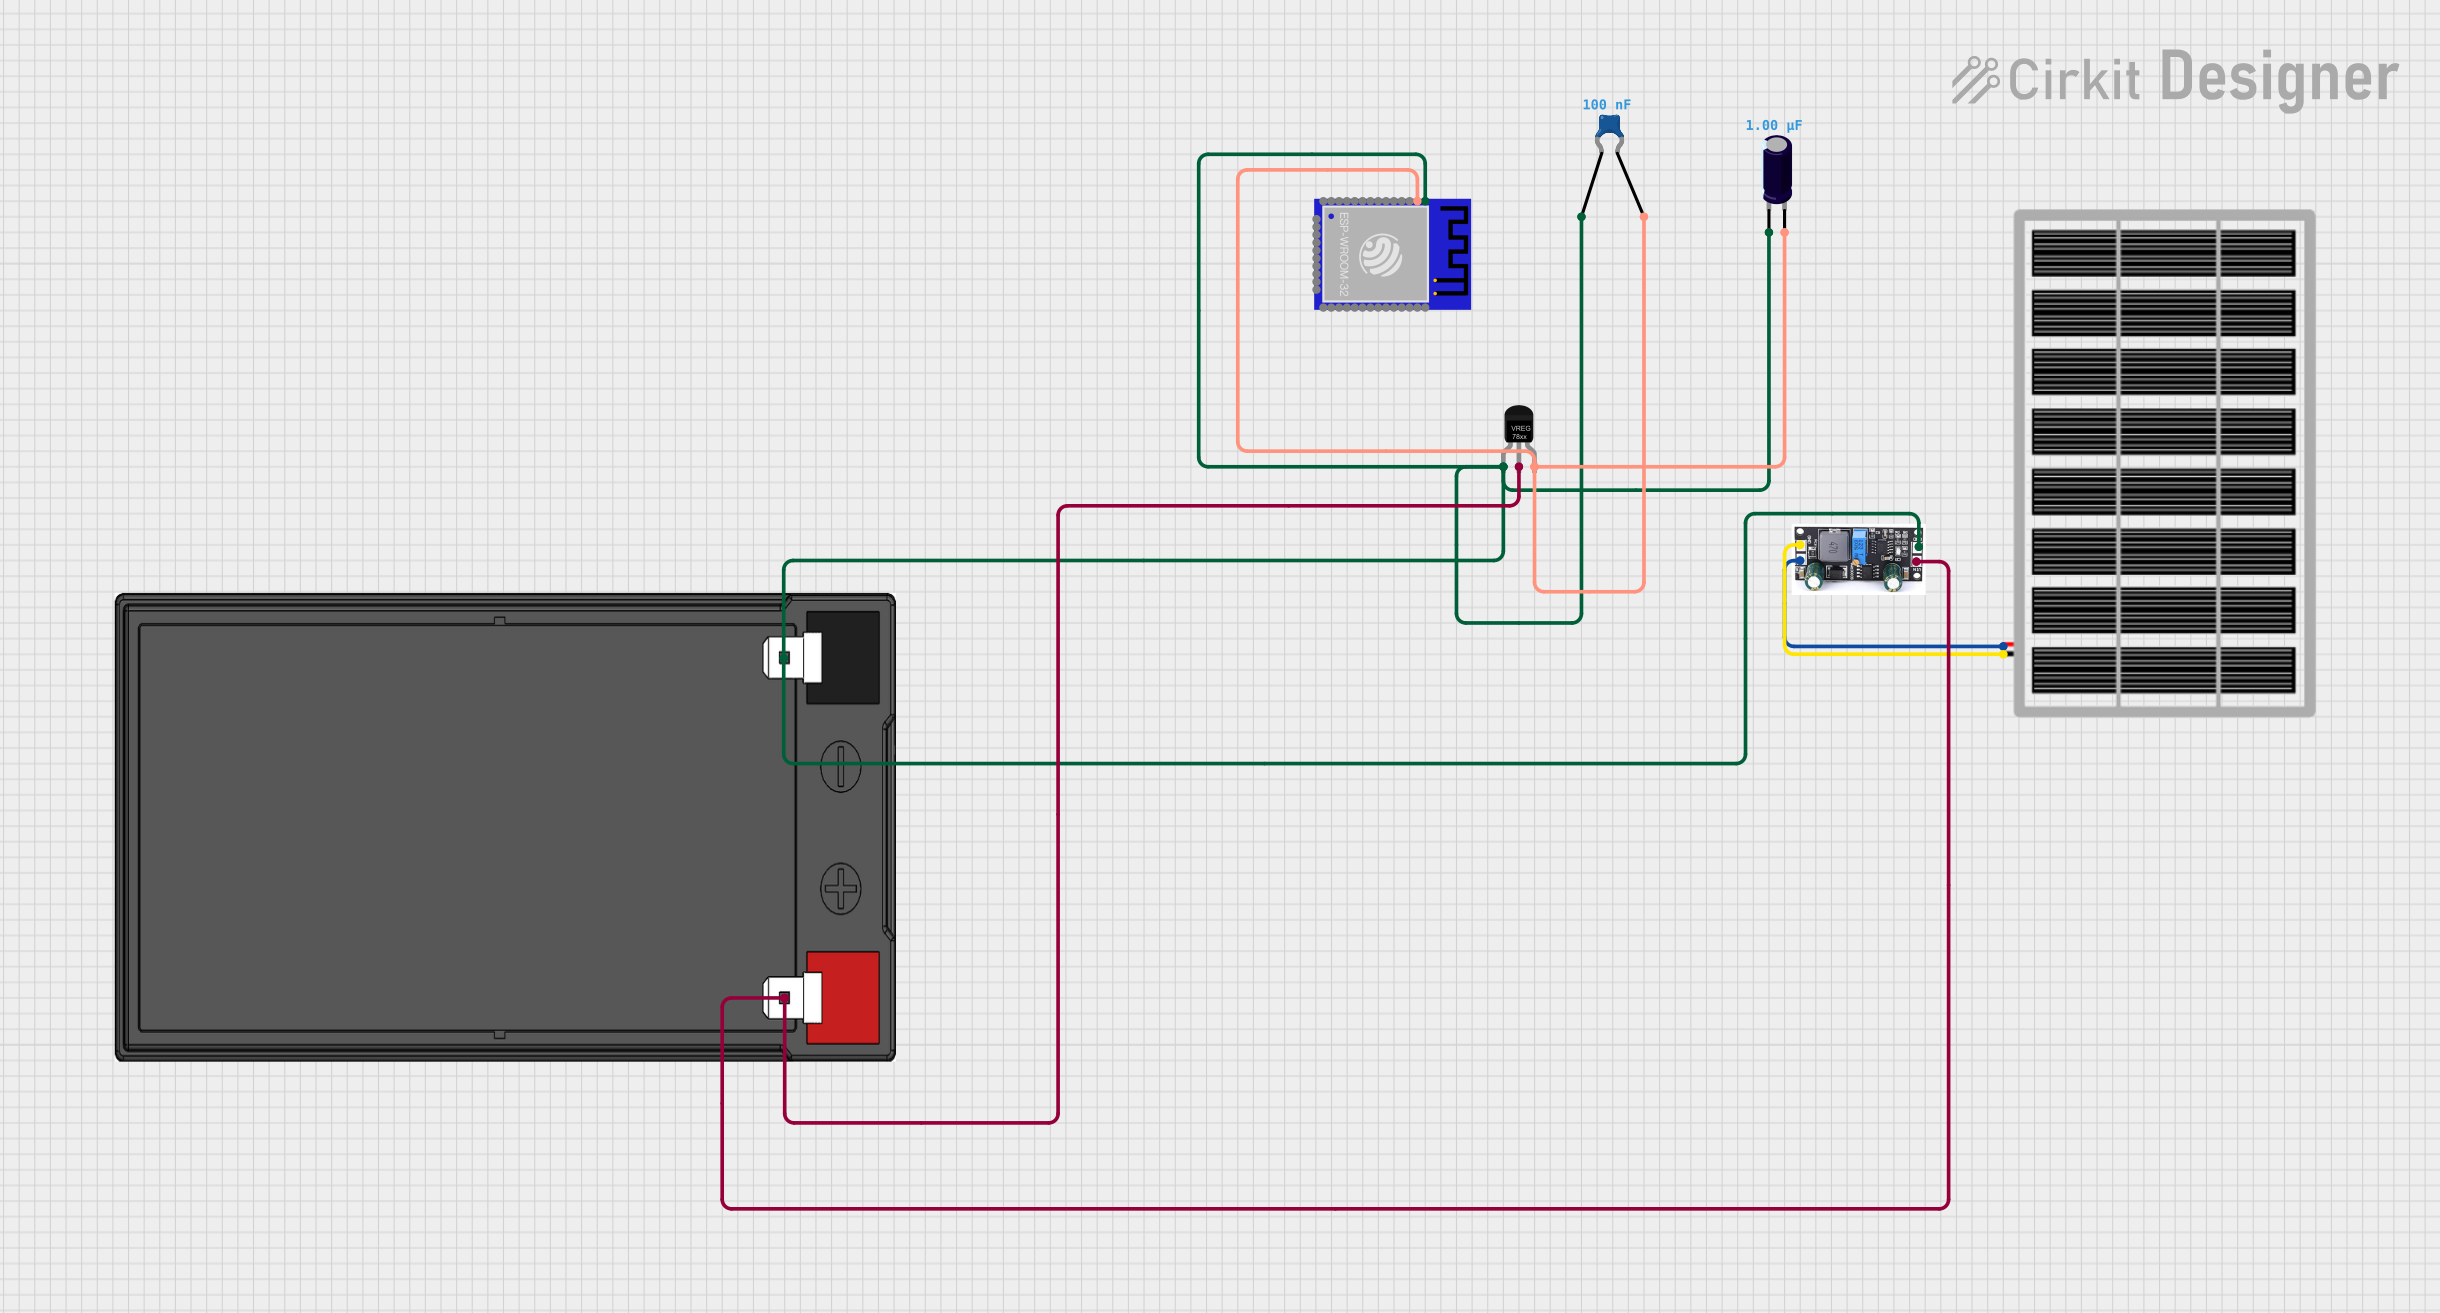
Example: Using the Battery with an Arduino UNO
The 12V 7Ah battery can be used to power an Arduino UNO via a voltage regulator or a DC-DC converter to step down the voltage to 5V. Below is an example circuit and code for powering an Arduino UNO with the battery.
Circuit Diagram:
- Connect the positive terminal of the battery to the input of a 12V-to-5V DC-DC converter.
- Connect the output of the converter to the Arduino UNO's 5V and GND pins.
Sample Code:
// Example code for Arduino UNO powered by a 12V 7Ah battery
// This code blinks an LED connected to pin 13

void setup() {
  pinMode(13, OUTPUT); // Set pin 13 as an output for the LED
}

void loop() {
  digitalWrite(13, HIGH); // Turn the LED on
  delay(1000);            // Wait for 1 second
  digitalWrite(13, LOW);  // Turn the LED off
  delay(1000);            // Wait for 1 second
}
4. Troubleshooting and FAQs
Common Issues and Solutions
| Issue | Possible Cause | Solution |
|---|---|---|
| Battery not charging | Charger not compatible or faulty | Use a charger designed for 12V SLA batteries. |
| Battery discharges too quickly | Excessive load or aging battery | Reduce load or replace the battery if it has degraded. |
| Terminals corroded or loose | Poor maintenance or environmental factors | Clean terminals and ensure secure connections. |
| Battery voltage drops below 10.5V | Over-discharge or faulty load | Recharge immediately and avoid deep discharges. |
| Battery overheats during use | Overcharging or excessive discharge current | Check charger settings or reduce load. |
Frequently Asked Questions (FAQs)
Can I use this battery for solar power systems?
- Yes, the 12V 7Ah battery is commonly used in small-scale solar setups. Ensure you use a charge controller to regulate charging and discharging.
How long will the battery last on a full charge?
- The runtime depends on the load. For example, a 1A load will last approximately 7 hours (7Ah ÷ 1A).
Can I connect multiple batteries together?
- Yes, you can connect batteries in series (to increase voltage) or parallel (to increase capacity). Ensure all batteries are of the same type and charge level.
How do I store the battery when not in use?
- Store the battery in a cool, dry place. Charge it every 3-6 months to prevent self-discharge and sulfation.
Is the battery safe to use indoors?
- Yes, the sealed design prevents leaks and minimizes gas emissions, making it safe for indoor use.
5. Conclusion
The 12V 7Ah Rechargeable Lead-Acid Battery is a versatile and reliable power source for a wide range of applications. By following the usage instructions and best practices outlined in this documentation, you can maximize the battery's performance and lifespan. Whether you're powering an Arduino project, a security system, or a solar setup, this battery is a dependable choice for your energy needs.
Explore Projects Built with 12v 7ah Battery

Explore Projects Built with 12v 7ah Battery