
How to Use orange led 5: Examples, Pinouts, and Specs

 Design with orange led 5 in Cirkit Designer
Introduction
The Orange LED 5 (Manufacturer: Shankar, Part ID: 001.4) is a light-emitting diode that emits a bright orange light when current flows through it. This LED is commonly used in electronic circuits for visual indicators, status displays, and decorative lighting. Its compact size and low power consumption make it ideal for a wide range of applications, from hobbyist projects to professional electronic designs.
Explore Projects Built with orange led 5
 Open Project in Cirkit Designer
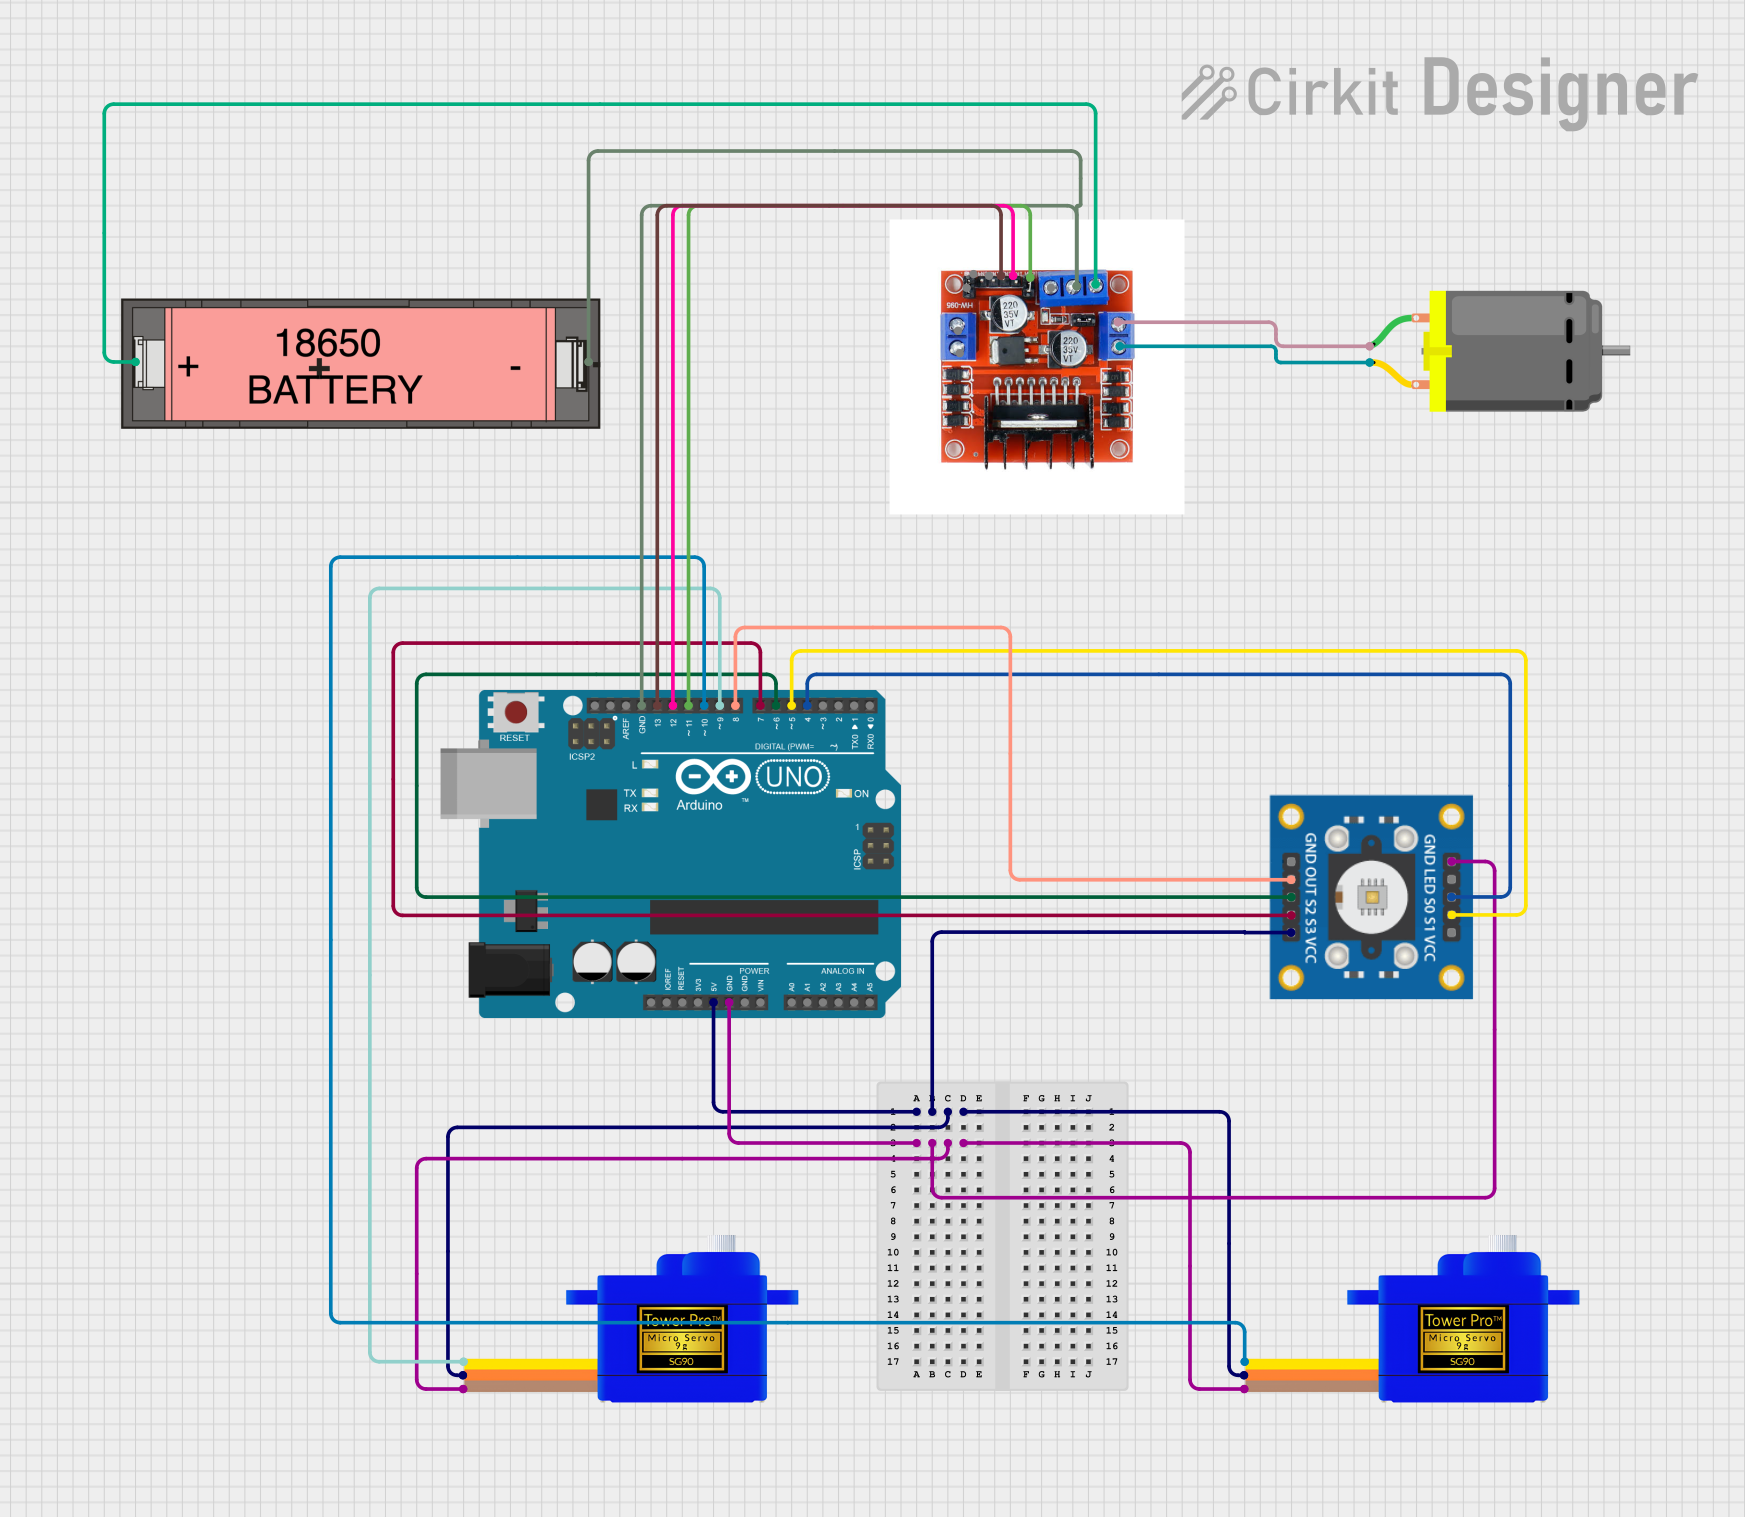 Open Project in Cirkit Designer
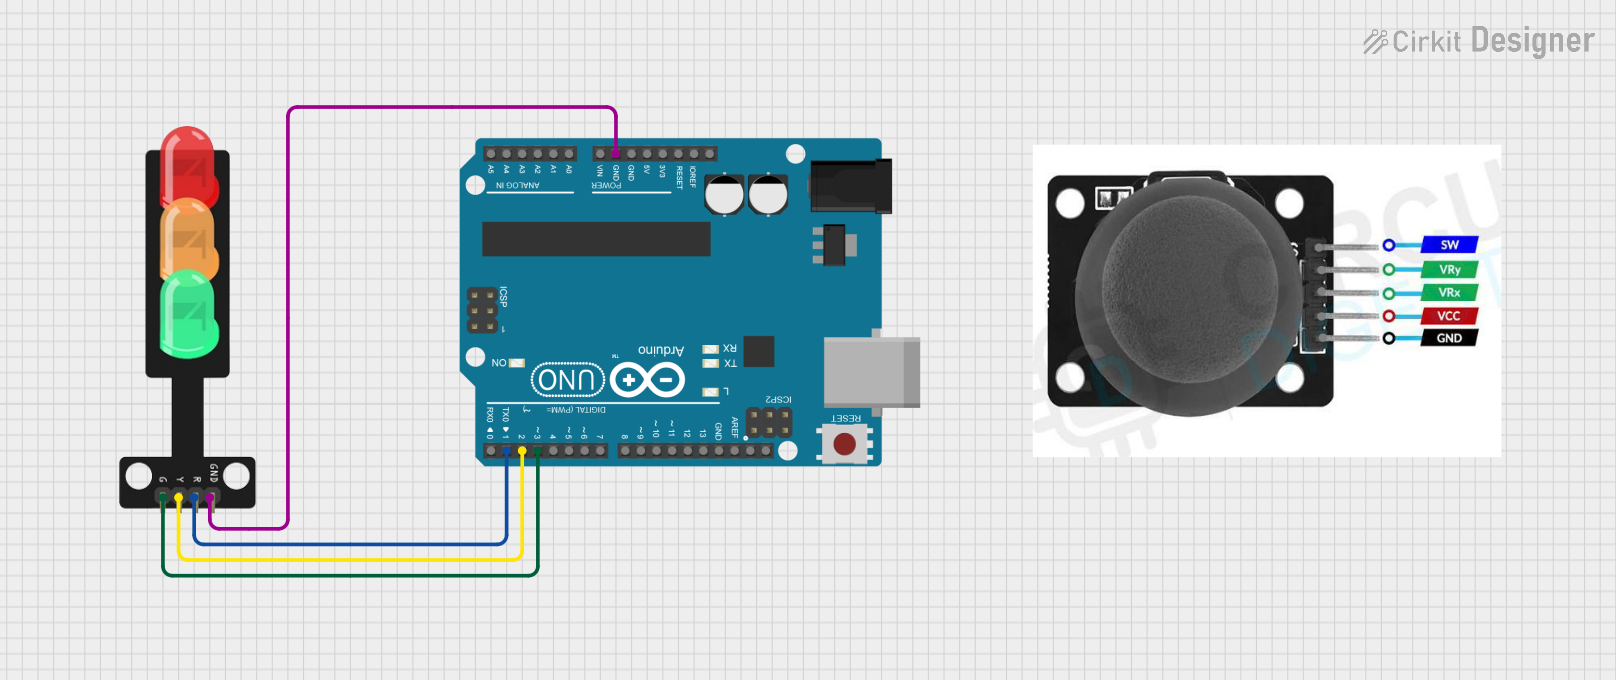 Open Project in Cirkit Designer
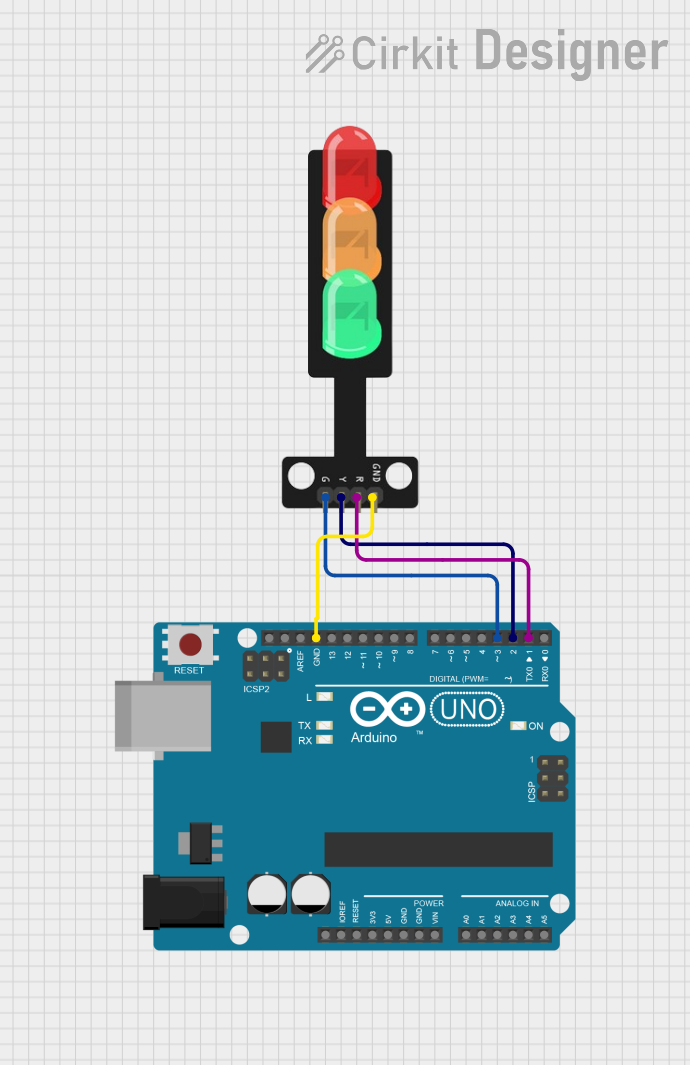 Open Project in Cirkit Designer
Explore Projects Built with orange led 5
Open Project in Cirkit DesignerOpen Project in Cirkit DesignerOpen Project in Cirkit DesignerOpen Project in Cirkit DesignerCommon Applications
- Power and status indicators in electronic devices
- Signal and warning lights
- Decorative and ambient lighting
- Educational and DIY electronics projects
- Displays and signage
Technical Specifications
Below are the key technical details for the Orange LED 5:
| Parameter | Value |
|---|---|
| Manufacturer | Shankar |
| Part ID | 001.4 |
| Forward Voltage (Vf) | 2.0V to 2.2V |
| Forward Current (If) | 20mA (typical) |
| Maximum Current (If max) | 30mA |
| Wavelength | 600nm to 610nm (orange) |
| Viewing Angle | 30° to 60° |
| Power Dissipation | 60mW (maximum) |
| Operating Temperature | -40°C to +85°C |
| Storage Temperature | -40°C to +100°C |
Pin Configuration
The Orange LED 5 has two pins: the Anode (positive) and the Cathode (negative). The longer pin is the Anode, and the shorter pin is the Cathode.
| Pin Name | Description |
|---|---|
| Anode | Positive terminal (connect to +V) |
| Cathode | Negative terminal (connect to GND) |
Usage Instructions
How to Use the Orange LED 5 in a Circuit
Determine the Resistor Value: To prevent damage to the LED, always use a current-limiting resistor in series with the LED. The resistor value can be calculated using Ohm's Law: [ R = \frac{V_{supply} - V_f}{I_f} ] Where:
- (V_{supply}) is the supply voltage
- (V_f) is the forward voltage of the LED (2.0V to 2.2V)
- (I_f) is the desired forward current (typically 20mA)
For example, if (V_{supply} = 5V): [ R = \frac{5V - 2.1V}{0.02A} = 145\Omega ] Use the nearest standard resistor value (e.g., 150Ω).
Connect the LED:
- Connect the Anode (longer pin) to the positive side of the power supply through the resistor.
- Connect the Cathode (shorter pin) to the ground (GND).
Power the Circuit: Apply the appropriate voltage to the circuit. The LED will emit orange light when current flows through it.
Important Considerations
- Polarity: LEDs are polarized components. Reversing the polarity may damage the LED.
- Current Limiting: Always use a resistor to limit the current through the LED.
- Heat Dissipation: Avoid exceeding the maximum power dissipation to prevent overheating.
- Brightness Control: Use a PWM (Pulse Width Modulation) signal to adjust the brightness of the LED.
Example: Connecting to an Arduino UNO
The Orange LED 5 can be easily connected to an Arduino UNO for control and experimentation. Below is an example circuit and code to blink the LED:
Circuit Diagram
- Connect the Anode of the LED to Arduino digital pin 9 through a 220Ω resistor.
- Connect the Cathode of the LED to the Arduino GND pin.
Arduino Code
// Define the pin connected to the LED
const int ledPin = 9;

void setup() {
  // Set the LED pin as an output
  pinMode(ledPin, OUTPUT);
}

void loop() {
  // Turn the LED on
  digitalWrite(ledPin, HIGH);
  delay(1000); // Wait for 1 second

  // Turn the LED off
  digitalWrite(ledPin, LOW);
  delay(1000); // Wait for 1 second
}
Troubleshooting and FAQs
Common Issues
LED Does Not Light Up:
Cause: Incorrect polarity.
Solution: Ensure the Anode is connected to the positive voltage and the Cathode to ground.
Cause: No current-limiting resistor.
Solution: Add a resistor in series with the LED to limit the current.
LED is Dim:
- Cause: Resistor value too high.
- Solution: Use a lower resistor value, but ensure the current does not exceed 20mA.
LED Burns Out:
- Cause: Excessive current or voltage.
- Solution: Verify the resistor value and ensure the supply voltage is within the LED's specifications.
Flickering LED:
- Cause: Unstable power supply or loose connections.
- Solution: Check the power source and ensure all connections are secure.
FAQs
Q: Can I use the Orange LED 5 without a resistor?
A: No, using the LED without a resistor can result in excessive current flow, damaging the LED.
Q: What is the maximum brightness of the Orange LED 5?
A: The brightness depends on the forward current. At 20mA, the LED operates at its typical brightness.
Q: Can I use the Orange LED 5 with a 3.3V power supply?
A: Yes, but ensure the resistor value is calculated for the 3.3V supply to limit the current to 20mA.
Q: How do I control the brightness of the LED?
A: Use a PWM signal from a microcontroller (e.g., Arduino) to adjust the brightness.
This concludes the documentation for the Orange LED 5.