How to Use Adafruit LED Sequin - Royal Blue: Examples, Pinouts, and Specs
Introduction
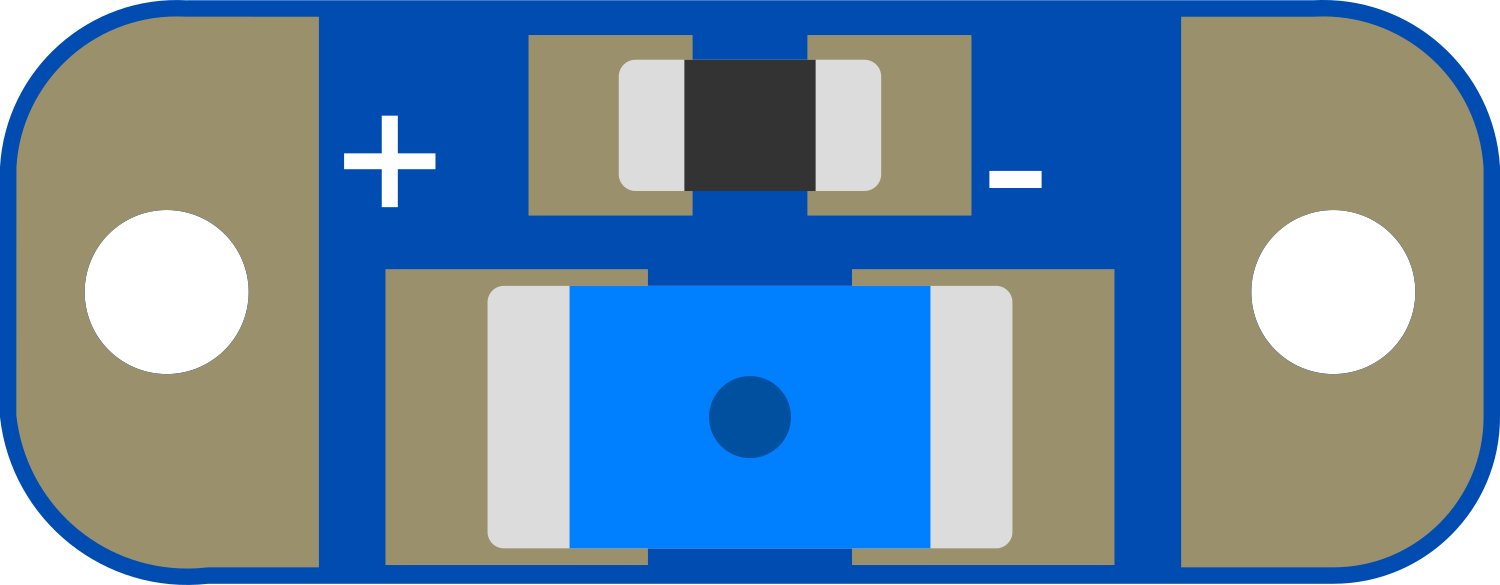
The Adafruit LED Sequin - Royal Blue is a compact, sewable electronics component that integrates a bright royal blue LED with a built-in resistor. This component is designed for wearable projects, allowing users to add light and color to textiles and clothing. It can be controlled by a microcontroller, such as an Arduino, to create various lighting effects including blinking, fading, or patterned sequences.
Explore Projects Built with Adafruit LED Sequin - Royal Blue
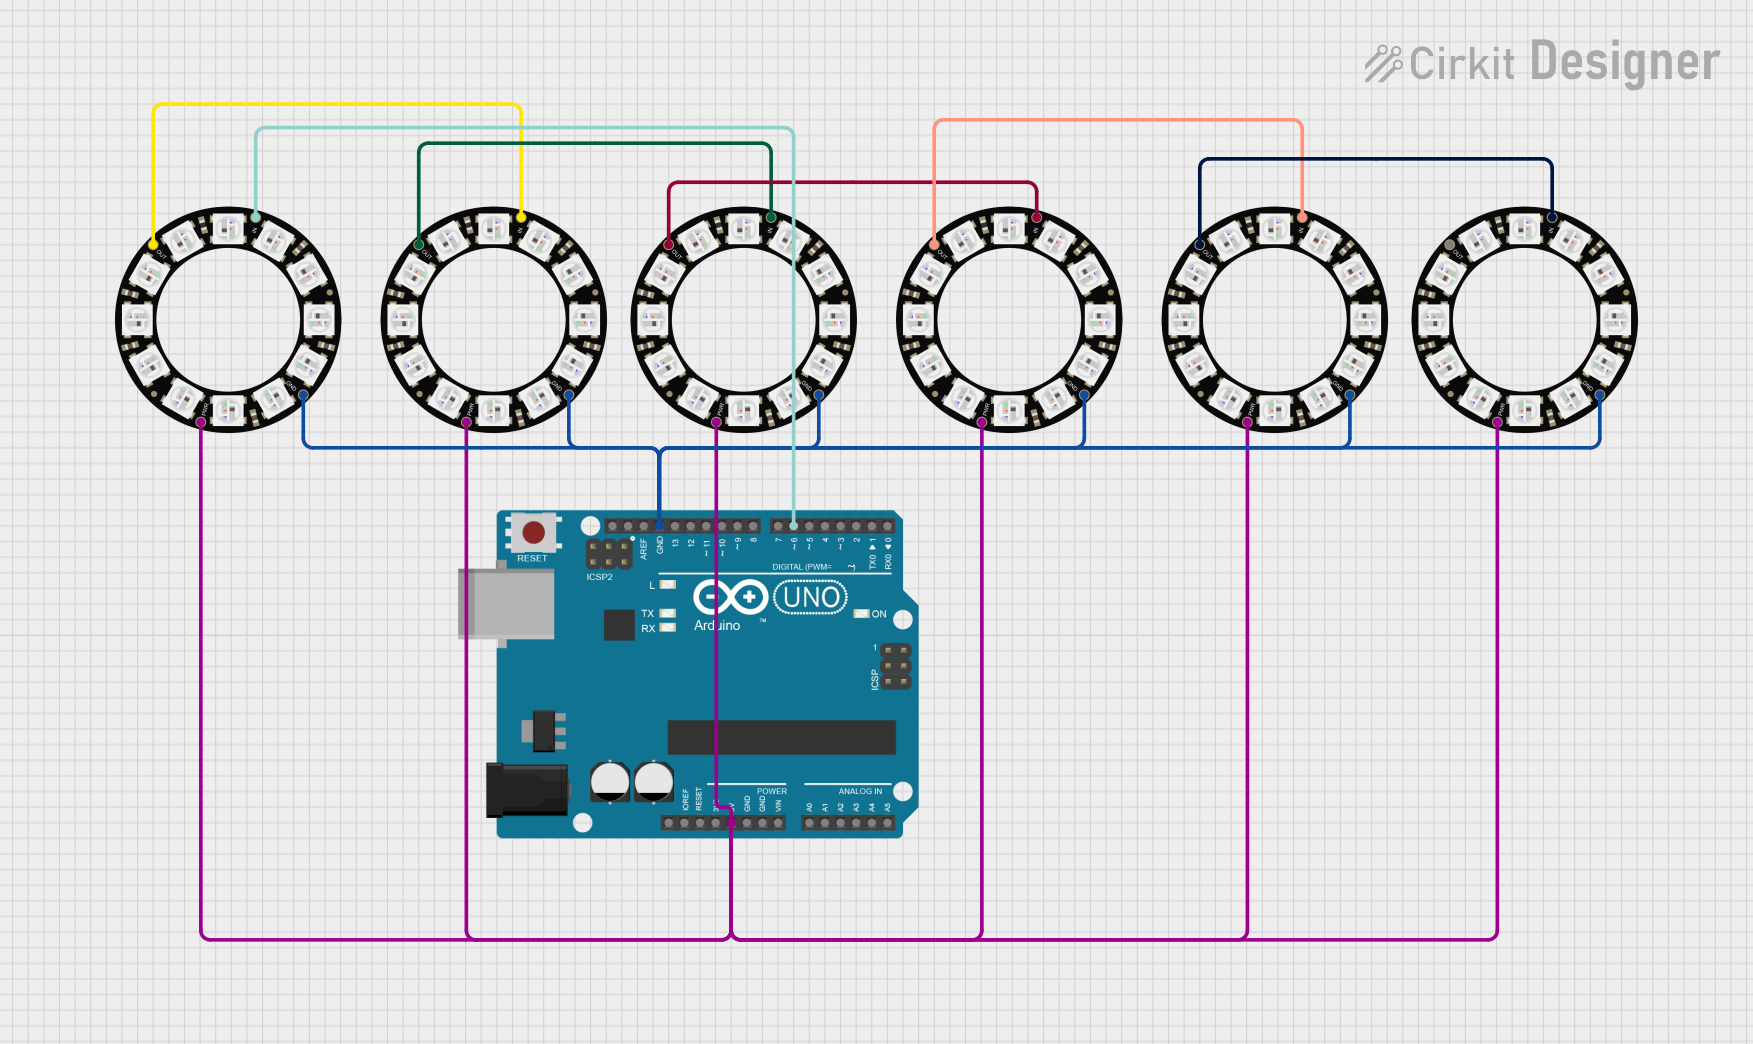
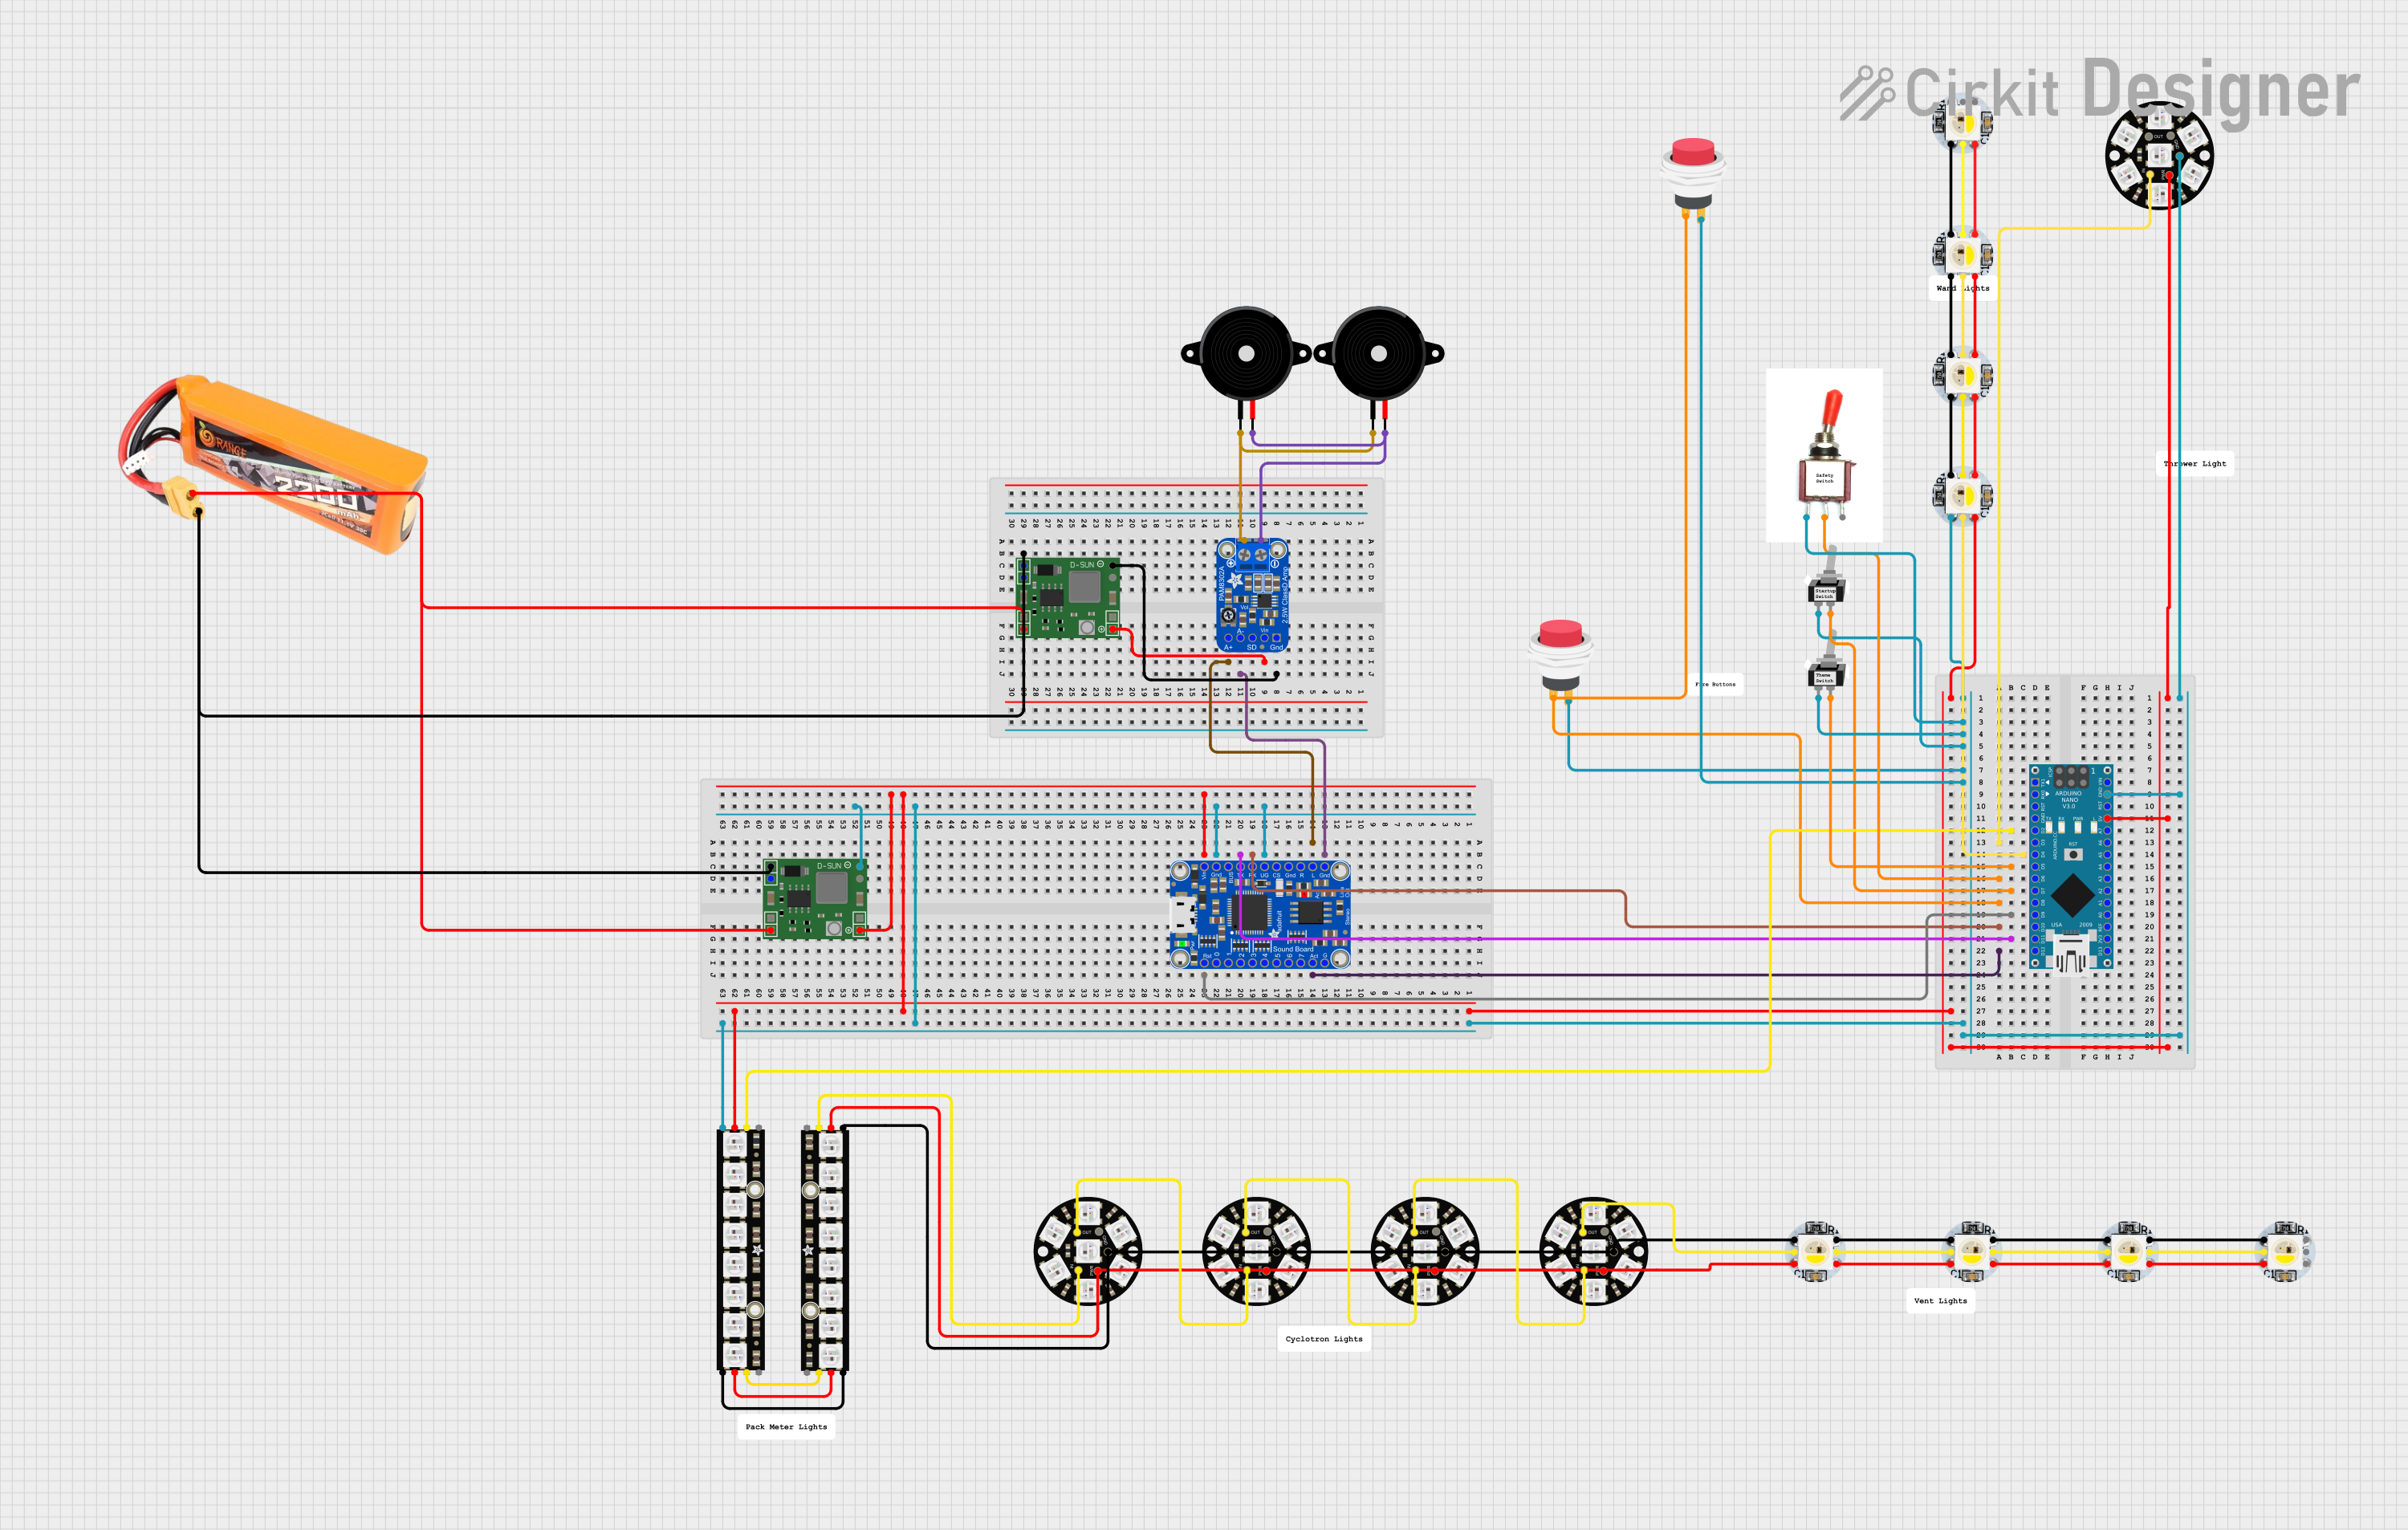

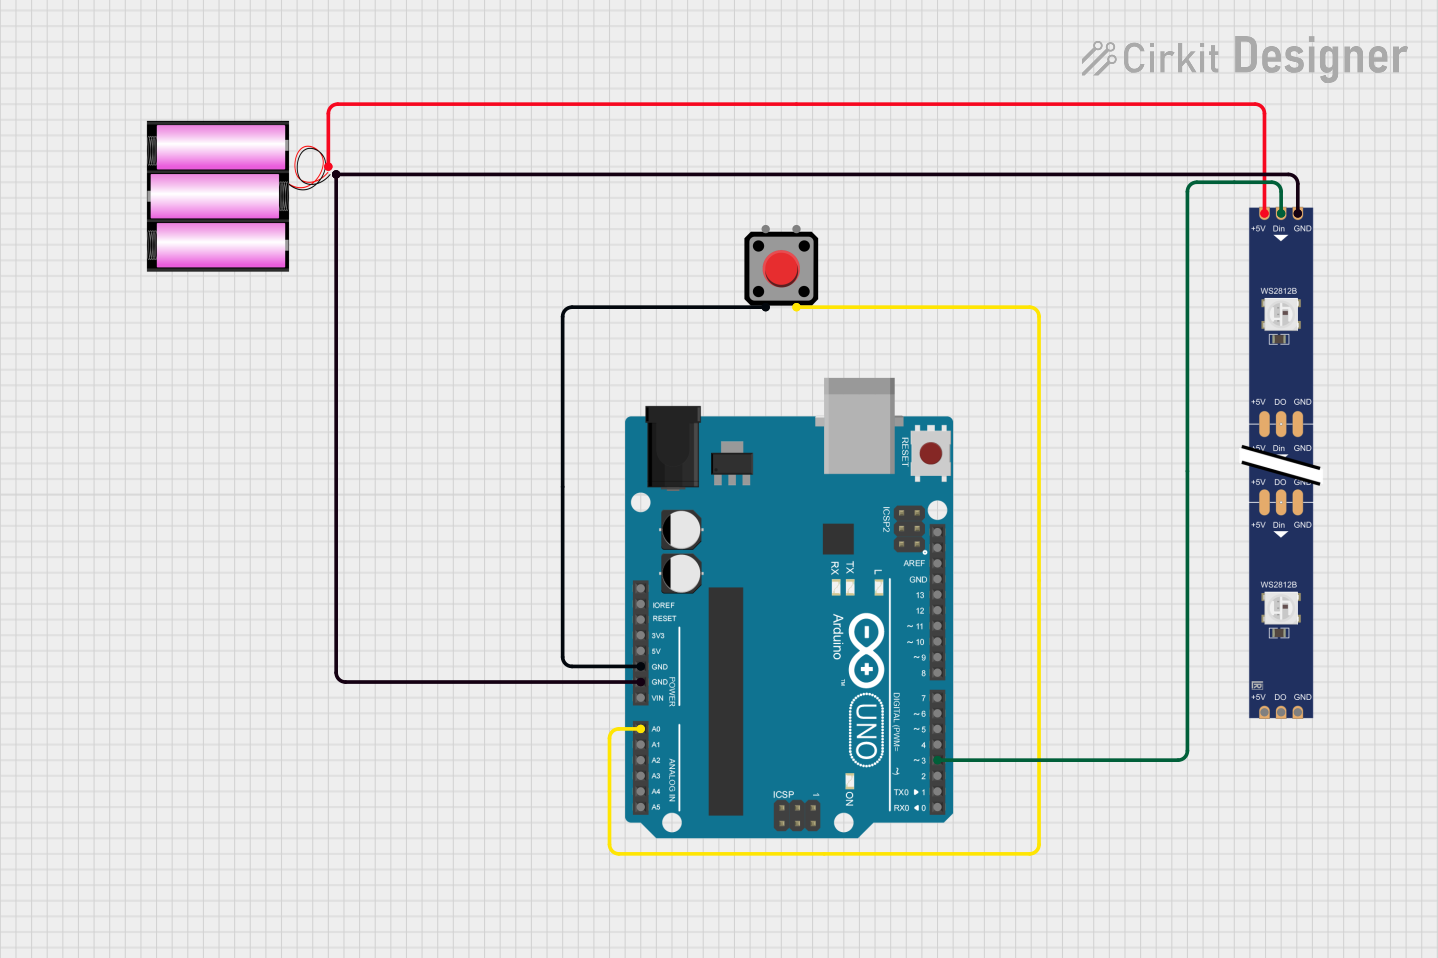
Explore Projects Built with Adafruit LED Sequin - Royal Blue
Common Applications and Use Cases
- Wearable electronics (e.g., costumes, fashion accessories)
- Soft circuit projects
- Interactive textile projects
- Educational purposes for teaching electronics and programming
Technical Specifications
Key Technical Details
- Color: Royal Blue
- Operating Voltage: 3.0V - 5.5V
- Current: 5 mA (typical at 3.3V)
- Brightness: Typically 500 mcd
- Viewing Angle: ~120 degrees
Pin Configuration and Descriptions
| Pin Name | Description |
|---|---|
| + | Anode (positive side, connect to power supply) |
| - | Cathode (negative side, connect to ground) |
Usage Instructions
How to Use the Component in a Circuit
Power Supply: Connect the '+' pin of the LED Sequin to a power supply between 3.0V and 5.5V. For use with an Arduino, you can connect it to one of the digital pins set to HIGH, or to the 3.3V or 5V output pin for a constant light.
Ground Connection: Connect the '-' pin to the ground (GND) of your power source or microcontroller.
Sewing into Fabric: Use conductive thread to sew the LED Sequin into your textile project. Ensure that the conductive thread does not short-circuit by crossing over itself or other conductive threads.
Microcontroller Control: To control the LED with an Arduino, connect the '+' pin to a digital output pin and use code to turn the LED on and off.
Important Considerations and Best Practices
- Ensure that the voltage does not exceed 5.5V to prevent damaging the LED.
- When sewing, make sure there is no short circuit between the '+' and '-' connections.
- If multiple LED Sequins are used, ensure each has its own current-limiting resistor if they are powered at a voltage higher than their rated forward voltage.
- Avoid placing stress on the LED Sequin connections to prevent breakage.
Example Arduino Code
// Define the pin where the LED Sequin is connected
const int ledPin = 9; // PWM pin for dimming capability

void setup() {
  pinMode(ledPin, OUTPUT); // Set the LED pin as an output
}

void loop() {
  analogWrite(ledPin, 127); // Set the brightness to 50% (value between 0 and 255)
  delay(1000);              // Wait for 1 second
  analogWrite(ledPin, 0);   // Turn off the LED
  delay(1000);              // Wait for 1 second
}
Troubleshooting and FAQs
Common Issues
- LED Not Lighting Up: Check the polarity of the connections. The '+' pin should be connected to the positive side of the power supply, and the '-' pin should be connected to ground.
- Dim LED: Ensure that the power supply is within the recommended voltage range. If using a microcontroller, check that the output pin is set to HIGH or the correct PWM value.
- Short Circuit: If using conductive thread, ensure that the threads do not touch or cross in a way that could create a short circuit.
Solutions and Tips for Troubleshooting
- Double-check all connections for proper polarity and secure soldering or sewing.
- Use a multimeter to verify that the voltage at the LED Sequin is within the specified range.
- If multiple LEDs are dim or not working, ensure that each LED has an appropriate current-limiting resistor if required.
FAQs
Q: Can I wash garments with LED Sequins sewn into them?
A: Hand washing is possible, but you should remove any power sources (like batteries) and be cautious not to damage the electronics. Air dry completely before powering again.
Q: How many LED Sequins can I connect to a single microcontroller pin?
A: It depends on the current limit of the microcontroller pin. For an Arduino, it's safe to connect one LED Sequin per pin without exceeding the 40 mA per pin limit.
Q: Can I use the LED Sequin with a 3V coin cell battery?
A: Yes, the LED Sequin can operate at 3V, making it suitable for use with a coin cell battery for small projects or wearables.