How to Use Carb Temp: Examples, Pinouts, and Specs
Introduction
The Carb Temp sensor, manufactured by Carb (Part ID: Carb Temp), is a specialized temperature sensor designed to measure the temperature of the carburetor in an engine. This data is crucial for optimizing the fuel-air mixture, ensuring efficient engine performance, and preventing issues such as icing or overheating. The sensor is compact, reliable, and suitable for a wide range of automotive and industrial applications.
Explore Projects Built with Carb Temp
Explore Projects Built with Carb Temp
Common Applications and Use Cases
- Automotive engines for monitoring carburetor temperature
- Aircraft engines to prevent carburetor icing
- Industrial machinery with carbureted engines
- Performance tuning and diagnostics for internal combustion engines
Technical Specifications
The following table outlines the key technical details of the Carb Temp sensor:
| Parameter | Value |
|---|---|
| Operating Voltage | 5V DC |
| Operating Temperature | -40°C to +125°C |
| Temperature Range | -40°C to +150°C |
| Accuracy | ±1°C |
| Output Signal | Analog voltage (0.5V to 4.5V) |
| Response Time | < 100 ms |
| Connector Type | 3-pin JST |
| Housing Material | Stainless steel |
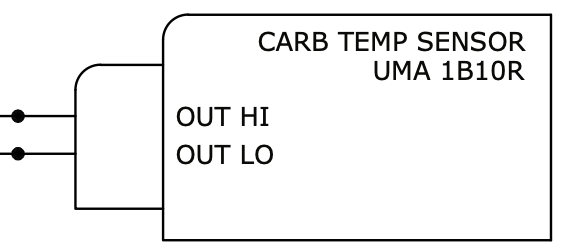
Pin Configuration and Descriptions
The Carb Temp sensor has a 3-pin connector. The pinout is as follows:
| Pin | Name | Description |
|---|---|---|
| 1 | VCC | Power supply input (5V DC) |
| 2 | OUT | Analog output signal proportional to temperature |
| 3 | GND | Ground connection |
Usage Instructions
How to Use the Carb Temp Sensor in a Circuit
- Power the Sensor: Connect the VCC pin to a 5V DC power source and the GND pin to the ground of your circuit.
- Read the Output: The OUT pin provides an analog voltage signal proportional to the temperature. Use an analog-to-digital converter (ADC) to read this signal.
- Calibrate the Sensor: Use the sensor's datasheet to map the output voltage to the corresponding temperature values. For example:
- 0.5V corresponds to -40°C
- 4.5V corresponds to +150°C
- Integrate with a Microcontroller: The sensor can be connected to a microcontroller (e.g., Arduino UNO) for real-time temperature monitoring and control.
Important Considerations and Best Practices
- Power Supply: Ensure a stable 5V DC power supply to avoid inaccurate readings.
- Placement: Mount the sensor securely on the carburetor to ensure accurate temperature measurement.
- Wiring: Use shielded cables to minimize noise interference in the analog signal.
- Calibration: Periodically calibrate the sensor to maintain accuracy, especially in high-vibration environments.
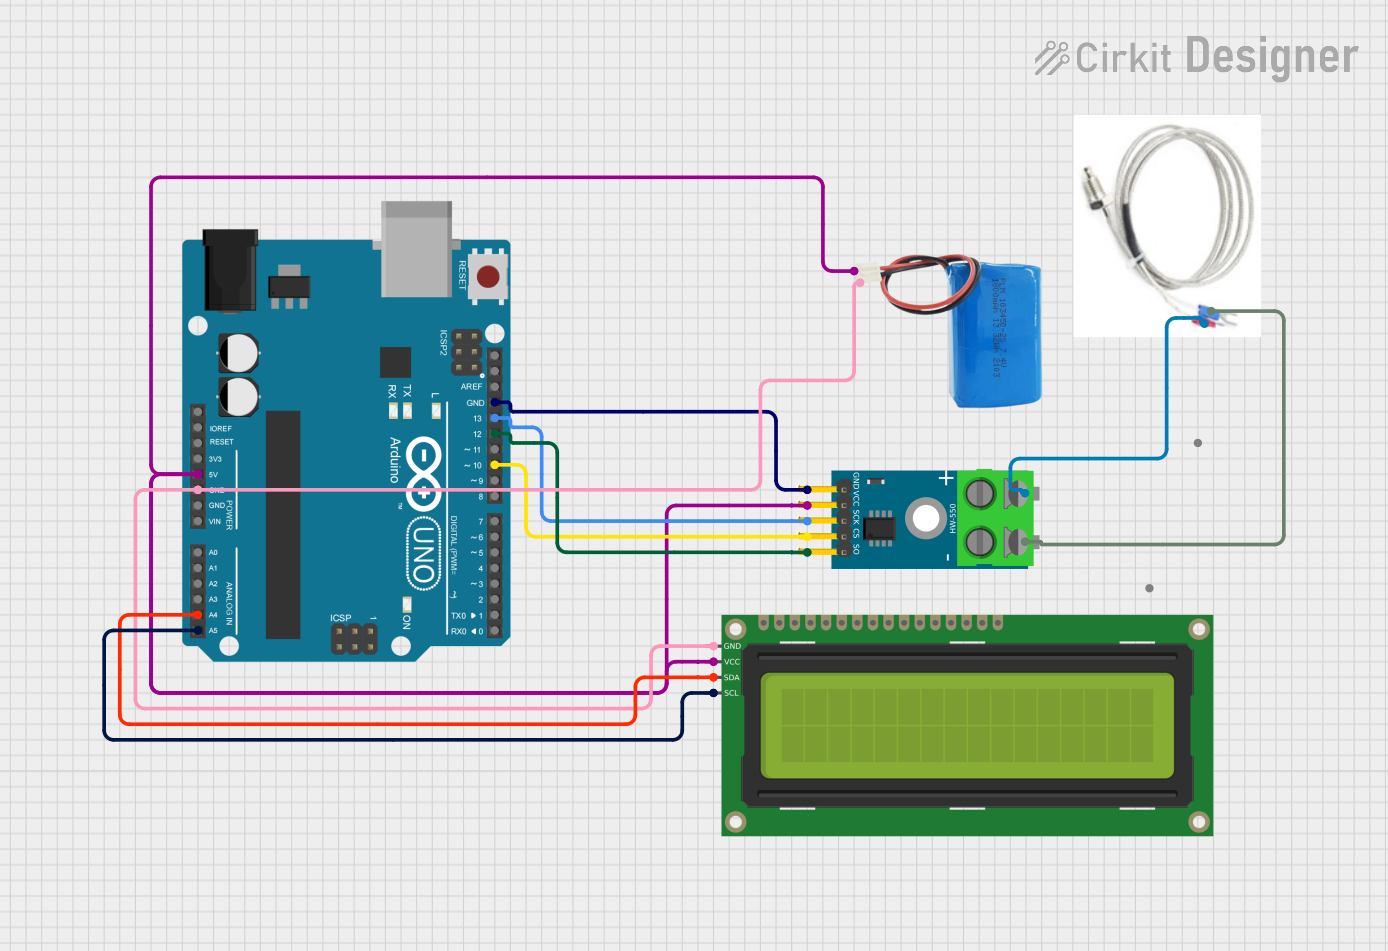
Example: Connecting to an Arduino UNO
Below is an example of how to connect the Carb Temp sensor to an Arduino UNO and read the temperature:
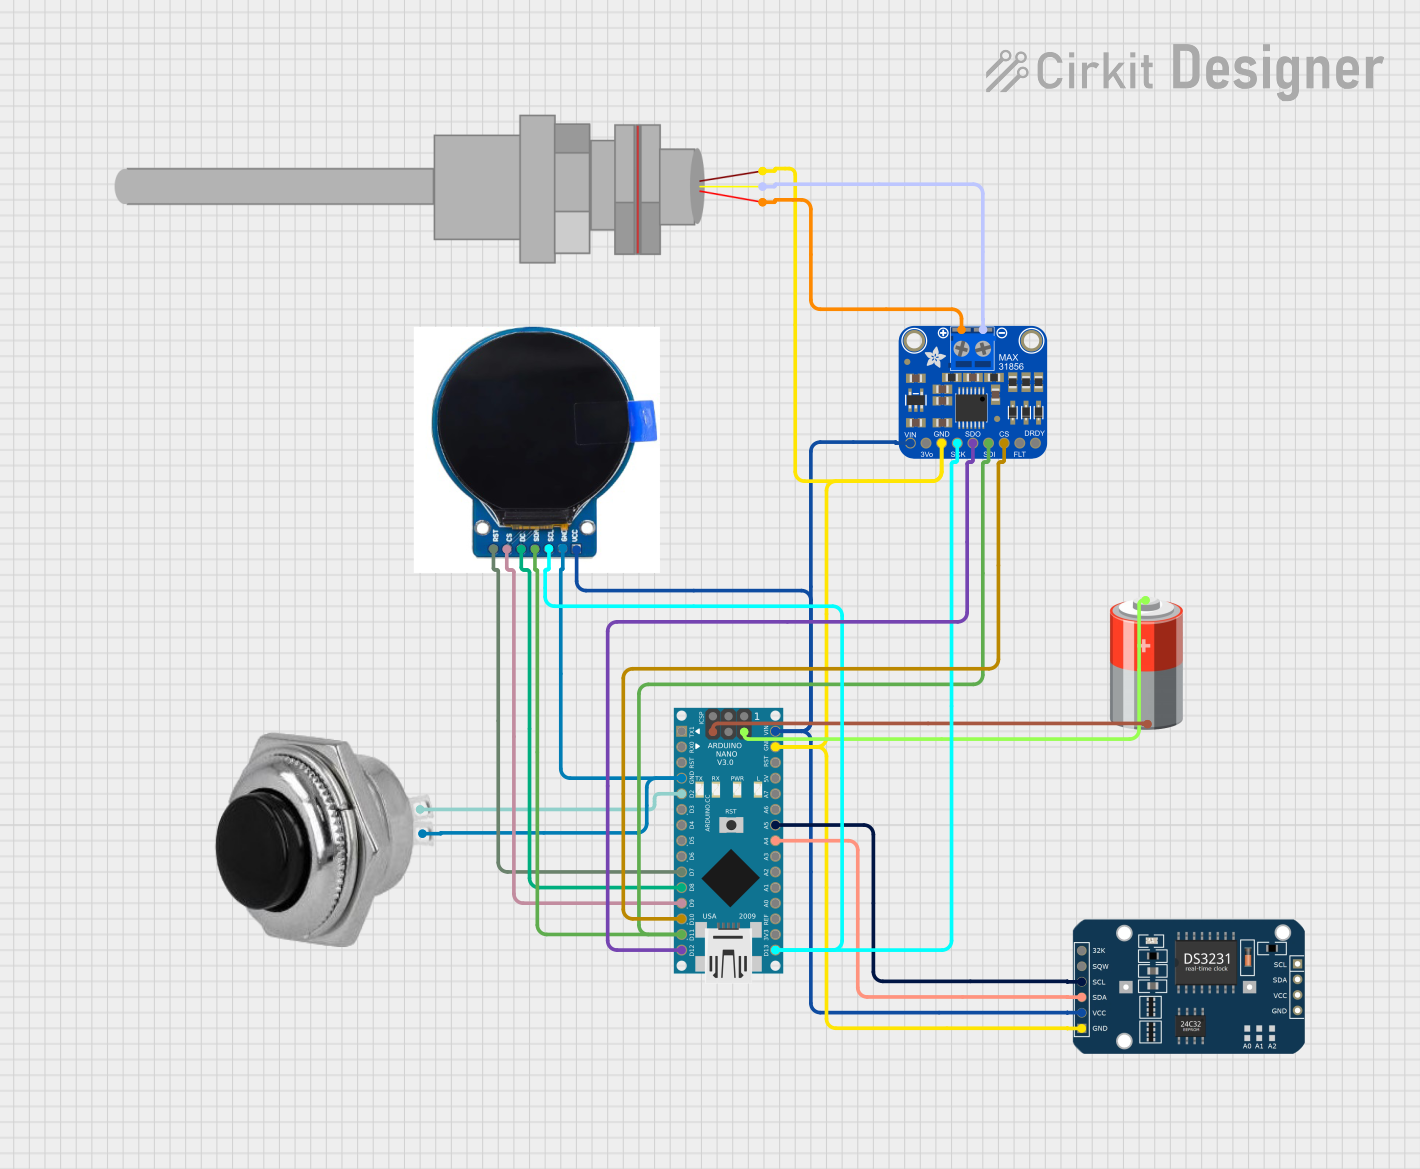
Circuit Diagram
- Connect the VCC pin of the sensor to the 5V pin on the Arduino.
- Connect the GND pin of the sensor to the GND pin on the Arduino.
- Connect the OUT pin of the sensor to the A0 analog input pin on the Arduino.
Arduino Code
// Define the analog pin connected to the sensor's OUT pin
const int sensorPin = A0;

// Define the voltage range of the sensor
const float minVoltage = 0.5; // Voltage at -40°C
const float maxVoltage = 4.5; // Voltage at +150°C

// Define the temperature range of the sensor
const float minTemp = -40.0;  // Minimum temperature in °C
const float maxTemp = 150.0;  // Maximum temperature in °C

void setup() {
  Serial.begin(9600); // Initialize serial communication
}

void loop() {
  // Read the analog value from the sensor
  int analogValue = analogRead(sensorPin);

  // Convert the analog value to voltage
  float voltage = (analogValue / 1023.0) * 5.0;

  // Map the voltage to the temperature range
  float temperature = map(voltage, minVoltage, maxVoltage, minTemp, maxTemp);

  // Print the temperature to the Serial Monitor
  Serial.print("Temperature: ");
  Serial.print(temperature);
  Serial.println(" °C");

  delay(1000); // Wait for 1 second before the next reading
}

// Helper function to map voltage to temperature
float map(float x, float in_min, float in_max, float out_min, float out_max) {
  return (x - in_min) * (out_max - out_min) / (in_max - in_min) + out_min;
}
Troubleshooting and FAQs
Common Issues and Solutions
No Output Signal
- Cause: Incorrect wiring or no power supply.
- Solution: Verify the connections and ensure the sensor is powered with 5V DC.
Inaccurate Readings
- Cause: Electrical noise or improper calibration.
- Solution: Use shielded cables and recalibrate the sensor.
Fluctuating Output
- Cause: Unstable power supply or loose connections.
- Solution: Use a regulated power supply and check all connections.
Sensor Overheating
- Cause: Prolonged exposure to high temperatures beyond the sensor's range.
- Solution: Ensure the sensor is used within its specified temperature range.
FAQs
Q: Can the Carb Temp sensor be used with a 3.3V system?
A: No, the sensor requires a 5V DC power supply for proper operation. Use a level shifter if interfacing with a 3.3V system.
Q: How often should the sensor be calibrated?
A: Calibration frequency depends on the operating environment. For high-vibration or extreme conditions, calibrate every 6 months.
Q: Is the sensor waterproof?
A: The sensor housing is made of stainless steel and is resistant to moisture, but it is not fully waterproof. Avoid submerging it in liquids.
Q: Can the sensor detect carburetor icing?
A: Yes, the sensor can detect low temperatures that may indicate icing conditions, allowing for preventive measures.