How to Use Loudspeaker: Examples, Pinouts, and Specs
Introduction
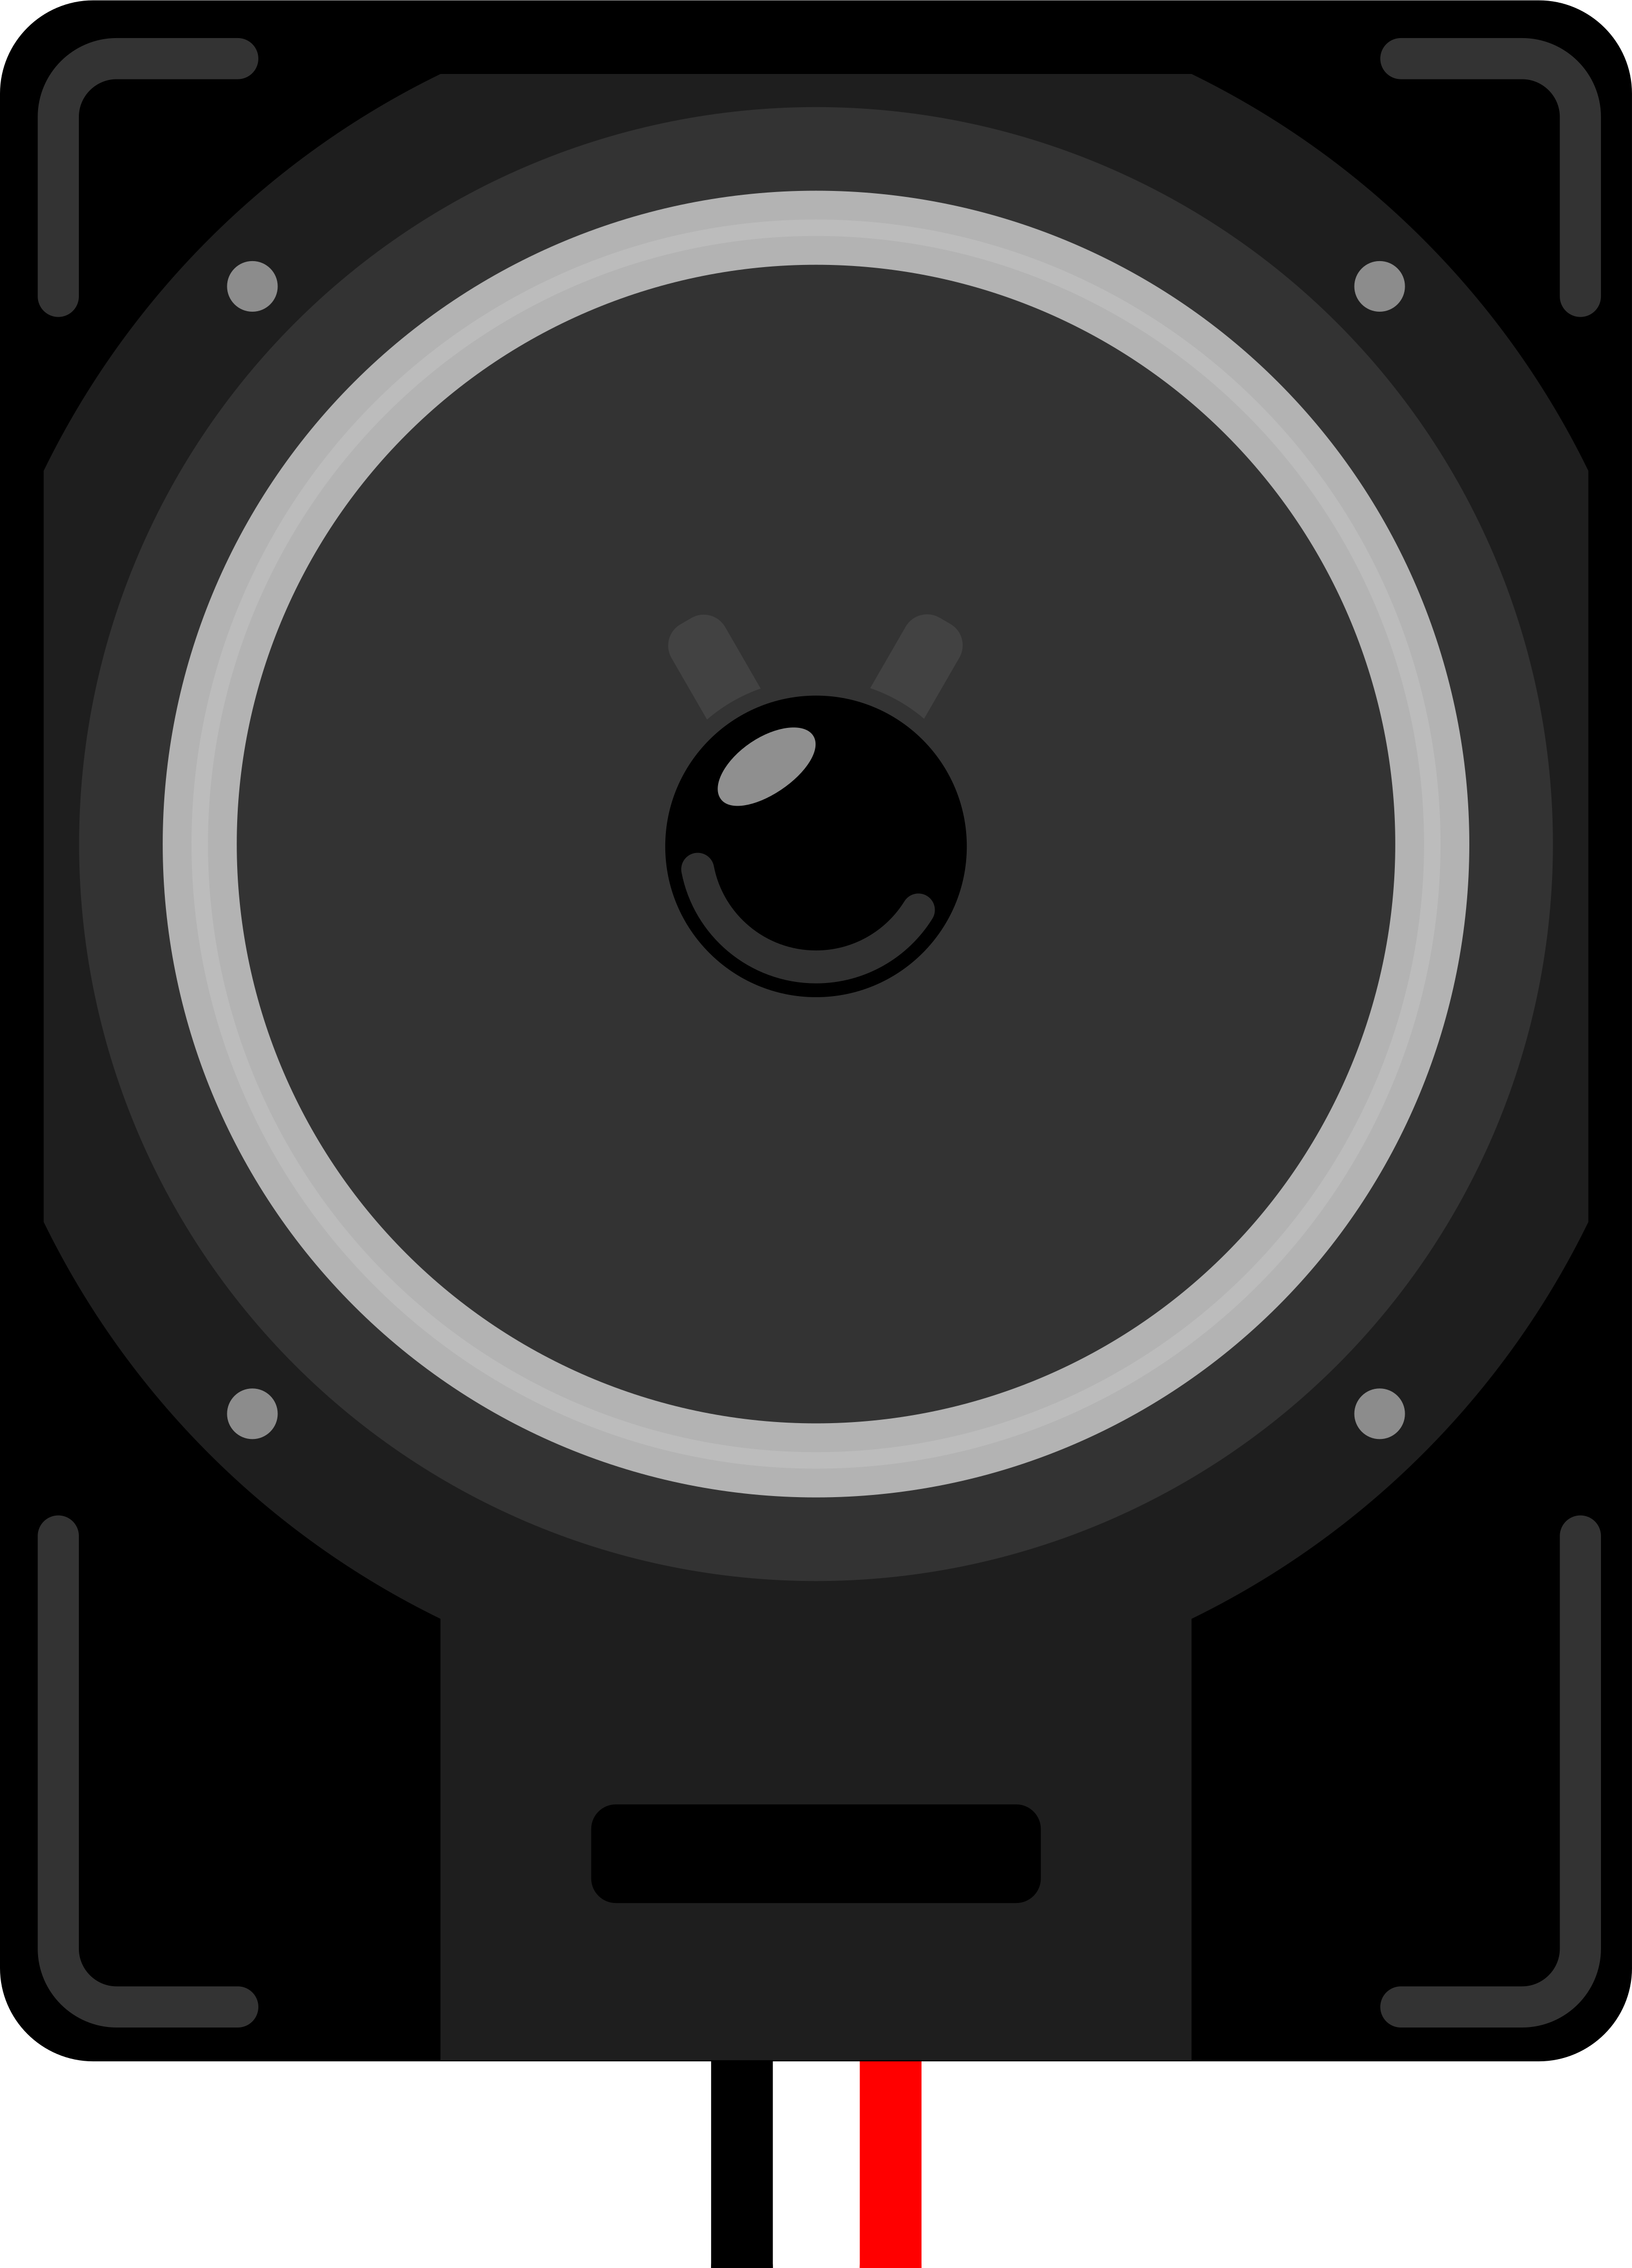
A loudspeaker is an electroacoustic transducer that converts electrical signals into audible sound. Loudspeakers are ubiquitous in modern life, found in devices ranging from simple alarm clocks to complex public address systems. They are essential for any application where sound needs to be projected, such as in home entertainment systems, car audio systems, smartphones, and many other consumer electronics.
Explore Projects Built with Loudspeaker
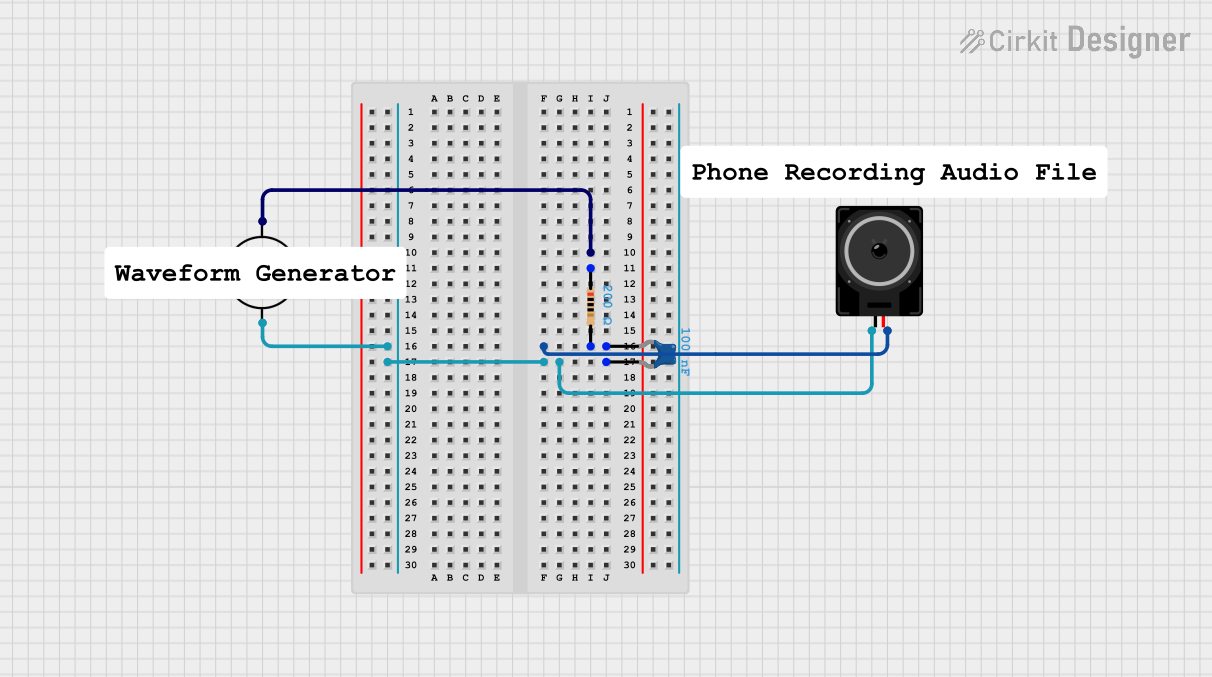
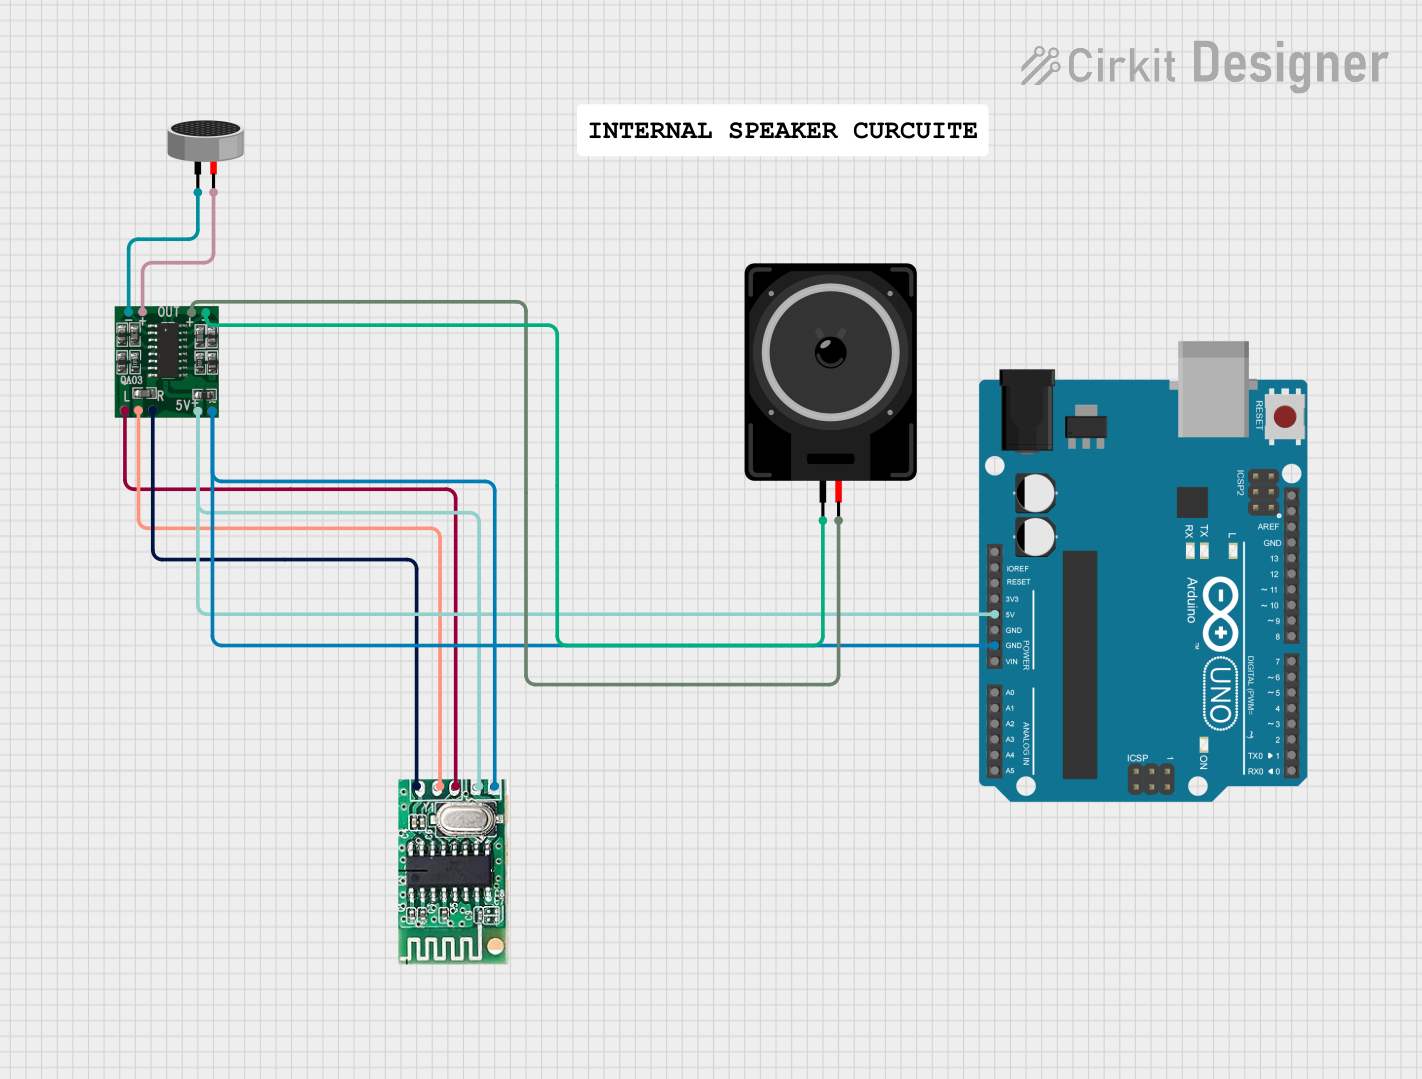

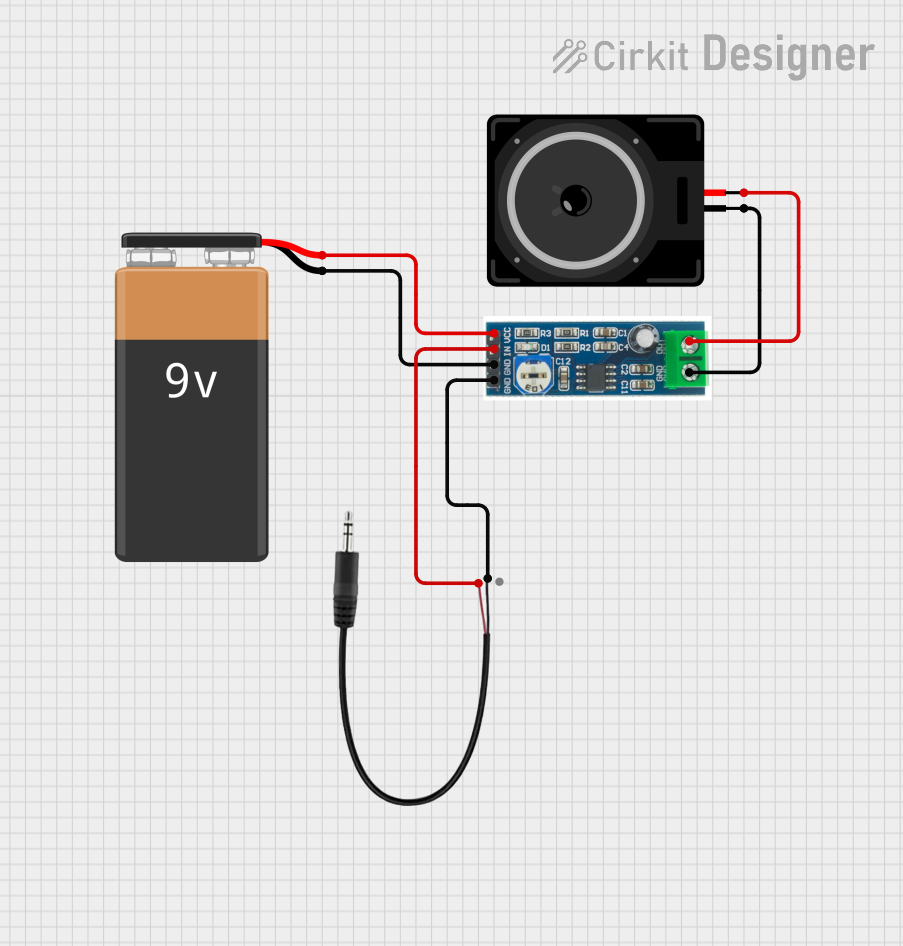
Explore Projects Built with Loudspeaker
Common Applications and Use Cases
- Home theater and audio systems
- Public address (PA) systems and megaphones
- Portable speakers and Bluetooth speakers
- Smartphones and computer speakers
- Professional audio equipment for concerts and events
- Intercom and announcement systems in schools, hospitals, and other facilities
Technical Specifications
Key Technical Details
| Specification | Description |
|---|---|
| Power Handling | The maximum power the speaker can handle (in watts) |
| Impedance | The speaker's resistance to the electrical signal (in ohms) |
| Frequency Response | The range of audio frequencies the speaker can reproduce (in Hz to kHz) |
| Sensitivity | The efficiency with which a speaker converts power into sound (in dB) |
| Magnet Type | The type of magnet used, typically neodymium or ferrite |
| Voice Coil Diameter | The size of the voice coil, affecting power handling and sensitivity |
Pin Configuration and Descriptions
| Pin Number | Description |
|---|---|
| 1 | Positive terminal (+) |
| 2 | Negative terminal (−) |
Usage Instructions
How to Use the Loudspeaker in a Circuit
- Identify the Terminals: Locate the positive (+) and negative (−) terminals on the loudspeaker.
- Connect to Amplifier: Connect the loudspeaker terminals to the corresponding outputs on an audio amplifier, ensuring correct polarity.
- Set Audio Source: Connect your audio source (e.g., music player, radio) to the amplifier.
- Test the Sound: Power on the amplifier and play audio to test the loudspeaker.
Important Considerations and Best Practices
- Amplifier Matching: Ensure the amplifier's power output matches the loudspeaker's power handling capability to avoid damage.
- Polarity: Always connect the positive terminal of the loudspeaker to the positive output of the amplifier and the same for the negative to maintain proper phase and sound quality.
- Enclosure: Use an appropriate enclosure to enhance the loudspeaker's performance and protect it from physical damage.
- Volume Levels: Avoid excessive volume levels that can lead to distortion or damage to the loudspeaker.
Troubleshooting and FAQs
Common Issues
- No Sound: Check connections, ensure the amplifier is on, and the volume is up. Inspect for any damage to the loudspeaker.
- Distortion: Reduce volume level. If distortion persists, check for amplifier-speaker mismatch or damage to the loudspeaker.
- Low Volume: Ensure the amplifier has sufficient power and the loudspeaker's sensitivity is appropriate for the application.
Solutions and Tips for Troubleshooting
- Connections: Ensure all connections are secure and free from corrosion.
- Testing: Use a multimeter to check for continuity in the loudspeaker coil.
- Replacement: If the loudspeaker is damaged, consider replacing it with one that has similar specifications.
FAQs
Q: Can I connect multiple loudspeakers to one amplifier output? A: Yes, but you must understand the implications on impedance and power handling. Connecting in parallel reduces overall impedance, while series connection increases it.
Q: How do I know if my loudspeaker is blown? A: A blown loudspeaker may produce no sound, distorted sound, or a scratching noise. Physical inspection can sometimes reveal damage to the cone or voice coil.
Q: What is the best way to clean a loudspeaker? A: Use a soft, dry cloth to gently wipe the cone and surrounding areas. Avoid liquids and harsh cleaning agents.
Example Code for Arduino UNO Connection
// This example demonstrates how to drive a loudspeaker using an Arduino UNO
// to generate a simple tone.

#include <Tone.h>

Tone speaker;

void setup() {
  // Initialize the speaker on pin 9
  speaker.begin(9);
}

void loop() {
  // Play a 440 Hz tone for 1 second (A4 note)
  speaker.play(440);
  delay(1000);

  // Stop the tone for 1 second
  speaker.stop();
  delay(1000);
}
Note: The above code assumes the use of a simple piezo speaker directly driven by the Arduino. For a traditional loudspeaker, an external amplifier is required, and the Arduino would control the input signal to the amplifier.