
How to Use BME280 Breakout: Examples, Pinouts, and Specs
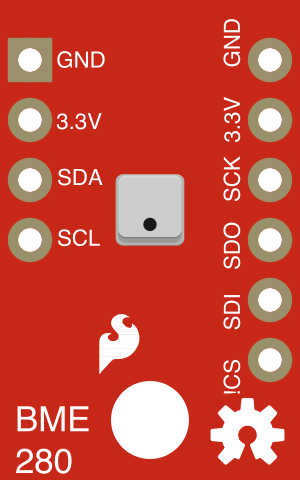
 Design with BME280 Breakout in Cirkit Designer
Introduction
The BME280 Breakout (Manufacturer Part ID: SEN-13676) by SparkFun Electronics is a versatile sensor module designed for environmental sensing. It combines three key sensing capabilities—temperature, humidity, and barometric pressure—into a single compact device. This makes it an ideal choice for weather monitoring, indoor climate control, and IoT applications.
Explore Projects Built with BME280 Breakout
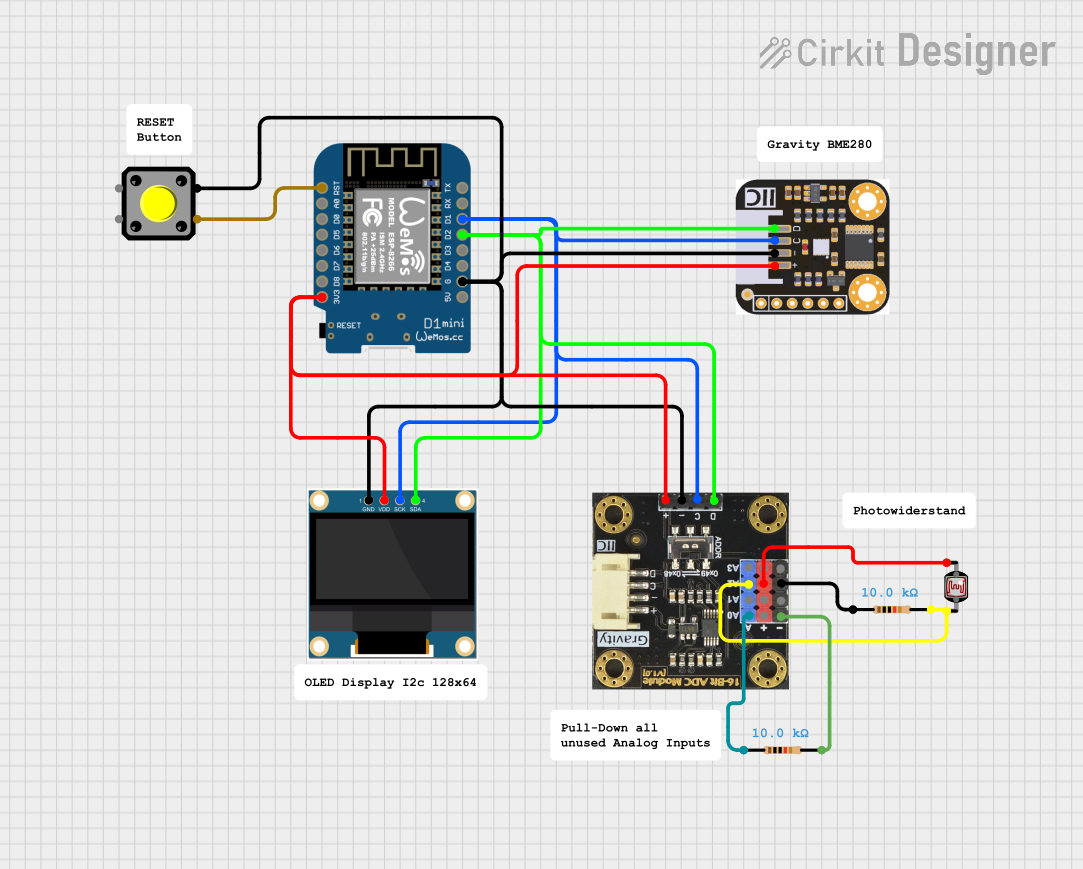 Open Project in Cirkit Designer
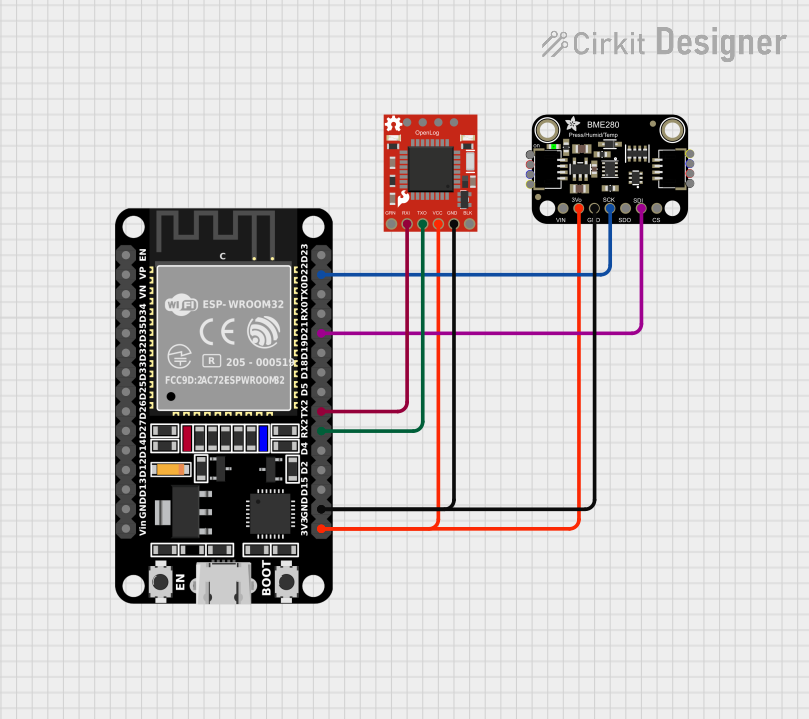 Open Project in Cirkit Designer
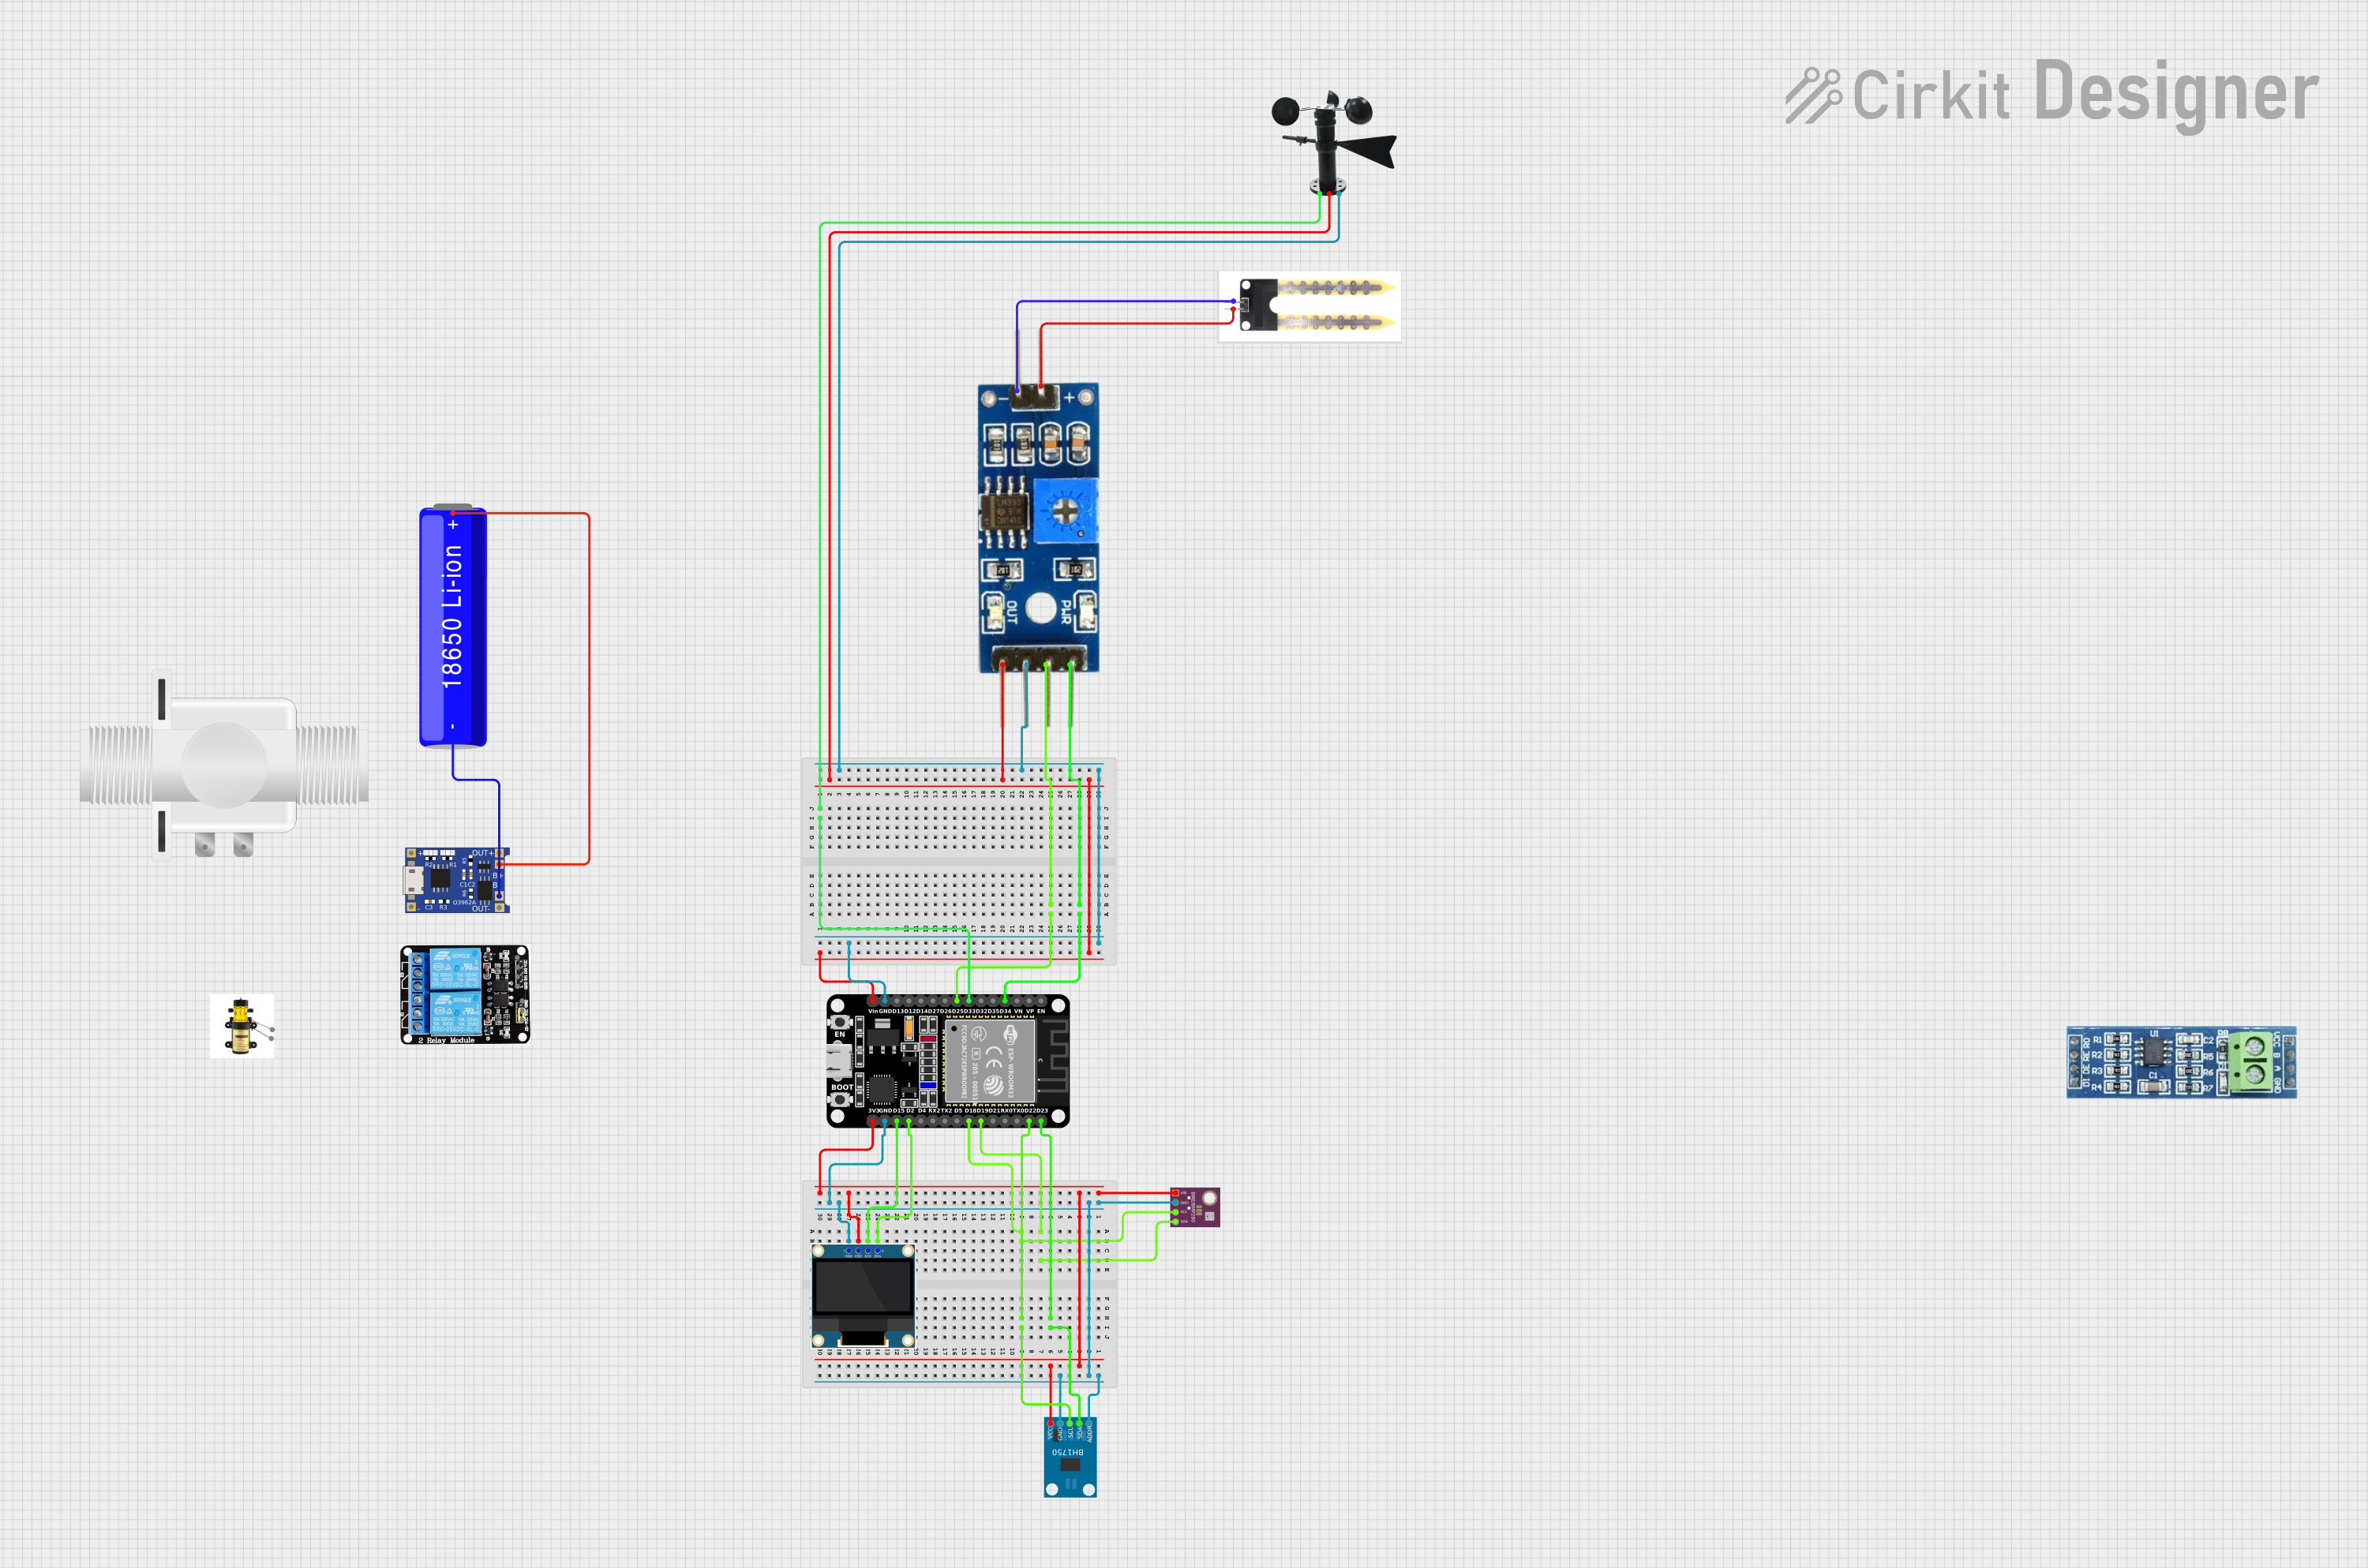 Open Project in Cirkit Designer
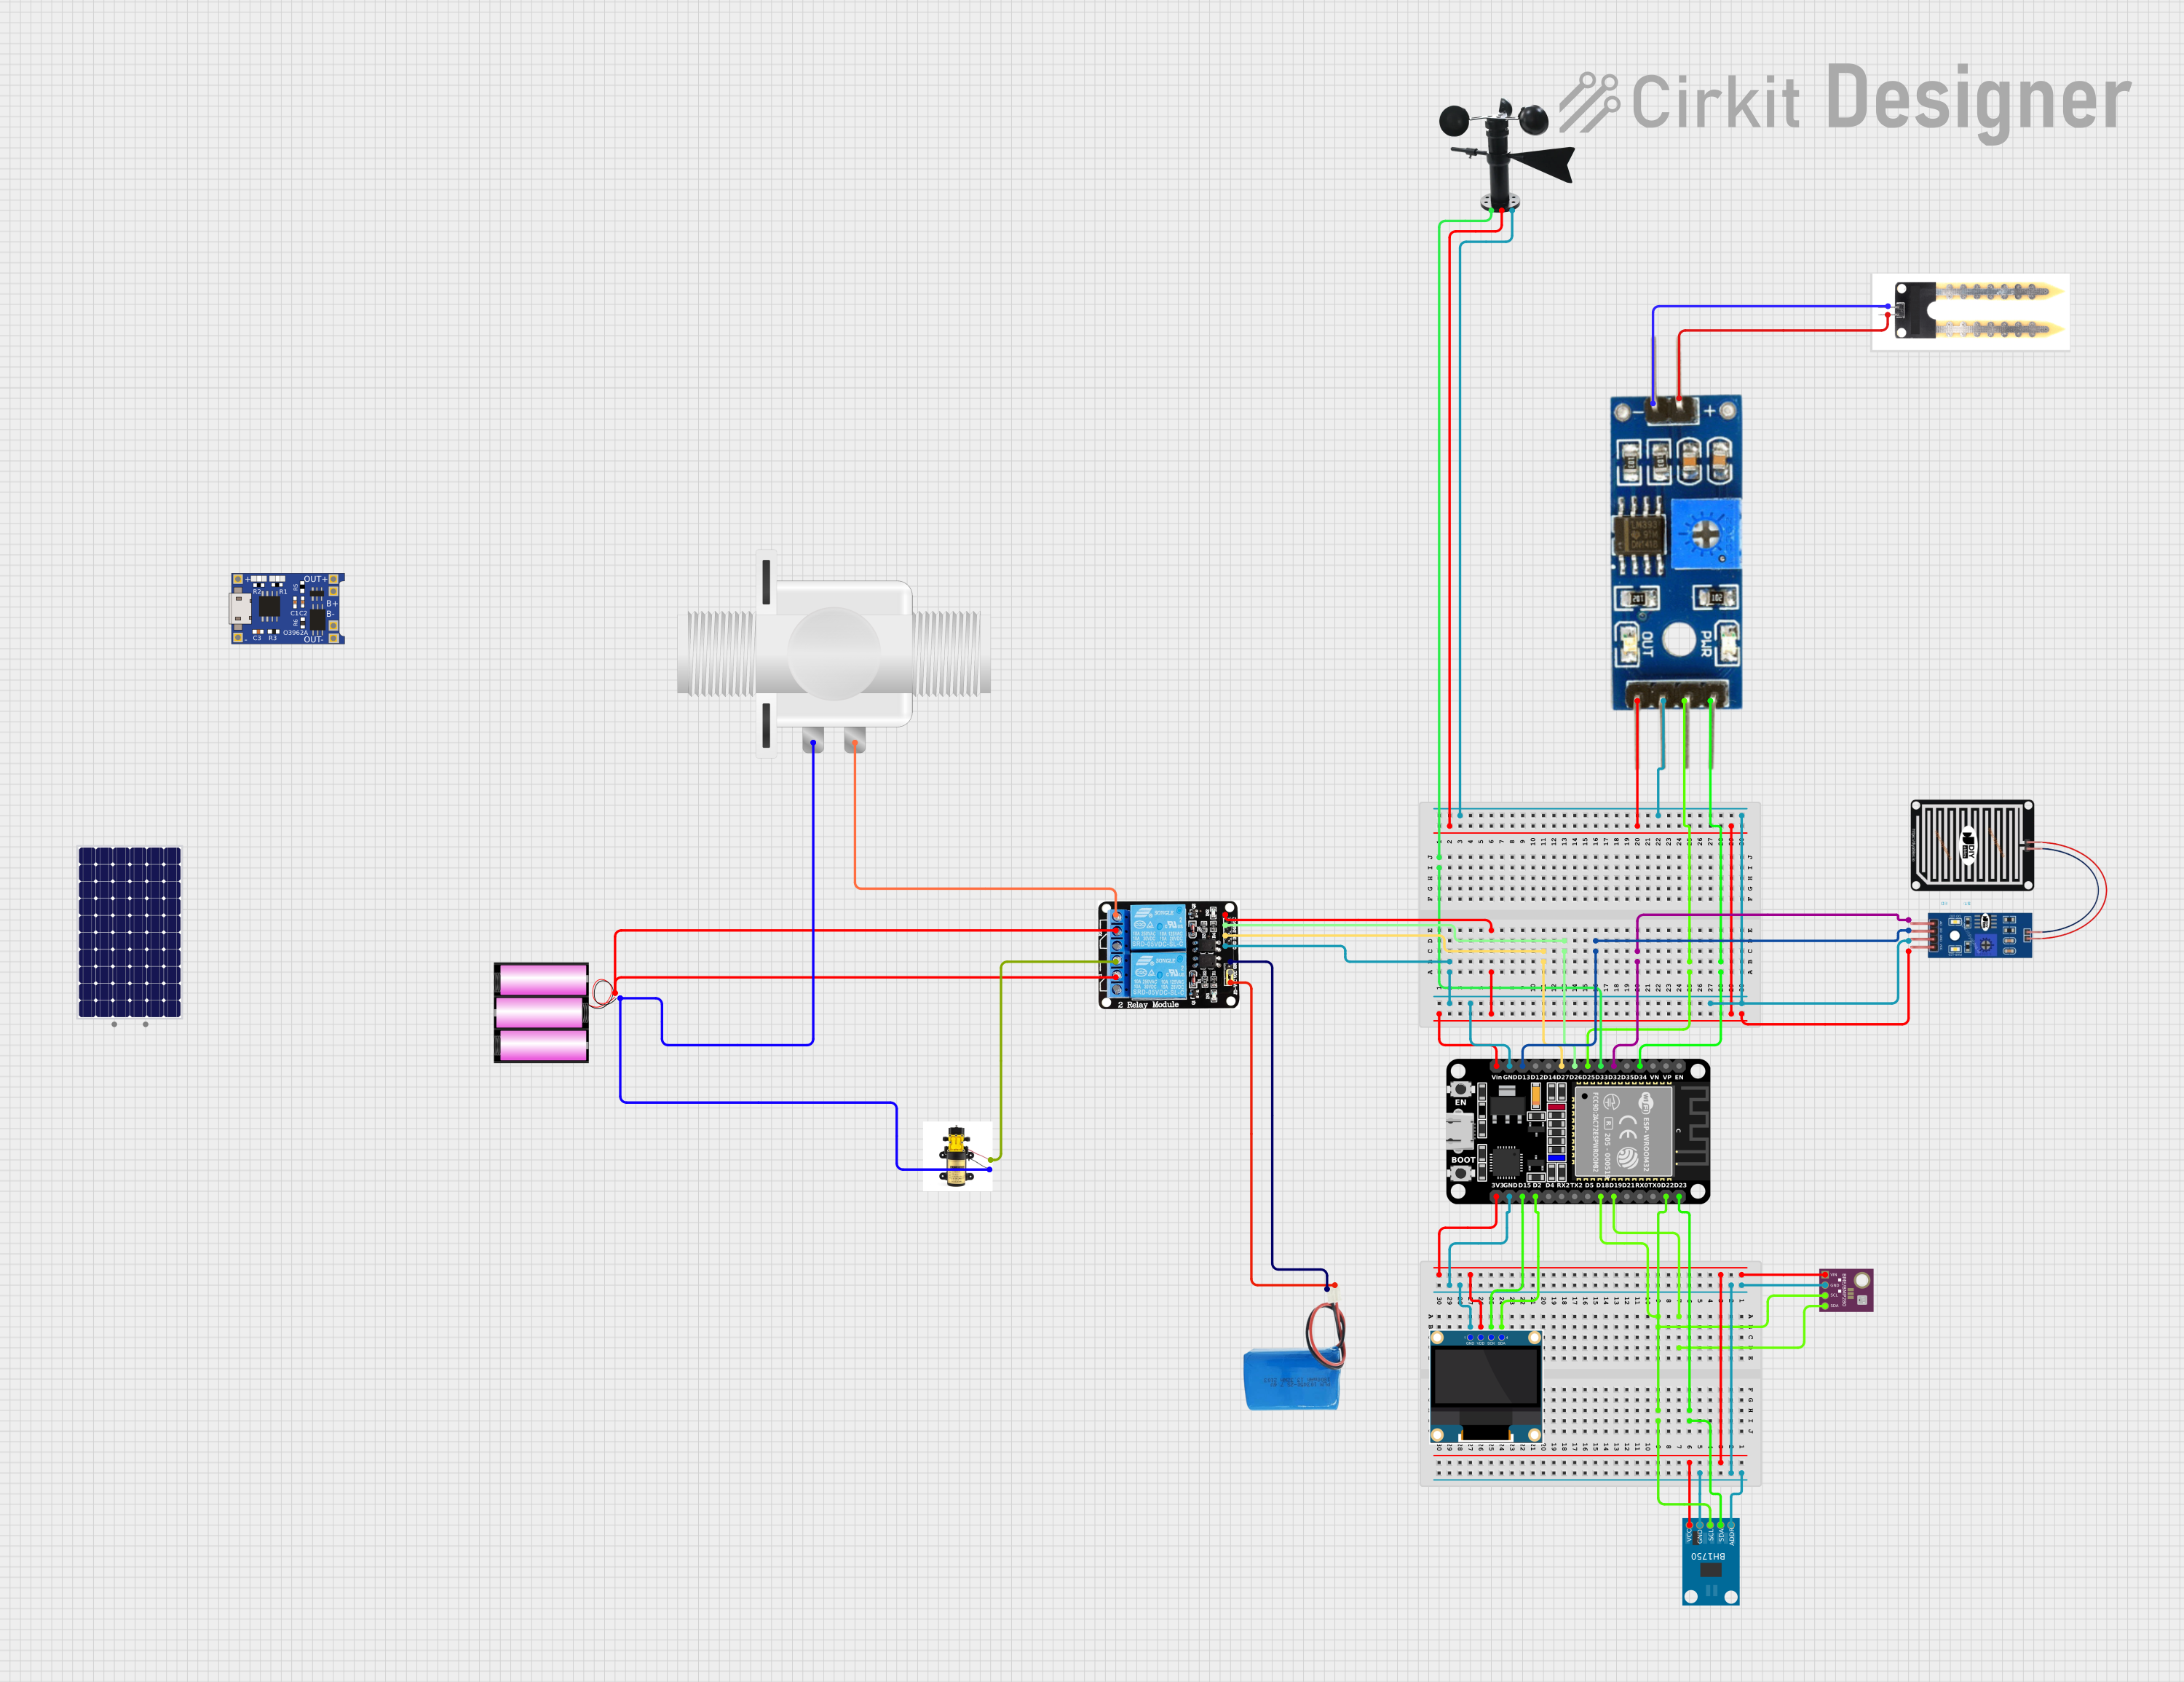 Open Project in Cirkit Designer
Explore Projects Built with BME280 Breakout
Open Project in Cirkit DesignerOpen Project in Cirkit DesignerOpen Project in Cirkit DesignerOpen Project in Cirkit DesignerCommon Applications and Use Cases
- Weather stations and environmental monitoring systems
- IoT devices for smart homes and buildings
- Altitude measurement for drones and other vehicles
- HVAC (Heating, Ventilation, and Air Conditioning) systems
- Data logging and scientific experiments
Technical Specifications
The BME280 Breakout is built around Bosch's BME280 sensor and offers high precision and low power consumption. Below are the key technical details:
General Specifications
| Parameter | Value |
|---|---|
| Supply Voltage | 1.8V to 3.6V |
| Operating Current | 2.7 µA (in sleep mode) |
| Communication Protocols | I2C (default) or SPI |
| Temperature Range | -40°C to +85°C |
| Humidity Range | 0% to 100% RH |
| Pressure Range | 300 hPa to 1100 hPa |
| Dimensions | 0.6" x 0.6" (15.24mm x 15.24mm) |
Pin Configuration and Descriptions
The BME280 Breakout has a total of 6 pins. Below is the pinout and description:
| Pin Name | Pin Number | Description |
|---|---|---|
| VIN | 1 | Power supply input (1.8V to 3.6V). Connect to 3.3V for most applications. |
| GND | 2 | Ground connection. |
| SCL | 3 | Serial Clock Line for I2C communication. |
| SDA | 4 | Serial Data Line for I2C communication. |
| CS | 5 | Chip Select for SPI communication. Pull HIGH for I2C mode (default). |
| SDO | 6 | Serial Data Output for SPI communication. Can also set I2C address. |
Usage Instructions
The BME280 Breakout is easy to integrate into your projects using either I2C or SPI communication. Below are the steps to use the sensor in a circuit and some best practices.
Connecting the BME280 to an Arduino UNO (I2C Mode)
Wiring: Connect the BME280 Breakout to the Arduino UNO as follows:
VIN→3.3Von ArduinoGND→GNDon ArduinoSCL→A5(I2C Clock Line on Arduino UNO)SDA→A4(I2C Data Line on Arduino UNO)CS→ Leave unconnected or pull HIGHSDO→ Leave unconnected or pull LOW for default I2C address (0x76)
Install Required Libraries:
- Install the Adafruit BME280 Library and Adafruit Sensor Library from the Arduino Library Manager.
Example Code: Use the following code to read temperature, humidity, and pressure data from the BME280:
#include <Wire.h>
#include <Adafruit_Sensor.h>
#include <Adafruit_BME280.h>

// Create an instance of the BME280 sensor
Adafruit_BME280 bme;

// Define I2C address (default is 0x76, or 0x77 if SDO is HIGH)
#define BME280_I2C_ADDRESS 0x76

void setup() {
  Serial.begin(9600);
  while (!Serial); // Wait for serial monitor to open

  // Initialize the BME280 sensor
  if (!bme.begin(BME280_I2C_ADDRESS)) {
    Serial.println("Could not find a valid BME280 sensor, check wiring!");
    while (1);
  }

  Serial.println("BME280 sensor initialized successfully!");
}

void loop() {
  // Read and print temperature, humidity, and pressure
  Serial.print("Temperature: ");
  Serial.print(bme.readTemperature());
  Serial.println(" °C");

  Serial.print("Humidity: ");
  Serial.print(bme.readHumidity());
  Serial.println(" %");

  Serial.print("Pressure: ");
  Serial.print(bme.readPressure() / 100.0F); // Convert Pa to hPa
  Serial.println(" hPa");

  Serial.println(); // Add a blank line for readability
  delay(2000); // Wait 2 seconds before the next reading
}
Important Considerations and Best Practices
- Power Supply: Ensure the sensor is powered with 3.3V. Using 5V may damage the module.
- Pull-Up Resistors: The breakout board includes pull-up resistors for I2C lines. If using multiple I2C devices, ensure the total pull-up resistance is appropriate.
- I2C Address: The default I2C address is
0x76. To change it to0x77, connect theSDOpin toVIN. - SPI Mode: For SPI communication, connect the
CSpin to a GPIO pin on your microcontroller and configure it in your code.
Troubleshooting and FAQs
Common Issues
Sensor Not Detected:
- Cause: Incorrect wiring or I2C address mismatch.
- Solution: Double-check the wiring and ensure the
SDOpin is configured correctly for the desired I2C address.
Incorrect Readings:
- Cause: Environmental factors such as condensation or rapid temperature changes.
- Solution: Place the sensor in a stable environment and avoid exposing it to water or extreme conditions.
Communication Errors:
- Cause: Conflicting I2C devices or incorrect pull-up resistor configuration.
- Solution: Verify that no other devices are using the same I2C address and check the pull-up resistor values.
FAQs
Q1: Can the BME280 Breakout measure altitude?
Yes, the BME280 can calculate altitude based on barometric pressure readings. Use the formula provided in the Adafruit BME280 library for altitude calculation.
Q2: Can I use the BME280 with a 5V microcontroller?
Yes, but you must use a logic level shifter to step down the 5V signals to 3.3V for the BME280.
Q3: How do I switch between I2C and SPI modes?
The BME280 operates in I2C mode by default. To use SPI mode, connect the CS pin to a GPIO pin and configure it in your code. Ensure the SDO pin is connected as required for SPI communication.
By following this documentation, you can effectively integrate the BME280 Breakout into your projects and troubleshoot common issues with ease.