
How to Use Arduino USB Host Shield: Examples, Pinouts, and Specs
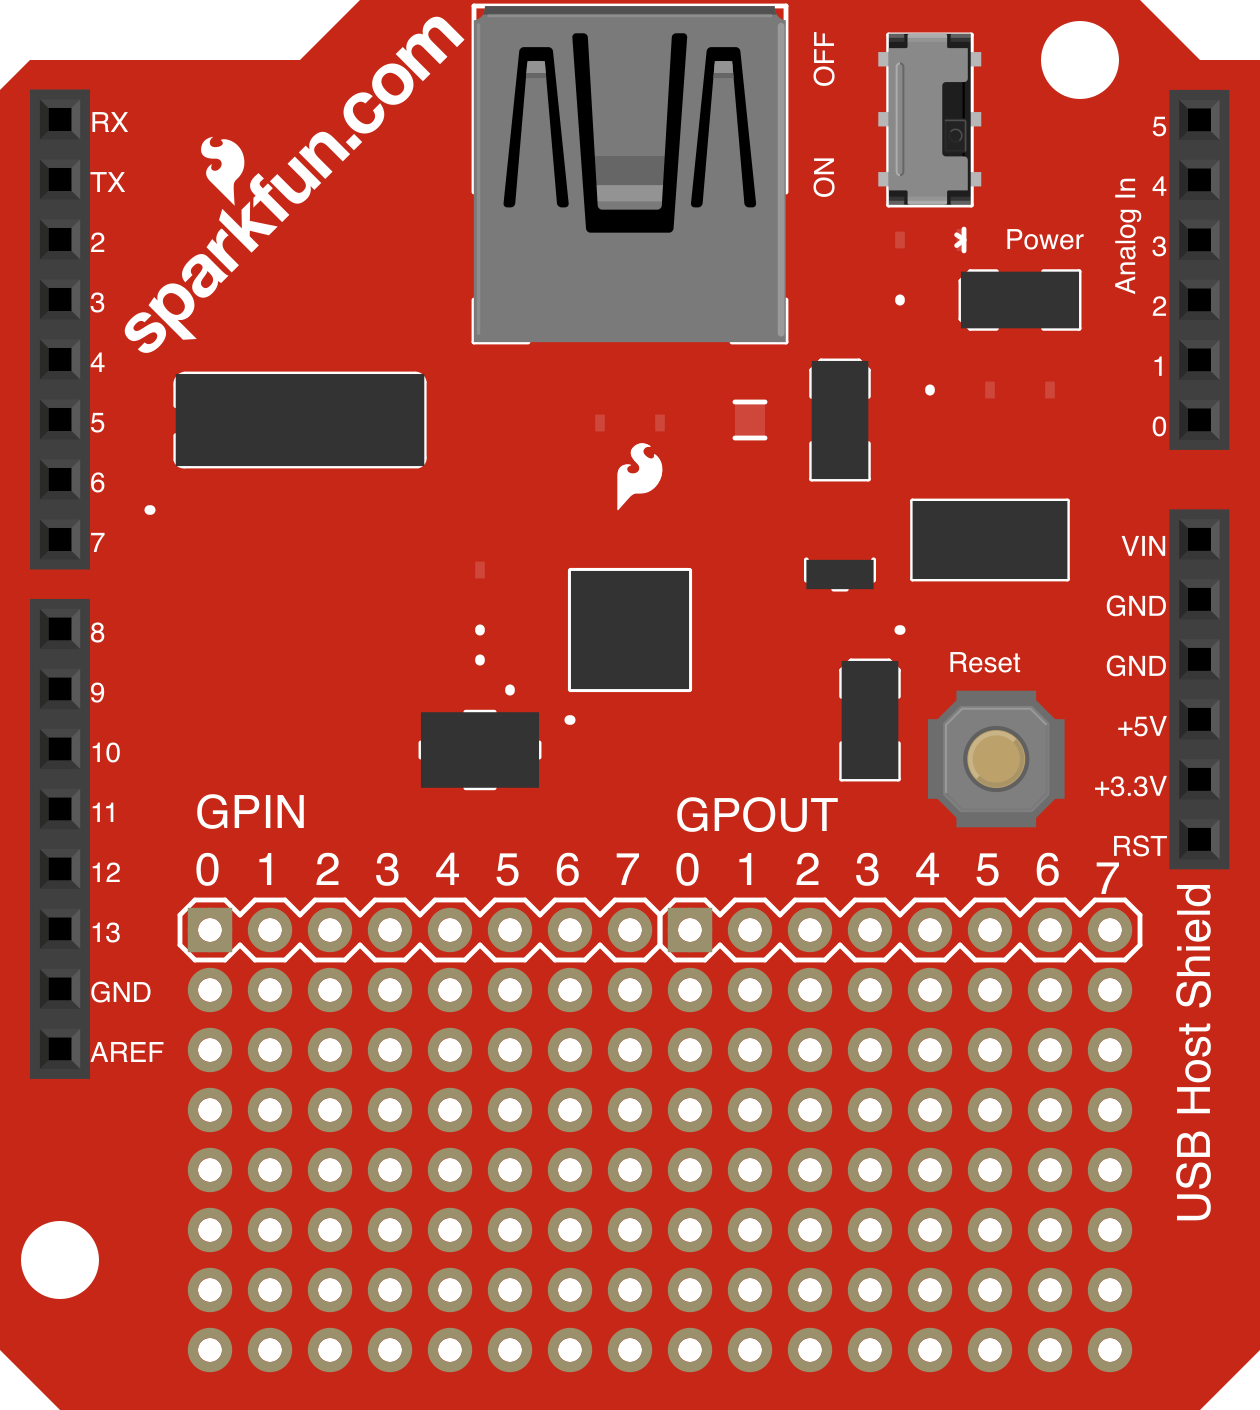
 Design with Arduino USB Host Shield in Cirkit Designer
Introduction
The Arduino USB Host Shield is a hardware add-on designed to expand the functionality of Arduino boards by enabling them to act as USB hosts. This capability allows Arduino boards to interface with USB devices such as keyboards, mice, game controllers, USB flash drives, and more. By leveraging this shield, developers can create projects that interact with a wide range of USB peripherals, opening up new possibilities for embedded systems and IoT applications.
Explore Projects Built with Arduino USB Host Shield
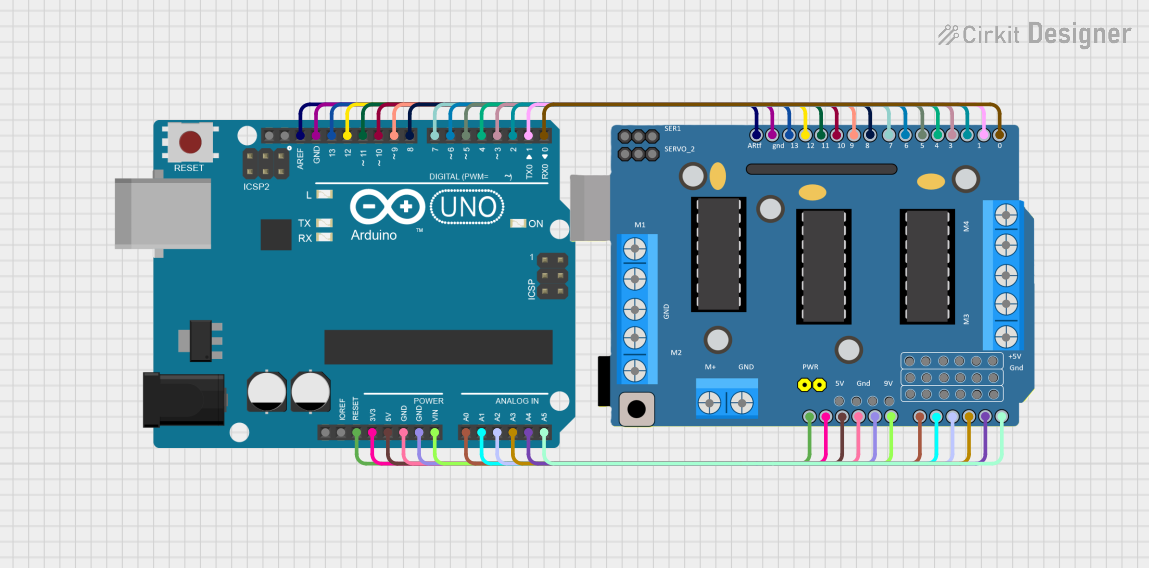 Open Project in Cirkit Designer
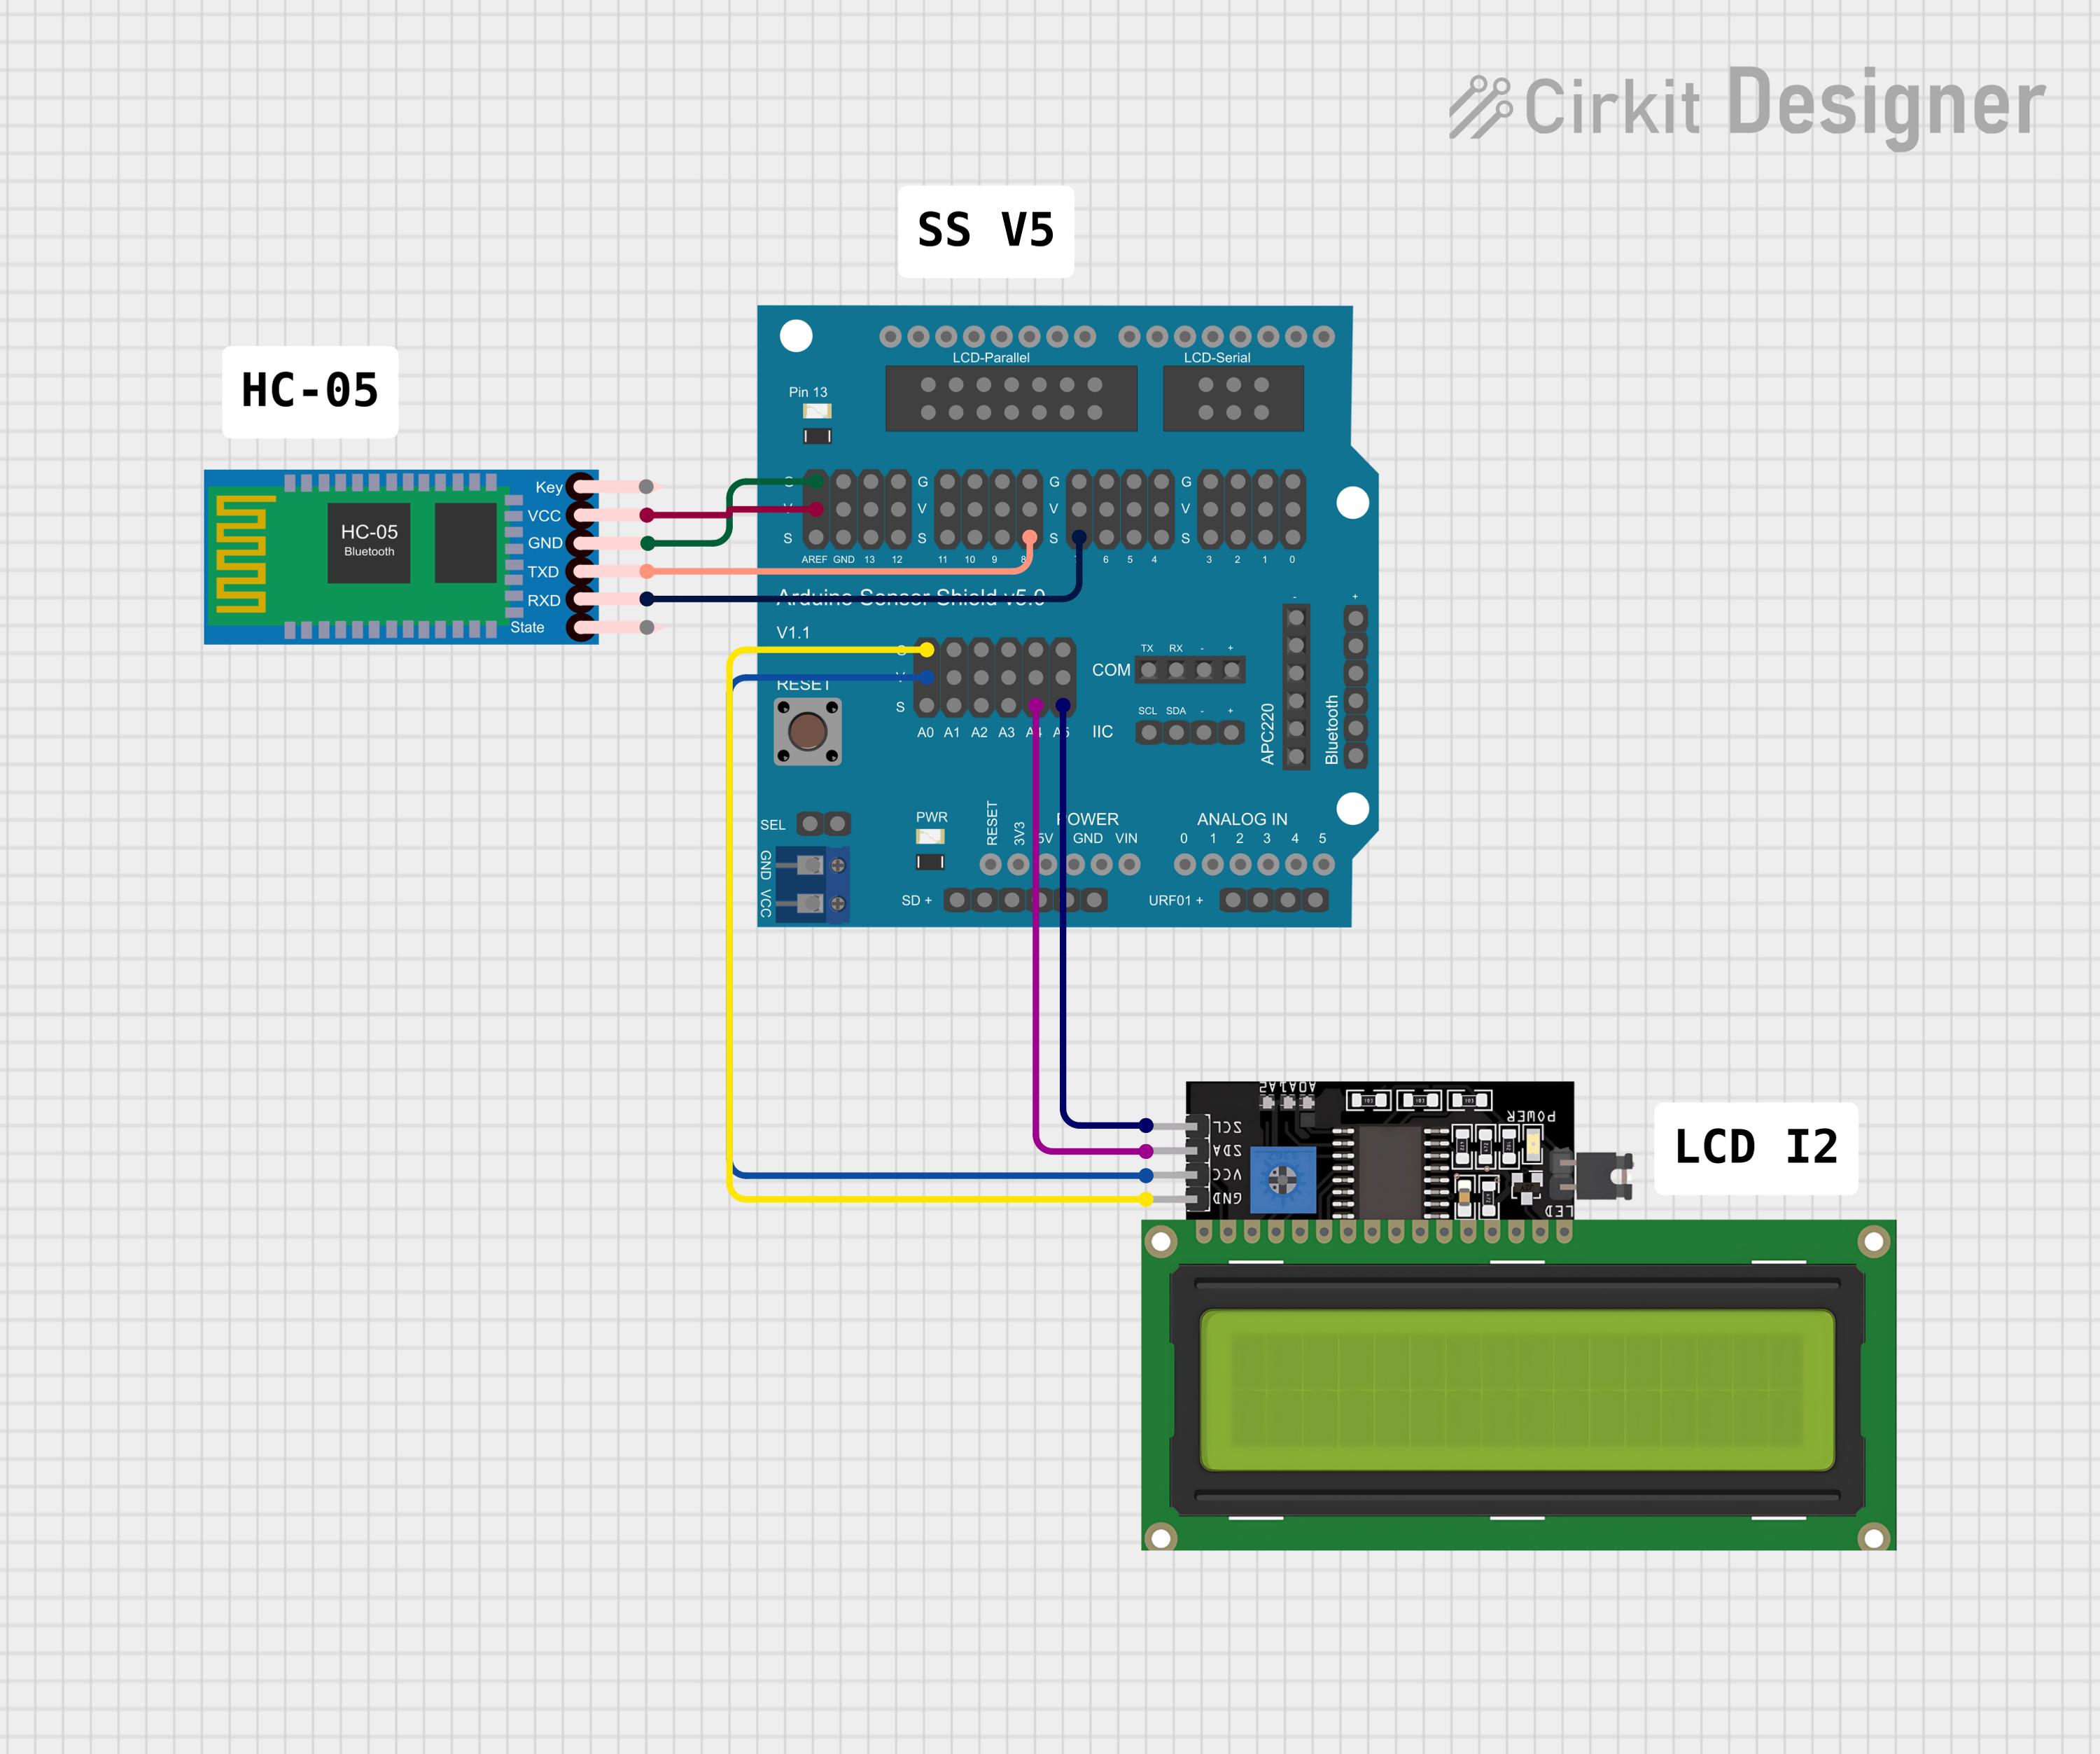 Open Project in Cirkit Designer
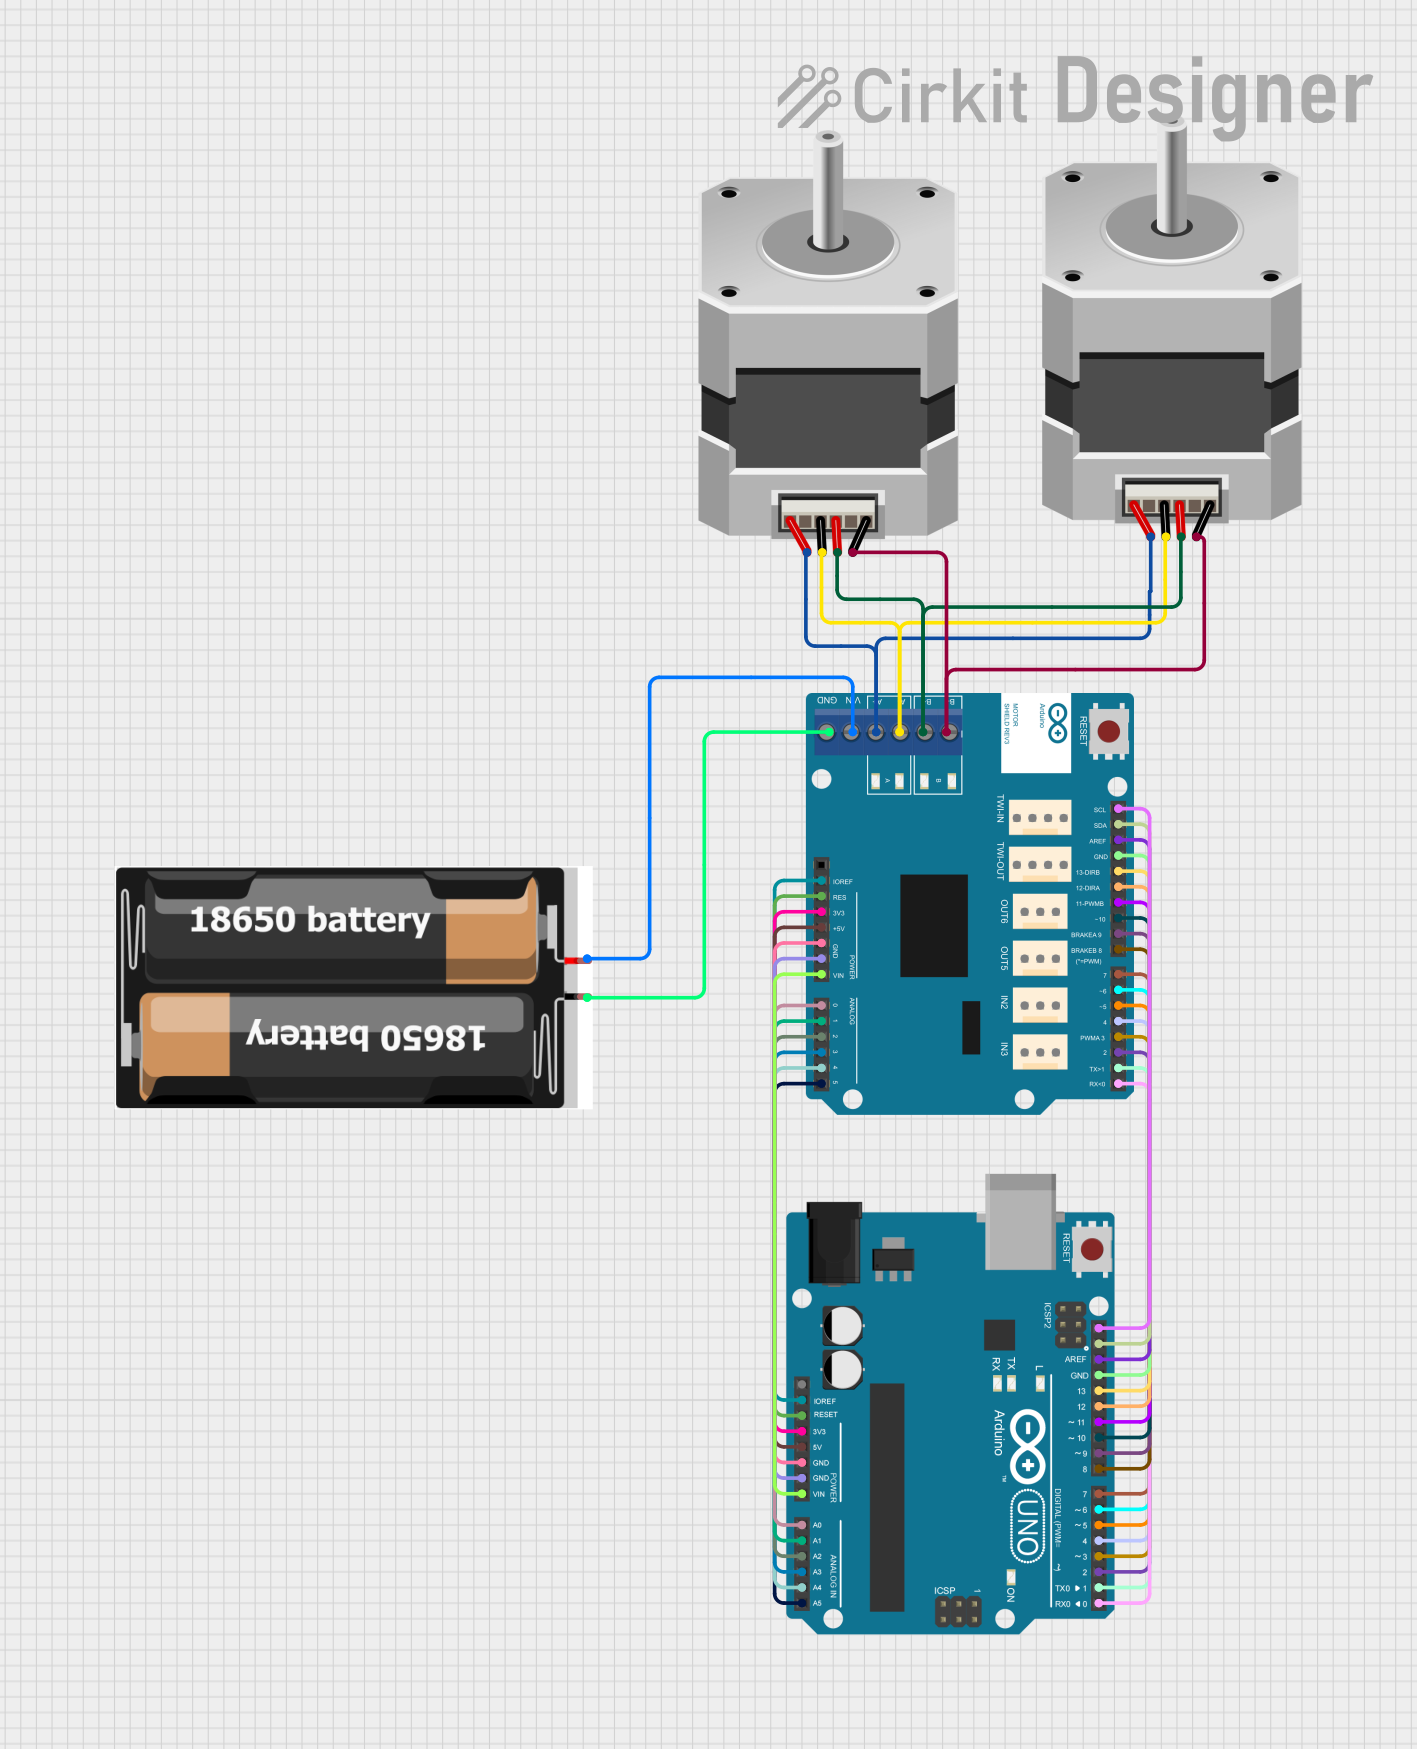 Open Project in Cirkit Designer
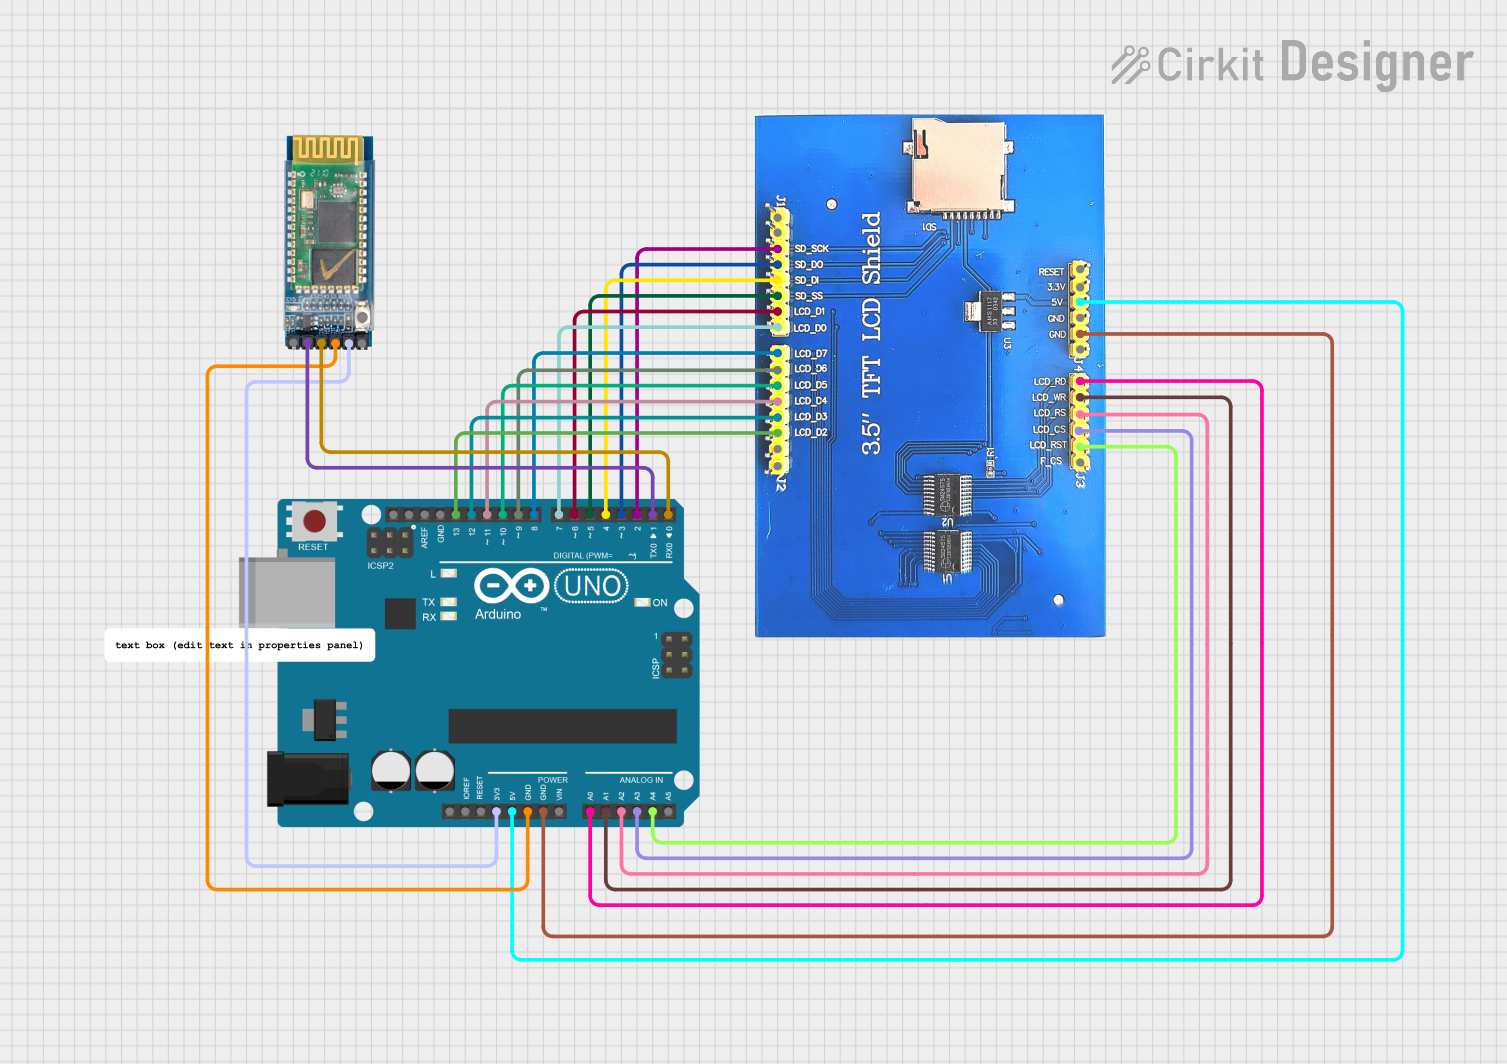 Open Project in Cirkit Designer
Explore Projects Built with Arduino USB Host Shield
Open Project in Cirkit DesignerOpen Project in Cirkit DesignerOpen Project in Cirkit DesignerOpen Project in Cirkit DesignerCommon Applications and Use Cases
- Human Interface Devices (HID): Interfacing with USB keyboards, mice, and game controllers.
- Data Storage: Reading and writing data to USB flash drives.
- Custom USB Devices: Communicating with custom USB peripherals.
- Robotics: Using USB game controllers for robot control.
- IoT Projects: Connecting USB-enabled sensors or devices to Arduino.
Technical Specifications
The Arduino USB Host Shield is based on the MAX3421E USB peripheral/host controller IC. Below are the key technical details and pin configurations:
Key Technical Details
- Controller IC: MAX3421E
- Operating Voltage: 5V (supplied by the Arduino board)
- Communication Interface: SPI (Serial Peripheral Interface)
- USB Port Type: Standard USB-A female connector
- Current Consumption: Approximately 100mA (excluding connected USB devices)
- Supported USB Protocols: USB 2.0 (Full-Speed and Low-Speed)
- Dimensions: Matches the standard Arduino shield form factor
Pin Configuration and Descriptions
The USB Host Shield communicates with the Arduino board via SPI and uses additional pins for control. Below is the pin configuration:
| Pin | Description |
|---|---|
| D10 (SS) | Slave Select (used to enable communication with the MAX3421E IC). |
| D11 (MOSI) | Master Out Slave In (SPI data line for sending data to the shield). |
| D12 (MISO) | Master In Slave Out (SPI data line for receiving data from the shield). |
| D13 (SCK) | Serial Clock (SPI clock signal). |
| GND | Ground connection. |
| 5V | Power supply for the shield. |
| INT | Interrupt pin (used by the MAX3421E to signal events to the Arduino). |
| RST | Reset pin (used to reset the MAX3421E IC). |
Usage Instructions
How to Use the Arduino USB Host Shield in a Circuit
- Attach the Shield: Plug the USB Host Shield onto your Arduino board, ensuring all pins are properly aligned.
- Install the Library: Download and install the
USB_Host_Shield_2.0library from the Arduino Library Manager or GitHub. - Connect a USB Device: Plug your USB device (e.g., keyboard, mouse, or flash drive) into the USB-A port on the shield.
- Write Your Code: Use the library's functions to communicate with the connected USB device. Refer to the example code below for a basic setup.
Important Considerations and Best Practices
- Power Supply: Ensure your Arduino board can supply sufficient current for the USB device. If the device requires more power, consider using an external power source.
- Library Compatibility: The
USB_Host_Shield_2.0library is required for most applications. Ensure it is installed and up to date. - Device Compatibility: Not all USB devices are supported. Check the library documentation for a list of compatible devices.
- Interrupt Pin Configuration: Some Arduino boards may require reconfiguration of the interrupt pin. Refer to the library documentation for details.
Example Code: Reading Input from a USB Keyboard
Below is an example sketch for using the USB Host Shield to read input from a USB keyboard:
#include <hidboot.h>       // HID Boot Protocol library for USB devices
#include <usbhub.h>        // USB Host Shield library

USB     Usb;               // USB object
HIDBoot<HID_PROTOCOL_KEYBOARD> Keyboard(&Usb); // Keyboard object

void setup() {
  Serial.begin(9600);      // Initialize serial communication
  if (Usb.Init() == -1) {  // Initialize USB Host Shield
    Serial.println("USB Host Shield initialization failed!");
    while (1);             // Halt execution if initialization fails
  }
  Serial.println("USB Host Shield initialized successfully.");
}

void loop() {
  Usb.Task();              // Process USB tasks
  if (Keyboard.available()) { // Check if keyboard input is available
    char c = Keyboard.getKey(); // Get the pressed key
    Serial.print("Key Pressed: ");
    Serial.println(c);     // Print the key to the Serial Monitor
  }
}
Notes on the Code
- The
hidboot.hlibrary is used for handling HID devices like keyboards. - The
Usb.Task()function must be called regularly in theloop()to process USB events. - Ensure the Serial Monitor is set to the correct baud rate (9600 in this example).
Troubleshooting and FAQs
Common Issues and Solutions
USB Host Shield Initialization Fails
- Cause: Insufficient power supply or improper connection.
- Solution: Ensure the shield is properly seated on the Arduino and that the Arduino is powered via USB or an external power source.
USB Device Not Recognized
- Cause: The device may not be supported by the library.
- Solution: Check the
USB_Host_Shield_2.0library documentation for supported devices. Try using a different USB device.
Interrupt Pin Conflict
- Cause: Some Arduino boards use different pins for interrupts.
- Solution: Modify the library's configuration file to match your board's interrupt pin.
No Output in Serial Monitor
- Cause: Incorrect baud rate or USB device not sending data.
- Solution: Verify the Serial Monitor baud rate matches the
Serial.begin()value. Ensure the USB device is functional.
FAQs
Q: Can I use the USB Host Shield with an Arduino Mega?
A: Yes, but you may need to modify the library's configuration to match the Mega's SPI pins.Q: Does the shield support USB 3.0 devices?
A: The shield supports USB 2.0 devices. USB 3.0 devices may work if they are backward compatible with USB 2.0.Q: Can I connect multiple USB devices simultaneously?
A: No, the shield supports only one USB device at a time.Q: How do I power high-current USB devices?
A: Use an external powered USB hub to supply additional current to the device.
By following this documentation, you can effectively use the Arduino USB Host Shield to interface with a variety of USB devices and expand the capabilities of your Arduino projects.