How to Use SmartSolar MPPT Solar Charge Controller 100/30: Examples, Pinouts, and Specs
Introduction
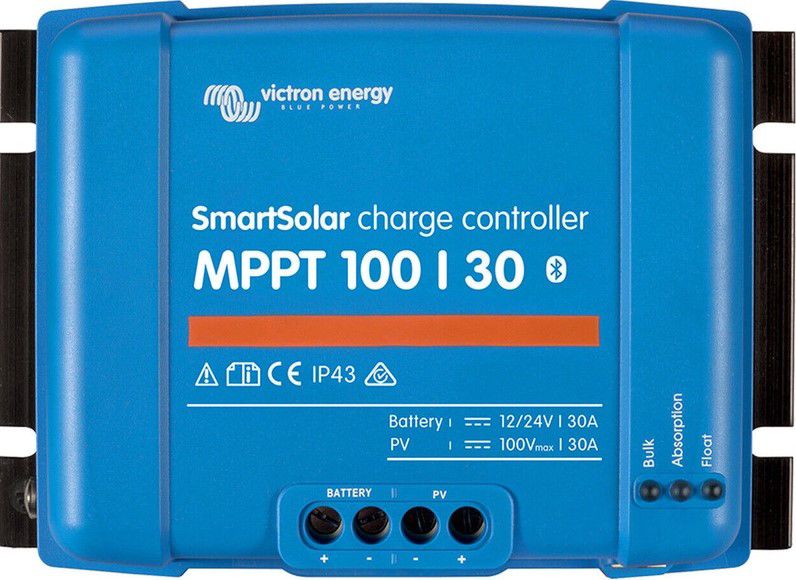
The SmartSolar MPPT Solar Charge Controller 100/30 (Manufacturer Part ID: SCC110030210) by Victron is a high-performance solar charge controller designed to optimize energy harvesting from solar panels. Utilizing advanced Maximum Power Point Tracking (MPPT) technology, it ensures efficient charging of batteries while maximizing the power output from solar arrays. This controller is ideal for off-grid solar systems, RVs, boats, and remote installations where reliable energy management is critical.
Explore Projects Built with SmartSolar MPPT Solar Charge Controller 100/30


Explore Projects Built with SmartSolar MPPT Solar Charge Controller 100/30
Common Applications and Use Cases
- Off-grid solar power systems for homes and cabins
- Solar energy systems for RVs, boats, and caravans
- Remote monitoring and control of solar installations
- Battery charging for lead-acid, lithium-ion, and other battery types
- Industrial and agricultural solar-powered equipment
Technical Specifications
The following table outlines the key technical details of the SmartSolar MPPT Solar Charge Controller 100/30:
| Parameter | Value |
|---|---|
| Maximum PV Open Circuit Voltage (Voc) | 100V |
| Rated Charge Current | 30A |
| Battery Voltage Range | 12V / 24V (auto-select) |
| Maximum PV Input Power | 440W (12V system) / 880W (24V system) |
| Efficiency | Up to 98% |
| Operating Temperature Range | -30°C to +60°C |
| Communication Interfaces | VE.Direct, Bluetooth (via Smart Dongle) |
| Dimensions | 130 x 186 x 70 mm |
| Weight | 1.3 kg |
Pin Configuration and Descriptions
The SmartSolar MPPT 100/30 features the following connection terminals:
| Pin/Terminal | Description |
|---|---|
| PV+ / PV- | Connects to the positive and negative terminals of the solar panel array. |
| BAT+ / BAT- | Connects to the positive and negative terminals of the battery bank. |
| LOAD+ / LOAD- | Optional output for connecting DC loads directly to the controller. |
| VE.Direct Port | Communication port for monitoring and configuration via Victron tools. |
| Temperature Sensor | Input for an optional external temperature sensor for battery temperature compensation. |
Usage Instructions
How to Use the Component in a Circuit
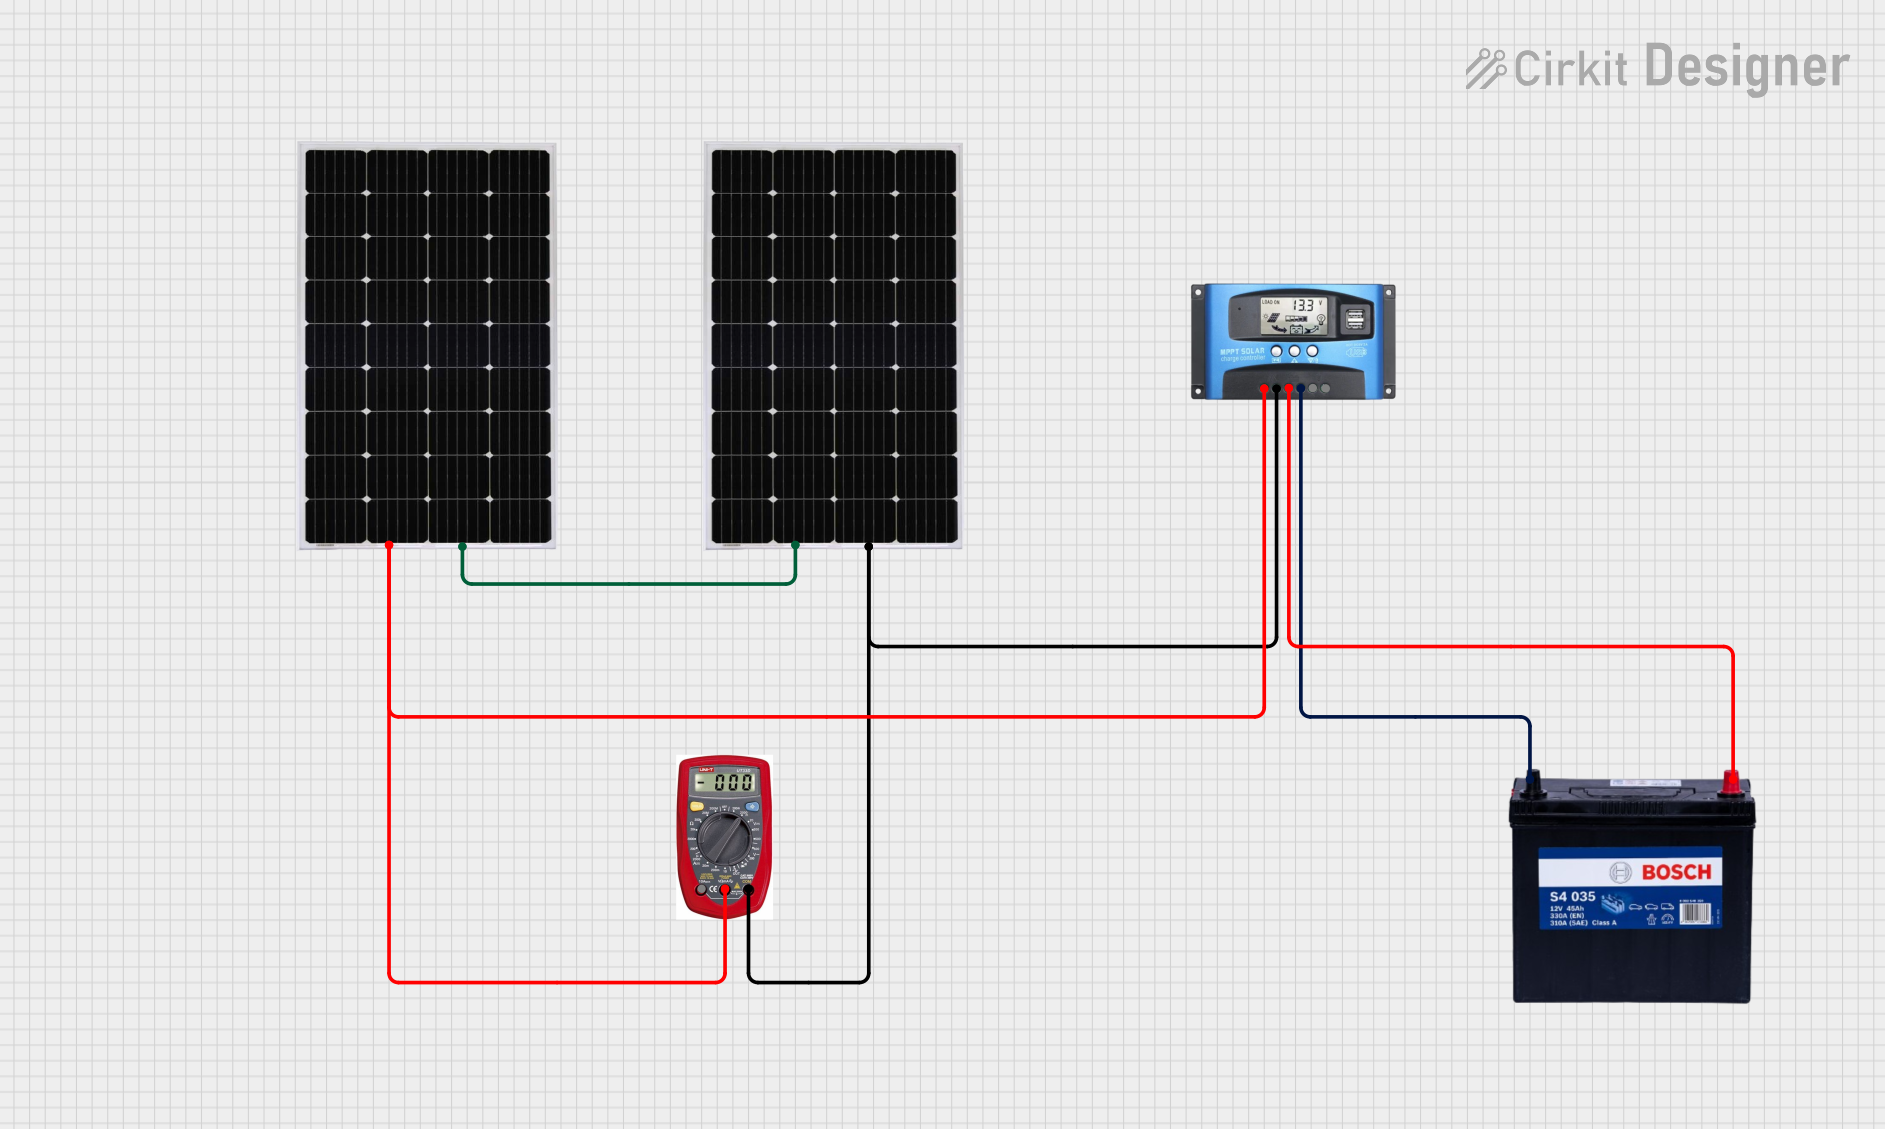
Connect the Solar Panels:
- Ensure the solar panel array's open-circuit voltage (Voc) does not exceed 100V.
- Connect the positive and negative terminals of the solar panel array to the PV+ and PV- terminals on the controller.
Connect the Battery:
- Verify the battery voltage is within the supported range (12V or 24V).
- Connect the positive and negative terminals of the battery to the BAT+ and BAT- terminals on the controller.
Optional Load Connection:
- If desired, connect DC loads to the LOAD+ and LOAD- terminals. Ensure the load current does not exceed the controller's rated capacity.
Configure the Controller:
- Use the VE.Direct port or Bluetooth (via the optional Smart Dongle) to configure the charge settings for your specific battery type (e.g., lead-acid, lithium-ion).
- Install the VictronConnect app on your smartphone or computer for easy configuration and monitoring.
Monitor and Operate:
- Monitor real-time performance and historical data using the VictronConnect app or a compatible Victron GX device.
- Ensure proper ventilation around the controller to prevent overheating.
Important Considerations and Best Practices
- Always use appropriately sized cables and fuses to prevent overheating and ensure safety.
- Install the controller in a well-ventilated, dry location away from direct sunlight and moisture.
- For lithium-ion batteries, ensure the battery management system (BMS) is compatible with the controller.
- Regularly inspect connections and clean terminals to maintain optimal performance.
- Use the optional external temperature sensor for accurate battery temperature compensation.
Arduino UNO Integration Example
While the SmartSolar MPPT 100/30 is not directly designed for Arduino integration, you can use the VE.Direct communication port to interface with an Arduino for custom monitoring. Below is an example of how to read data from the VE.Direct port using an Arduino:
#include <SoftwareSerial.h>

// Define RX and TX pins for VE.Direct communication
SoftwareSerial veDirectSerial(10, 11); // RX = pin 10, TX = pin 11

void setup() {
  Serial.begin(9600); // Initialize Serial Monitor
  veDirectSerial.begin(19200); // Initialize VE.Direct communication

  Serial.println("SmartSolar MPPT VE.Direct Data Reader");
}

void loop() {
  // Check if data is available from the VE.Direct port
  if (veDirectSerial.available()) {
    String data = ""; // Initialize a string to store incoming data

    // Read data from VE.Direct port
    while (veDirectSerial.available()) {
      char c = veDirectSerial.read();
      data += c;
    }

    // Print the received data to the Serial Monitor
    Serial.println(data);
  }

  delay(1000); // Wait for 1 second before reading again
}
Note: The VE.Direct protocol requires specific parsing of data frames. Refer to the Victron VE.Direct protocol documentation for detailed implementation.
Troubleshooting and FAQs
Common Issues and Solutions
Controller Does Not Power On:
- Ensure the battery is properly connected and within the supported voltage range.
- Check all connections for loose or damaged wires.
Low Charging Efficiency:
- Verify the solar panel array's voltage and power output match the controller's specifications.
- Inspect for shading or dirt on the solar panels.
Overheating:
- Ensure the controller is installed in a well-ventilated area.
- Check for excessive current draw from connected loads.
Bluetooth Connection Issues:
- Ensure the optional Smart Dongle is properly connected to the VE.Direct port.
- Restart the VictronConnect app and ensure Bluetooth is enabled on your device.
FAQs
Q: Can I use this controller with a 48V battery system?
A: No, the SmartSolar MPPT 100/30 supports only 12V and 24V battery systems.
Q: Is the controller waterproof?
A: No, the controller is not waterproof. It should be installed in a dry, protected location.
Q: Can I connect multiple controllers in parallel?
A: Yes, multiple controllers can be used in parallel, but each must be connected to its own solar panel array.
Q: How do I update the firmware?
A: Firmware updates can be performed using the VictronConnect app via the VE.Direct port or Bluetooth.
By following this documentation, users can effectively install, configure, and maintain the SmartSolar MPPT Solar Charge Controller 100/30 for optimal solar energy management.