
How to Use fuse holder: Examples, Pinouts, and Specs
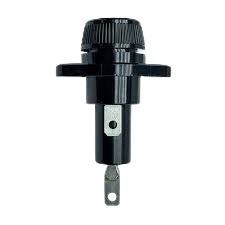
 Design with fuse holder in Cirkit Designer
Introduction
A 3 amps fuse holder is a device designed to securely house a fuse rated for 3 amps. It provides overcurrent protection in electrical circuits by interrupting the flow of current when it exceeds the specified limit, thereby preventing damage to components and reducing the risk of fire or electrical hazards.
Explore Projects Built with fuse holder
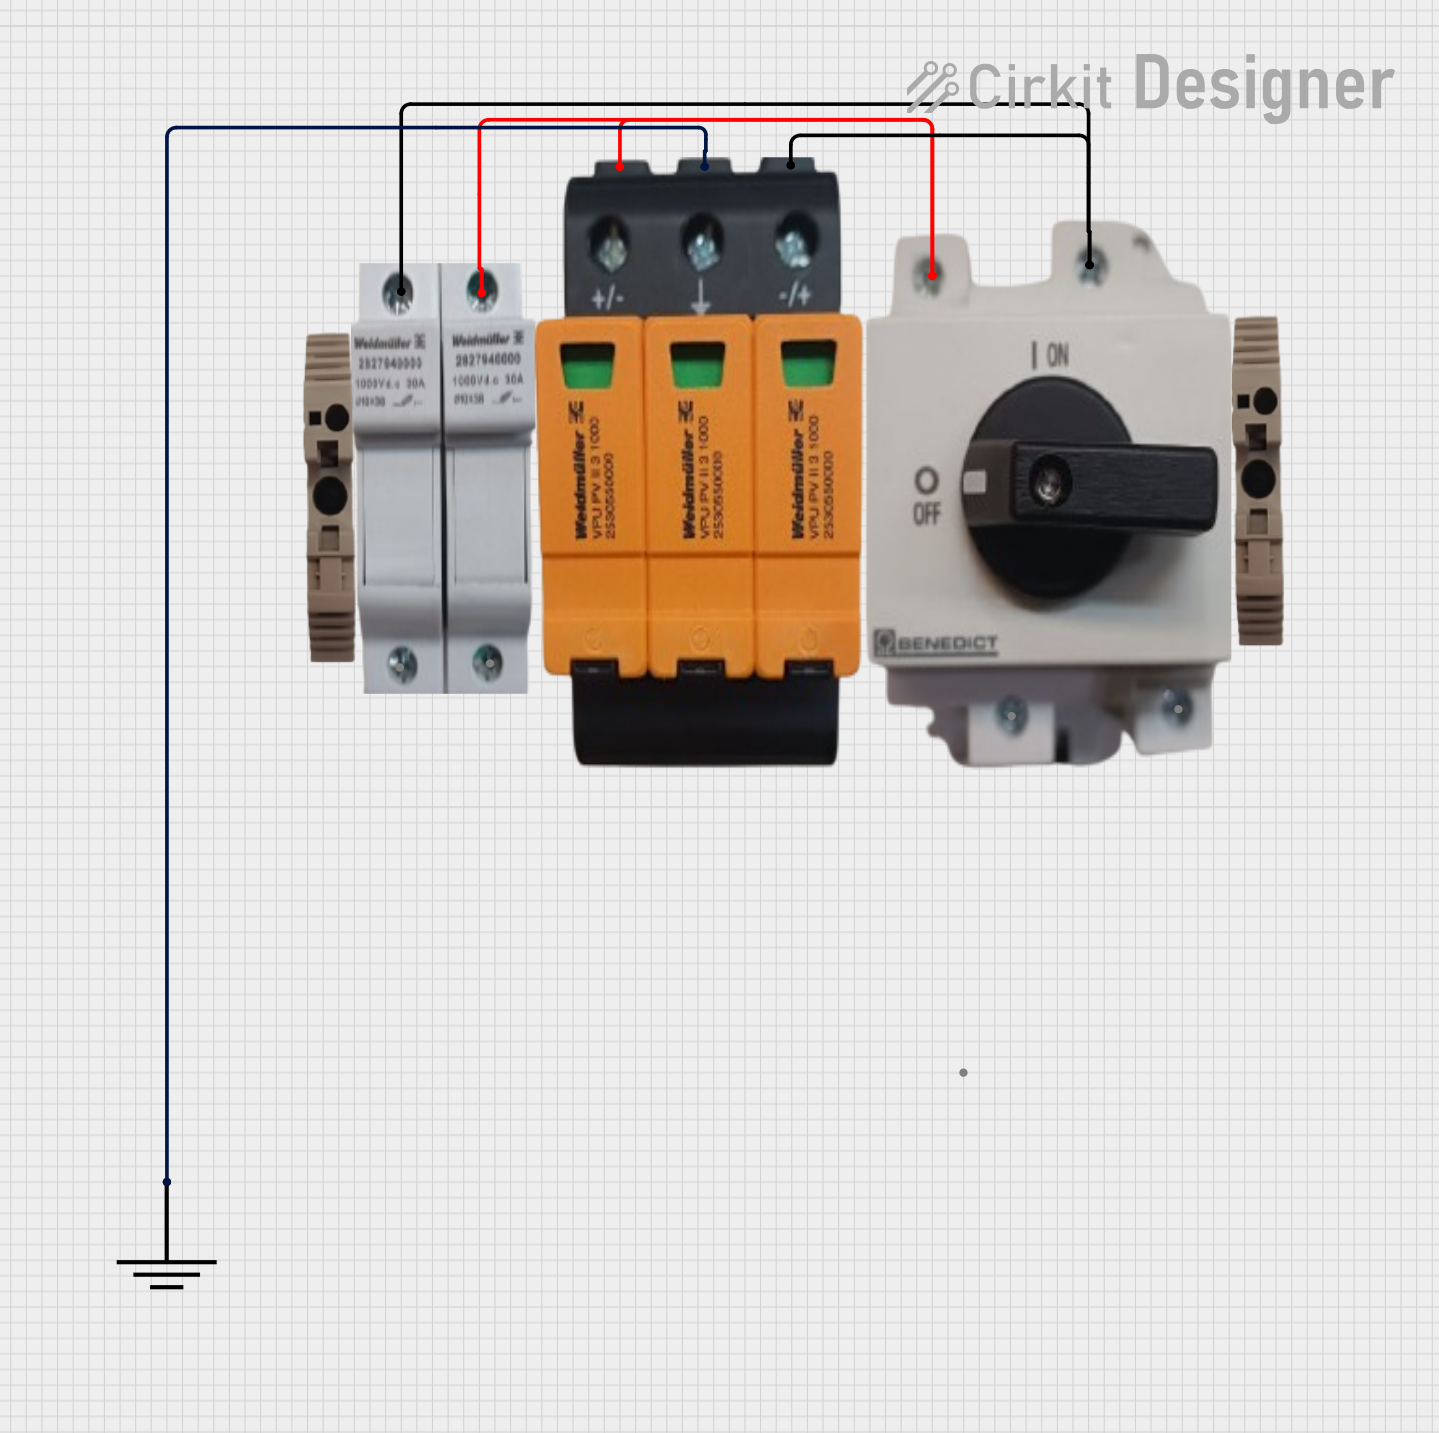
 Open Project in Cirkit Designer
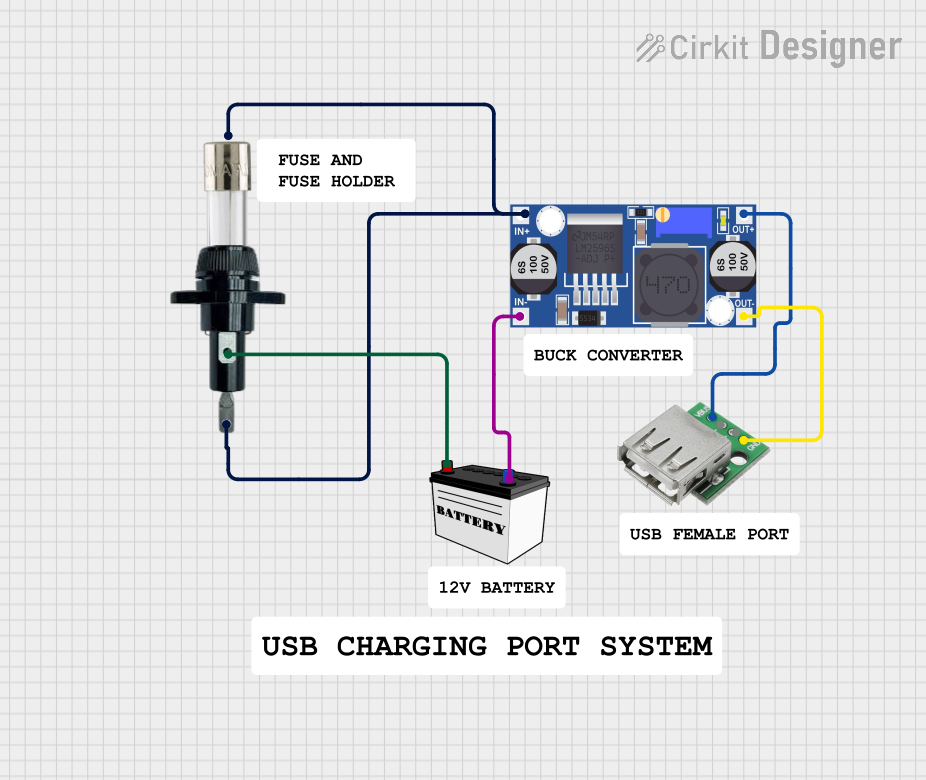
 Open Project in Cirkit Designer
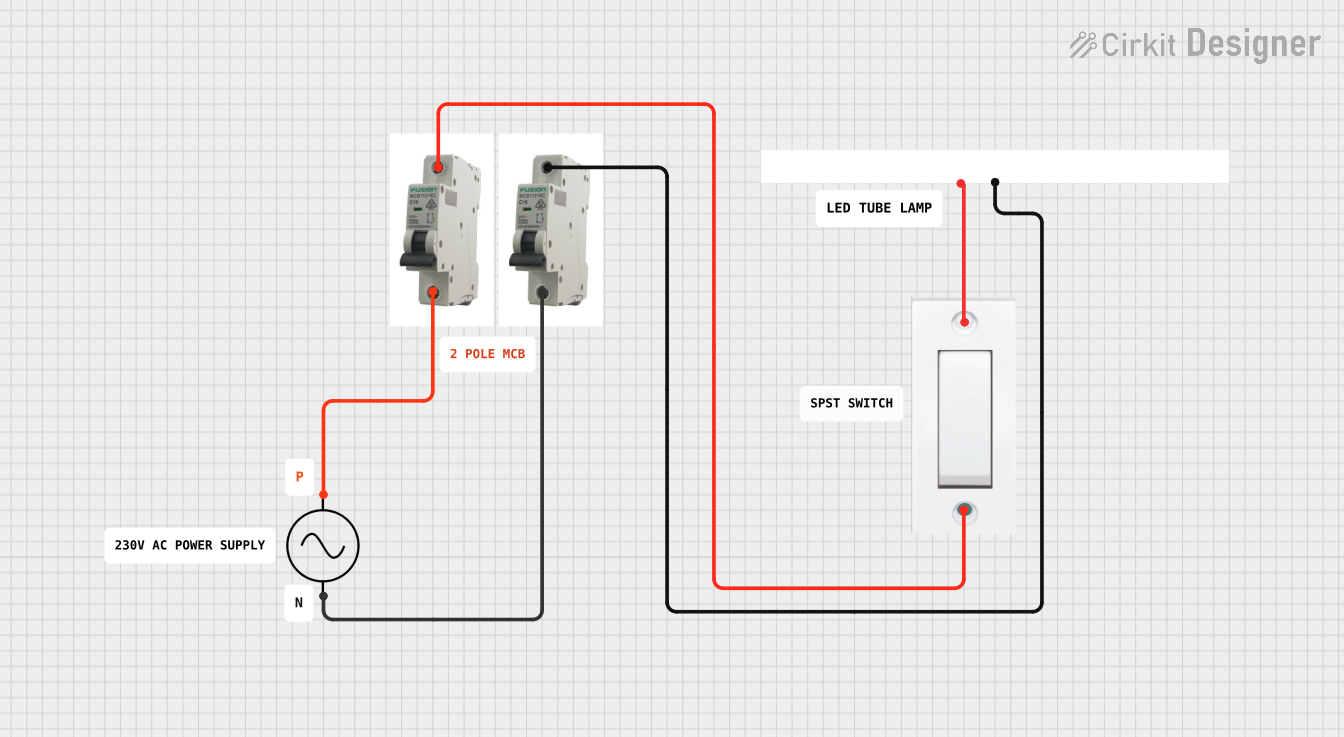
 Open Project in Cirkit Designer
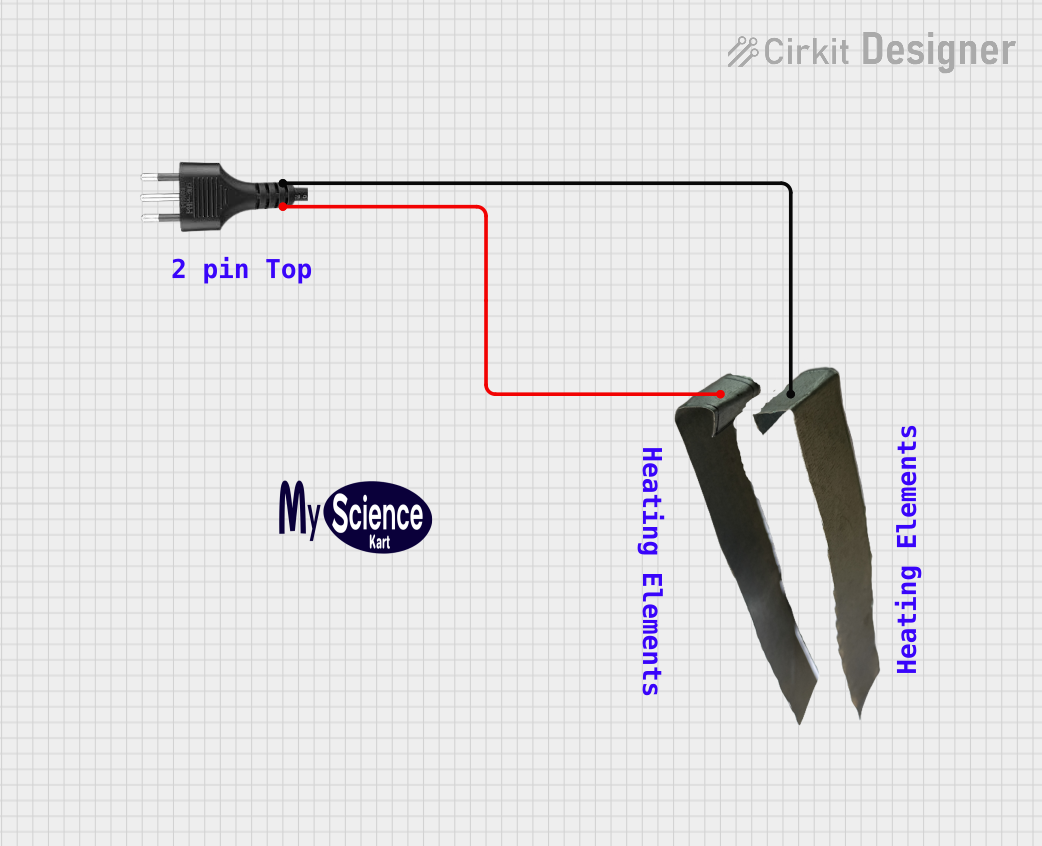
 Open Project in Cirkit Designer
Explore Projects Built with fuse holder

 Open Project in Cirkit Designer
 Open Project in Cirkit Designer
 Open Project in Cirkit Designer
 Open Project in Cirkit Designer
Common Applications and Use Cases
- Automotive electrical systems
- Consumer electronics
- Industrial control panels
- Power supply circuits
- Home appliances
- DIY electronics projects
Technical Specifications
Key Technical Details
- Manufacturer: Fuse Holder
- Part ID: Fuse
- Rated Current: 3 Amps
- Rated Voltage: Up to 250V AC/DC (depending on the fuse used)
- Material: High-temperature resistant plastic or thermoplastic
- Mounting Type: Panel mount or inline (varies by model)
- Fuse Type Supported: Glass or ceramic cylindrical fuses (typically 5x20mm or 6.3x32mm)
- Operating Temperature: -40°C to +85°C (varies by model)
Pin Configuration and Descriptions
The 3 amps fuse holder typically has two terminals for electrical connections. These terminals are used to integrate the fuse holder into the circuit. Below is a table describing the terminals:
| Pin/Terminal | Description |
|---|---|
| Terminal 1 | Input terminal for the power source |
| Terminal 2 | Output terminal to the protected circuit |
Usage Instructions
How to Use the Component in a Circuit
- Select a Compatible Fuse: Ensure the fuse used is rated for 3 amps and matches the physical dimensions supported by the fuse holder (e.g., 5x20mm or 6.3x32mm).
- Mount the Fuse Holder:
- For panel-mount models, drill a hole in the panel and secure the fuse holder using the provided nut or clip.
- For inline models, connect the fuse holder in series with the circuit wiring.
- Insert the Fuse: Open the fuse holder, insert the fuse into the designated slot, and close the holder securely.
- Connect the Terminals:
- Connect Terminal 1 to the power source.
- Connect Terminal 2 to the load or protected circuit.
- Test the Circuit: Power on the circuit and verify that the fuse holder is functioning correctly.
Important Considerations and Best Practices
- Always ensure the fuse rating matches the circuit's requirements to avoid nuisance tripping or insufficient protection.
- Use insulated tools when working with the fuse holder to prevent accidental short circuits.
- Regularly inspect the fuse holder for signs of wear, corrosion, or damage. Replace if necessary.
- Ensure proper ventilation around the fuse holder to prevent overheating.
- If using the fuse holder with an Arduino UNO or other microcontroller, ensure the circuit's current draw does not exceed 3 amps.
Example: Connecting a Fuse Holder to an Arduino UNO
Below is an example of how to integrate a 3 amps fuse holder into a simple Arduino circuit to protect an LED load:
/* Example: Using a 3 amps fuse holder with an Arduino UNO
   This circuit protects an LED load connected to pin 9 of the Arduino.
   Ensure the total current draw of the load does not exceed 3 amps. */

int ledPin = 9; // Pin connected to the LED load

void setup() {
  pinMode(ledPin, OUTPUT); // Set the LED pin as an output
}

void loop() {
  digitalWrite(ledPin, HIGH); // Turn on the LED
  delay(1000);                // Wait for 1 second
  digitalWrite(ledPin, LOW);  // Turn off the LED
  delay(1000);                // Wait for 1 second
}
Circuit Notes:
- Place the fuse holder in series with the power supply line to the Arduino or the LED load.
- Use a 3 amps fuse to protect the circuit from overcurrent conditions.
Troubleshooting and FAQs
Common Issues and Solutions
Fuse Blows Frequently
- Cause: The circuit's current exceeds 3 amps.
- Solution: Check the circuit design and ensure the load does not draw more than 3 amps. Use a lower-rated load if necessary.
Fuse Holder Overheats
- Cause: Poor electrical connections or excessive current.
- Solution: Ensure the terminals are securely connected and the current does not exceed the fuse rating.
Fuse Holder Does Not Hold the Fuse Securely
- Cause: Incorrect fuse size or damaged holder.
- Solution: Use a fuse with the correct dimensions and inspect the holder for damage. Replace if necessary.
Circuit Does Not Power On
- Cause: Blown fuse or loose connections.
- Solution: Replace the fuse and check all connections for proper contact.
FAQs
Q: Can I use a fuse rated higher than 3 amps in this holder?
A: No, the fuse holder is designed for fuses rated at 3 amps. Using a higher-rated fuse may compromise safety.Q: Is the fuse holder waterproof?
A: Most standard fuse holders are not waterproof. For outdoor or wet environments, use a waterproof fuse holder.Q: Can I use this fuse holder for DC circuits?
A: Yes, the fuse holder can be used for both AC and DC circuits, provided the voltage and current ratings are not exceeded.Q: How do I know if the fuse is blown?
A: Inspect the fuse visually for a broken filament or use a multimeter to check for continuity.
This concludes the documentation for the 3 amps fuse holder. Always follow safety guidelines when working with electrical components.