
How to Use LCD Volt-Amp-Watt Meter: Examples, Pinouts, and Specs
 Design with LCD Volt-Amp-Watt Meter in Cirkit Designer
Introduction
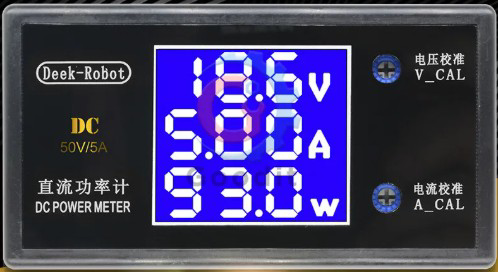
The LCD Volt-Amp-Watt Meter (Manufacturer: AliExpress, Part ID: DC-50V-5A-25W) is a compact and versatile device designed to measure and display voltage, current, and power in electrical circuits. It features an easy-to-read LCD screen, making it ideal for monitoring and troubleshooting power systems in real-time. This component is widely used in DIY electronics projects, battery monitoring, solar power systems, and other applications requiring precise power measurements.
Explore Projects Built with LCD Volt-Amp-Watt Meter
 Open Project in Cirkit Designer
 Open Project in Cirkit Designer
 Open Project in Cirkit Designer
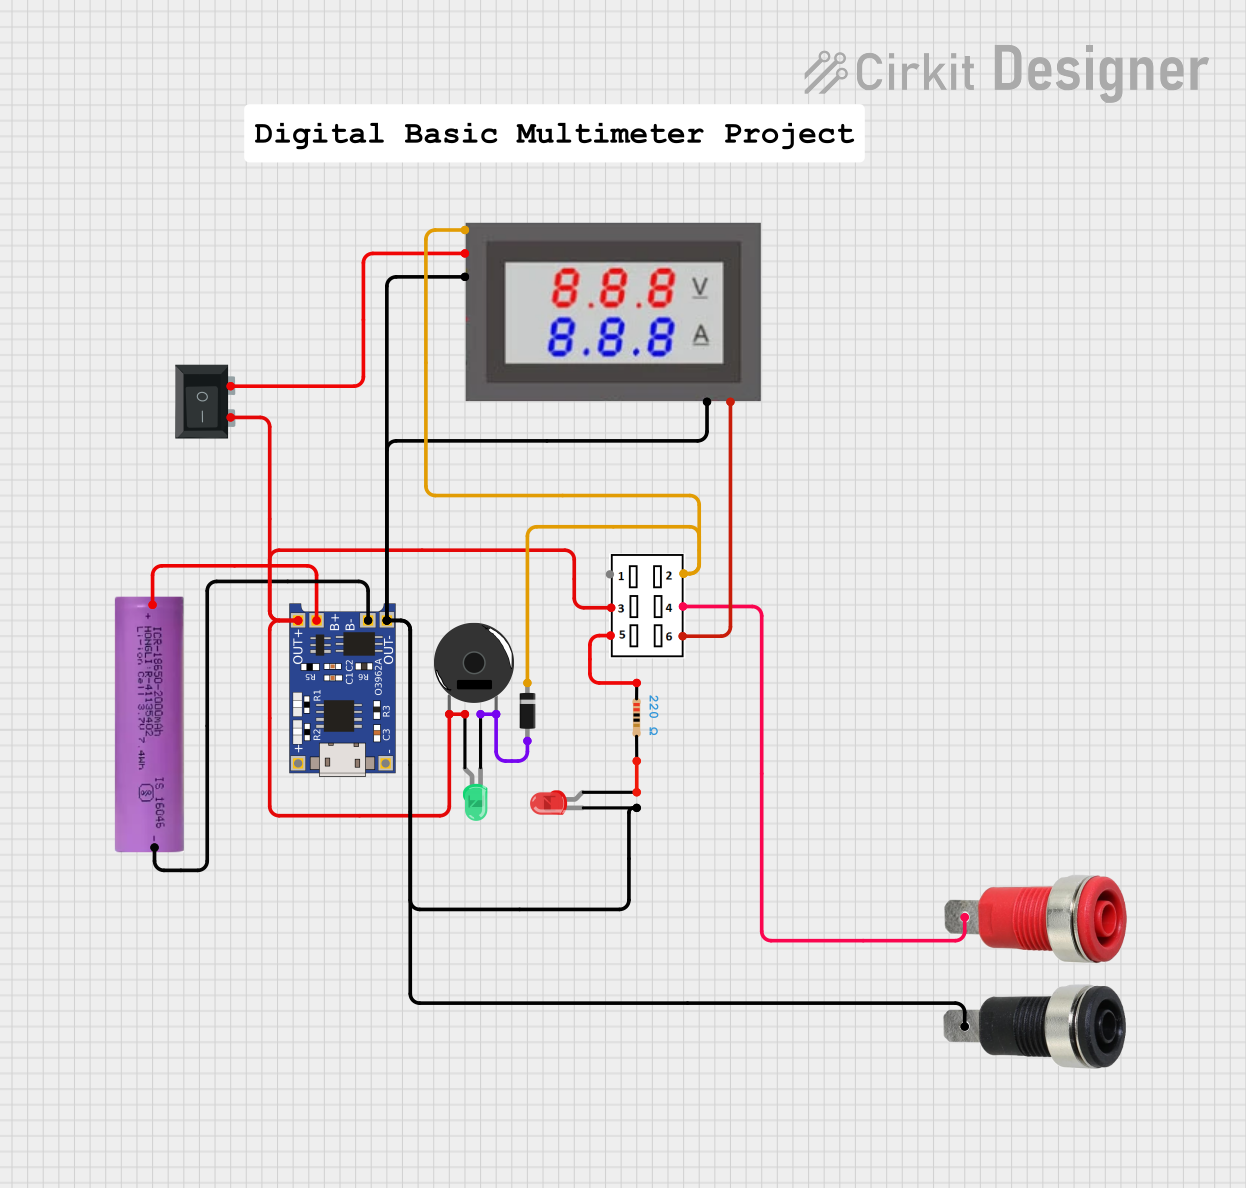 Open Project in Cirkit Designer
Explore Projects Built with LCD Volt-Amp-Watt Meter
Open Project in Cirkit DesignerOpen Project in Cirkit DesignerOpen Project in Cirkit DesignerOpen Project in Cirkit DesignerCommon Applications
- Monitoring battery voltage and current in portable devices
- Measuring power consumption in DC circuits
- Solar panel and renewable energy system monitoring
- DIY electronics and prototyping
- Educational projects for understanding electrical parameters
Technical Specifications
Key Specifications
| Parameter | Value |
|---|---|
| Voltage Range | 0 - 50V DC |
| Current Range | 0 - 5A DC |
| Power Range | 0 - 25W |
| Display Type | LCD |
| Measurement Accuracy | ±1% |
| Operating Temperature | -10°C to 60°C |
| Power Supply | Self-powered (via measured circuit) |
Pin Configuration and Descriptions
The LCD Volt-Amp-Watt Meter typically has four connection points (wires) for integration into a circuit. Below is the pin configuration:
| Wire Color | Function | Description |
|---|---|---|
| Red | Voltage Input (V+) | Connect to the positive terminal of the power source to measure voltage. |
| Black | Ground (GND) | Connect to the negative terminal of the power source. |
| Yellow | Current Input (I+) | Connect to the positive terminal of the load to measure current. |
| Black | Current Ground (I-) | Connect to the negative terminal of the load to complete the current loop. |
Usage Instructions
How to Use the Component in a Circuit
Connect the Voltage Measurement Wires:
- Attach the Red wire (V+) to the positive terminal of the power source.
- Attach the Black wire (GND) to the negative terminal of the power source.
Connect the Current Measurement Wires:
- Insert the Yellow wire (I+) in series with the positive terminal of the load.
- Connect the Black wire (I-) to the negative terminal of the load.
Power On the Circuit:
- Once connected, the meter will automatically power on and display the voltage, current, and power readings on the LCD screen.
Read the Measurements:
- The LCD screen will show real-time values for voltage (V), current (A), and power (W).
Important Considerations and Best Practices
- Ensure the voltage and current do not exceed the meter's maximum ratings (50V and 5A, respectively).
- Always connect the meter in the correct polarity to avoid damage.
- Use proper insulation and secure connections to prevent short circuits.
- Avoid exposing the meter to extreme temperatures or moisture.
Example: Using with an Arduino UNO
The LCD Volt-Amp-Watt Meter can be used alongside an Arduino UNO to monitor power parameters in a project. Below is an example of how to integrate the meter into a simple DC circuit:
// Example Arduino code to read voltage and current from the LCD Volt-Amp-Watt Meter
// Note: The meter itself does not interface directly with Arduino. This code assumes
// you are using additional sensors (e.g., voltage divider, current sensor) to read data.

const int voltagePin = A0; // Analog pin for voltage sensor
const int currentPin = A1; // Analog pin for current sensor

void setup() {
  Serial.begin(9600); // Initialize serial communication
  pinMode(voltagePin, INPUT);
  pinMode(currentPin, INPUT);
}

void loop() {
  // Read voltage and current sensor values
  int voltageRaw = analogRead(voltagePin);
  int currentRaw = analogRead(currentPin);

  // Convert raw values to actual voltage and current
  float voltage = (voltageRaw / 1023.0) * 50.0; // Assuming a 50V max sensor
  float current = (currentRaw / 1023.0) * 5.0; // Assuming a 5A max sensor

  // Calculate power
  float power = voltage * current;

  // Print values to Serial Monitor
  Serial.print("Voltage: ");
  Serial.print(voltage);
  Serial.print(" V, Current: ");
  Serial.print(current);
  Serial.print(" A, Power: ");
  Serial.print(power);
  Serial.println(" W");

  delay(1000); // Update every second
}
Troubleshooting and FAQs
Common Issues and Solutions
No Display on the LCD Screen:
- Cause: Incorrect wiring or insufficient voltage.
- Solution: Double-check all connections and ensure the input voltage is within the operating range (0-50V DC).
Inaccurate Readings:
- Cause: Loose connections or exceeding the meter's rated limits.
- Solution: Secure all connections and ensure the voltage/current does not exceed 50V/5A.
Meter Overheats:
- Cause: Prolonged operation near maximum ratings.
- Solution: Operate the meter within safe limits and allow adequate cooling.
Flickering Display:
- Cause: Unstable power supply or electrical noise.
- Solution: Use a stable power source and add capacitors to filter noise if necessary.
FAQs
Q1: Can this meter measure AC voltage or current?
A1: No, the LCD Volt-Amp-Watt Meter is designed for DC circuits only.
Q2: Can I use this meter with a power supply higher than 50V?
A2: No, exceeding 50V may damage the meter. Use a voltage divider or a different meter for higher voltages.
Q3: Does the meter require an external power source?
A3: No, the meter is self-powered from the measured circuit.
Q4: Can I use this meter to measure very low currents (e.g., milliamps)?
A4: The meter is optimized for currents up to 5A. For very low currents, accuracy may be reduced.
This concludes the documentation for the LCD Volt-Amp-Watt Meter (DC-50V-5A-25W).