
How to Use TowerPro MG995 Digi-Hi Speed: Examples, Pinouts, and Specs
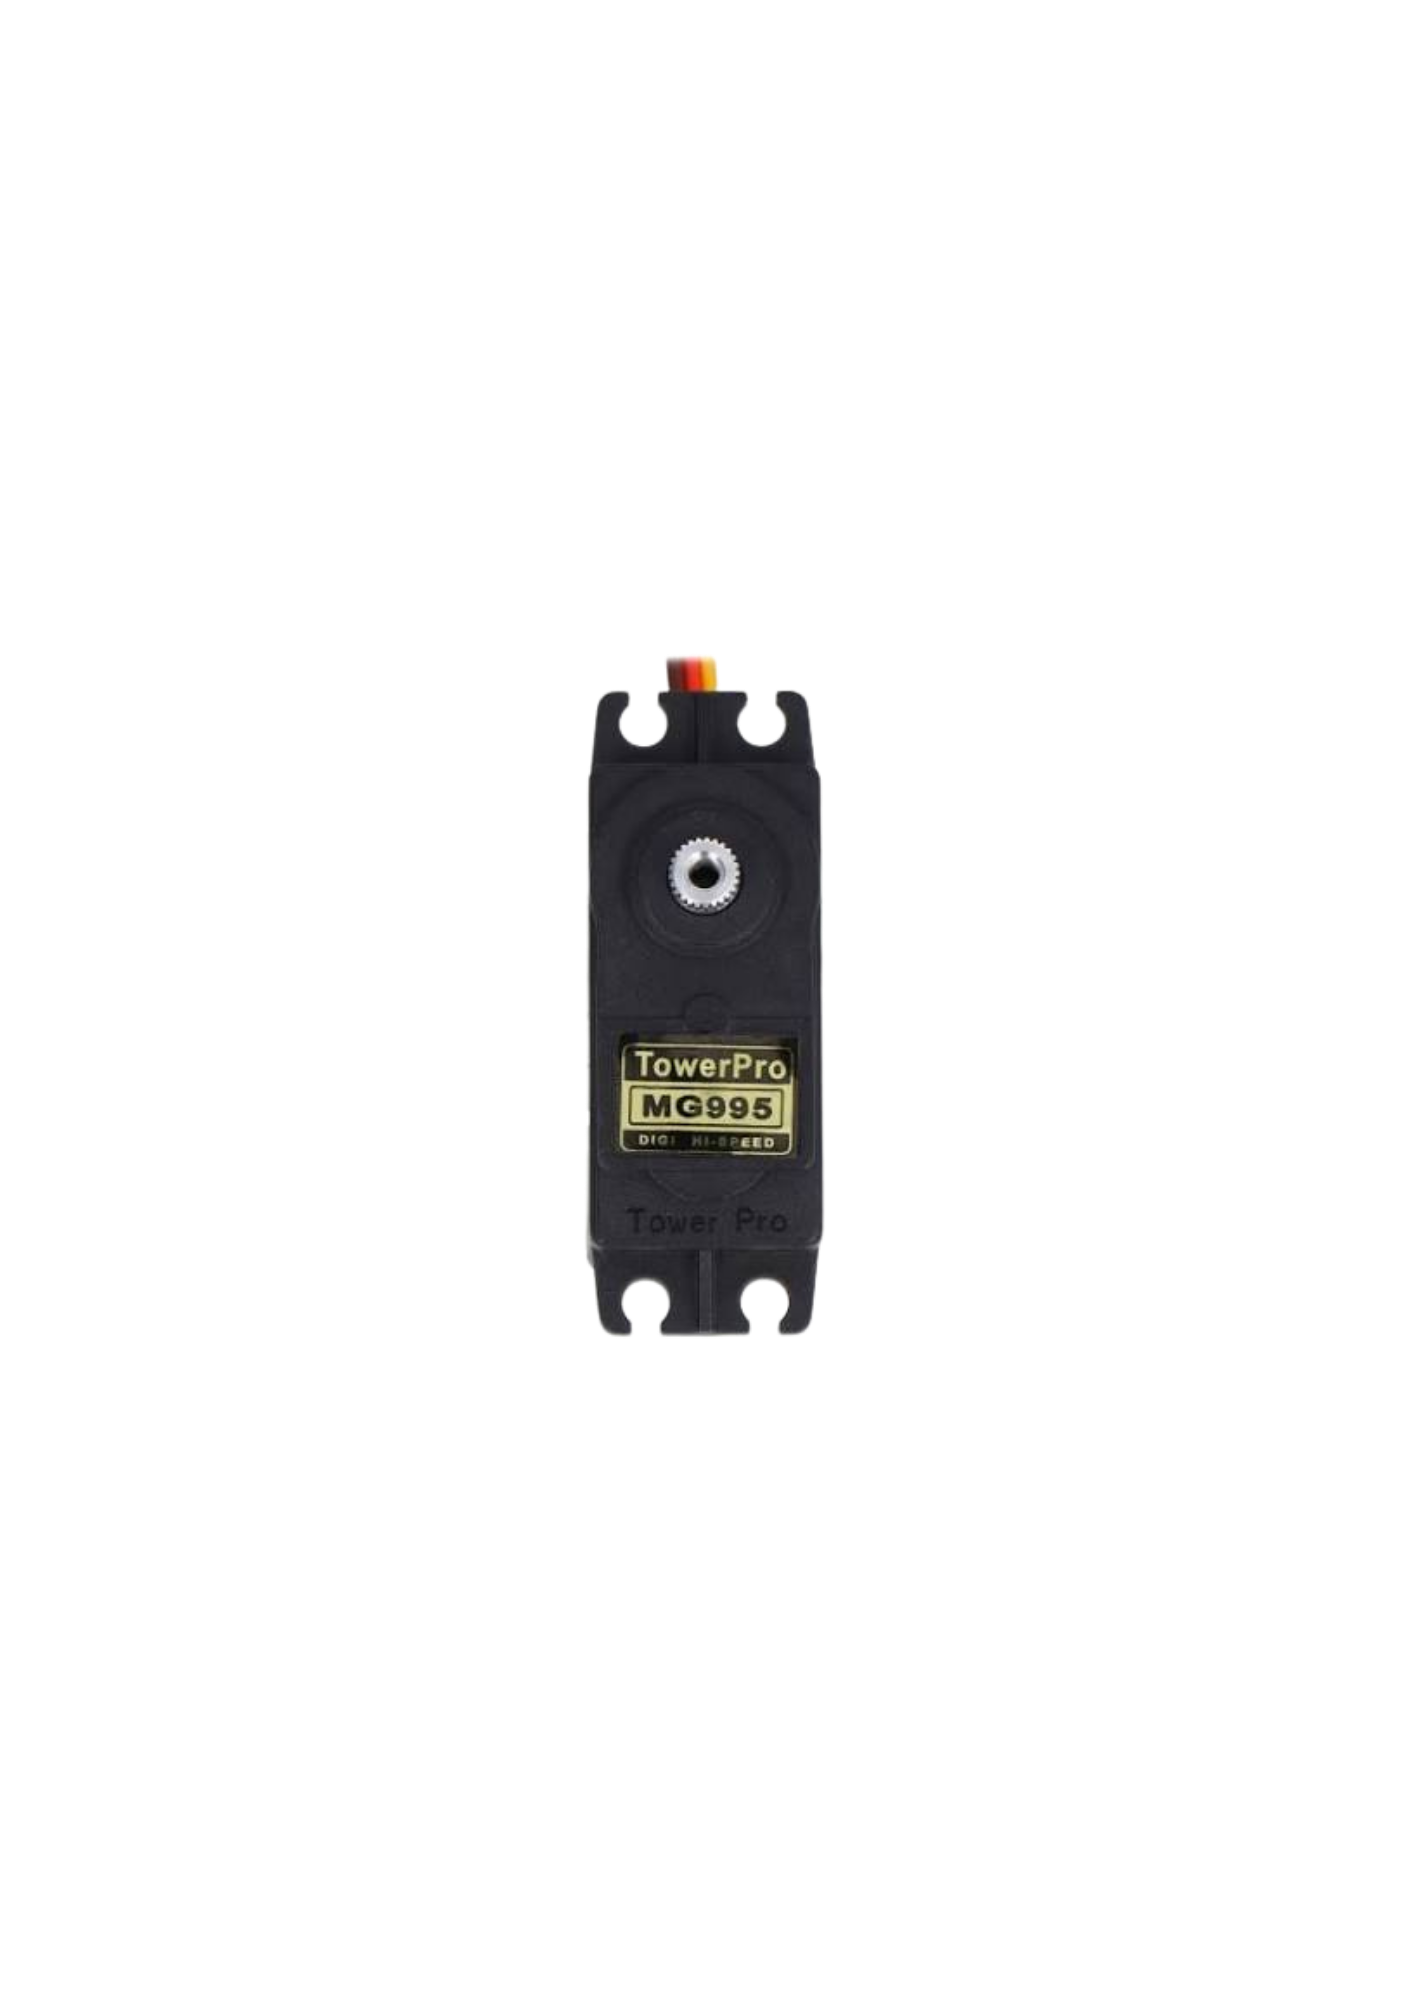
 Design with TowerPro MG995 Digi-Hi Speed in Cirkit Designer
Introduction
The TowerPro MG995 Digi-Hi Speed is a high-torque servo motor renowned for its precision, speed, and reliability. It is widely used in robotics, remote-controlled (RC) vehicles, and other applications requiring precise angular motion. With its metal gear construction, the MG995 offers durability and the ability to handle high torque loads, making it a popular choice for hobbyists and professionals alike.
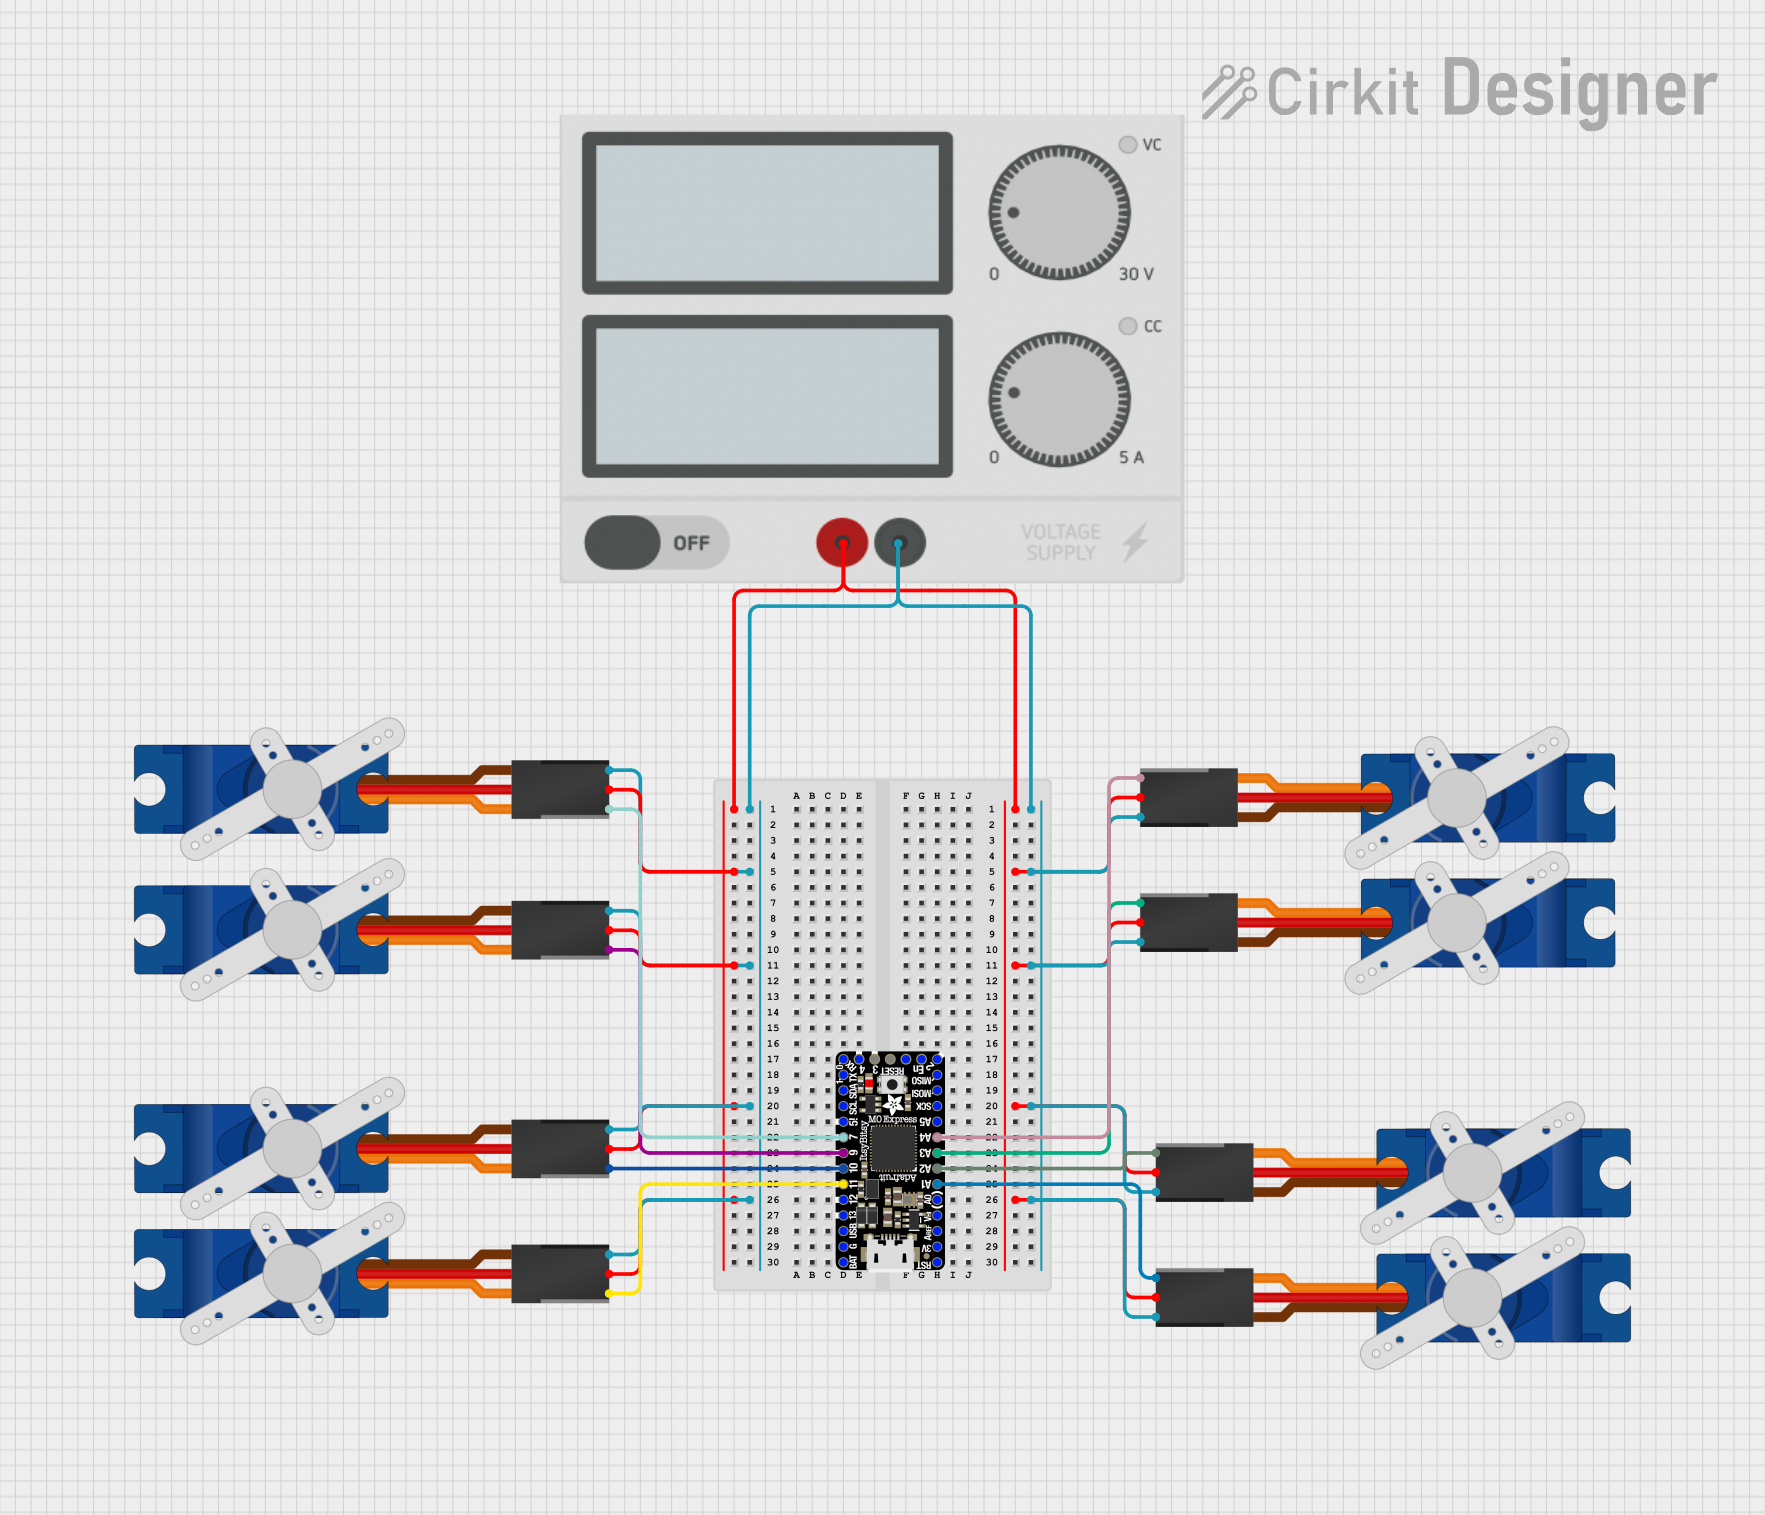
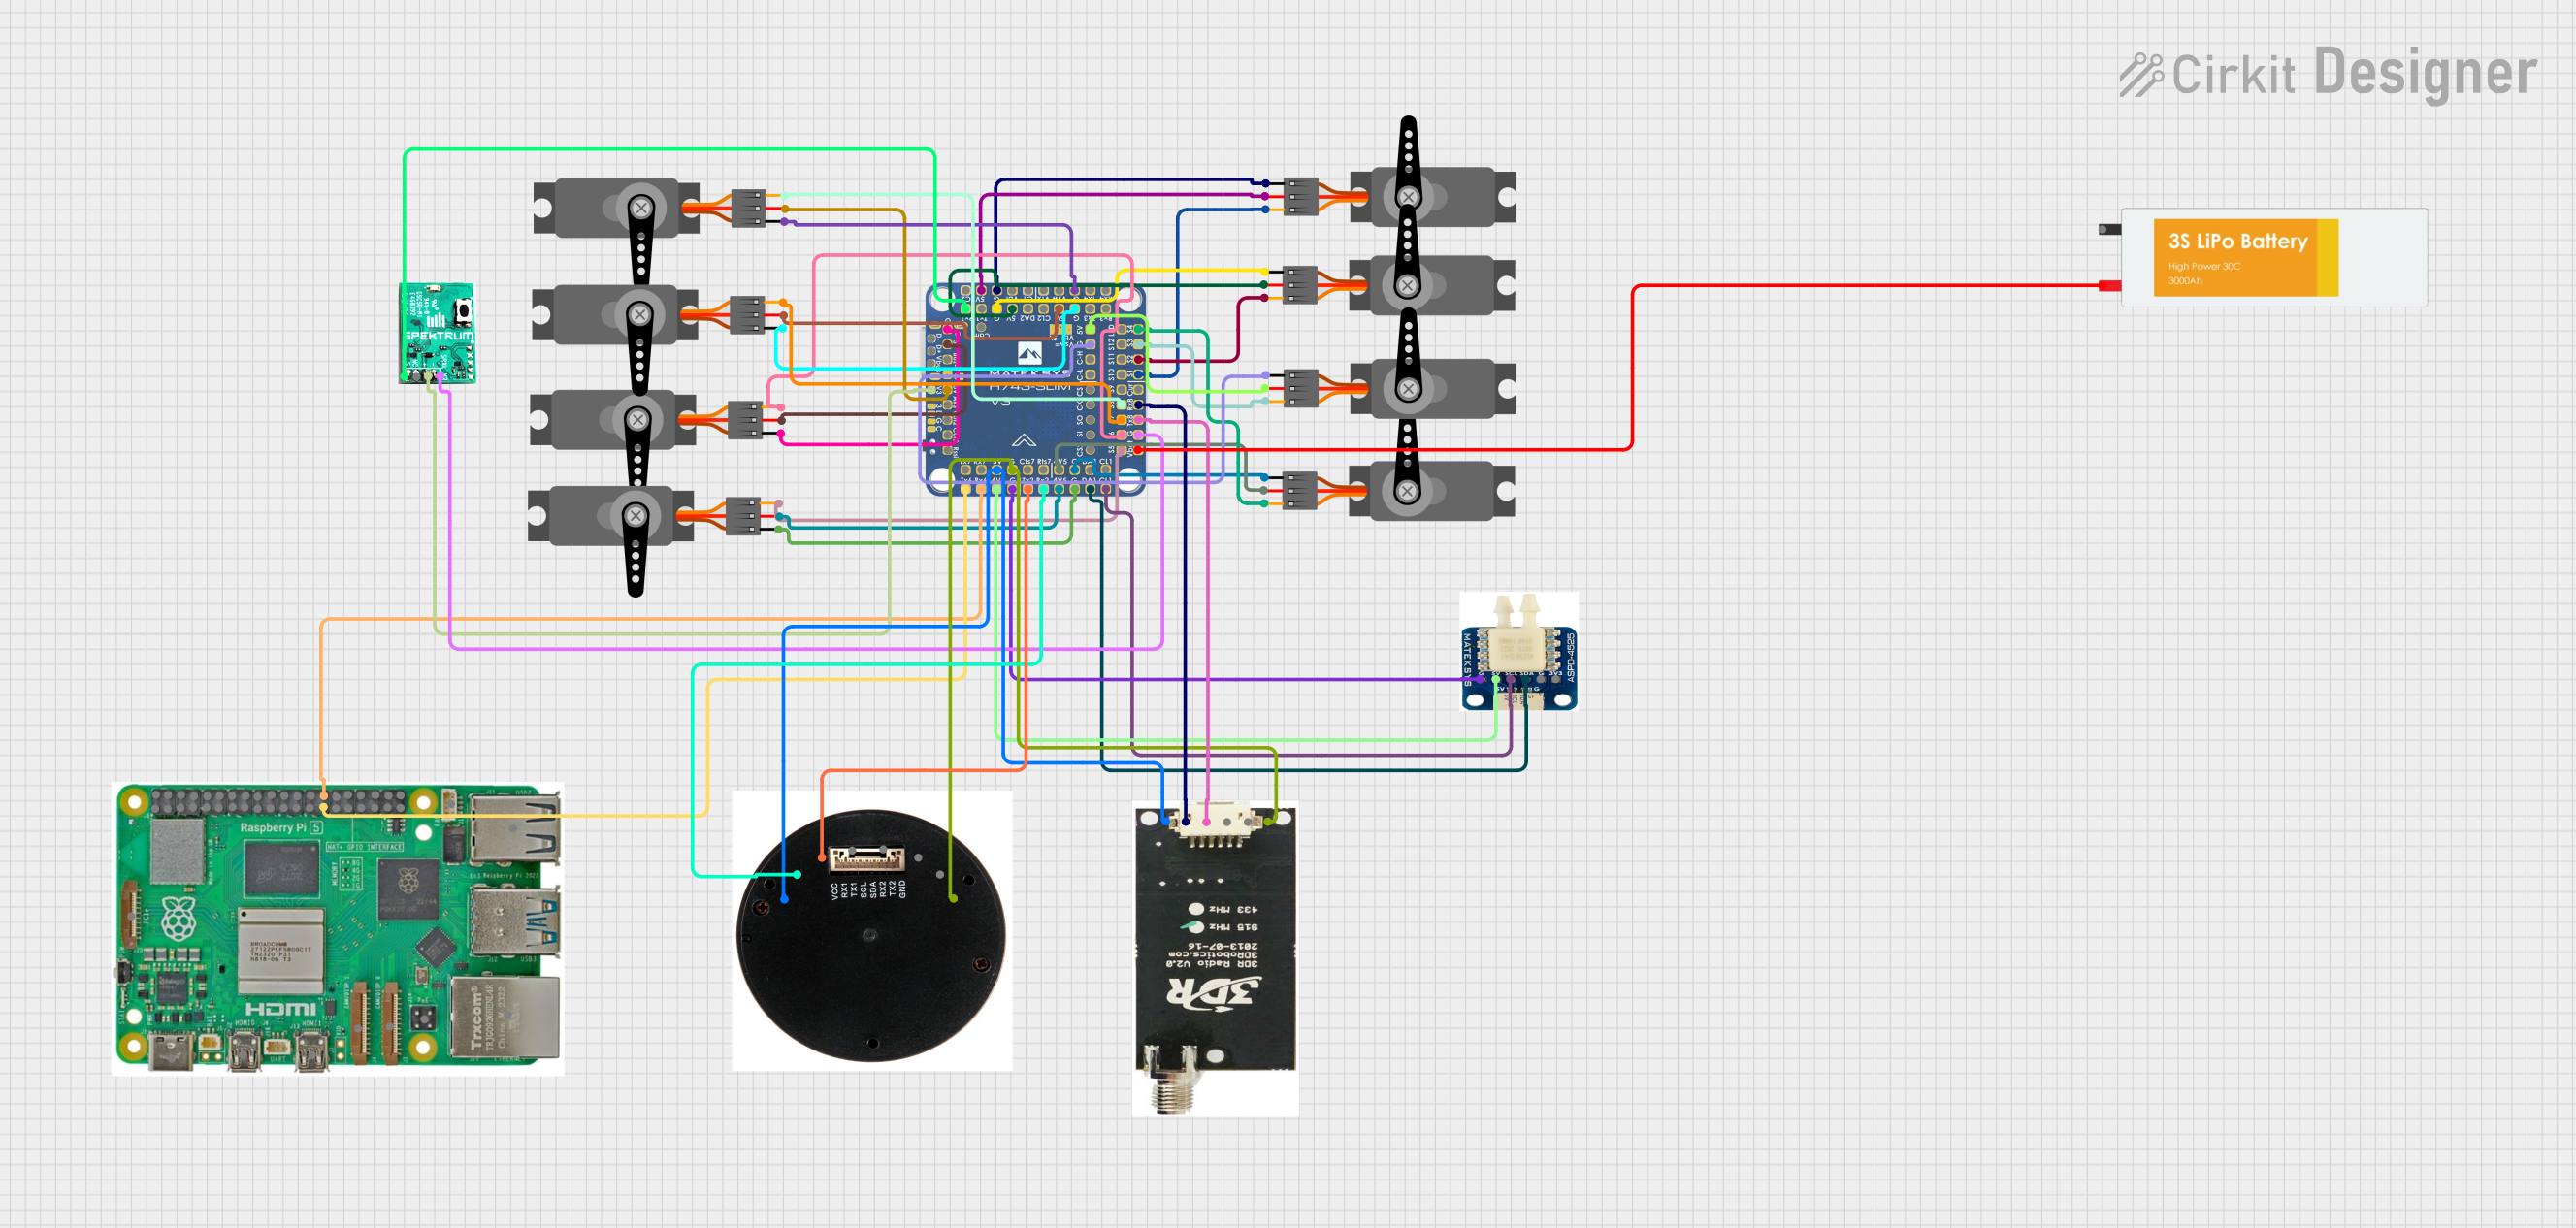
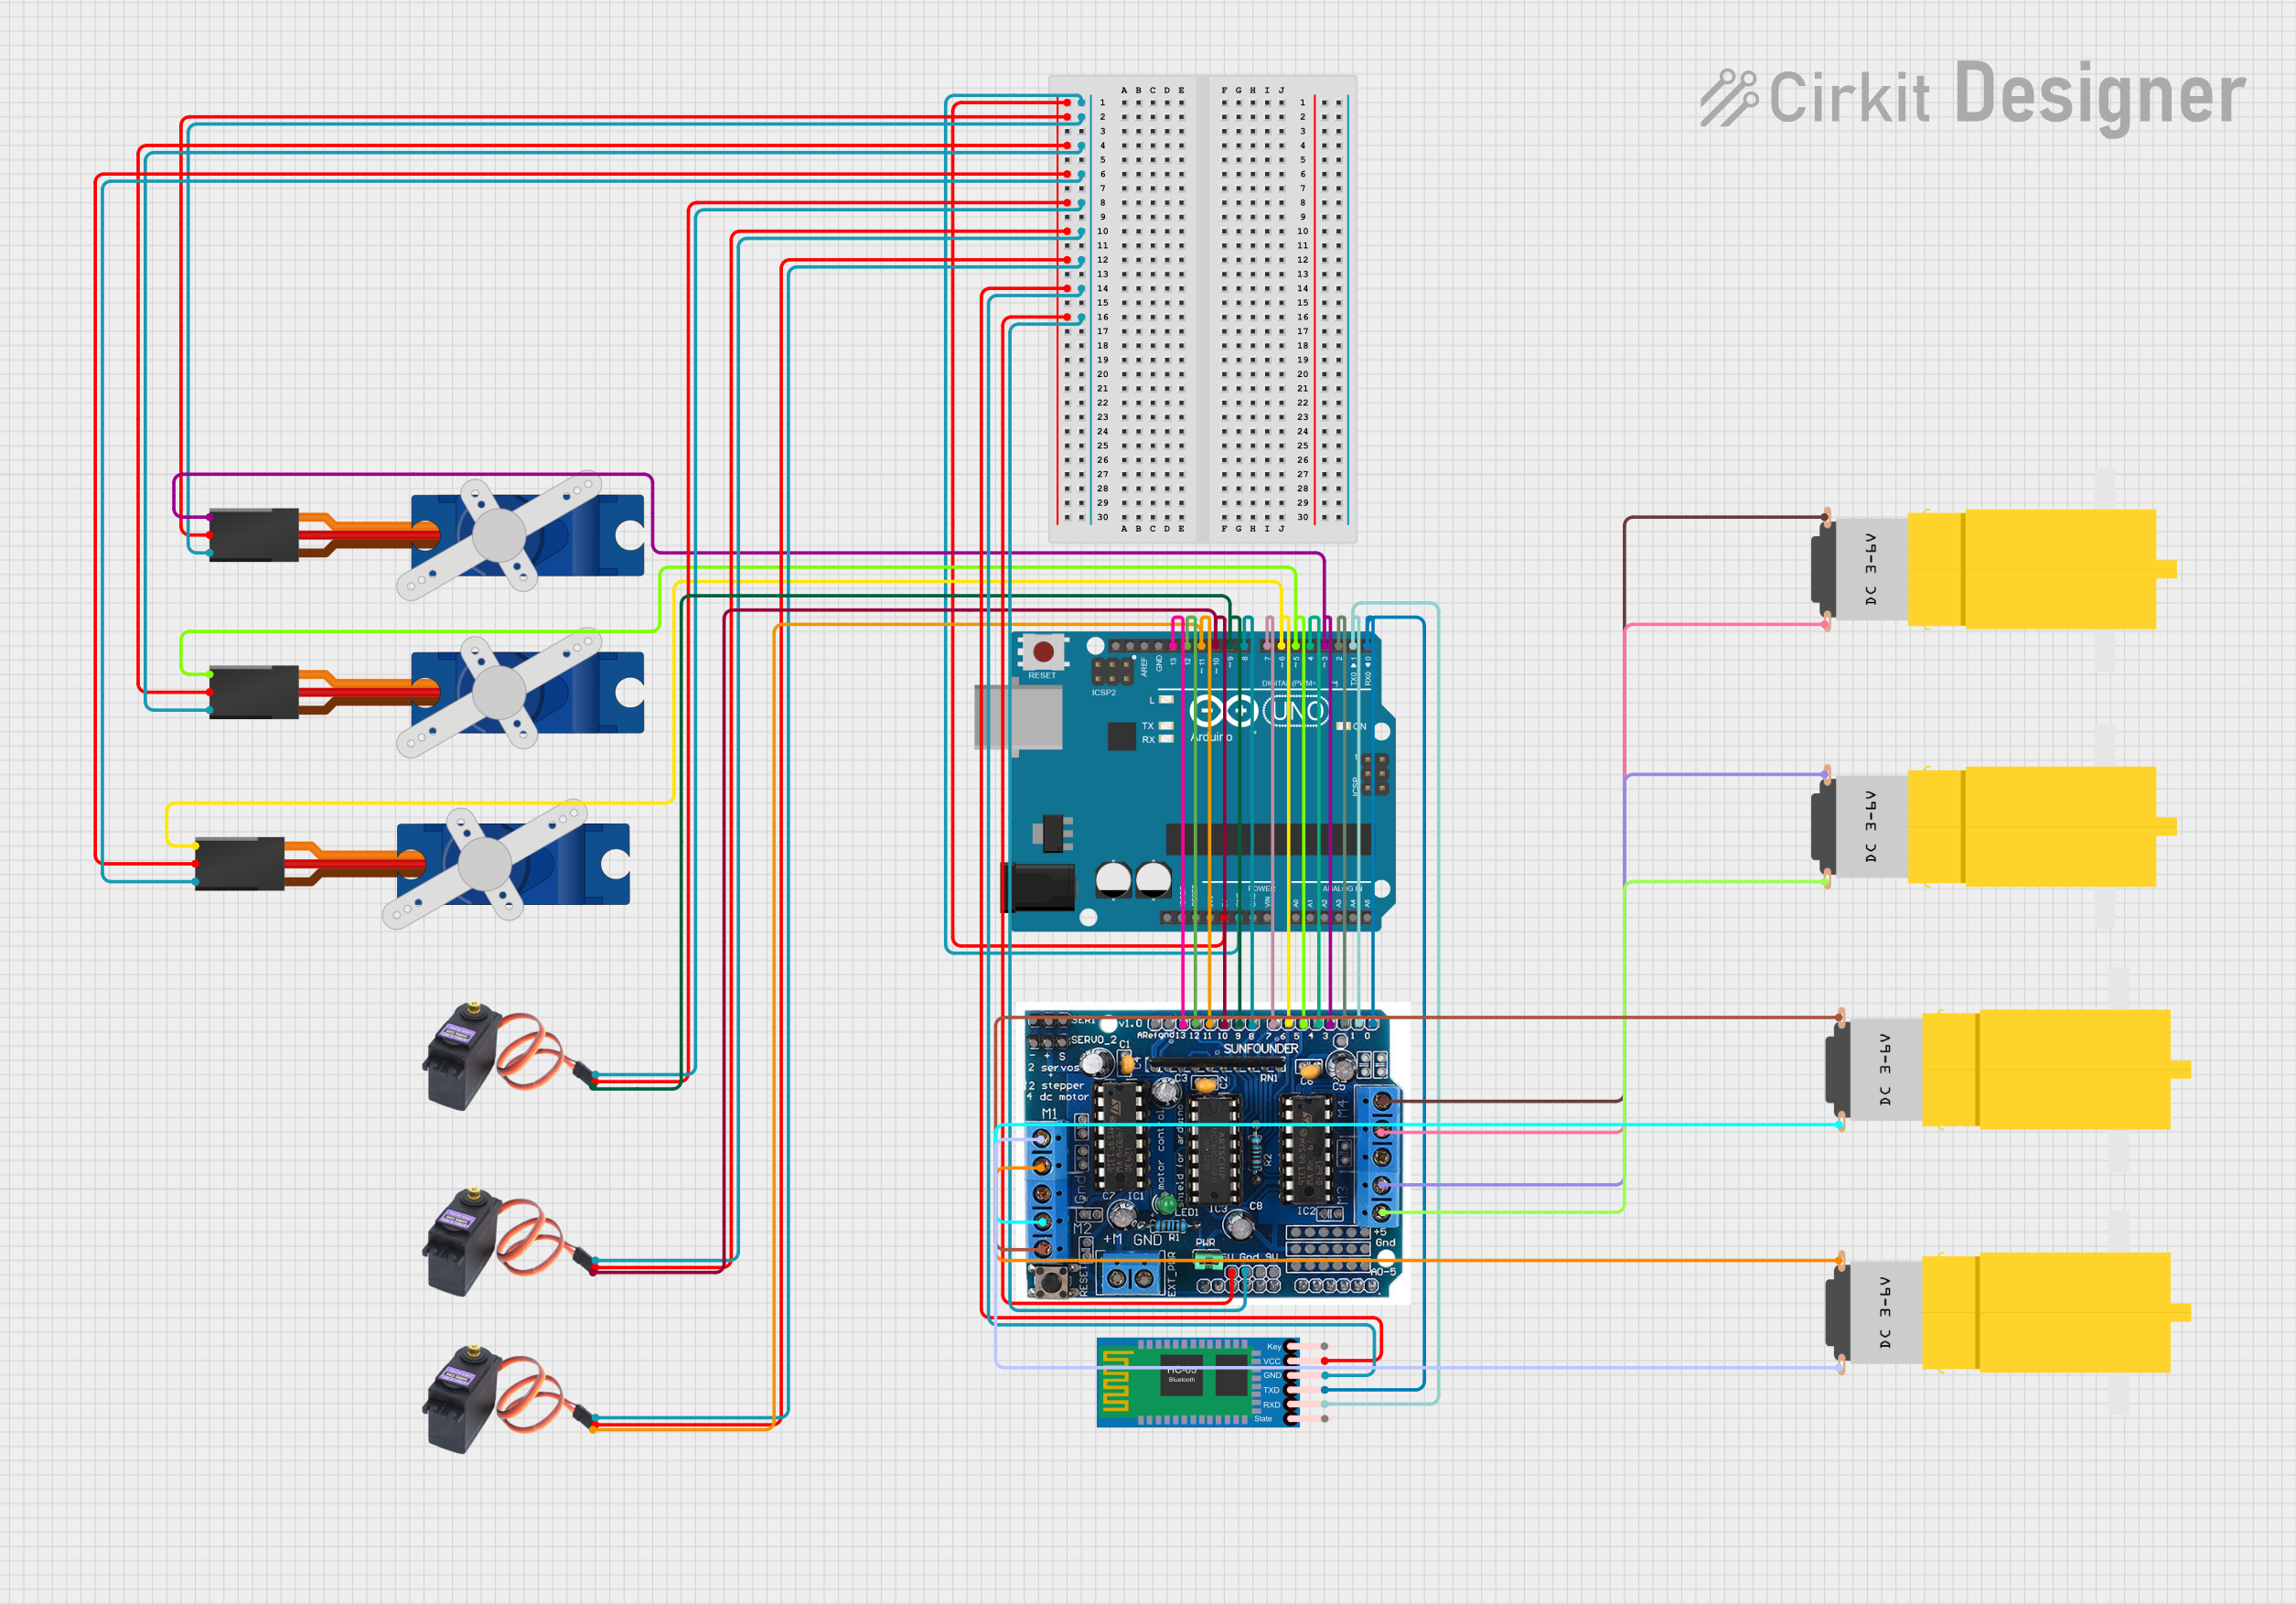
Explore Projects Built with TowerPro MG995 Digi-Hi Speed
 Open Project in Cirkit Designer
 Open Project in Cirkit Designer
 Open Project in Cirkit Designer
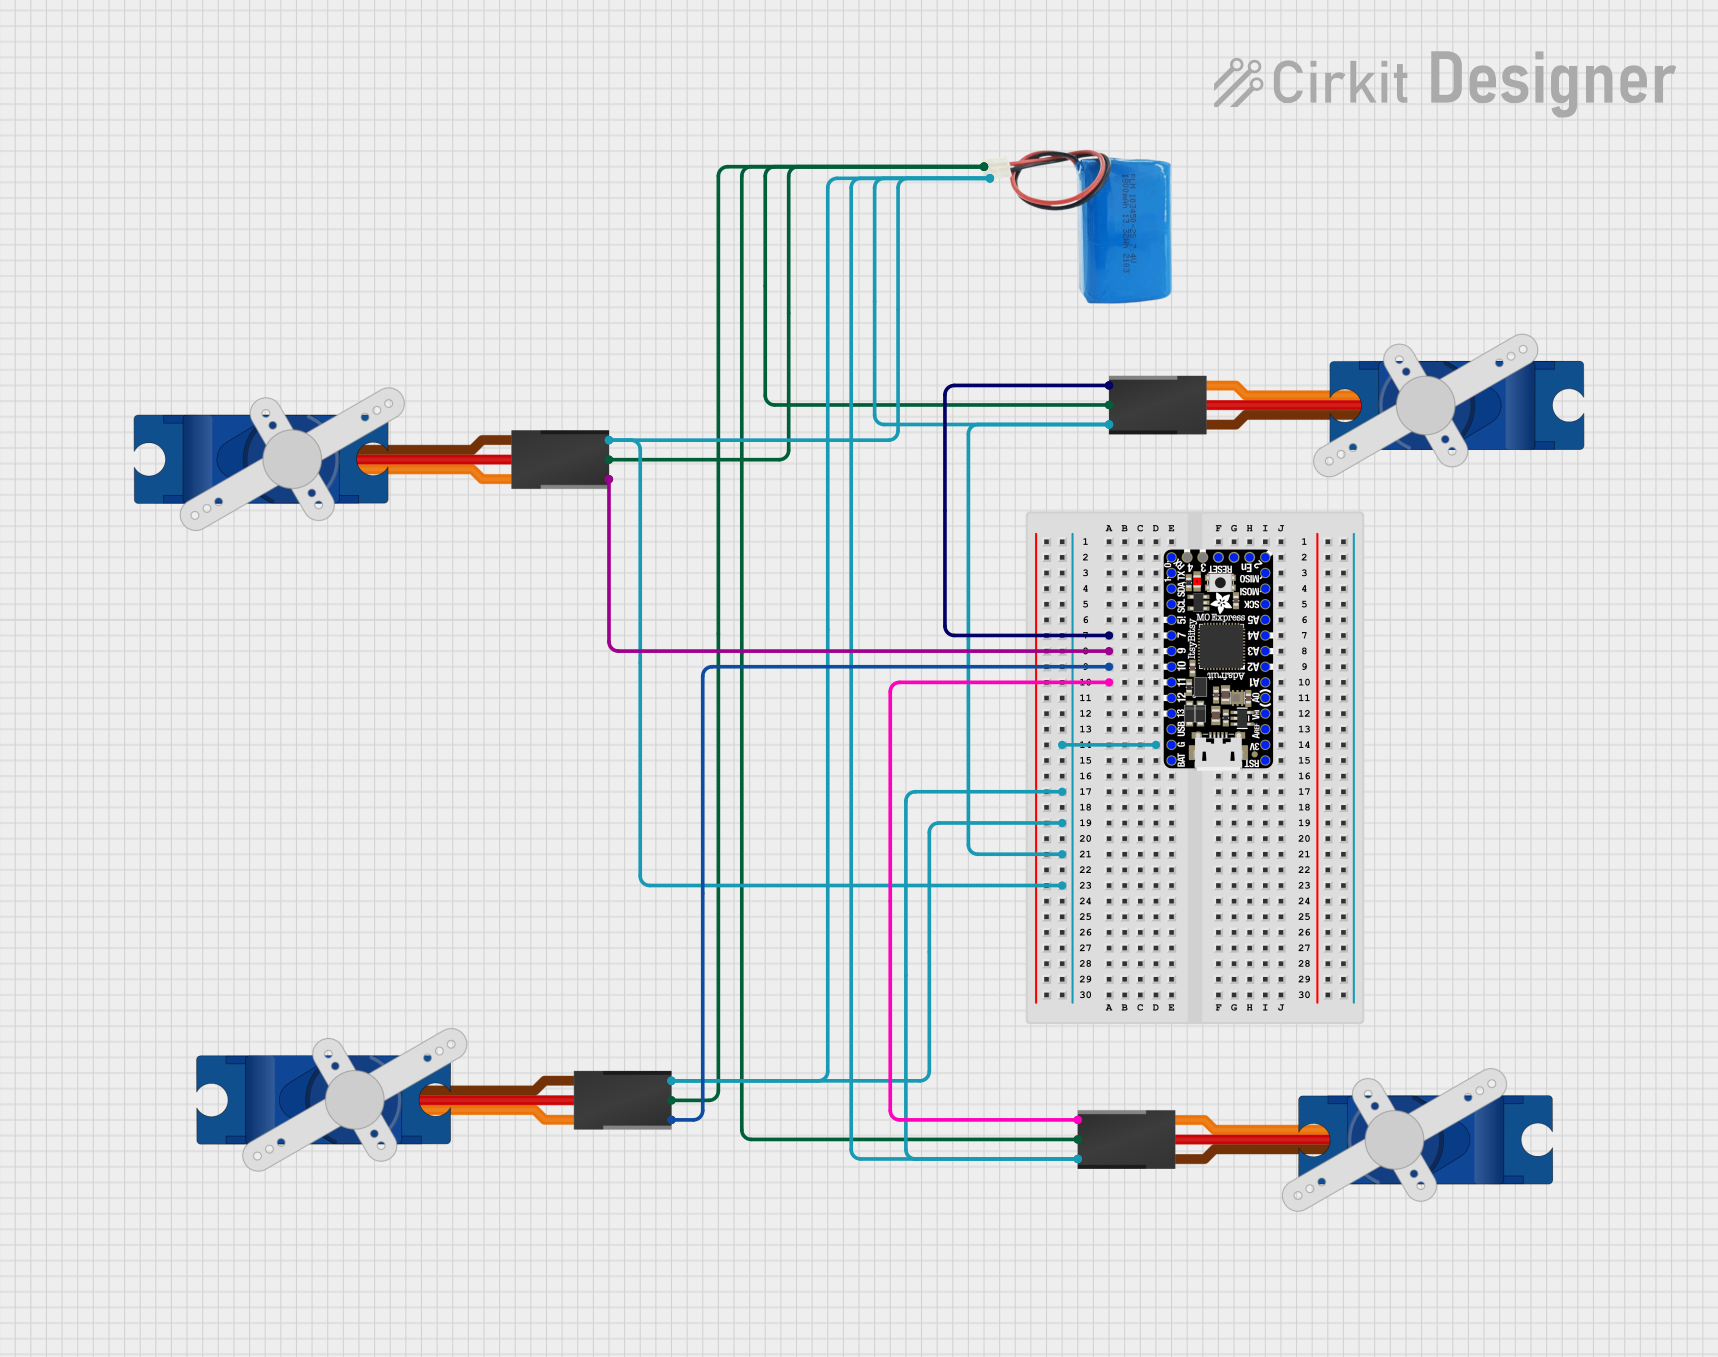 Open Project in Cirkit Designer
Explore Projects Built with TowerPro MG995 Digi-Hi Speed
Open Project in Cirkit DesignerOpen Project in Cirkit DesignerOpen Project in Cirkit DesignerOpen Project in Cirkit DesignerCommon Applications
- Robotics (e.g., robotic arms, humanoid robots)
- Remote-controlled cars, boats, and airplanes
- Automated systems requiring angular positioning
- Pan-tilt camera systems
- DIY projects and prototyping
Technical Specifications
The following table outlines the key technical details of the TowerPro MG995 Digi-Hi Speed servo motor:
| Parameter | Specification |
|---|---|
| Operating Voltage | 4.8V to 7.2V |
| Stall Torque | 9.4 kg·cm (4.8V), 11 kg·cm (6V) |
| Operating Speed | 0.20 sec/60° (4.8V), 0.16 sec/60° (6V) |
| Gear Type | Metal |
| Motor Type | Coreless |
| Weight | 55g |
| Dimensions | 40.7mm x 19.7mm x 42.9mm |
| Connector Type | 3-pin female header (Futaba/JR type) |
| Operating Temperature | -10°C to +50°C |
| Dead Band Width | 5 µs |
Pin Configuration
The MG995 servo motor has a 3-pin connector. The pinout is as follows:
| Pin | Wire Color | Function |
|---|---|---|
| 1 | Brown | Ground (GND) |
| 2 | Red | Power (VCC) |
| 3 | Orange | Signal (PWM Input) |
Usage Instructions
How to Use the MG995 in a Circuit
- Power Supply: Connect the red wire to a power source (4.8V to 7.2V). Ensure the power supply can provide sufficient current (at least 1.5A) to handle the motor's peak load.
- Ground Connection: Connect the brown wire to the ground (GND) of your circuit.
- Signal Input: Connect the orange wire to a PWM signal source, such as a microcontroller (e.g., Arduino UNO). The PWM signal controls the angular position of the servo.
Important Considerations
- Power Requirements: Use a dedicated power supply for the servo to avoid voltage drops that could affect other components in your circuit.
- PWM Signal: The servo expects a PWM signal with a pulse width between 1ms and 2ms:
- 1ms corresponds to 0°.
- 1.5ms corresponds to 90° (neutral position).
- 2ms corresponds to 180°.
- Avoid Overloading: Do not exceed the torque rating to prevent damage to the motor or gears.
- Mounting: Secure the servo using screws and rubber grommets to minimize vibrations.
Example: Connecting MG995 to Arduino UNO
Below is an example Arduino sketch to control the MG995 servo motor:
#include <Servo.h> // Include the Servo library

Servo myServo; // Create a Servo object to control the MG995

void setup() {
  myServo.attach(9); // Attach the servo to pin 9 on the Arduino
}

void loop() {
  myServo.write(0); // Move the servo to 0 degrees
  delay(1000); // Wait for 1 second

  myServo.write(90); // Move the servo to 90 degrees
  delay(1000); // Wait for 1 second

  myServo.write(180); // Move the servo to 180 degrees
  delay(1000); // Wait for 1 second
}
Best Practices
- Use a capacitor (e.g., 100µF) across the power supply to stabilize voltage.
- Avoid running the servo continuously at its maximum torque to prolong its lifespan.
- Test the servo with a lower voltage (e.g., 4.8V) during initial setup to prevent accidental damage.
Troubleshooting and FAQs
Common Issues and Solutions
Servo Not Moving:
- Cause: Incorrect wiring or insufficient power supply.
- Solution: Double-check the wiring and ensure the power supply meets the voltage and current requirements.
Servo Jittering:
- Cause: Noise in the PWM signal or unstable power supply.
- Solution: Use a decoupling capacitor across the power supply and ensure the PWM signal is clean.
Overheating:
- Cause: Prolonged operation at high torque or incorrect voltage.
- Solution: Reduce the load on the servo and ensure the operating voltage is within the specified range.
Limited Range of Motion:
- Cause: Incorrect PWM signal or mechanical obstruction.
- Solution: Verify the PWM signal timing and check for physical obstructions.
FAQs
Q: Can the MG995 rotate continuously?
A: No, the MG995 is a standard servo with a limited range of motion (0° to 180°). For continuous rotation, consider using a continuous rotation servo.
Q: Can I power the MG995 directly from the Arduino?
A: It is not recommended, as the Arduino's 5V pin cannot supply sufficient current for the servo. Use an external power supply.
Q: How do I control multiple MG995 servos with an Arduino?
A: Use the Servo library to control multiple servos. Ensure your power supply can handle the combined current draw of all servos.
Q: What is the lifespan of the MG995?
A: The lifespan depends on usage conditions. Avoid overloading and overheating to maximize its durability.
By following this documentation, you can effectively integrate the TowerPro MG995 Digi-Hi Speed servo motor into your projects and troubleshoot common issues.