
How to Use SparkFun Color LCD Shield: Examples, Pinouts, and Specs
 Design with SparkFun Color LCD Shield in Cirkit Designer
Introduction
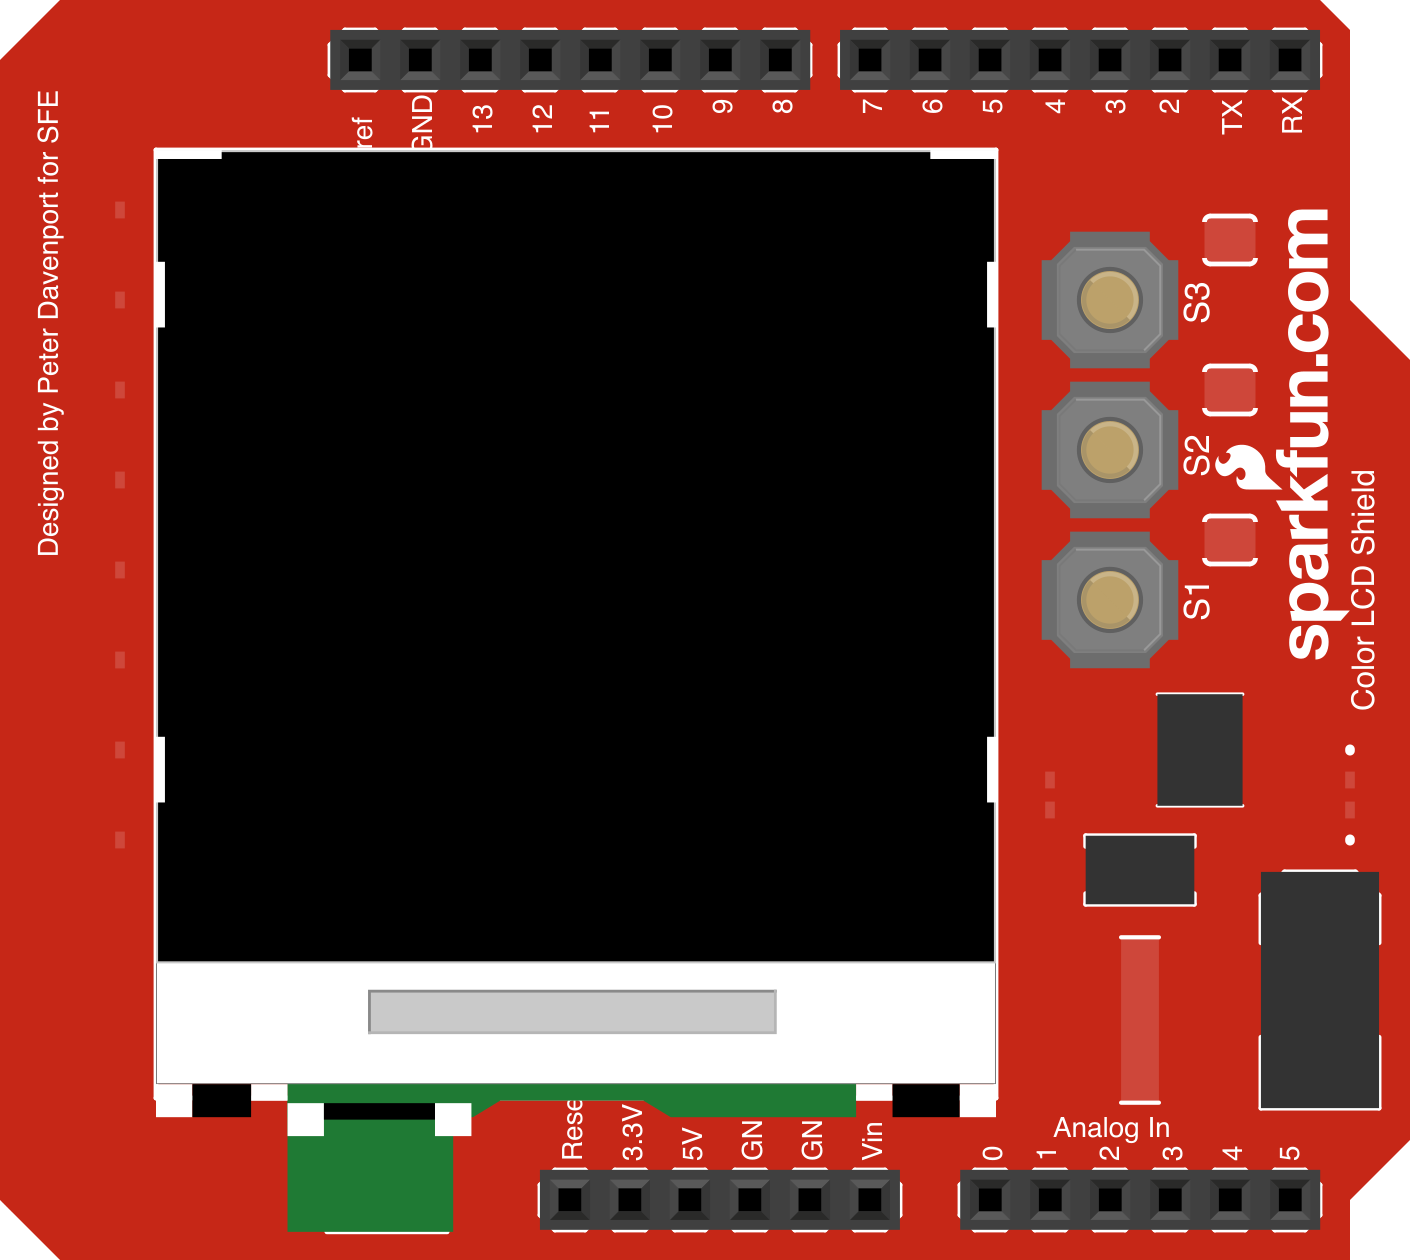
The SparkFun Color LCD Shield (LCD-09363) is a versatile shield designed for Arduino boards, featuring a vibrant color LCD display. This shield enables users to add visual output and interaction to their projects, making it ideal for applications such as graphical user interfaces, data visualization, and gaming. The shield is based on the Nokia 6100 LCD and includes a backlight for enhanced visibility.
Explore Projects Built with SparkFun Color LCD Shield
 Open Project in Cirkit Designer
 Open Project in Cirkit Designer
 Open Project in Cirkit Designer
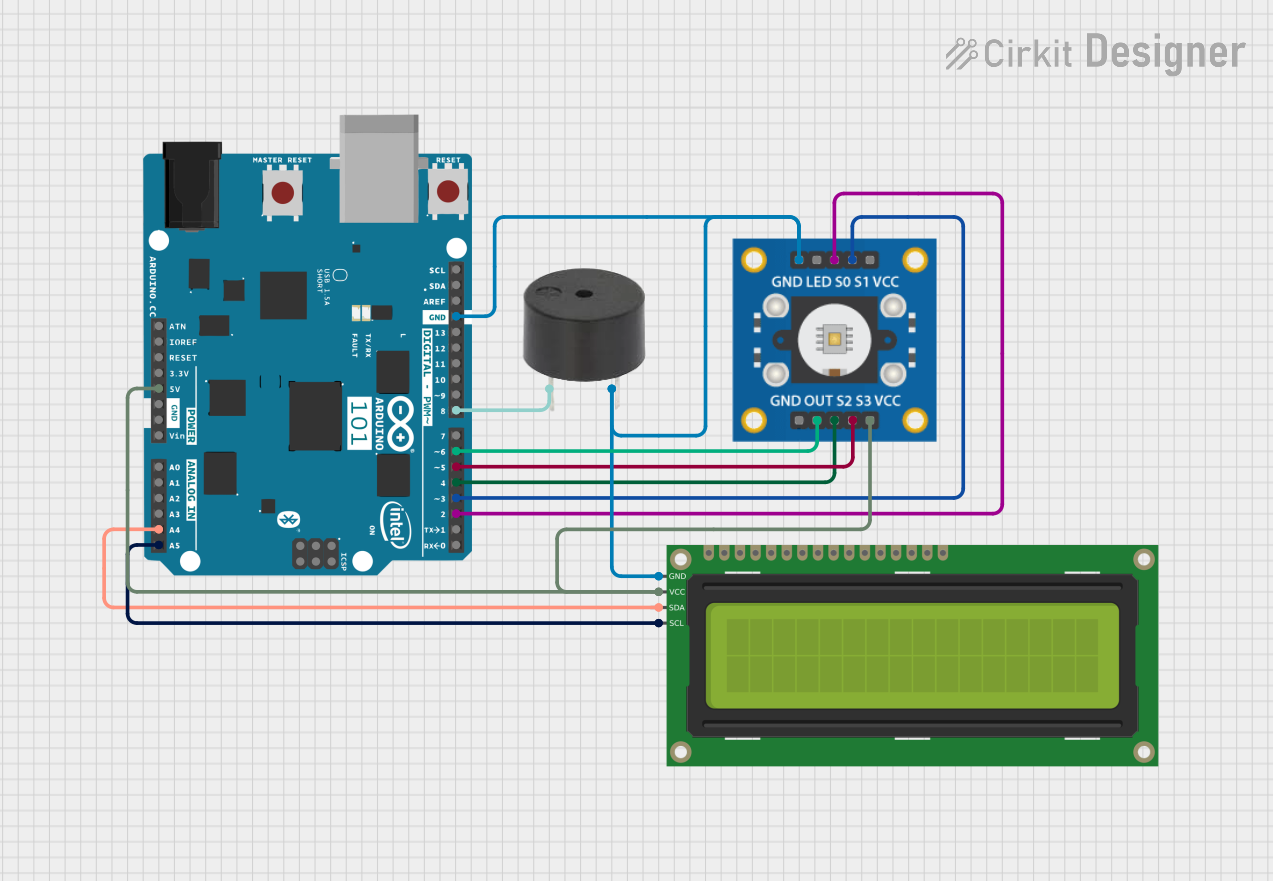 Open Project in Cirkit Designer
Explore Projects Built with SparkFun Color LCD Shield
Open Project in Cirkit DesignerOpen Project in Cirkit DesignerOpen Project in Cirkit DesignerOpen Project in Cirkit DesignerCommon Applications and Use Cases
- Displaying sensor data in real-time
- Creating graphical user interfaces for Arduino projects
- Developing simple games or animations
- Visualizing data for IoT applications
- Educational projects and prototyping
Technical Specifications
The following table outlines the key technical details of the SparkFun Color LCD Shield:
| Specification | Details |
|---|---|
| Manufacturer | SparkFun |
| Part Number | LCD-09363 |
| Display Type | Color LCD (Nokia 6100) |
| Resolution | 132 x 132 pixels |
| Backlight | White LED |
| Operating Voltage | 3.3V (logic level) |
| Communication Protocol | SPI |
| Dimensions | 2.1" x 2.4" (53mm x 61mm) |
| Compatible Boards | Arduino UNO, Arduino Mega, etc. |
Pin Configuration and Descriptions
The SparkFun Color LCD Shield uses the following pin configuration for communication with an Arduino board:
| Pin | Arduino Pin | Description |
|---|---|---|
| SCLK | D13 | Serial Clock for SPI communication |
| SDATA | D11 | Serial Data for SPI communication |
| CS | D10 | Chip Select for the LCD |
| RESET | D9 | Resets the LCD |
| D/C | D8 | Data/Command selection |
| VCC | 3.3V | Power supply for the shield |
| GND | GND | Ground connection |
Usage Instructions
How to Use the Component in a Circuit
- Attach the Shield: Plug the SparkFun Color LCD Shield directly onto your Arduino board. Ensure the pins are aligned correctly.
- Power the Shield: The shield operates at 3.3V. If using an Arduino UNO, the shield will draw power directly from the 3.3V pin.
- Connect via SPI: The shield communicates with the Arduino using the SPI protocol. Ensure the SPI pins (D13, D11, D10) are not used by other components in your project.
- Install Required Libraries: Download and install the
SparkFunColorLCDShieldlibrary from the Arduino Library Manager or SparkFun's GitHub repository. - Write Code: Use the library functions to initialize the display, draw shapes, display text, or render images.
Important Considerations and Best Practices
- Voltage Levels: The shield operates at 3.3V logic levels. If using a 5V Arduino, ensure the SPI pins are compatible or use level shifters.
- Backlight Control: The backlight is always on by default. To conserve power, consider adding a switch or transistor circuit to control it.
- Avoid Pin Conflicts: Ensure no other shields or components are using the same SPI pins (D13, D11, D10).
Example Code
Below is an example Arduino sketch to initialize the display and draw a simple rectangle:
#include <SparkFunColorLCDShield.h> // Include the SparkFun LCD library

// Create an instance of the LCD object
Nokia6100 lcd;

void setup() {
  lcd.init(); // Initialize the LCD
  lcd.clear(WHITE); // Clear the screen with a white background

  // Draw a rectangle on the screen
  lcd.drawRect(10, 10, 50, 50, BLUE); // x, y, width, height, color
  lcd.setStr("Hello, World!", 20, 70, BLACK, WHITE);
  // Display text at (20, 70) with black text on a white background
}

void loop() {
  // No actions in the loop for this example
}
Troubleshooting and FAQs
Common Issues Users Might Face
No Display Output:
- Ensure the shield is properly seated on the Arduino board.
- Verify that the SPI pins (D13, D11, D10) are not being used by other components.
- Check the power supply to ensure the shield is receiving 3.3V.
Distorted or Incomplete Graphics:
- Verify that the
SparkFunColorLCDShieldlibrary is correctly installed and up to date. - Ensure the SPI communication speed is not too high. Use the default settings provided by the library.
- Verify that the
Backlight Not Working:
- The backlight is always on by default. If it is not lit, check the power connections to the shield.
Library Not Found:
- Download the library from the Arduino Library Manager or SparkFun's GitHub repository.
- Ensure the library is correctly installed in the Arduino IDE.
Solutions and Tips for Troubleshooting
- Test with Example Sketches: Use the example sketches provided with the
SparkFunColorLCDShieldlibrary to verify the shield's functionality. - Check Connections: Double-check all connections and ensure the shield is properly aligned with the Arduino board.
- Use Serial Monitor: Add
Serial.print()statements in your code to debug and verify that the Arduino is communicating with the shield.
By following this documentation, you can effectively integrate the SparkFun Color LCD Shield into your projects and troubleshoot any issues that arise.