How to Use ProRange Drone Battery: Examples, Pinouts, and Specs
Introduction
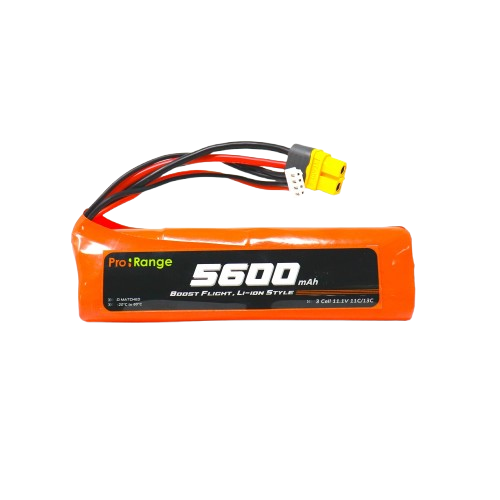
The ProRange Drone Battery 18650 4s is a high-capacity rechargeable battery designed specifically for drones. It utilizes advanced lithium-ion technology to deliver reliable power, extended flight times, and optimized performance for a wide range of drone models. This battery is ideal for hobbyists, professionals, and industrial applications where consistent and long-lasting power is essential.
Explore Projects Built with ProRange Drone Battery


Explore Projects Built with ProRange Drone Battery
Common Applications and Use Cases
- Powering consumer and professional drones
- Aerial photography and videography
- Surveying and mapping applications
- Delivery drones and other UAVs (Unmanned Aerial Vehicles)
- Research and development in drone technology
Technical Specifications
The ProRange Drone Battery 18650 4s is built to meet the demanding requirements of modern drones. Below are the key technical details:
General Specifications
| Parameter | Value |
|---|---|
| Manufacturer | ProRange |
| Part ID | Drone Battery 18650 4s |
| Battery Type | Lithium-Ion (Li-Ion) |
| Configuration | 4S (4 cells in series) |
| Nominal Voltage | 14.8V |
| Capacity | 5200mAh |
| Maximum Discharge Rate | 25C |
| Maximum Charge Voltage | 16.8V |
| Minimum Discharge Voltage | 12.0V |
| Weight | 450g |
| Dimensions | 105mm x 35mm x 70mm |
| Connector Type | XT60 |
| Balancing Connector | JST-XH |
| Operating Temperature | -10°C to 60°C |
| Storage Temperature | -20°C to 45°C |
Pin Configuration
The ProRange Drone Battery 18650 4s includes two connectors: the main power connector (XT60) and a balancing connector (JST-XH). Below is the pinout for the balancing connector:
| Pin Number | Function | Description |
|---|---|---|
| 1 | Cell 1 Positive (+) | Positive terminal of the first cell |
| 2 | Cell 1 Negative (-) | Negative terminal of the first cell |
| 3 | Cell 2 Positive (+) | Positive terminal of the second cell |
| 4 | Cell 2 Negative (-) | Negative terminal of the second cell |
| 5 | Cell 3 Positive (+) | Positive terminal of the third cell |
| 6 | Cell 3 Negative (-) | Negative terminal of the third cell |
| 7 | Cell 4 Positive (+) | Positive terminal of the fourth cell |
| 8 | Cell 4 Negative (-) | Negative terminal of the fourth cell |
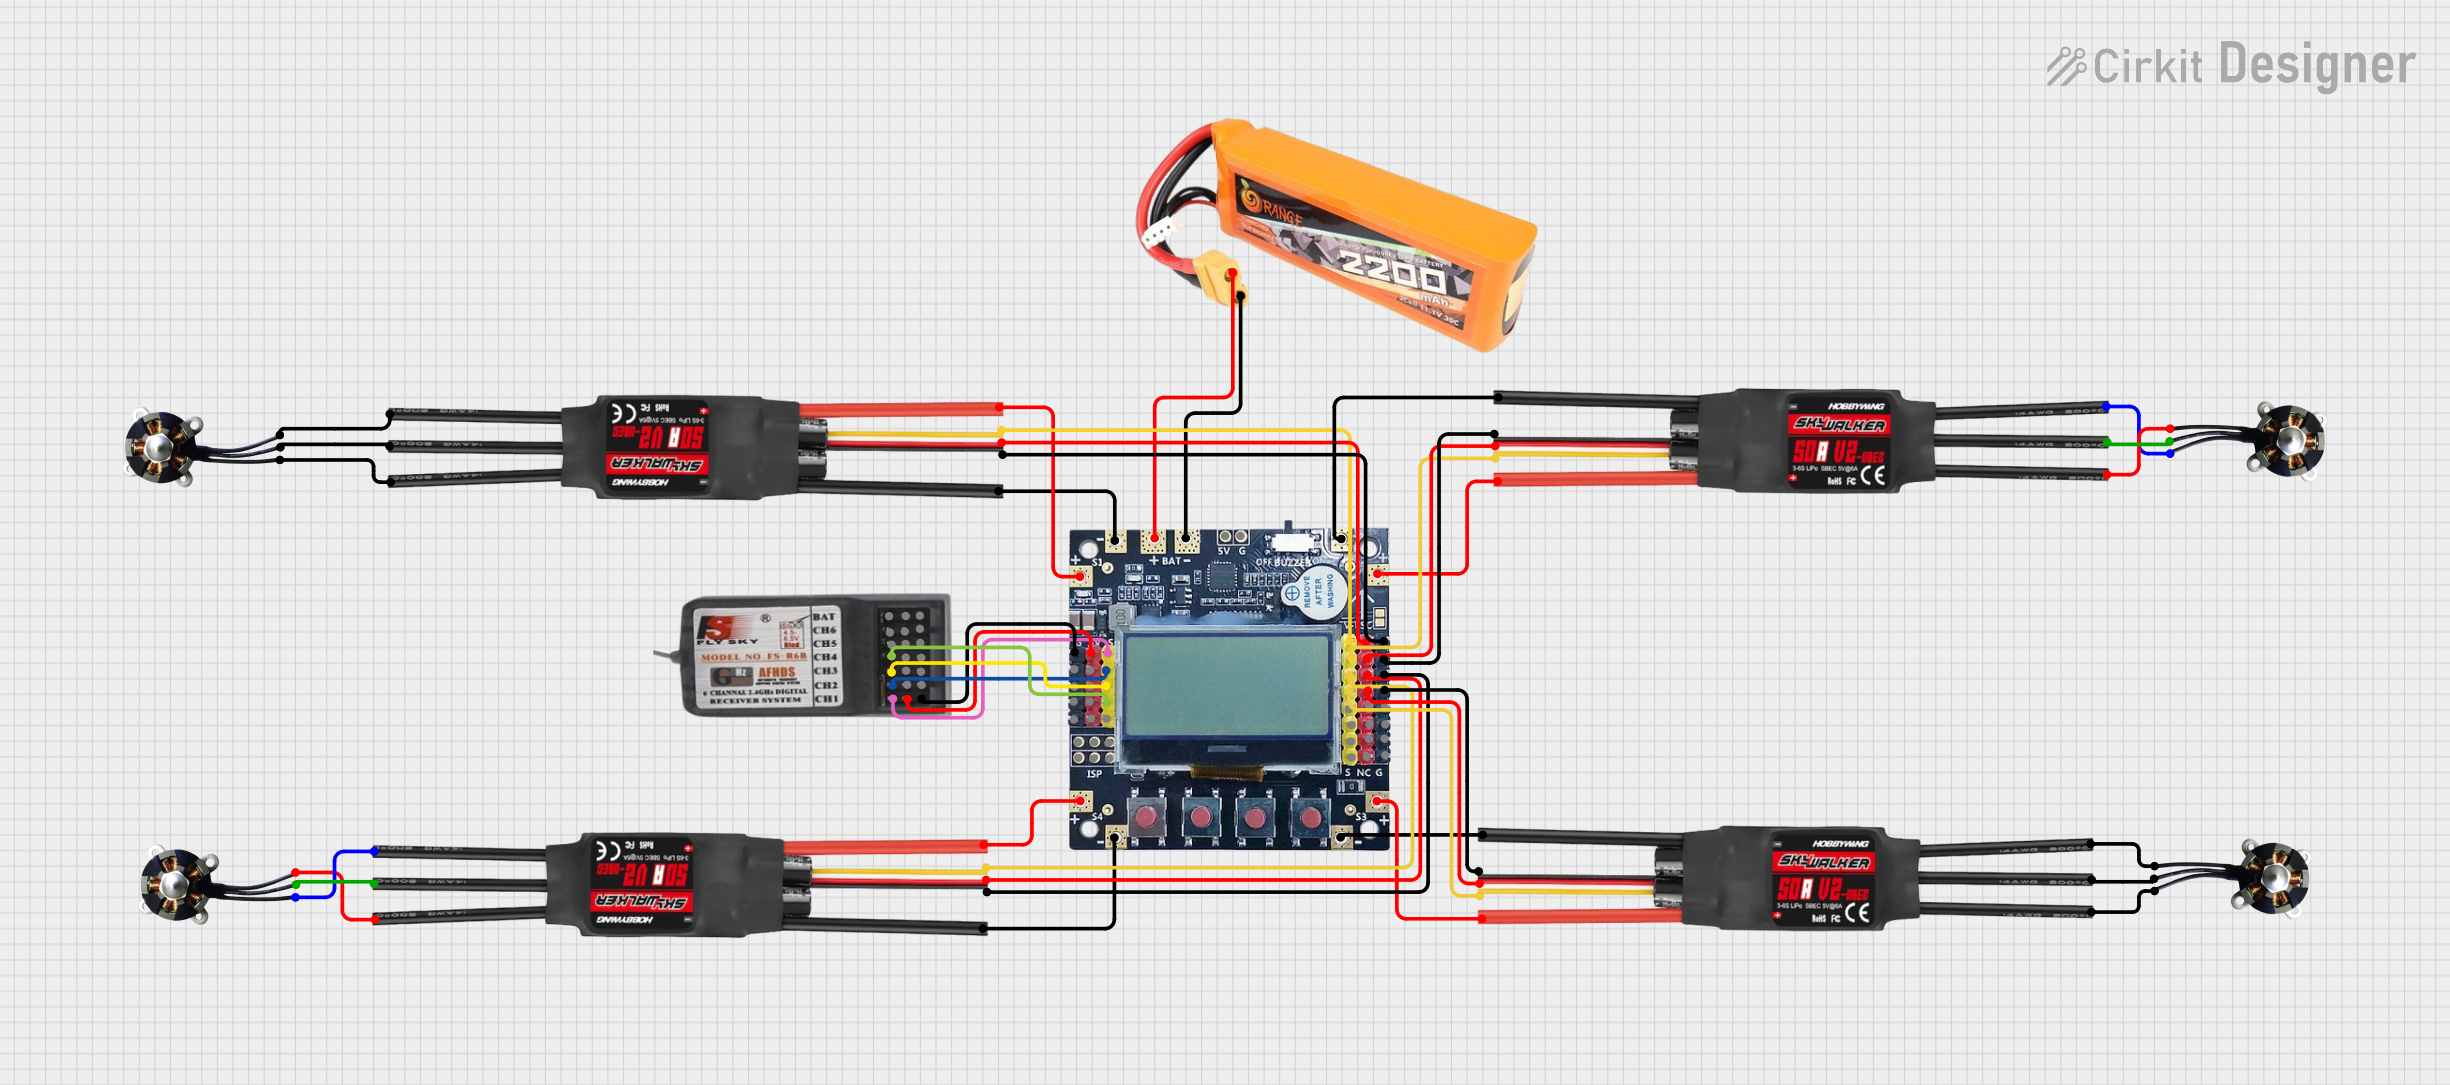
Usage Instructions
How to Use the Component in a Circuit
Connecting the Battery:
- Use the XT60 connector to connect the battery to the drone's power distribution board or electronic speed controllers (ESCs).
- Ensure the polarity of the XT60 connector matches the drone's power input to avoid damage.
- Connect the JST-XH balancing connector to a compatible battery management system (BMS) or charger for safe charging and monitoring.
Charging the Battery:
- Use a Li-Ion compatible charger that supports 4S configurations.
- Set the charger to a maximum charge voltage of 16.8V and a current appropriate for the battery's capacity (e.g., 2A for a 5200mAh battery).
- Always charge the battery in a fireproof bag or on a non-flammable surface for safety.
Discharging the Battery:
- Ensure the drone's power system does not discharge the battery below 12.0V to prevent damage.
- Monitor the battery's voltage during flight using a telemetry system or voltage alarm.
Important Considerations and Best Practices
- Storage: Store the battery at 50-60% charge (approximately 14.4V) in a cool, dry place to prolong its lifespan.
- Safety: Avoid puncturing, short-circuiting, or exposing the battery to water or extreme temperatures.
- Balancing: Regularly balance the cells using a compatible charger to maintain consistent performance and prevent overcharging or undercharging individual cells.
- Flight Time: Monitor flight time and land the drone before the battery reaches its minimum discharge voltage to avoid damage.
Example Code for Arduino UNO (Voltage Monitoring)
The following code demonstrates how to monitor the battery voltage using an Arduino UNO and a voltage divider circuit:
// Define the analog pin connected to the voltage divider
const int voltagePin = A0;

// Define the voltage divider ratio (e.g., 1:5 for a 5:1 divider)
const float voltageDividerRatio = 5.0;

// Define the reference voltage of the Arduino (5V for most boards)
const float referenceVoltage = 5.0;

void setup() {
  Serial.begin(9600); // Initialize serial communication
}

void loop() {
  // Read the analog value from the voltage divider
  int analogValue = analogRead(voltagePin);

  // Convert the analog value to the battery voltage
  float batteryVoltage = (analogValue * referenceVoltage / 1023.0) * voltageDividerRatio;

  // Print the battery voltage to the serial monitor
  Serial.print("Battery Voltage: ");
  Serial.print(batteryVoltage);
  Serial.println(" V");

  // Add a delay to avoid flooding the serial monitor
  delay(1000);
}
Note: Use a voltage divider to step down the battery voltage to a safe range for the Arduino's analog input (0-5V). Ensure the resistor values are chosen appropriately.
Troubleshooting and FAQs
Common Issues and Solutions
Battery Not Charging:
- Cause: Incorrect charger settings or damaged balancing connector.
- Solution: Verify the charger is set to 4S mode and the balancing connector is securely connected.
Short Flight Times:
- Cause: Battery not fully charged or degraded cells.
- Solution: Ensure the battery is charged to 16.8V and check for cell imbalance using a battery tester.
Overheating During Use:
- Cause: Excessive current draw or poor ventilation.
- Solution: Verify the drone's power system does not exceed the battery's maximum discharge rate (25C). Improve airflow around the battery.
Voltage Drops Rapidly:
- Cause: A damaged or aged cell.
- Solution: Test individual cells using a multimeter or battery analyzer. Replace the battery if necessary.
FAQs
Q: Can I use this battery with a 3S charger?
A: No, always use a charger compatible with 4S configurations to avoid undercharging or damaging the battery.Q: How do I know when the battery is fully charged?
A: The charger will indicate a full charge when the voltage reaches 16.8V, and the current drops to near zero.Q: Is it safe to leave the battery connected to the drone when not in use?
A: No, disconnect the battery to prevent accidental discharge or damage to the drone's electronics.Q: How often should I balance the cells?
A: Balance the cells during every charge cycle to maintain optimal performance and longevity.
By following this documentation, users can safely and effectively utilize the ProRange Drone Battery 18650 4s for their drone applications.