Cirkit Designer Logo
Cirkit Designer
Your all-in-one circuit design IDE
Home / 
Component Documentation

How to Use 3.7v battery: Examples, Pinouts, and Specs

Image of 3.7v battery
Cirkit Designer LogoDesign with 3.7v battery in Cirkit Designer

Introduction

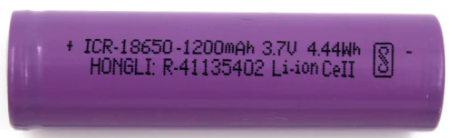
A 3.7V battery is a rechargeable lithium-ion (Li-ion) or lithium-polymer (LiPo) cell commonly used in portable electronics. It provides a nominal voltage of 3.7 volts, which is suitable for powering a wide range of devices such as smartphones, digital cameras, portable speakers, and DIY electronics projects. These batteries are favored for their high energy density, lightweight, and rechargeability.

Explore Projects Built with 3.7v battery

Use Cirkit Designer to design, explore, and prototype these projects online. Some projects support real-time simulation. Click "Open Project" to start designing instantly!
Battery-Powered 18650 Li-ion Charger with USB Output and Adjustable Voltage Regulator
Image of Breadboard: A project utilizing 3.7v battery in a practical application
This circuit is a battery management and power supply system that uses three 3.7V batteries connected to a 3S 10A Li-ion 18650 Charger Protection Board Module for balanced charging and protection. The system includes a TP4056 Battery Charging Protection Module for additional charging safety, a Step Up Boost Power Converter to regulate and boost the voltage, and a USB regulator to provide a stable 5V output, controlled by a push switch.
Cirkit Designer LogoOpen Project in Cirkit Designer
Battery-Powered Arduino and ESP32 Controlled Servo System with BMS and TP4056 Charging
Image of robot: A project utilizing 3.7v battery in a practical application
This circuit integrates multiple 3.7V batteries managed by a Battery Management System (BMS) and charged via a TP4056 module. It powers an Arduino UNO, an ESP32, a DC-DC boost converter, and a servo motor, with the Arduino controlling the servo and communicating with the ESP32.
Cirkit Designer LogoOpen Project in Cirkit Designer
Battery-Powered Motor Control with Rocker Switch
Image of LED: A project utilizing 3.7v battery in a practical application
This circuit consists of a 3.7V battery, a rocker switch, and a hobby motor. The rocker switch controls the power supply from the battery to the motor, allowing the user to turn the motor on and off.
Cirkit Designer LogoOpen Project in Cirkit Designer
Solar-Powered TP4056 Battery Charger with LED Indicator and Rocker Switch
Image of G7_SOLAR_POWERED_TORCH: A project utilizing 3.7v battery in a practical application
This circuit is designed to charge a 3.7V battery using a solar cell with a TP4056 charge controller. It includes a diode for preventing reverse current, a battery indicator to show charge status, and a rocker switch to control an LED load and the battery indicator.
Cirkit Designer LogoOpen Project in Cirkit Designer

Explore Projects Built with 3.7v battery

Use Cirkit Designer to design, explore, and prototype these projects online. Some projects support real-time simulation. Click "Open Project" to start designing instantly!
Image of Breadboard: A project utilizing 3.7v battery in a practical application
Battery-Powered 18650 Li-ion Charger with USB Output and Adjustable Voltage Regulator
This circuit is a battery management and power supply system that uses three 3.7V batteries connected to a 3S 10A Li-ion 18650 Charger Protection Board Module for balanced charging and protection. The system includes a TP4056 Battery Charging Protection Module for additional charging safety, a Step Up Boost Power Converter to regulate and boost the voltage, and a USB regulator to provide a stable 5V output, controlled by a push switch.
Cirkit Designer LogoOpen Project in Cirkit Designer
Image of robot: A project utilizing 3.7v battery in a practical application
Battery-Powered Arduino and ESP32 Controlled Servo System with BMS and TP4056 Charging
This circuit integrates multiple 3.7V batteries managed by a Battery Management System (BMS) and charged via a TP4056 module. It powers an Arduino UNO, an ESP32, a DC-DC boost converter, and a servo motor, with the Arduino controlling the servo and communicating with the ESP32.
Cirkit Designer LogoOpen Project in Cirkit Designer
Image of LED: A project utilizing 3.7v battery in a practical application
Battery-Powered Motor Control with Rocker Switch
This circuit consists of a 3.7V battery, a rocker switch, and a hobby motor. The rocker switch controls the power supply from the battery to the motor, allowing the user to turn the motor on and off.
Cirkit Designer LogoOpen Project in Cirkit Designer
Image of G7_SOLAR_POWERED_TORCH: A project utilizing 3.7v battery in a practical application
Solar-Powered TP4056 Battery Charger with LED Indicator and Rocker Switch
This circuit is designed to charge a 3.7V battery using a solar cell with a TP4056 charge controller. It includes a diode for preventing reverse current, a battery indicator to show charge status, and a rocker switch to control an LED load and the battery indicator.
Cirkit Designer LogoOpen Project in Cirkit Designer

Technical Specifications

General Characteristics

  • Nominal Voltage: 3.7V
  • Chemistry: Lithium-ion (Li-ion) or Lithium-polymer (LiPo)
  • Rechargeable: Yes
  • Typical Capacity: Varies (e.g., 500mAh to 3000mAh or more)
  • Charge Cutoff Voltage: Typically around 4.2V
  • Discharge Cutoff Voltage: Typically around 3.0V

Pin Configuration and Descriptions

Pin Number Description Notes
1 Positive (+) Terminal Connect to the positive side of the load
2 Negative (-) Terminal Connect to the negative side of the load

Usage Instructions

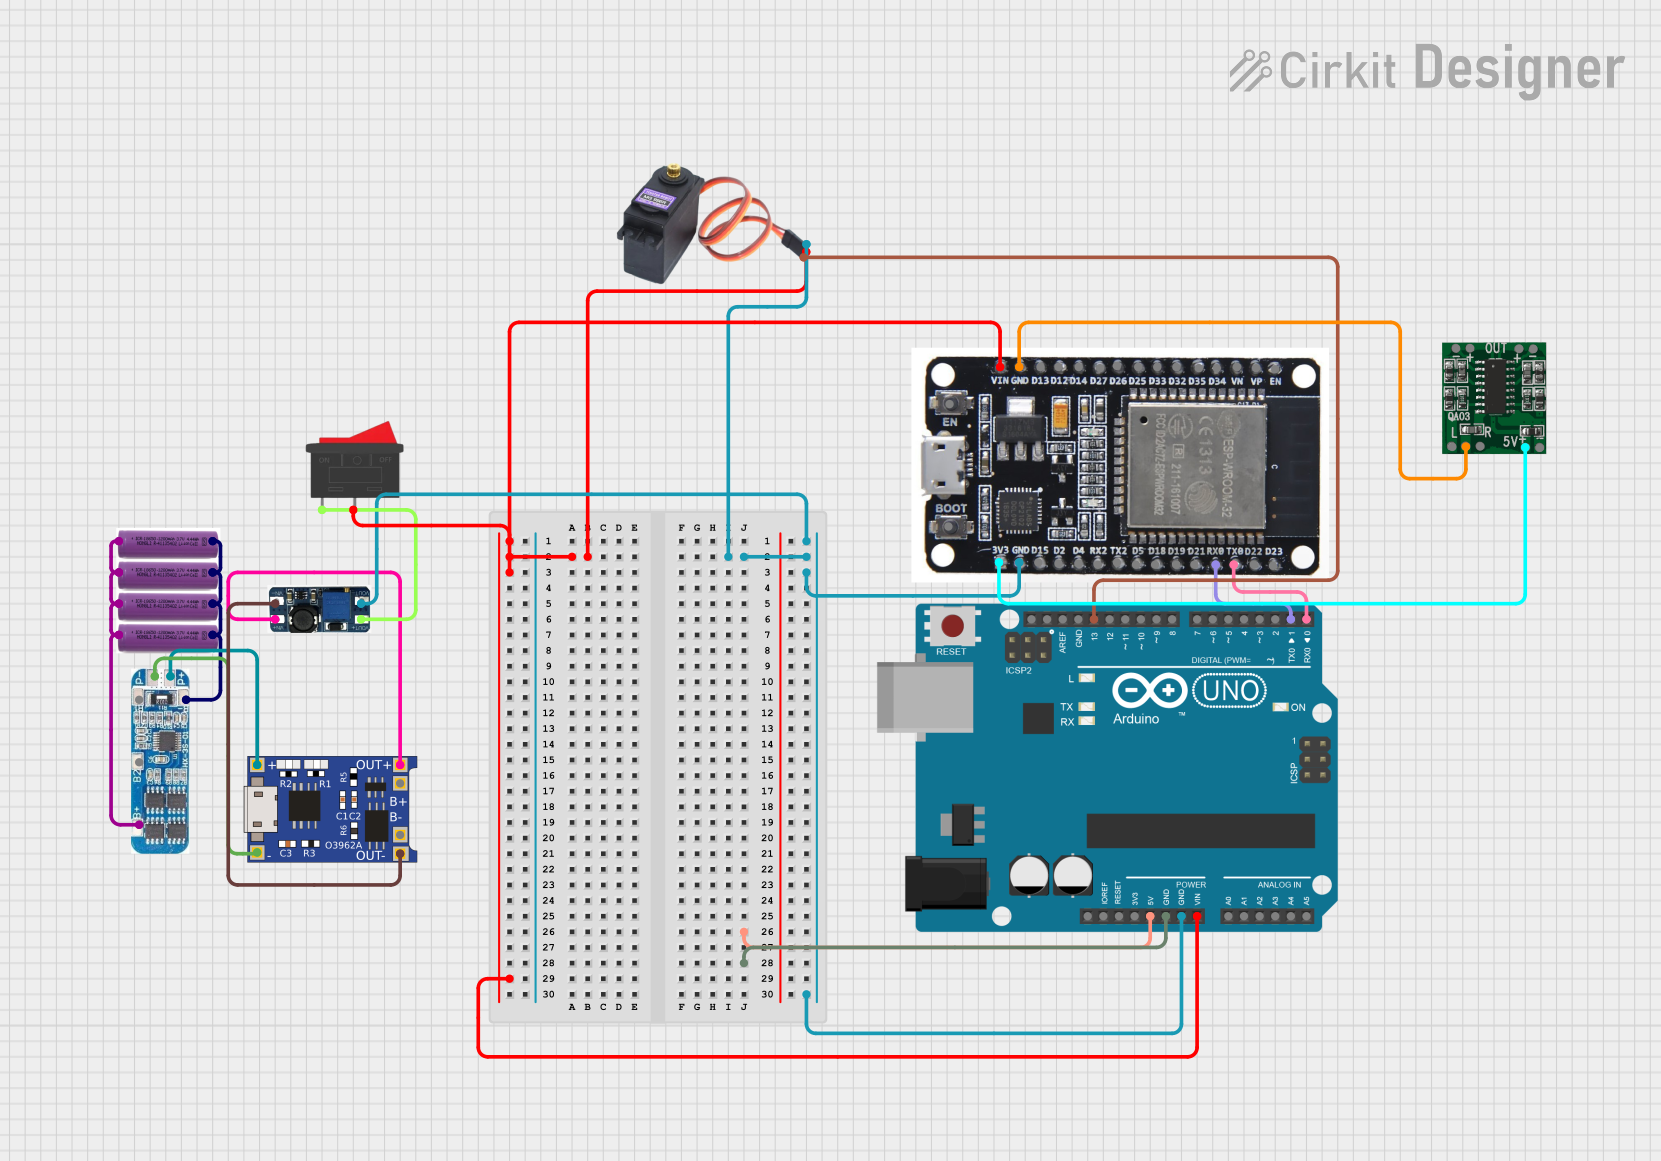
Integration into a Circuit

  1. Identify Polarity: Ensure you correctly identify the positive and negative terminals of the battery.
  2. Voltage Regulation: If your circuit requires a regulated voltage, use a voltage regulator to maintain a steady voltage.
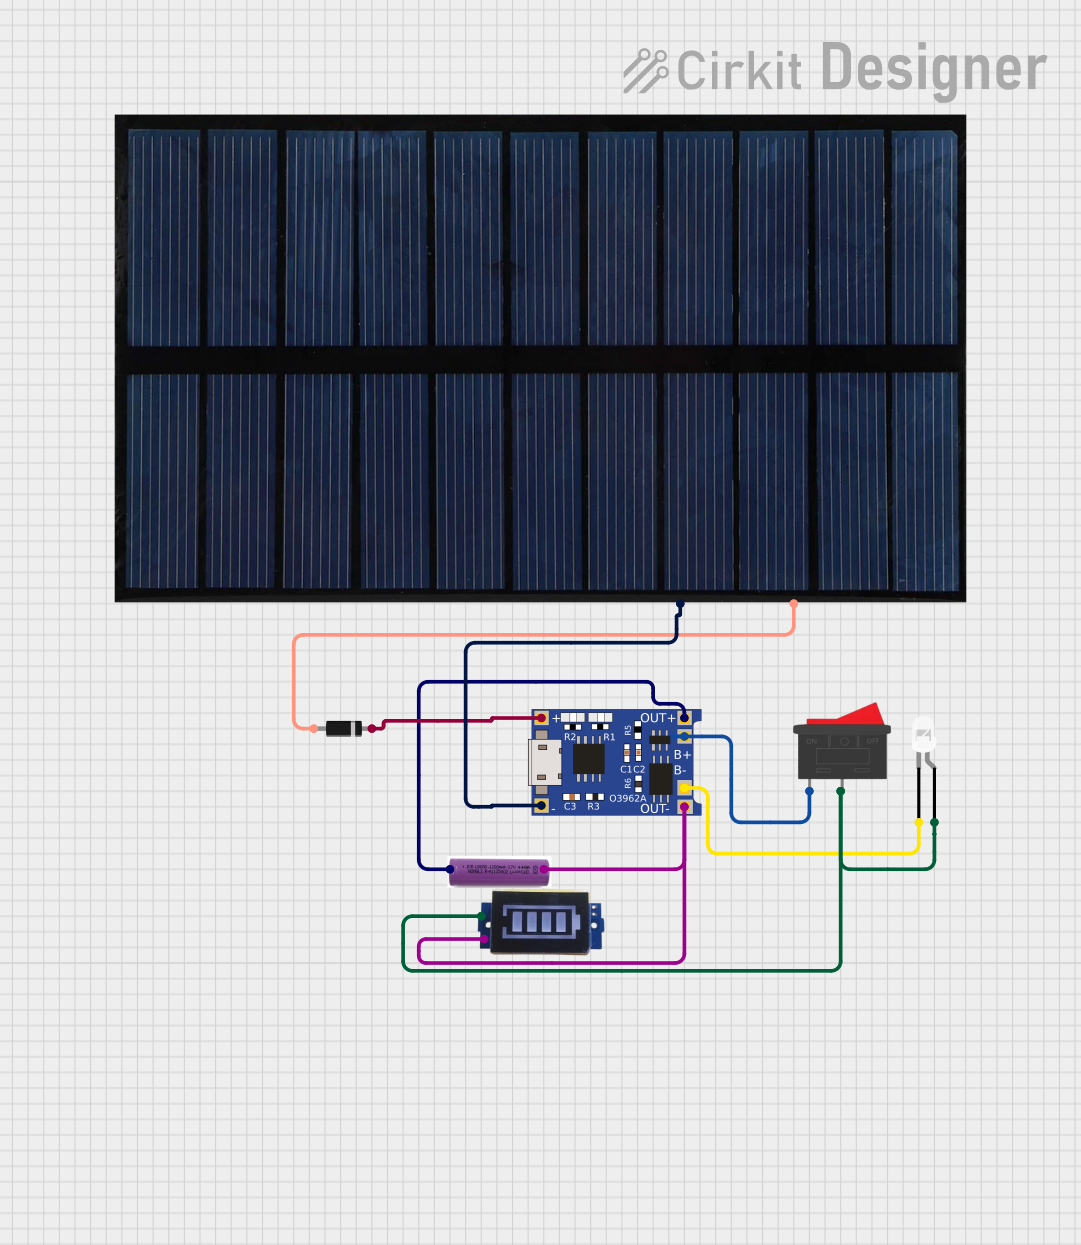
  3. Charging Circuit: Incorporate a proper charging circuit to safely recharge the battery. Do not exceed the recommended charge voltage.
  4. Protection Circuit: It's advisable to use a battery protection circuit to prevent overcharging, deep discharge, and short circuits.
  5. Power Connections: Connect the positive terminal to the VCC or power input of your device and the negative terminal to the ground (GND).

Best Practices

  • Avoid exposing the battery to high temperatures or direct sunlight.
  • Do not puncture, bend, or crush the battery.
  • Store the battery in a cool, dry place when not in use.
  • Use a battery holder or secure mounting to prevent movement and potential short circuits.
  • Monitor battery temperature during charging and discharging.

Troubleshooting and FAQs

Common Issues

  • Battery won't charge: Ensure the charger is functioning and the contacts are clean. Check the charging circuit for any issues.
  • Reduced capacity: Over time, the battery will lose capacity. If the capacity is significantly reduced, consider replacing the battery.
  • No output voltage: Check for proper connections and ensure the battery is charged. If the battery is swollen or damaged, replace it immediately.

FAQs

Q: Can I charge a 3.7V battery with a 5V USB charger? A: Yes, but you must use a charging circuit designed for 3.7V Li-ion/LiPo batteries to regulate the charging voltage and current.

Q: How long does it take to charge a 3.7V battery? A: Charging time depends on the battery capacity and the charging current. For example, a 1000mAh battery charged at 500mA would take approximately 2 hours to charge fully.

Q: Is it safe to leave the battery charging overnight? A: It's generally safe if you're using a proper charging circuit with overcharge protection. However, it's best to charge the battery when you can monitor it.

Q: How do I dispose of a 3.7V battery? A: Do not throw it in the trash. Take it to a battery recycling facility or a designated drop-off point for proper disposal.

Example Code for Arduino UNO

The following example demonstrates how to read the battery voltage using an Arduino UNO. The battery is connected to an analog pin through a voltage divider.

const int batteryPin = A0; // Battery connected to A0 through a voltage divider

void setup() {
  Serial.begin(9600);
}

void loop() {
  int sensorValue = analogRead(batteryPin); // Read the analog value
  float voltage = sensorValue * (5.0 / 1023.0) * 2; // Convert to voltage
  Serial.print("Battery Voltage: ");
  Serial.println(voltage);
  delay(1000); // Wait for 1 second before reading again
}

Note: The voltage divider is used to step down the voltage to a safe level for the Arduino's analog input. The * 2 in the conversion formula accounts for the voltage divider ratio, which should be adjusted based on the actual resistors used.

Remember to adjust the code comments to fit within the 80 character line length limit.