
How to Use Adafruit LPS35HW: Examples, Pinouts, and Specs
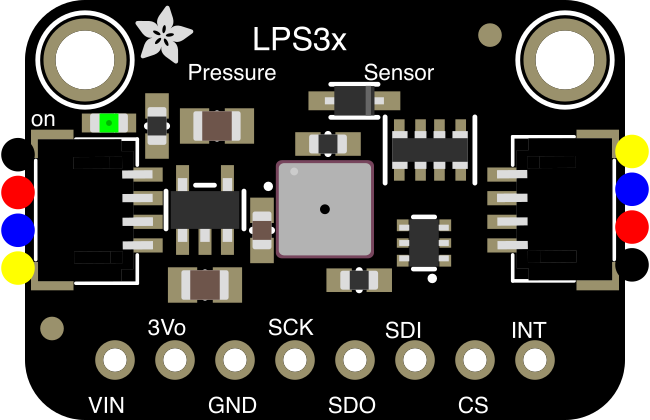
 Design with Adafruit LPS35HW in Cirkit Designer
Introduction
The Adafruit LPS35HW (Part ID: 4258) is a high-precision digital barometric pressure sensor designed to measure atmospheric pressure and temperature. Manufactured by Adafruit, this sensor is built for applications requiring accurate environmental data, such as weather stations, altitude measurement, and environmental monitoring. It features an I2C interface for seamless integration with microcontrollers, making it an excellent choice for both hobbyists and professionals.
Explore Projects Built with Adafruit LPS35HW
 Open Project in Cirkit Designer
 Open Project in Cirkit Designer
 Open Project in Cirkit Designer
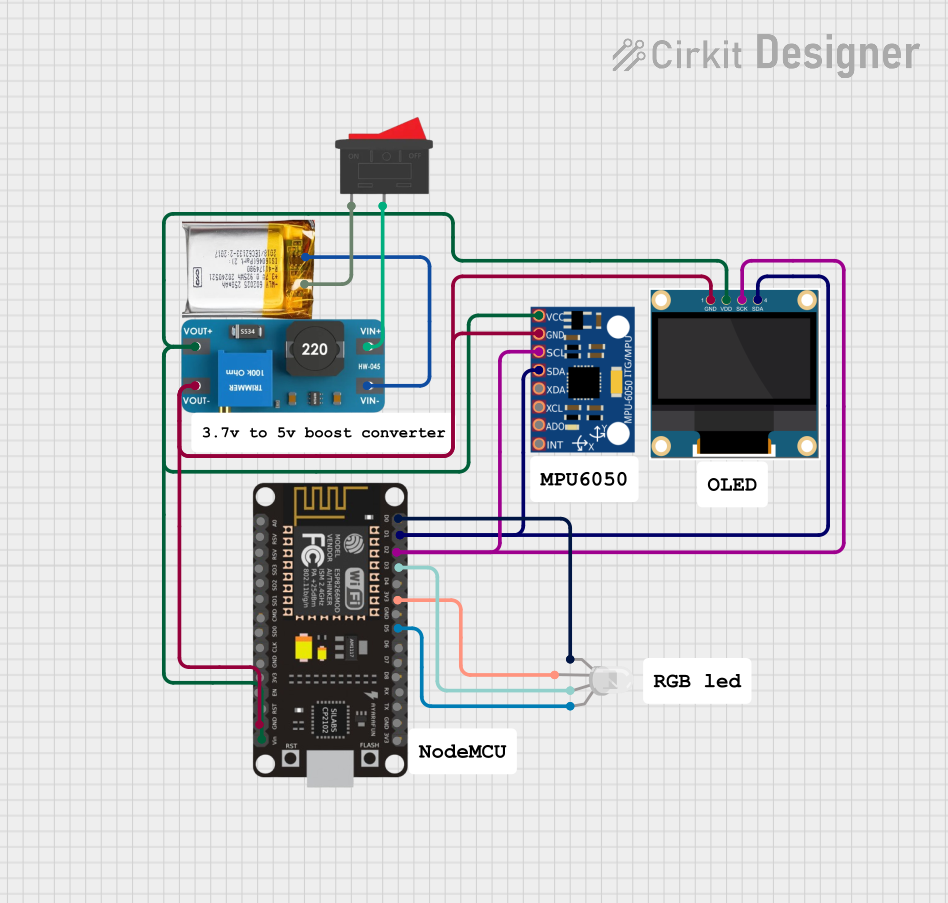 Open Project in Cirkit Designer
Explore Projects Built with Adafruit LPS35HW
Open Project in Cirkit DesignerOpen Project in Cirkit DesignerOpen Project in Cirkit DesignerOpen Project in Cirkit DesignerCommon Applications:
- Weather stations for real-time atmospheric pressure monitoring
- Altitude measurement in drones, balloons, or navigation systems
- Environmental monitoring for IoT devices
- Indoor air quality and HVAC systems
- Scientific experiments requiring precise pressure and temperature data
Technical Specifications
The Adafruit LPS35HW is a robust and versatile sensor with the following key specifications:
| Parameter | Value |
|---|---|
| Operating Voltage | 1.7V to 3.6V |
| Communication Interface | I2C (default address: 0x5D) or SPI |
| Pressure Range | 260 hPa to 1260 hPa |
| Pressure Accuracy | ±0.5 hPa |
| Temperature Range | -40°C to +85°C |
| Temperature Accuracy | ±2°C |
| Output Data Rate (ODR) | Up to 75 Hz |
| Power Consumption | 4 µA (low-power mode) |
| Dimensions | 2.5mm x 2.5mm x 0.9mm |
Pin Configuration
The Adafruit LPS35HW breakout board includes the following pins:
| Pin Name | Description |
|---|---|
| VIN | Power supply input (3.3V or 5V compatible) |
| GND | Ground |
| SCL | I2C clock line |
| SDA | I2C data line |
| CS | Chip select for SPI (leave unconnected for I2C) |
| SDO | I2C address selection or SPI data output |
Usage Instructions
Connecting the LPS35HW to an Arduino UNO
To use the Adafruit LPS35HW with an Arduino UNO, follow these steps:
Wiring:
- Connect the
VINpin of the sensor to the5Vpin on the Arduino. - Connect the
GNDpin of the sensor to theGNDpin on the Arduino. - Connect the
SCLpin of the sensor to theA5pin on the Arduino (I2C clock). - Connect the
SDApin of the sensor to theA4pin on the Arduino (I2C data).
- Connect the
Install the Adafruit LPS35HW Library:
- Open the Arduino IDE.
- Go to Sketch > Include Library > Manage Libraries.
- Search for "Adafruit LPS35HW" and install the library.
Example Code: Use the following example code to read pressure and temperature data from the sensor:
#include <Wire.h>
#include <Adafruit_LPS35HW.h>

// Create an instance of the LPS35HW sensor
Adafruit_LPS35HW lps;

void setup() {
  Serial.begin(115200);
  while (!Serial) {
    delay(10); // Wait for Serial Monitor to open
  }

  Serial.println("Adafruit LPS35HW Test");

  // Initialize the sensor
  if (!lps.begin_I2C()) {
    Serial.println("Failed to find LPS35HW sensor!");
    while (1) {
      delay(10); // Halt if sensor is not detected
    }
  }

  Serial.println("LPS35HW sensor initialized successfully!");
}

void loop() {
  // Read pressure in hPa
  float pressure = lps.readPressure();
  // Read temperature in °C
  float temperature = lps.readTemperature();

  // Print the readings to the Serial Monitor
  Serial.print("Pressure: ");
  Serial.print(pressure);
  Serial.println(" hPa");

  Serial.print("Temperature: ");
  Serial.print(temperature);
  Serial.println(" °C");

  delay(1000); // Wait 1 second before the next reading
}
Important Considerations:
- Ensure the I2C pull-up resistors are enabled on the breakout board (default configuration).
- The sensor operates at 3.3V logic levels. If using a 5V microcontroller, ensure the breakout board's level shifters are enabled.
- Avoid exposing the sensor to water or extreme environmental conditions beyond its specified range.
Troubleshooting and FAQs
Common Issues and Solutions:
Sensor Not Detected:
- Ensure the wiring is correct and matches the pin configuration.
- Verify the I2C address (default: 0x5D). If another device shares the same address, modify the
SDOpin connection to change the address.
Incorrect Readings:
- Check for loose connections or poor solder joints.
- Ensure the sensor is not exposed to rapid temperature changes or vibrations.
Arduino Code Compilation Errors:
- Confirm that the Adafruit LPS35HW library is installed correctly.
- Ensure the Arduino IDE is updated to the latest version.
FAQs:
Q: Can I use the LPS35HW with a Raspberry Pi?
A: Yes, the LPS35HW is compatible with Raspberry Pi. Use the I2C interface and appropriate Python libraries, such as Adafruit_CircuitPython_LPS35HW.
Q: How do I change the I2C address?
A: Connect the SDO pin to GND to set the I2C address to 0x5C. Leave it unconnected or pull it high for the default address 0x5D.
Q: What is the maximum cable length for I2C communication?
A: The maximum cable length depends on the pull-up resistor values and the I2C clock speed. For standard setups, keep the cable length under 1 meter to ensure reliable communication.
By following this documentation, you can effectively integrate the Adafruit LPS35HW into your projects and achieve accurate pressure and temperature measurements.