How to Use NEO Brushless Motor V1.1: Examples, Pinouts, and Specs
Introduction
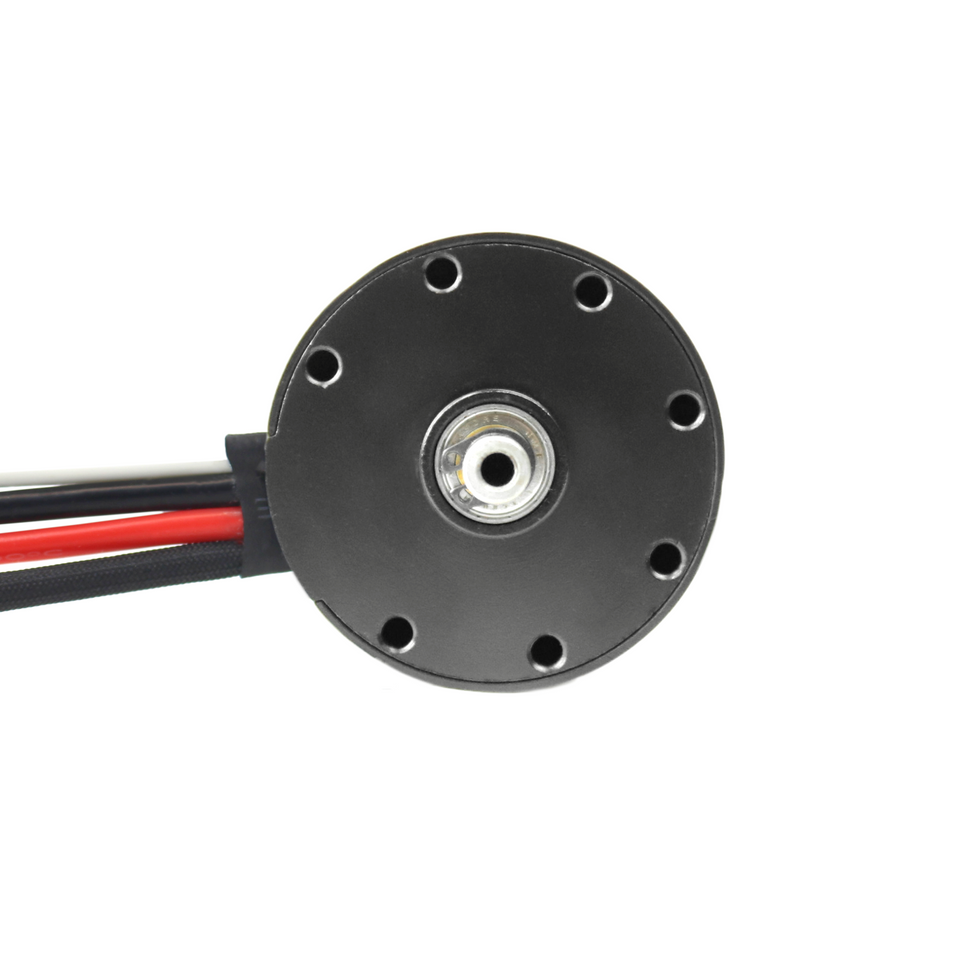
The NEO Brushless Motor V1.1 (Manufacturer Part ID: REV-21-1650) is a high-performance brushless DC motor designed and manufactured by Rev Robotics. This motor is engineered for demanding applications in robotics and remote-controlled (RC) systems, offering exceptional efficiency, low cogging torque, and precise control for smooth and reliable operation. Its compact design and robust construction make it ideal for competitive robotics, industrial automation, and other high-performance applications.
Explore Projects Built with NEO Brushless Motor V1.1
Explore Projects Built with NEO Brushless Motor V1.1
Common Applications
- Competitive robotics (e.g., FIRST Robotics Competition)
- Remote-controlled vehicles (cars, drones, boats)
- Industrial automation systems
- Precision motion control in mechatronics
- Educational robotics projects
Technical Specifications
The following table outlines the key technical specifications of the NEO Brushless Motor V1.1:
| Parameter | Value |
|---|---|
| Manufacturer Part ID | REV-21-1650 |
| Motor Type | Brushless DC (BLDC) |
| Input Voltage Range | 12V to 24V |
| Continuous Current | 40A |
| Peak Current | 105A |
| Stall Torque | 3.36 Nm |
| Free Speed (12V) | 5,600 RPM |
| Free Speed (24V) | 11,000 RPM |
| Motor Weight | 0.425 kg (425 g) |
| Shaft Diameter | 8 mm |
| Mounting Hole Pattern | 6 x M3 holes on a 44 mm circle |
| Sensor Type | Hall-effect encoder |
| Operating Temperature | -20°C to 85°C |
Pin Configuration and Descriptions
The NEO Brushless Motor V1.1 features a 6-pin encoder cable and three motor phase wires. The pinout for the encoder cable is as follows:
| Pin Number | Signal Name | Description |
|---|---|---|
| 1 | 5V | 5V power supply for the encoder |
| 2 | GND | Ground connection |
| 3 | A | Hall sensor output A |
| 4 | B | Hall sensor output B |
| 5 | C | Hall sensor output C |
| 6 | Index | Index pulse for precise positioning |
The motor phase wires are color-coded as follows:
- Red: Phase A
- Yellow: Phase B
- Blue: Phase C
Usage Instructions
How to Use the NEO Brushless Motor in a Circuit
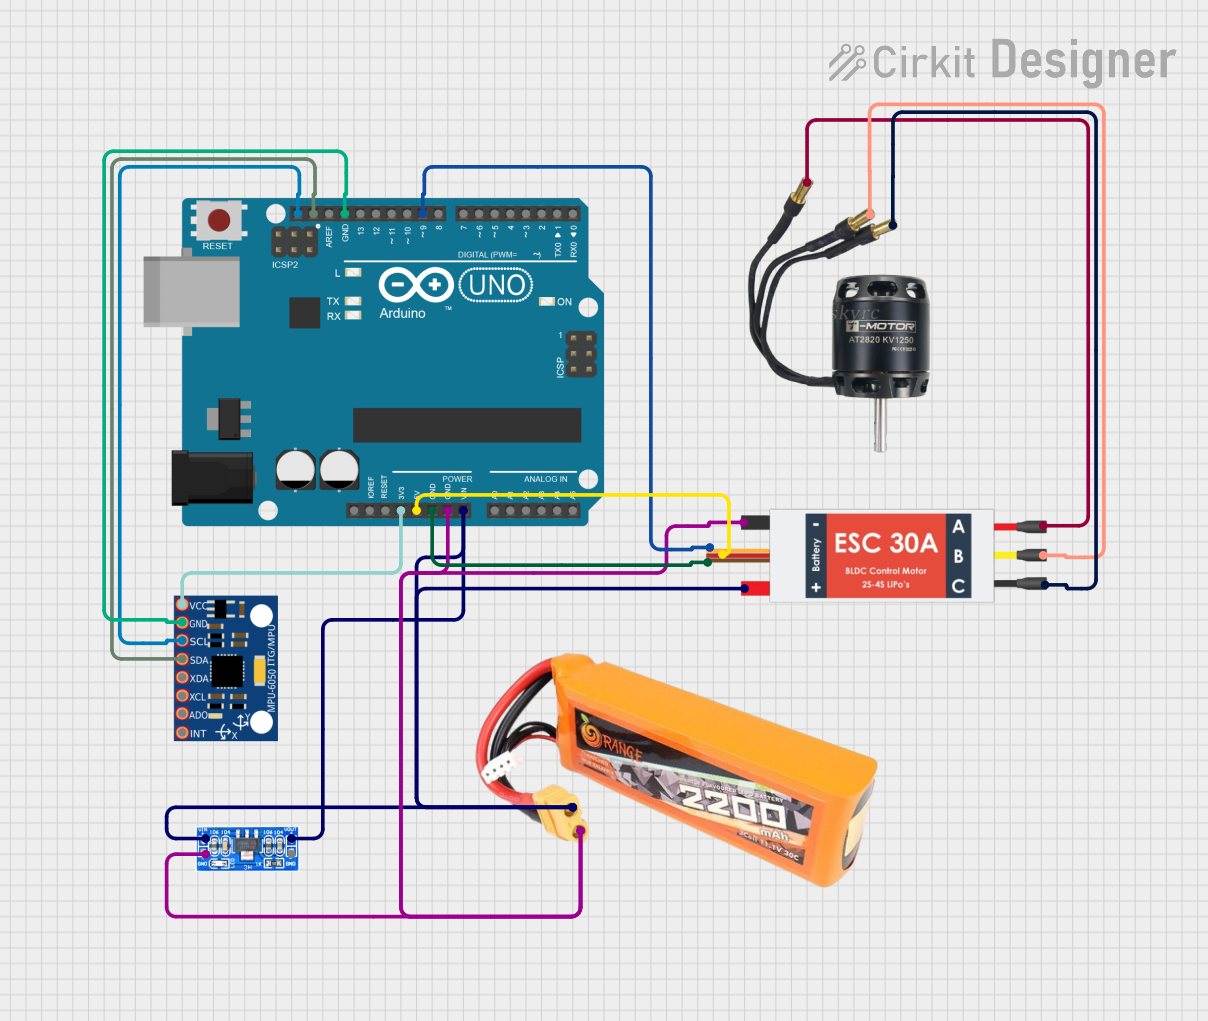
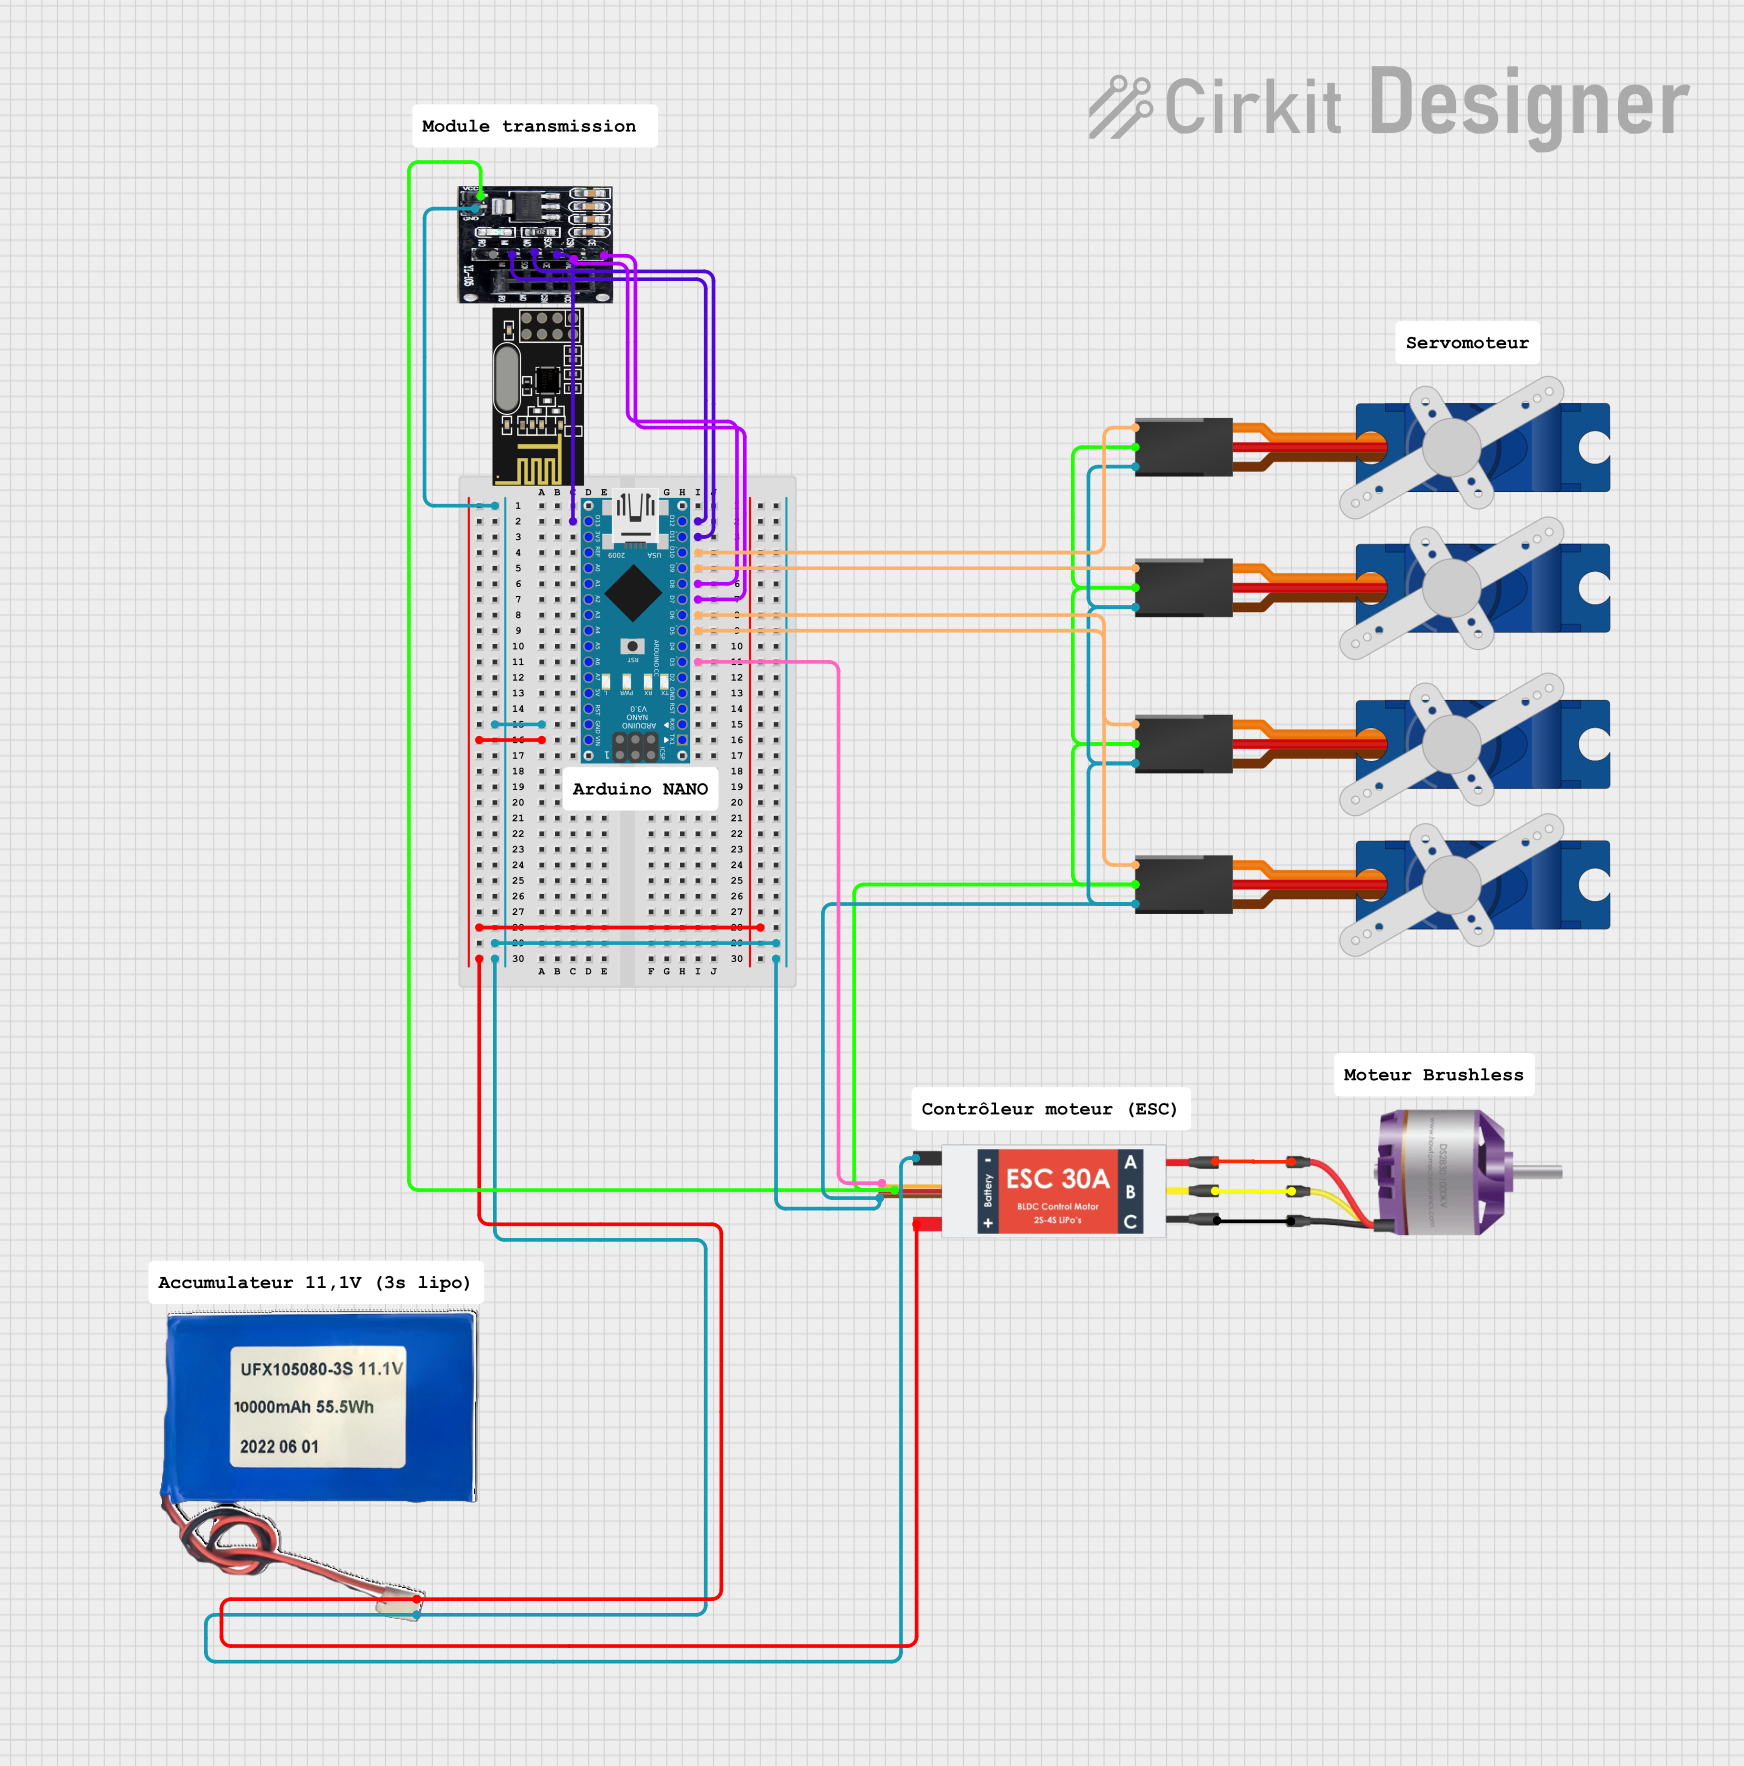
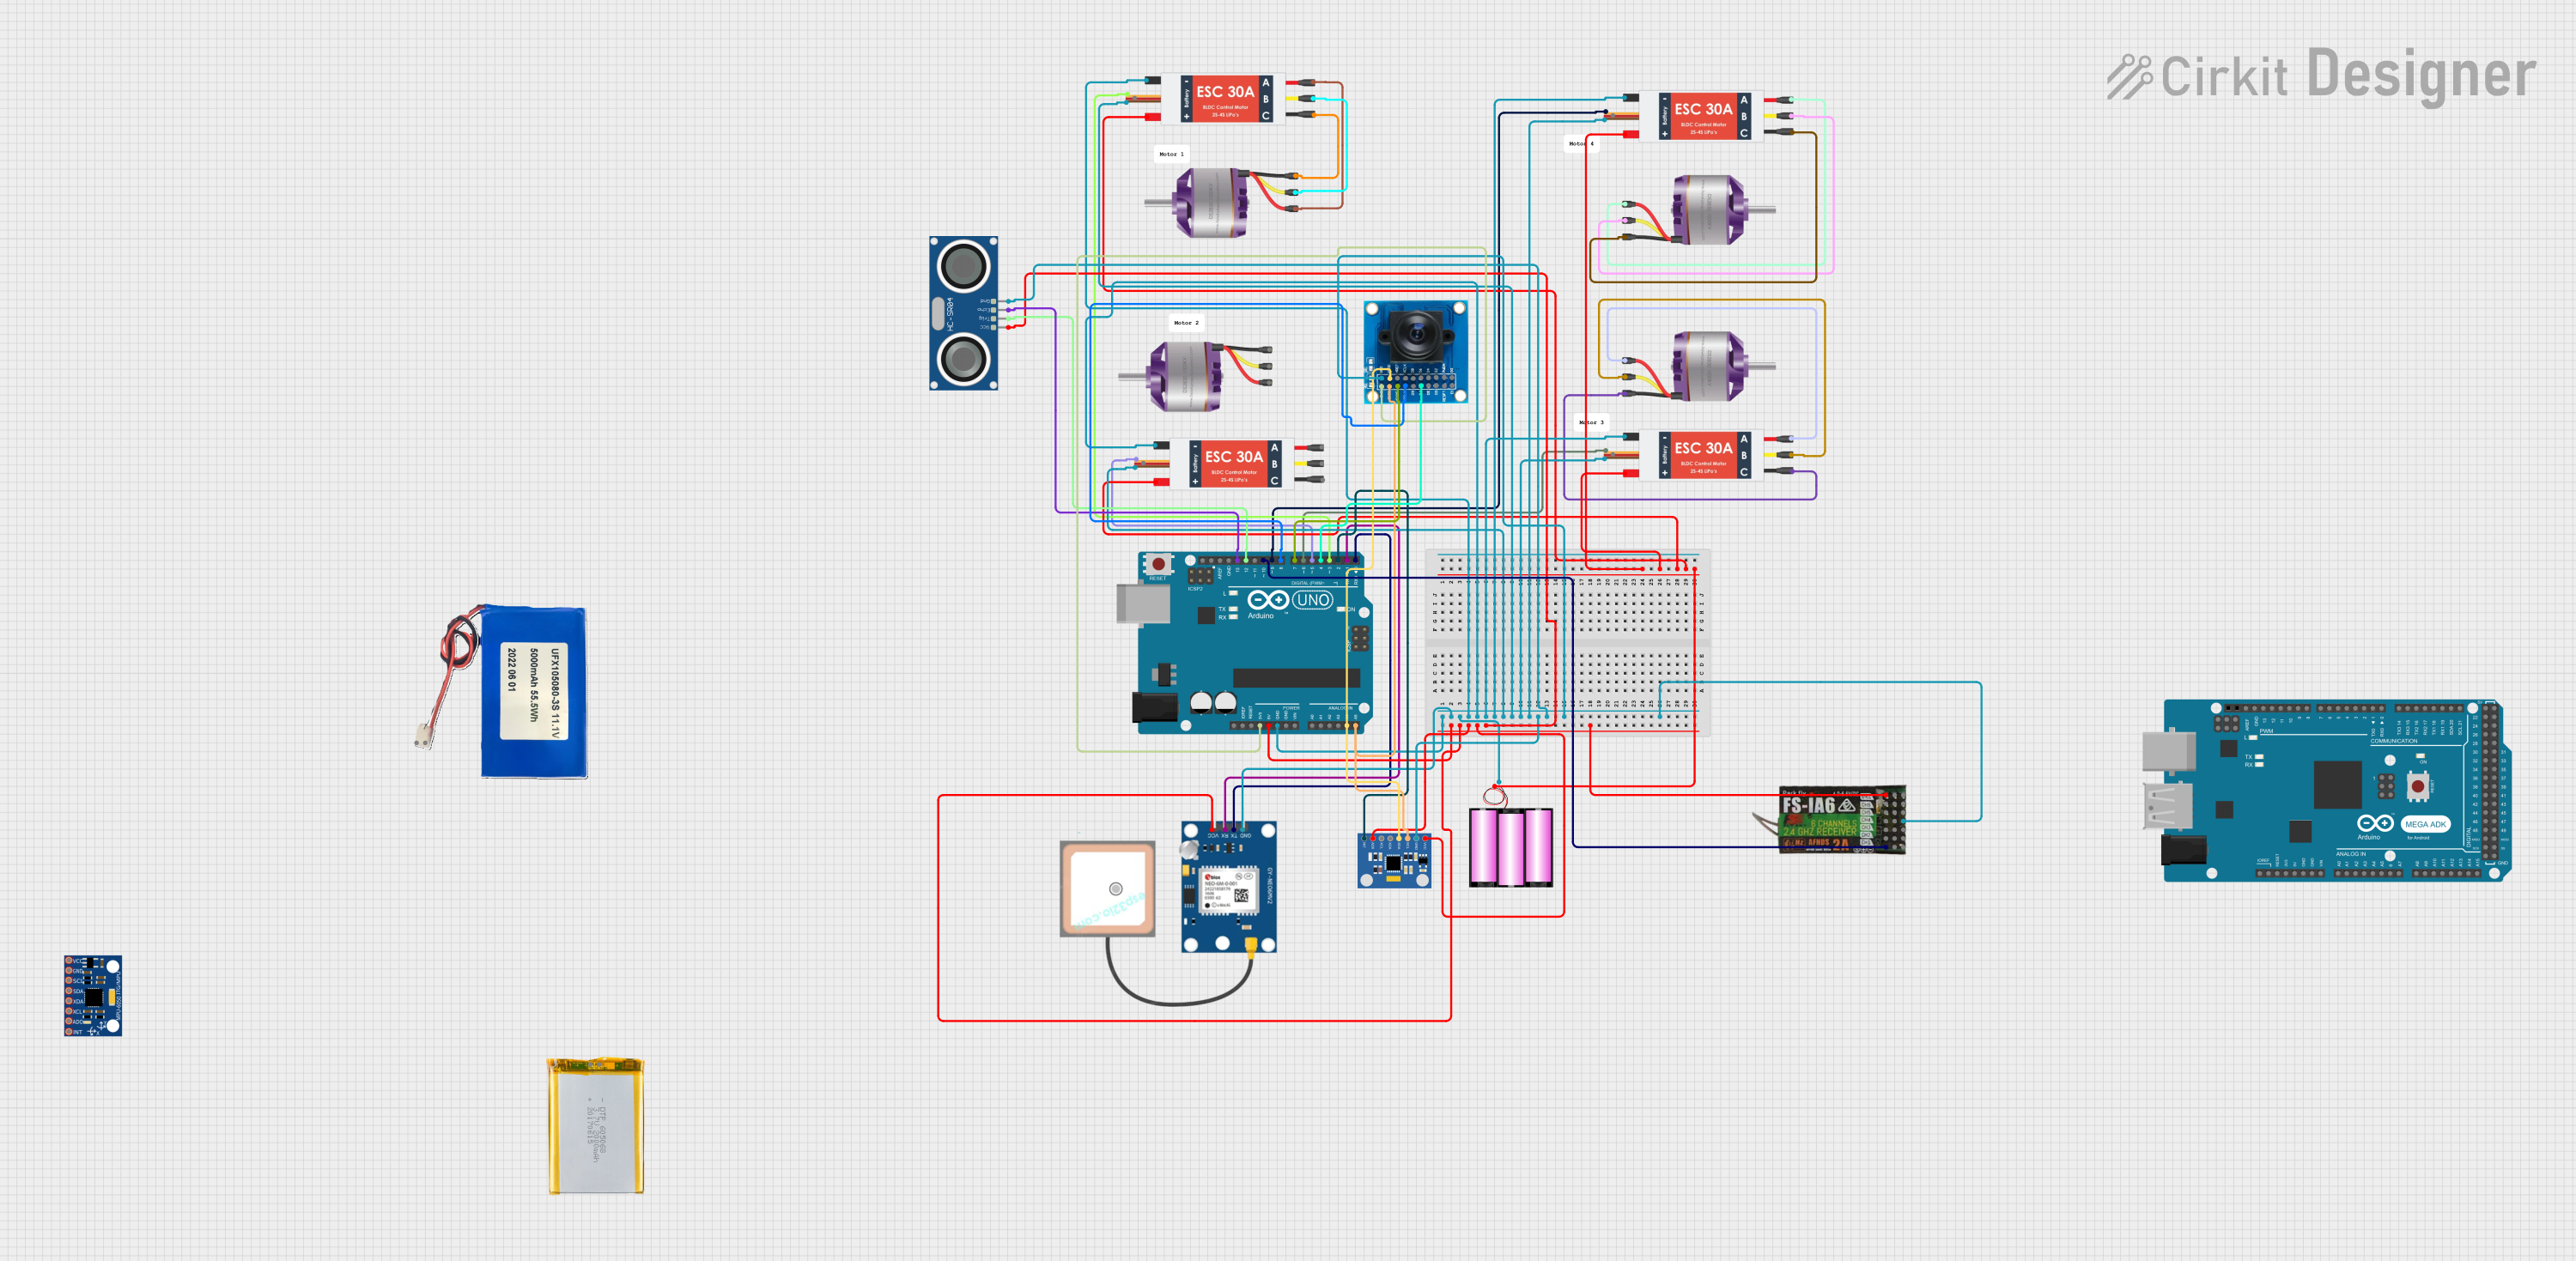
- Power Supply: Connect the motor to a compatible motor controller (e.g., Rev Robotics SPARK MAX) that supports brushless motors. Ensure the power supply voltage is within the 12V to 24V range.
- Motor Controller: Use the motor controller to drive the motor. Connect the three motor phase wires (Red, Yellow, Blue) to the corresponding outputs on the controller.
- Encoder Connection: Plug the 6-pin encoder cable into the motor controller to enable precise speed and position feedback.
- Programming: Configure the motor controller using the manufacturer's software or firmware. Set the appropriate parameters for voltage, current limits, and control mode (e.g., velocity, position, or duty cycle).
Important Considerations and Best Practices
- Cooling: Ensure adequate ventilation or cooling to prevent overheating during high-current operation.
- Wiring: Use appropriately rated wires for the motor's current requirements to avoid voltage drops or overheating.
- Mounting: Secure the motor using the provided mounting holes and ensure proper alignment to avoid mechanical stress on the shaft.
- Startup Calibration: Perform a calibration routine on the motor controller to ensure accurate encoder readings and smooth operation.
- Safety: Always disconnect power before making any wiring changes to prevent accidental short circuits or damage.
Example Code for Arduino UNO
While the NEO Brushless Motor is typically used with advanced motor controllers, you can interface it with an Arduino UNO for basic control using a compatible motor driver. Below is an example of controlling the motor's speed using PWM:
// Example code to control the NEO Brushless Motor with an Arduino UNO
// Note: This example assumes the use of a compatible motor driver
// capable of handling the NEO motor's current and voltage requirements.

const int pwmPin = 9;  // PWM output pin connected to the motor driver
const int dirPin = 8;  // Direction control pin connected to the motor driver

void setup() {
  pinMode(pwmPin, OUTPUT);  // Set PWM pin as output
  pinMode(dirPin, OUTPUT);  // Set direction pin as output

  // Initialize motor direction to forward
  digitalWrite(dirPin, HIGH);
}

void loop() {
  // Set motor speed using PWM (0 to 255)
  analogWrite(pwmPin, 128);  // 50% duty cycle for medium speed

  delay(5000);  // Run motor for 5 seconds

  // Reverse motor direction
  digitalWrite(dirPin, LOW);
  analogWrite(pwmPin, 128);  // Maintain same speed in reverse

  delay(5000);  // Run motor in reverse for 5 seconds
}
Note: Ensure the motor driver is compatible with the NEO Brushless Motor's voltage and current ratings. The Arduino UNO cannot directly drive the motor without a motor driver.
Troubleshooting and FAQs
Common Issues and Solutions
Motor Does Not Spin
- Cause: Incorrect wiring or loose connections.
- Solution: Verify all connections, including the motor phase wires and encoder cable. Ensure the motor controller is powered and configured correctly.
Motor Overheats
- Cause: Prolonged operation at high current or insufficient cooling.
- Solution: Check the current limits in the motor controller settings. Improve ventilation or add a cooling fan.
Erratic Motor Behavior
- Cause: Faulty encoder connection or incorrect calibration.
- Solution: Inspect the encoder cable for damage. Recalibrate the motor controller.
Low Torque or Speed
- Cause: Insufficient power supply or incorrect control parameters.
- Solution: Ensure the power supply voltage is within the specified range. Adjust the motor controller settings for optimal performance.
FAQs
Q: Can the NEO Brushless Motor be used without an encoder?
A: While the motor can spin without an encoder, precise control and feedback require the encoder to be connected.Q: What motor controller is recommended for the NEO Brushless Motor?
A: The Rev Robotics SPARK MAX is the recommended motor controller for optimal performance and compatibility.Q: Can I use the motor with a 5V power supply?
A: No, the motor requires a minimum input voltage of 12V to operate correctly.Q: How do I clean the motor?
A: Use compressed air to remove dust and debris. Avoid using liquids or solvents that could damage the internal components.
This concludes the documentation for the NEO Brushless Motor V1.1. For further assistance, refer to the official Rev Robotics user manual or contact their support team.