How to Use Rain Gauge Tipping Bucket: Examples, Pinouts, and Specs
Introduction
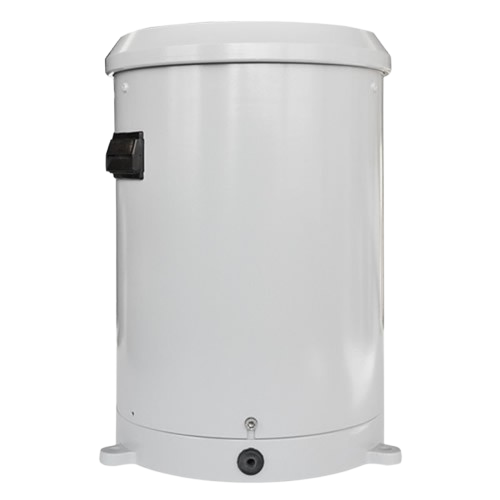
The Rain Gauge Tipping Bucket by Vincenzo is a precision instrument designed to measure rainfall. It operates by collecting rainwater in a small bucket that tips when a predefined volume is reached. Each tip triggers a counter, allowing accurate measurement of precipitation over time. This device is widely used in meteorology, agriculture, and environmental monitoring to track rainfall patterns and analyze weather conditions.
Explore Projects Built with Rain Gauge Tipping Bucket
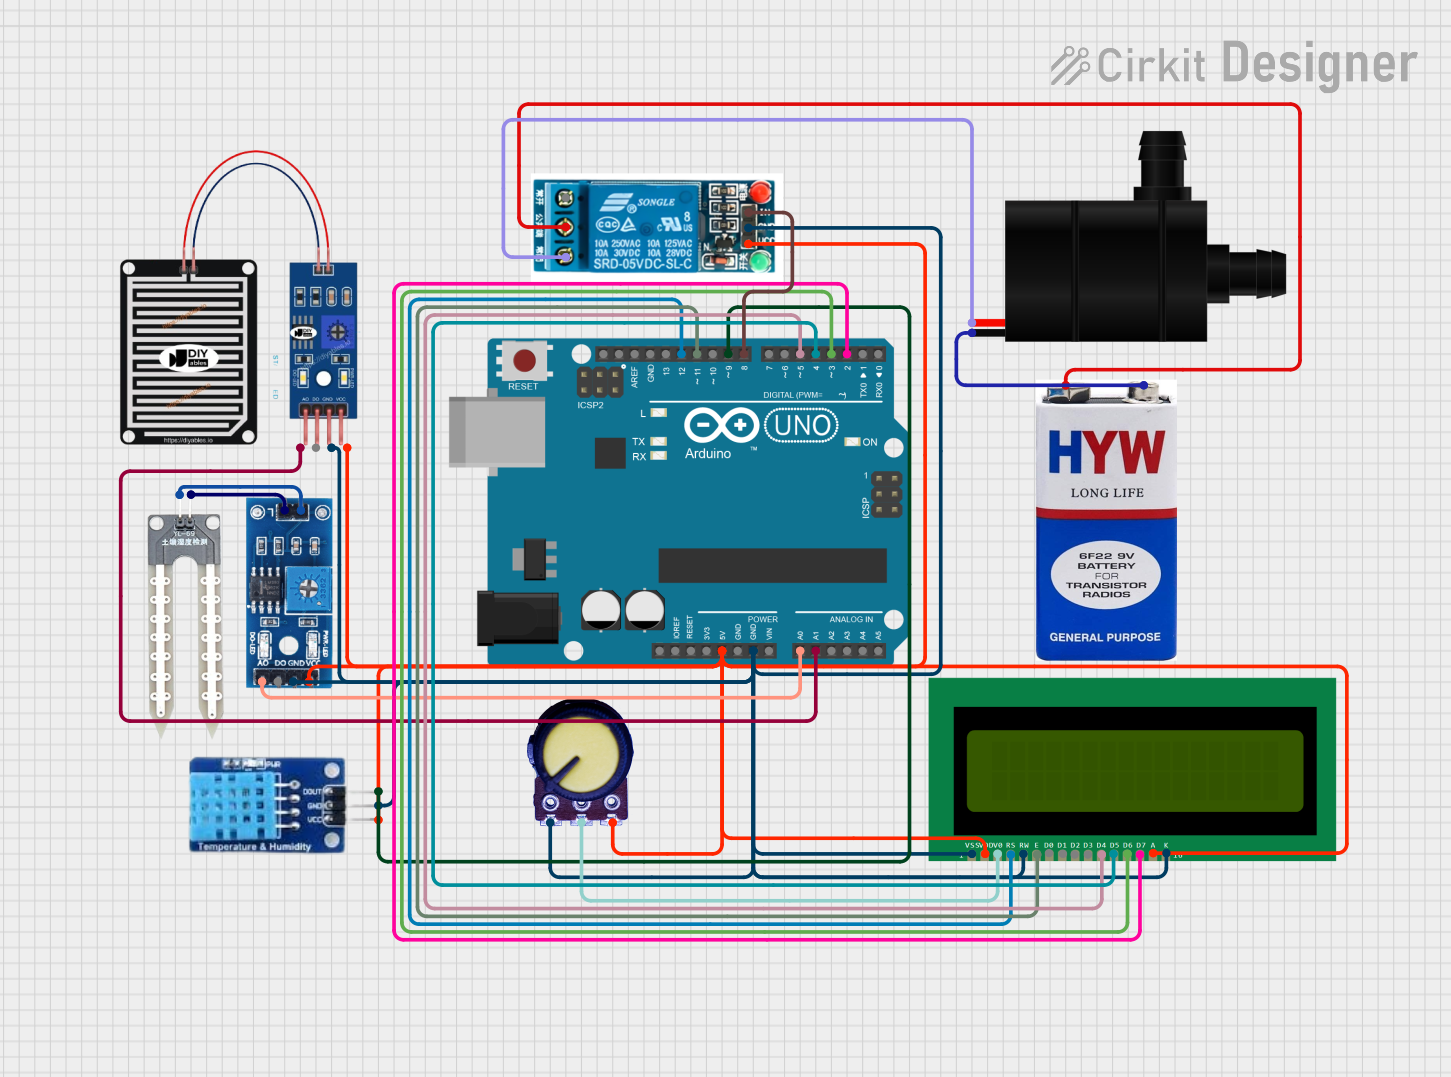
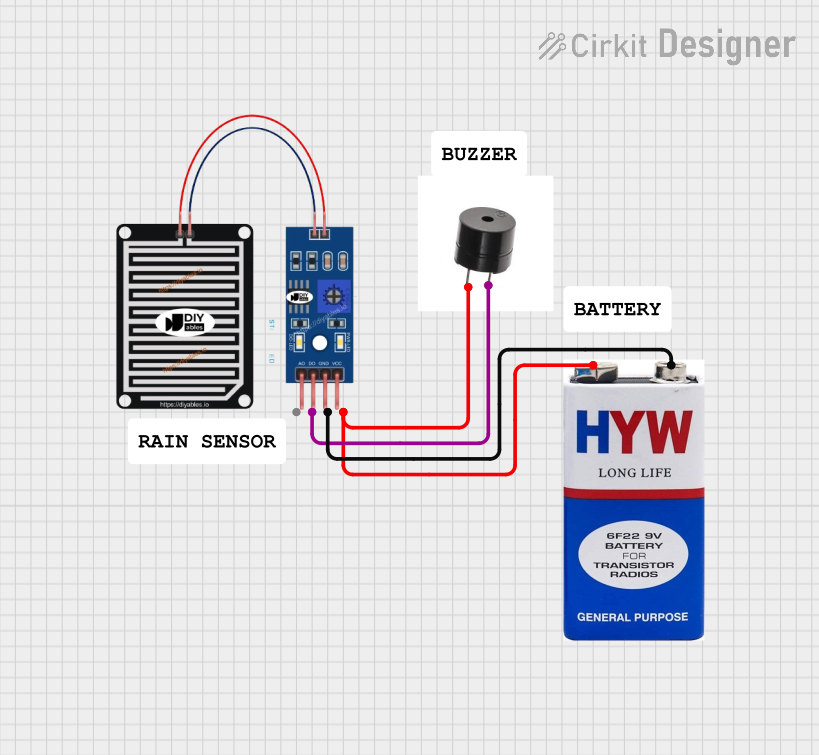
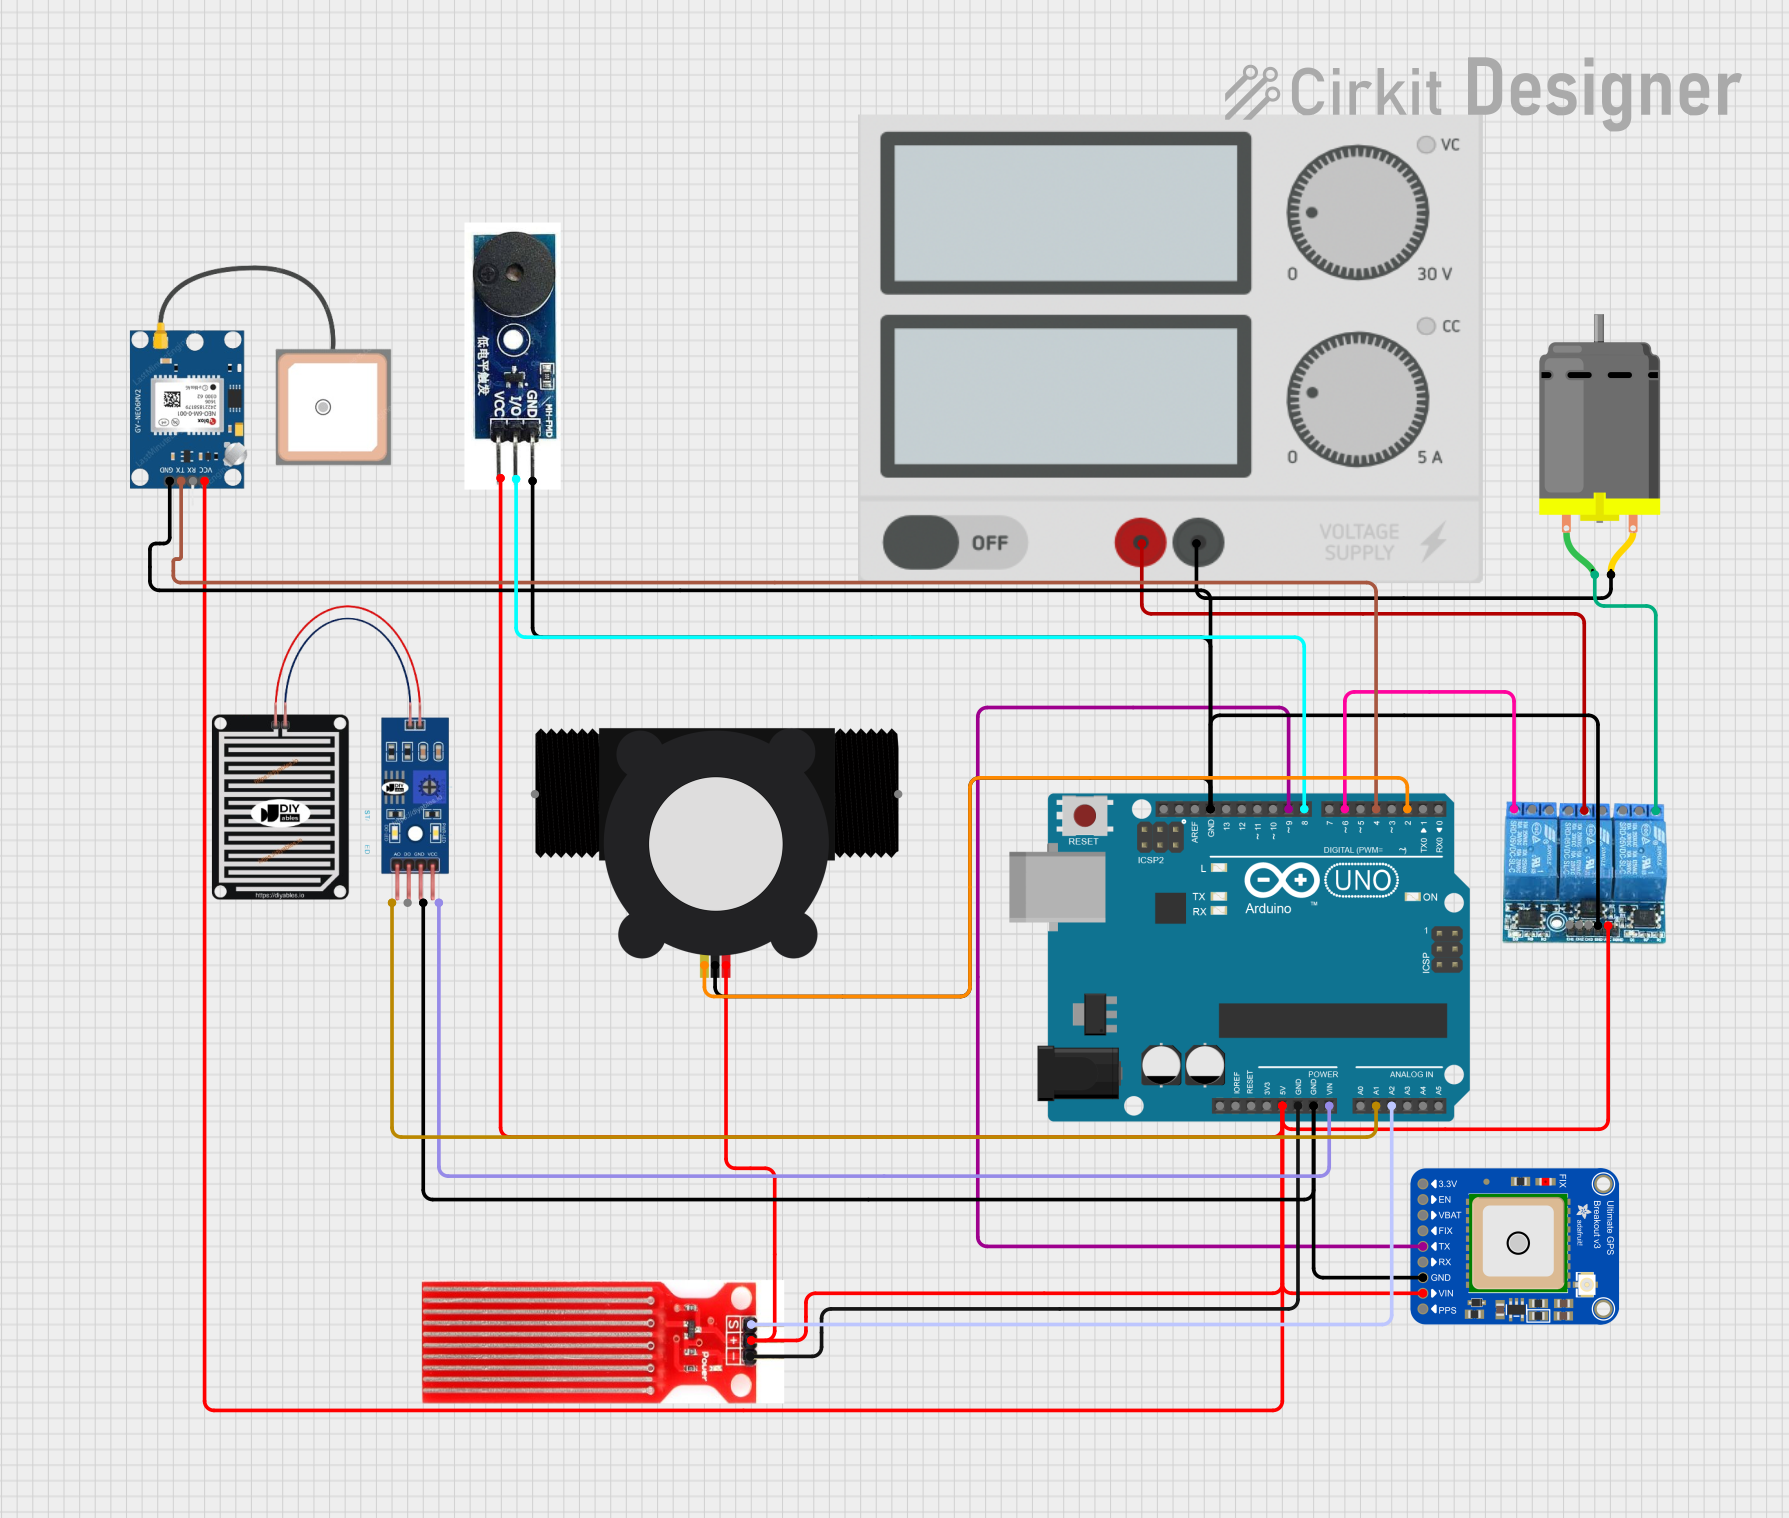
Explore Projects Built with Rain Gauge Tipping Bucket
Common Applications and Use Cases
- Weather Stations: Monitoring rainfall for meteorological studies.
- Agriculture: Measuring precipitation to optimize irrigation schedules.
- Hydrology: Tracking rainfall for flood prediction and water resource management.
- Environmental Research: Studying climate patterns and their impact on ecosystems.
Technical Specifications
The following table outlines the key technical details of the Vincenzo Rain Gauge Tipping Bucket:
| Parameter | Specification |
|---|---|
| Measurement Range | 0 to 500 mm/hour |
| Resolution | 0.2 mm per tip |
| Accuracy | ±2% |
| Output Signal | Pulse (normally open reed switch) |
| Operating Voltage | 3.3V to 5V DC |
| Operating Temperature | -40°C to 70°C |
| Material | UV-resistant plastic and stainless steel |
| Dimensions | 200 mm (H) x 120 mm (D) |
| Weight | 1.2 kg |
Pin Configuration and Descriptions
The Rain Gauge Tipping Bucket has a simple two-wire interface for signal output. The pin configuration is as follows:
| Pin | Name | Description |
|---|---|---|
| 1 | Signal (S) | Outputs a pulse for each bucket tip (normally open reed switch). |
| 2 | Ground (GND) | Connects to the ground of the power supply or microcontroller. |
Usage Instructions
How to Use the Component in a Circuit
Wiring:
- Connect the Signal (S) pin to a digital input pin on your microcontroller (e.g., Arduino UNO).
- Connect the Ground (GND) pin to the ground of your microcontroller.
- Use a pull-up resistor (10kΩ recommended) between the Signal pin and the microcontroller's supply voltage to ensure proper signal detection.
Power Supply:
- Ensure the operating voltage is within the range of 3.3V to 5V DC.
Data Reading:
- Each pulse from the Signal pin corresponds to 0.2 mm of rainfall. Count the pulses over a specific time period to calculate the total precipitation.
Important Considerations and Best Practices
- Placement: Install the rain gauge in an open area, away from obstructions like trees or buildings, to ensure accurate measurements.
- Leveling: Ensure the device is mounted on a level surface to prevent measurement errors.
- Maintenance: Regularly clean the bucket and check for debris to avoid blockages.
- Debouncing: Implement software debouncing in your microcontroller code to filter out false pulses caused by vibrations or noise.
Example Code for Arduino UNO
Below is an example Arduino sketch to read and calculate rainfall using the Vincenzo Rain Gauge Tipping Bucket:
// Rain Gauge Tipping Bucket Example Code
// This code counts the number of bucket tips and calculates rainfall in mm.

const int rainGaugePin = 2;  // Digital pin connected to the Signal pin of the rain gauge
volatile int tipCount = 0;   // Counter for bucket tips
float rainfall = 0.0;        // Total rainfall in mm

void setup() {
  pinMode(rainGaugePin, INPUT_PULLUP); // Set the pin as input with pull-up resistor
  attachInterrupt(digitalPinToInterrupt(rainGaugePin), countTips, FALLING);
  Serial.begin(9600); // Initialize serial communication for debugging
}

void loop() {
  // Calculate rainfall (0.2 mm per tip)
  rainfall = tipCount * 0.2;

  // Print the total rainfall to the Serial Monitor
  Serial.print("Rainfall: ");
  Serial.print(rainfall);
  Serial.println(" mm");

  delay(1000); // Update every second
}

// Interrupt Service Routine (ISR) to count bucket tips
void countTips() {
  tipCount++; // Increment the tip counter
}
Troubleshooting and FAQs
Common Issues and Solutions
No Signal Detected:
- Cause: Loose or incorrect wiring.
- Solution: Verify the connections between the rain gauge and the microcontroller. Ensure the pull-up resistor is properly connected.
Inaccurate Measurements:
- Cause: Device not level or obstructed.
- Solution: Reinstall the rain gauge on a level surface and clear any obstructions.
False Pulses:
- Cause: Electrical noise or vibrations.
- Solution: Implement software debouncing in your code and ensure the device is securely mounted.
Bucket Not Tipping:
- Cause: Debris or dirt in the bucket mechanism.
- Solution: Clean the bucket and check for any blockages.
FAQs
Q: Can this rain gauge be used in freezing temperatures?
A: Yes, the device operates in temperatures as low as -40°C, but ensure the bucket is free of ice for accurate measurements.Q: How do I calibrate the rain gauge?
A: The device is factory-calibrated for 0.2 mm per tip. If recalibration is needed, consult the manufacturer.Q: Can I use this rain gauge with a battery-powered system?
A: Yes, the low power consumption makes it suitable for battery-powered applications.Q: How do I protect the rain gauge from lightning?
A: Use proper grounding and surge protection to safeguard the device in storm-prone areas.