
How to Use Arduino NANO : Examples, Pinouts, and Specs
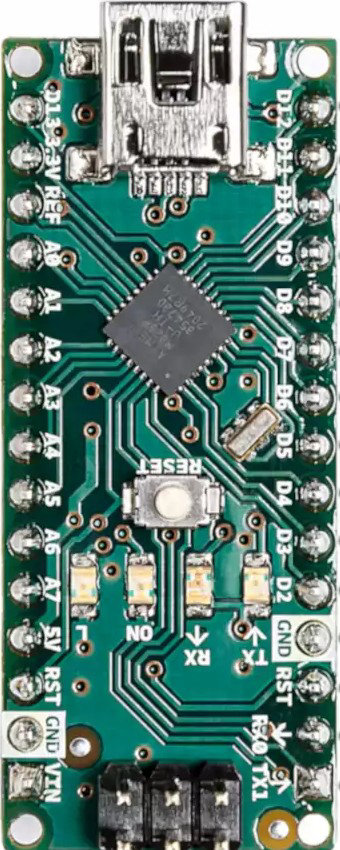
 Design with Arduino NANO in Cirkit Designer
Introduction
The Arduino NANO is a compact microcontroller board developed by Arduino, based on the ATmega328P microcontroller. It is designed for easy integration into a wide range of electronic projects, offering a small form factor without compromising functionality. The board features 14 digital input/output pins, 8 analog input pins, USB connectivity for programming and communication, and compatibility with the Arduino IDE. Its versatility and size make it ideal for prototyping, embedded systems, and educational purposes.
Explore Projects Built with Arduino NANO
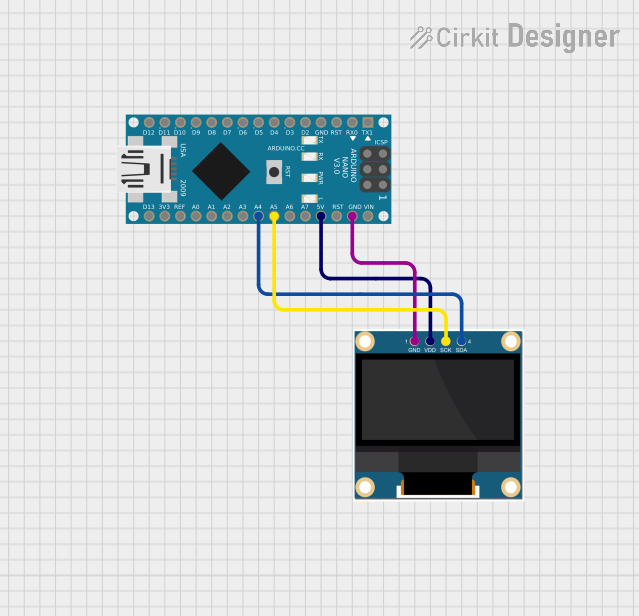 Open Project in Cirkit Designer
 Open Project in Cirkit Designer
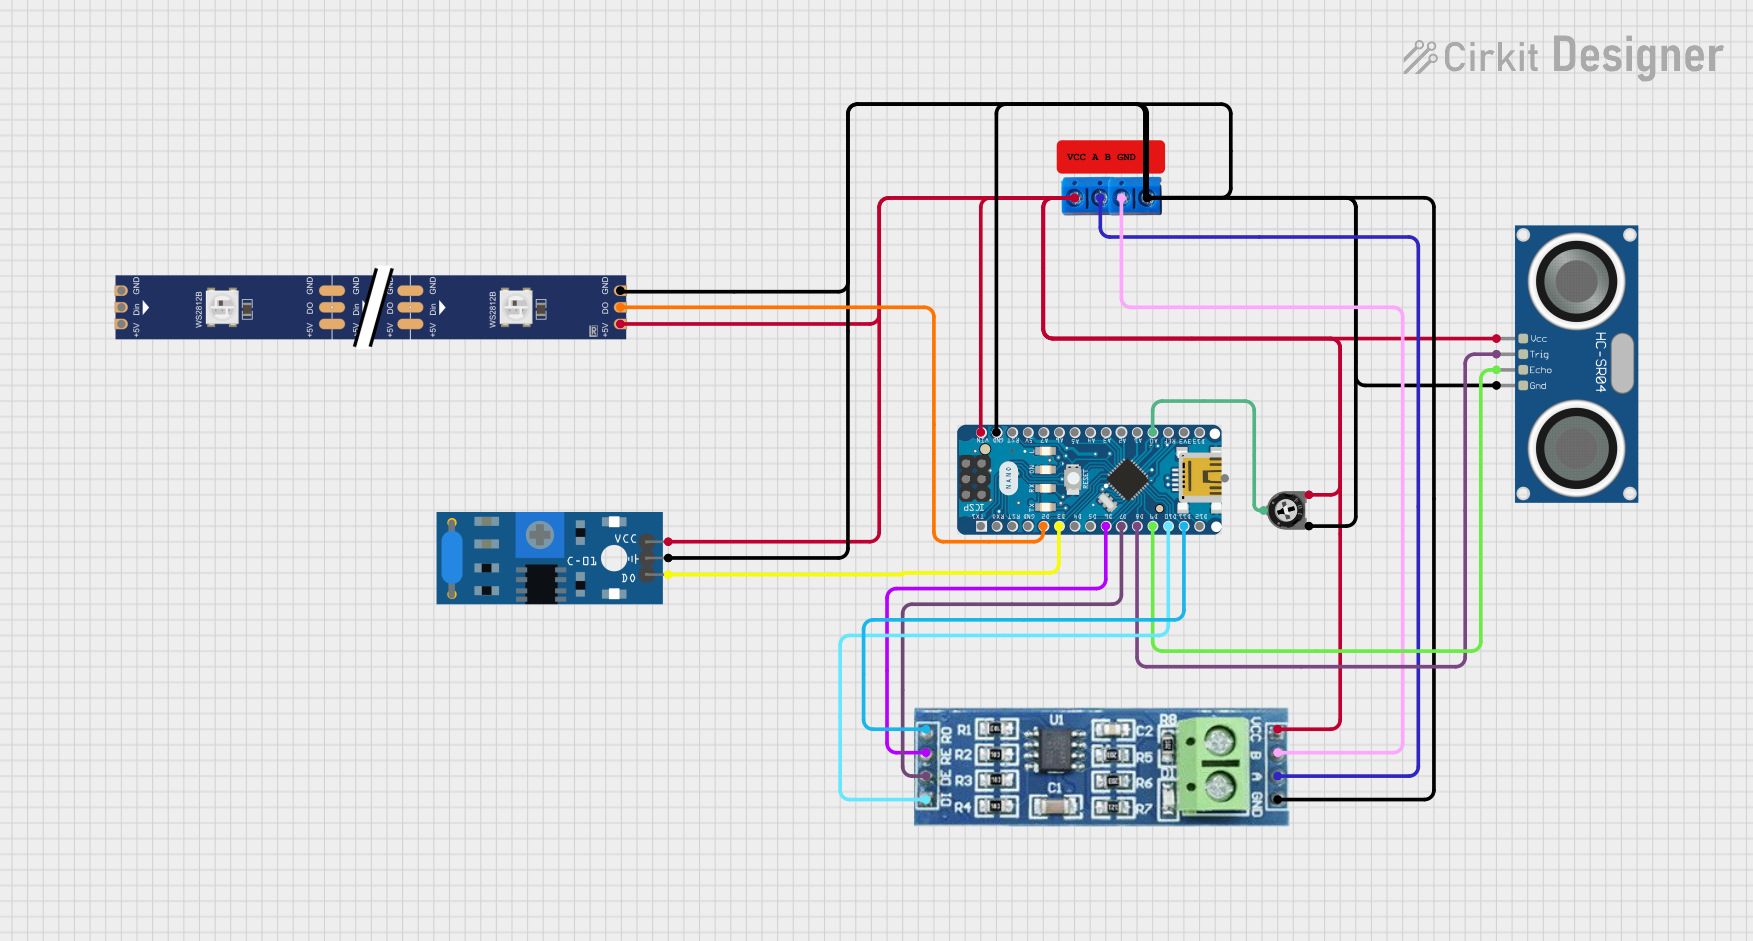 Open Project in Cirkit Designer
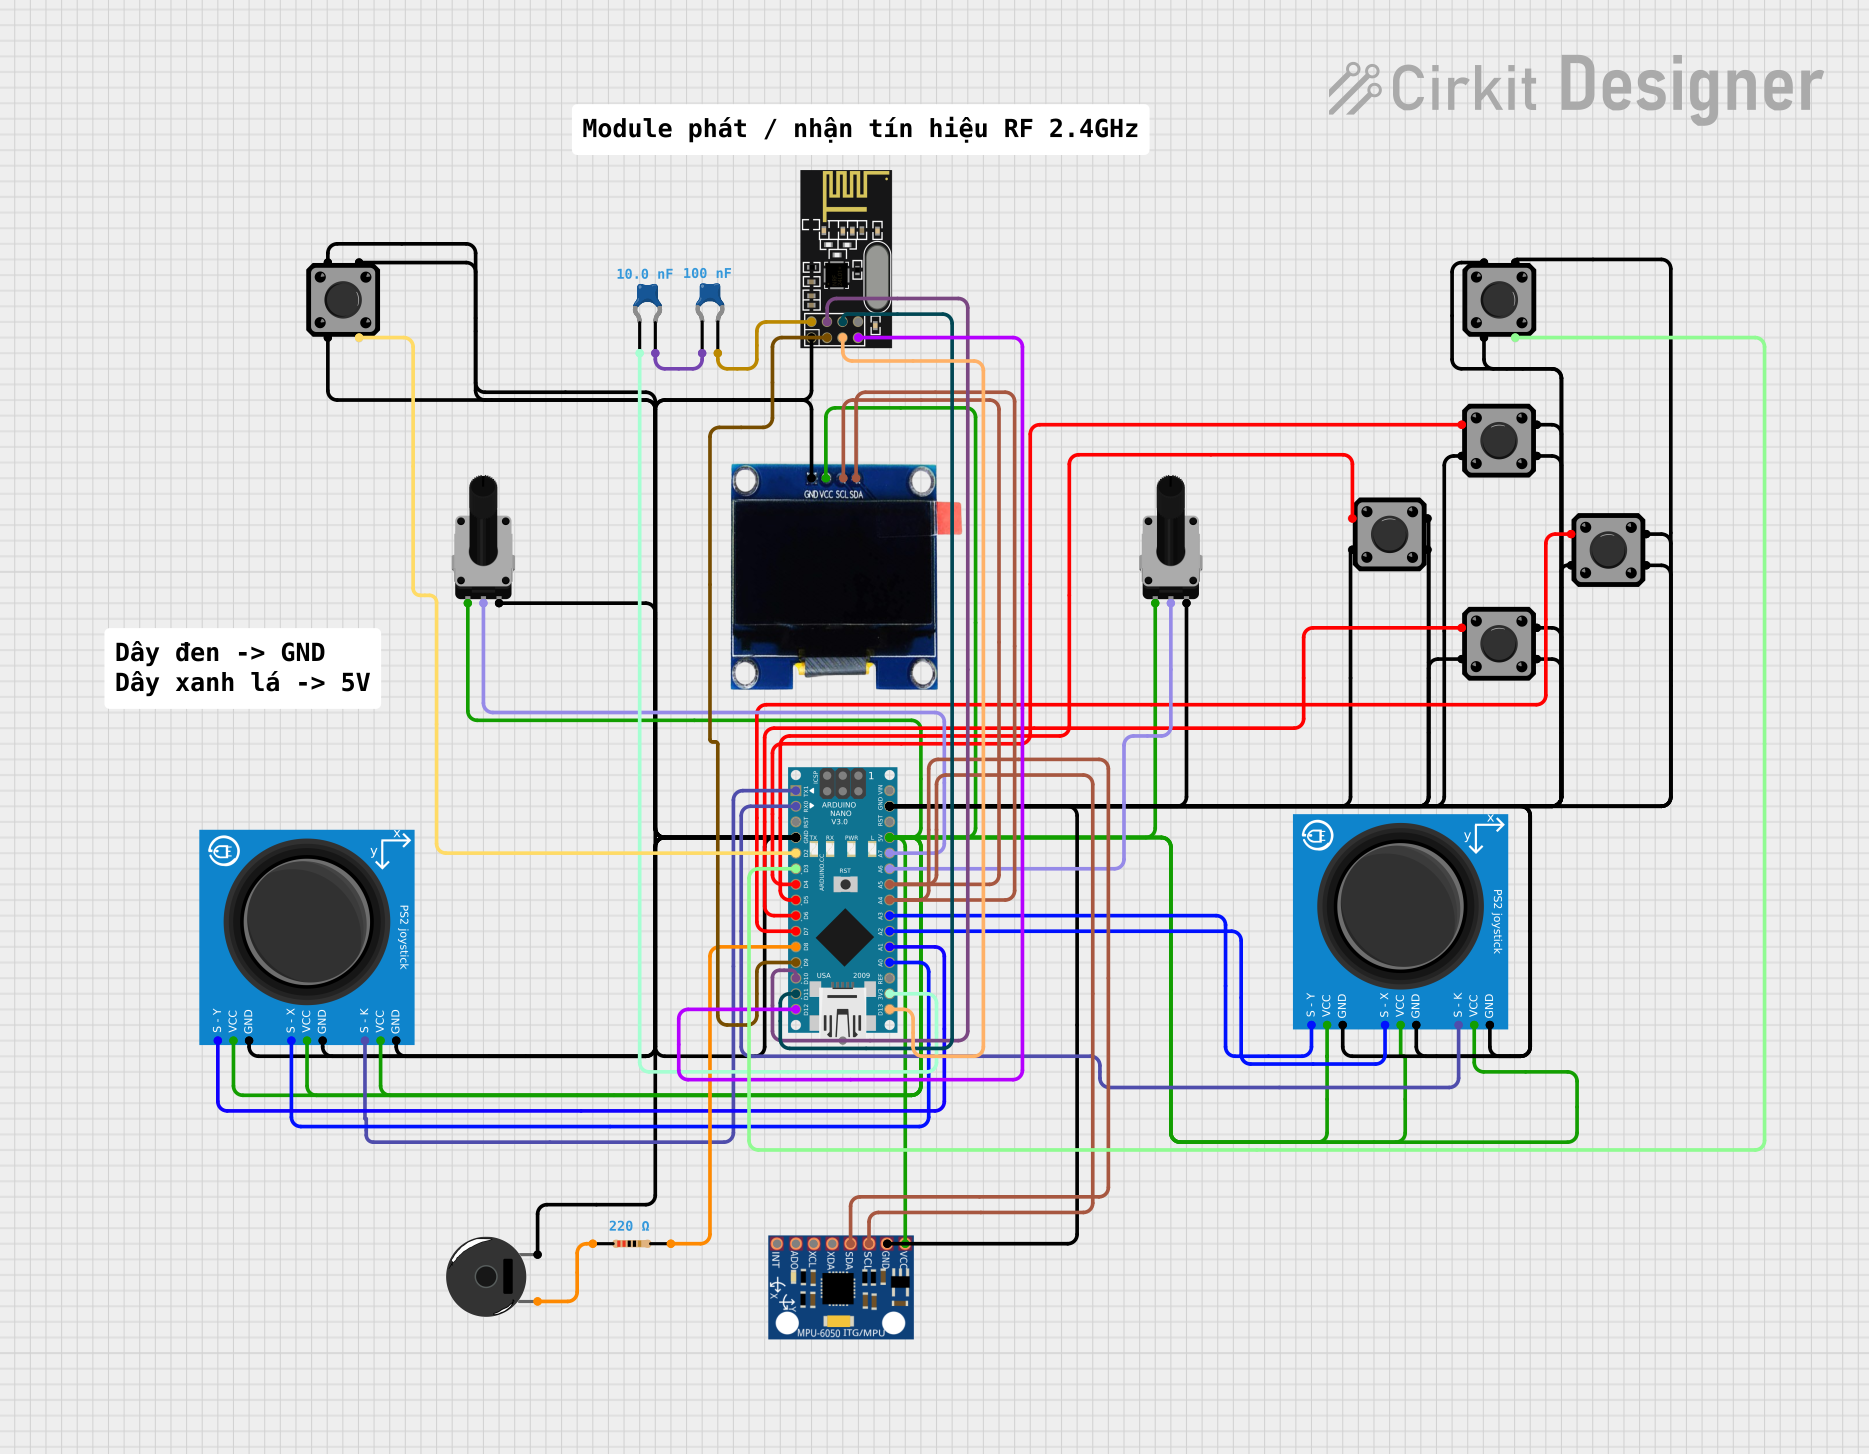 Open Project in Cirkit Designer
Explore Projects Built with Arduino NANO
Open Project in Cirkit DesignerOpen Project in Cirkit DesignerOpen Project in Cirkit DesignerOpen Project in Cirkit DesignerCommon Applications
- Robotics and automation
- IoT (Internet of Things) devices
- Wearable electronics
- Sensor interfacing and data logging
- Educational projects and prototyping
Technical Specifications
Below are the key technical details of the Arduino NANO:
| Specification | Details |
|---|---|
| Microcontroller | ATmega328P |
| Operating Voltage | 5V |
| Input Voltage (recommended) | 7-12V |
| Input Voltage (limit) | 6-20V |
| Digital I/O Pins | 14 (6 PWM outputs) |
| Analog Input Pins | 8 |
| DC Current per I/O Pin | 40 mA |
| Flash Memory | 32 KB (2 KB used by bootloader) |
| SRAM | 2 KB |
| EEPROM | 1 KB |
| Clock Speed | 16 MHz |
| USB Connectivity | Mini-B USB |
| Dimensions | 18 x 45 mm |
| Weight | 7 g |
Pin Configuration
The Arduino NANO has a total of 30 pins, including power, digital, and analog pins. Below is a detailed description of the pin configuration:
| Pin | Type | Description |
|---|---|---|
| VIN | Power Input | Input voltage to the board when using an external power source (7-12V recommended). |
| 5V | Power Output | Regulated 5V output from the onboard regulator. |
| 3.3V | Power Output | 3.3V output for low-power components. |
| GND | Ground | Ground pins (multiple available). |
| A0-A7 | Analog Input | Analog input pins (10-bit resolution). |
| D0-D13 | Digital I/O | Digital input/output pins (D3, D5, D6, D9, D10, D11 support PWM). |
| RX (D0) | Digital Input | UART Receive pin for serial communication. |
| TX (D1) | Digital Output | UART Transmit pin for serial communication. |
| RESET | Reset | Resets the microcontroller. |
| REF | Analog Reference | Reference voltage for analog inputs. |
Usage Instructions
How to Use the Arduino NANO in a Circuit
Powering the Board:
- Connect the Arduino NANO to your computer via a Mini-B USB cable for programming and power.
- Alternatively, supply power through the VIN pin (7-12V recommended) or the 5V pin (regulated 5V).
Programming the Board:
- Install the Arduino IDE from the official Arduino website.
- Select "Arduino NANO" as the board type and "ATmega328P" as the processor in the Tools menu.
- Connect the board to your computer and upload your code via the USB cable.
Connecting Components:
- Use the digital pins (D0-D13) for digital input/output operations.
- Use the analog pins (A0-A7) for reading analog signals (e.g., from sensors).
- Connect external components such as LEDs, motors, or sensors to the appropriate pins, ensuring current and voltage limits are not exceeded.
Example Code: Blinking an LED
The following example demonstrates how to blink an LED connected to pin D13:
// This example blinks an LED connected to pin D13 on the Arduino NANO.
// The LED will turn on for 1 second and off for 1 second in a loop.

void setup() {
  pinMode(13, OUTPUT); // Set pin D13 as an output pin
}

void loop() {
  digitalWrite(13, HIGH); // Turn the LED on
  delay(1000);            // Wait for 1 second
  digitalWrite(13, LOW);  // Turn the LED off
  delay(1000);            // Wait for 1 second
}
Important Considerations
- Avoid exceeding the maximum current rating of 40 mA per I/O pin to prevent damage.
- Use external pull-up or pull-down resistors for stable digital input signals.
- Ensure proper grounding when connecting external components to avoid noise or erratic behavior.
- When using analog inputs, ensure the input voltage does not exceed the reference voltage (default: 5V).
Troubleshooting and FAQs
Common Issues
The board is not detected by the computer:
- Ensure the USB cable is functional and properly connected.
- Install the necessary drivers for the Arduino NANO.
Code upload fails:
- Verify that the correct board and processor are selected in the Arduino IDE.
- Check the COM port in the Tools menu and ensure it matches the connected device.
The board is not powering on:
- Check the power source and ensure the input voltage is within the recommended range.
- Inspect the board for physical damage or loose connections.
Erratic behavior or incorrect readings:
- Ensure proper grounding and stable power supply.
- Verify that external components are connected correctly and within the board's specifications.
FAQs
Q: Can the Arduino NANO be powered by batteries?
A: Yes, you can power the Arduino NANO using batteries by connecting them to the VIN pin (7-12V) or the 5V pin (regulated 5V).
Q: Is the Arduino NANO compatible with shields?
A: The Arduino NANO does not directly support standard Arduino shields due to its smaller size, but it can be used with custom shields or breakout boards designed for the NANO.
Q: How do I reset the Arduino NANO?
A: You can reset the board by pressing the onboard reset button or connecting the RESET pin to GND momentarily.
Q: Can I use the Arduino NANO for wireless communication?
A: Yes, you can connect wireless modules such as Bluetooth (HC-05/HC-06) or Wi-Fi (ESP8266/ESP32) to the Arduino NANO via its digital or serial pins.
By following this documentation, you can effectively integrate the Arduino NANO into your projects and troubleshoot common issues with ease.