
How to Use UBEC 5A: Examples, Pinouts, and Specs
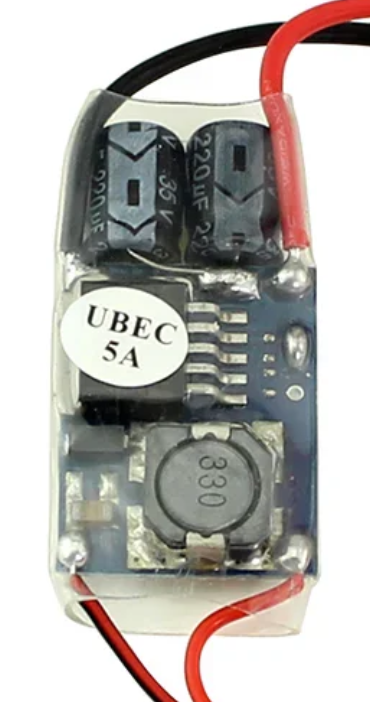
 Design with UBEC 5A in Cirkit Designer
Introduction
A UBEC (Universal Battery Eliminator Circuit) is a compact and efficient voltage regulator designed to convert a higher input voltage from a battery into a stable lower output voltage. The UBEC 5A is specifically rated to provide a maximum current output of 5A, making it suitable for powering sensitive electronics in applications where a stable voltage is critical.
Commonly used in remote-controlled (RC) models, drones, and robotics, the UBEC 5A ensures that onboard electronics such as receivers, servos, and flight controllers receive a consistent power supply, even when the main battery voltage fluctuates.
Explore Projects Built with UBEC 5A
 Open Project in Cirkit Designer
 Open Project in Cirkit Designer
 Open Project in Cirkit Designer
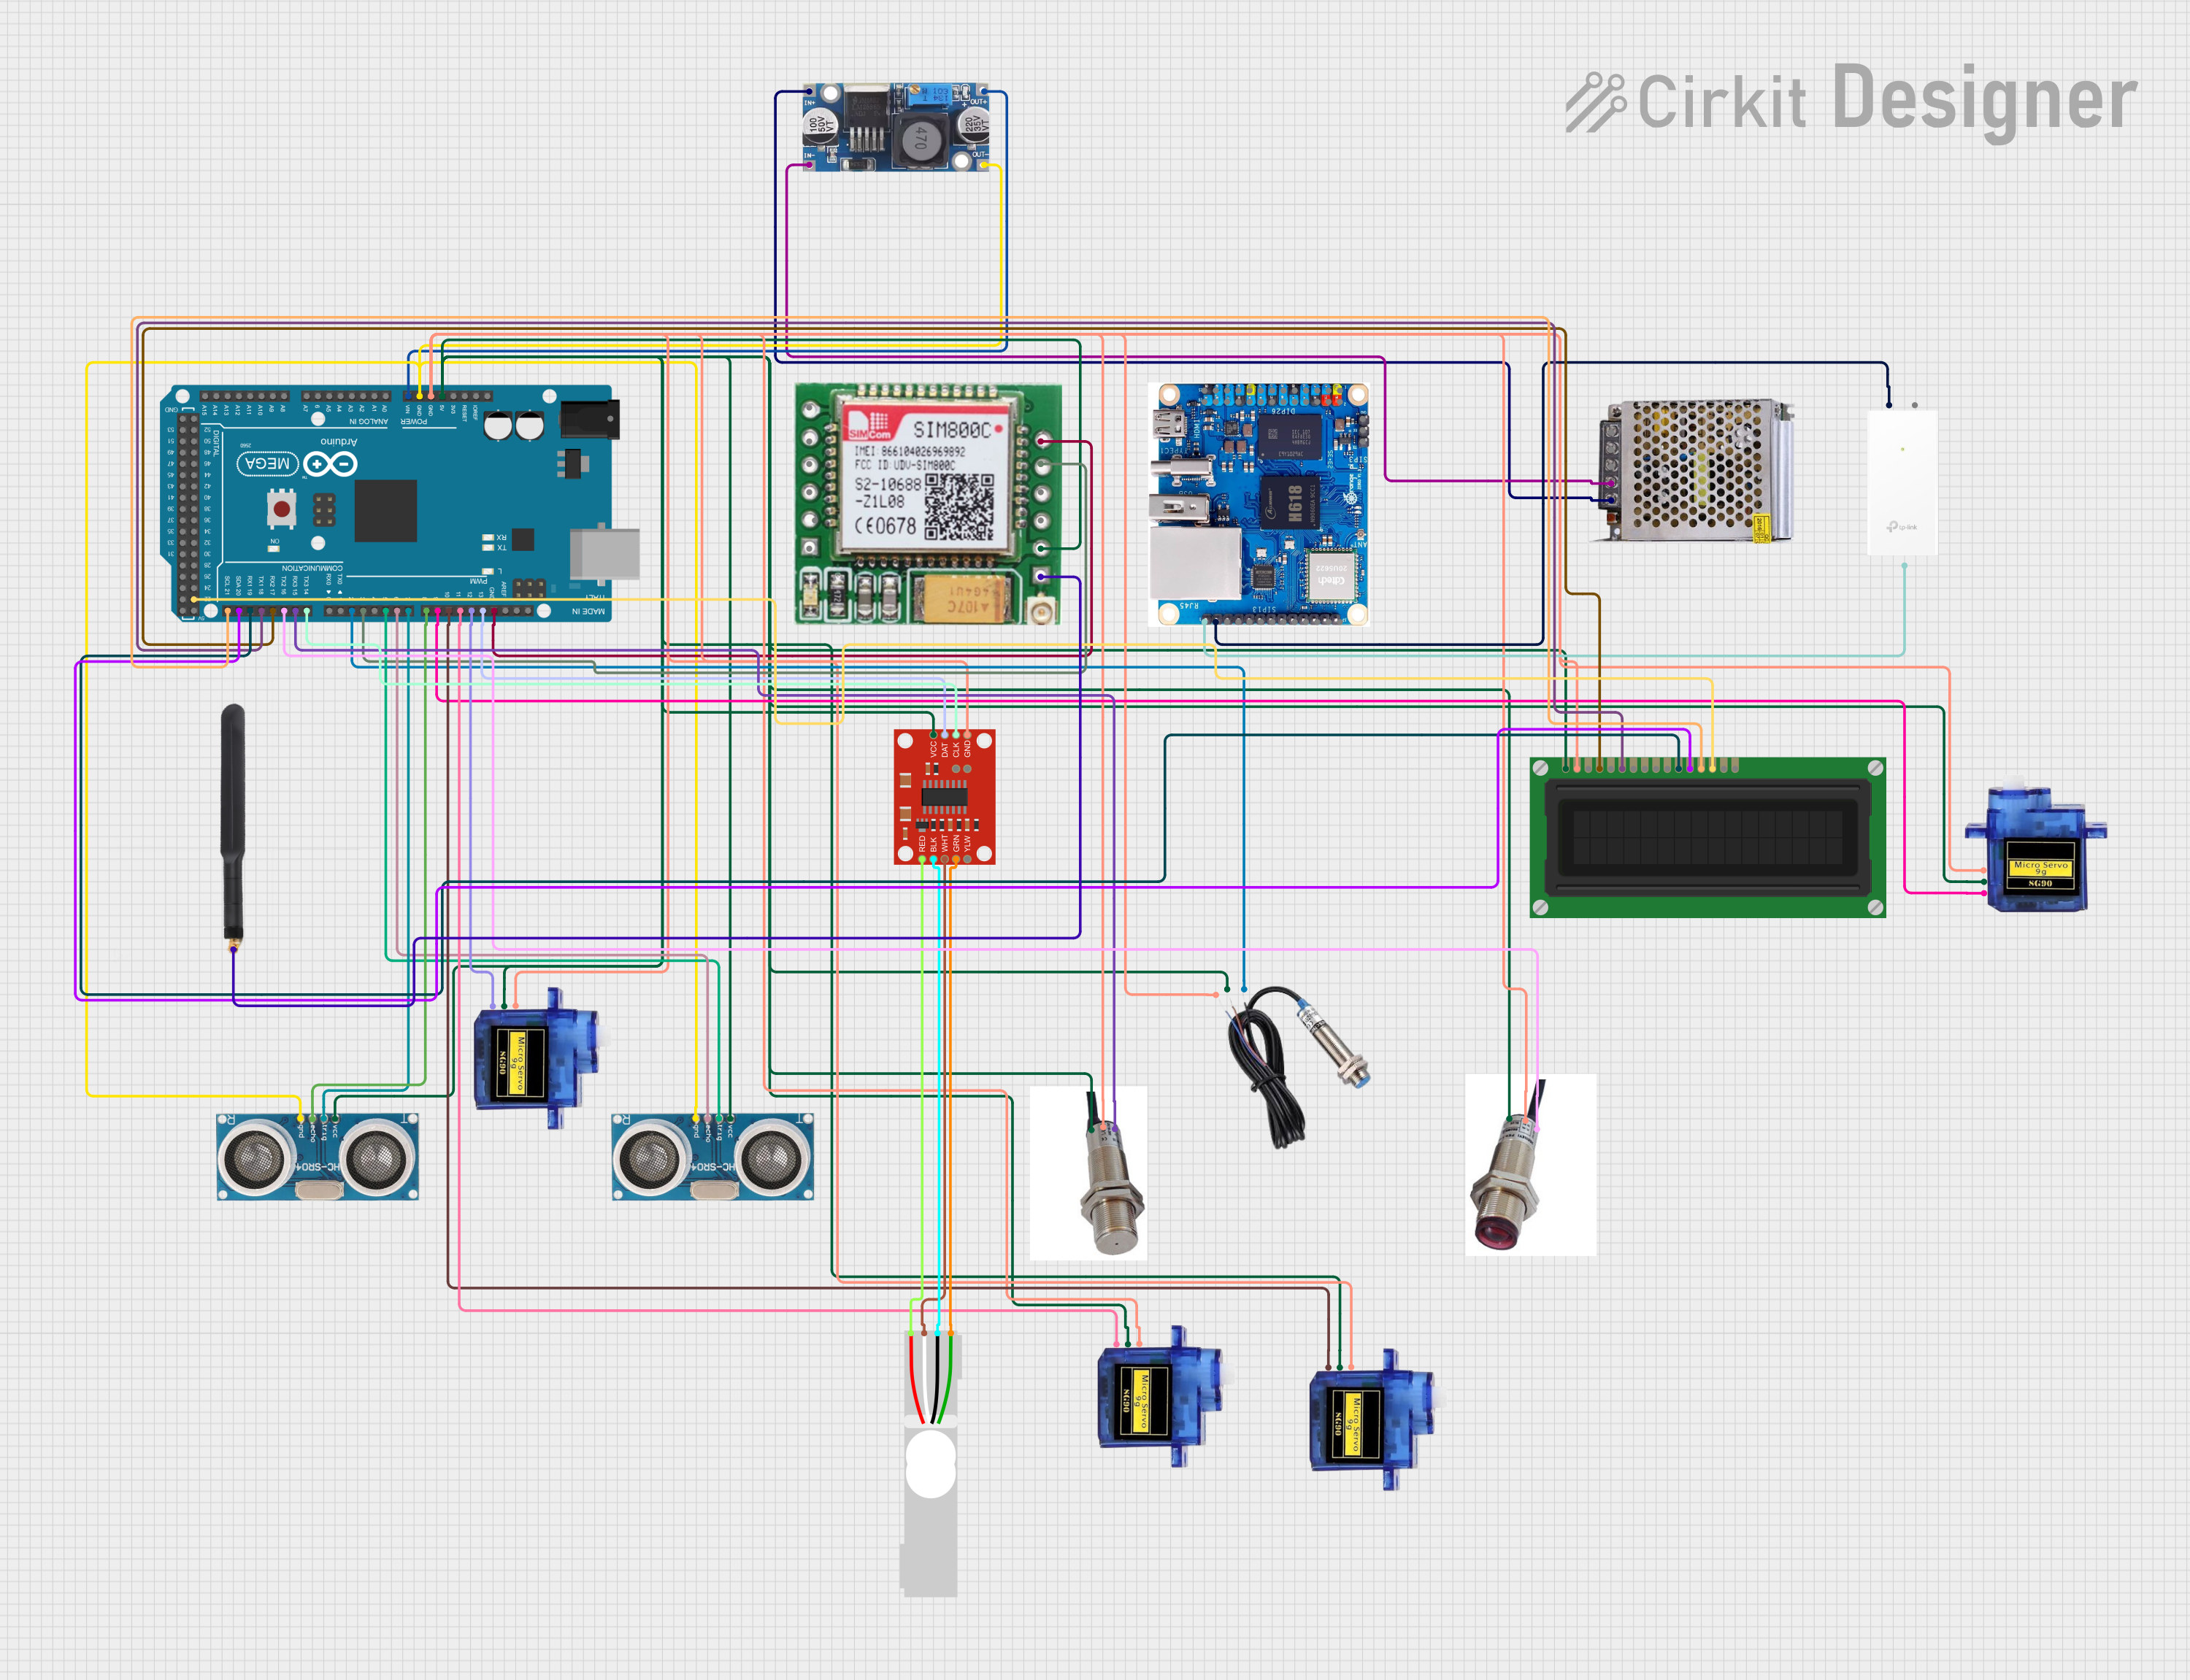 Open Project in Cirkit Designer
Explore Projects Built with UBEC 5A
Open Project in Cirkit DesignerOpen Project in Cirkit DesignerOpen Project in Cirkit DesignerOpen Project in Cirkit DesignerTechnical Specifications
The UBEC 5A is designed to handle a wide range of input voltages and provide a stable output voltage with high efficiency. Below are the key technical details:
General Specifications
| Parameter | Value |
|---|---|
| Input Voltage Range | 6V to 26V (2S to 6S LiPo batteries) |
| Output Voltage Options | 5V or 6V (selectable via jumper) |
| Maximum Output Current | 5A |
| Efficiency | Up to 92% |
| Output Ripple | <50mV |
| Operating Temperature | -10°C to 60°C |
| Dimensions | 42mm x 16mm x 7mm |
| Weight | ~11g |
Pin Configuration and Descriptions
The UBEC 5A typically has three wires for input and output connections. Below is the pin configuration:
| Wire Color | Function | Description |
|---|---|---|
| Red | Input Voltage (+) | Connect to the positive terminal of the battery. |
| Black | Ground (-) | Common ground for input and output. |
| Yellow | Output Voltage (+) | Provides regulated 5V or 6V output. |
Usage Instructions
How to Use the UBEC 5A in a Circuit
Connect the Input Wires:
- Attach the red wire to the positive terminal of your battery (6V to 26V).
- Connect the black wire to the negative terminal of your battery.
Select the Output Voltage:
- Use the onboard jumper to select the desired output voltage (5V or 6V). Ensure the jumper is securely placed in the correct position before powering the UBEC.
Connect the Output Wires:
- Attach the yellow wire to the positive input of the device you want to power.
- Connect the black wire (ground) to the ground of your device.
Power On:
- Once all connections are secure, power on the battery. The UBEC will regulate the input voltage and provide a stable output voltage to your device.
Important Considerations and Best Practices
- Heat Dissipation: Ensure proper ventilation around the UBEC to prevent overheating, especially when operating near the maximum current rating of 5A.
- Input Voltage Range: Do not exceed the specified input voltage range (6V to 26V) to avoid damaging the UBEC.
- Polarity: Double-check the polarity of all connections before powering on the circuit to prevent short circuits or damage.
- Noise Filtering: If using the UBEC in sensitive applications (e.g., RC receivers), consider adding a ferrite ring or capacitor to reduce electromagnetic interference (EMI).
Example: Using UBEC 5A with Arduino UNO
The UBEC 5A can be used to power an Arduino UNO by providing a stable 5V output. Below is an example connection and code:
Wiring
- Connect the UBEC's yellow wire (5V output) to the Arduino's 5V pin.
- Connect the UBEC's black wire (ground) to the Arduino's GND pin.
- Power the UBEC with a battery (e.g., 3S LiPo, 11.1V).
Code Example
// Example code to blink an LED on Arduino UNO
// This demonstrates the UBEC 5A providing stable power to the Arduino.

const int ledPin = 13; // Pin connected to the onboard LED

void setup() {
  pinMode(ledPin, OUTPUT); // Set the LED pin as an output
}

void loop() {
  digitalWrite(ledPin, HIGH); // Turn the LED on
  delay(1000);               // Wait for 1 second
  digitalWrite(ledPin, LOW);  // Turn the LED off
  delay(1000);               // Wait for 1 second
}
Troubleshooting and FAQs
Common Issues
No Output Voltage:
- Cause: Incorrect input connections or insufficient input voltage.
- Solution: Verify the input voltage is within the specified range (6V to 26V) and check the polarity of the input wires.
Overheating:
- Cause: Operating near or above the maximum current rating (5A) or poor ventilation.
- Solution: Reduce the load on the UBEC or improve airflow around the component.
Output Voltage Fluctuations:
- Cause: High input ripple or interference.
- Solution: Add a capacitor (e.g., 470µF) across the output terminals to stabilize the voltage.
Device Not Powering On:
- Cause: Incorrect output voltage selection.
- Solution: Ensure the jumper is set to the correct output voltage (5V or 6V) for your device.
FAQs
Q1: Can I use the UBEC 5A with a 7.4V (2S) LiPo battery?
A1: Yes, the UBEC 5A supports input voltages as low as 6V, so it is compatible with a 7.4V (2S) LiPo battery.
Q2: Is the UBEC 5A suitable for powering servos in an RC model?
A2: Yes, the UBEC 5A is ideal for powering servos, receivers, and other electronics in RC models, as it provides a stable voltage and sufficient current.
Q3: Can I use the UBEC 5A to power multiple devices simultaneously?
A3: Yes, as long as the total current draw does not exceed 5A, you can power multiple devices from the UBEC.
Q4: What happens if I exceed the maximum current rating?
A4: Exceeding the 5A limit may cause the UBEC to overheat, shut down, or become permanently damaged. Always ensure the load stays within the specified limits.