How to Use Домовент 100 ВКО: Examples, Pinouts, and Specs
Introduction
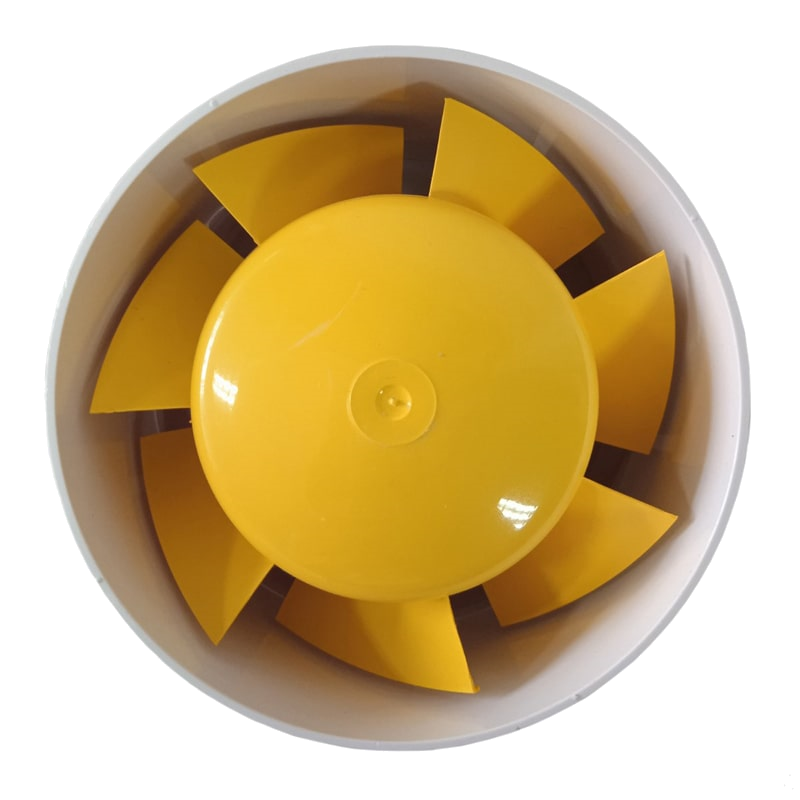
The Домовент 100 ВКО is a domestic ventilation fan designed for efficient air circulation in residential spaces. It is typically used in bathrooms, kitchens, and other areas requiring ventilation. This fan ensures a continuous supply of fresh air, helping to maintain a healthy indoor environment by removing excess moisture, odors, and pollutants.
Explore Projects Built with Домовент 100 ВКО

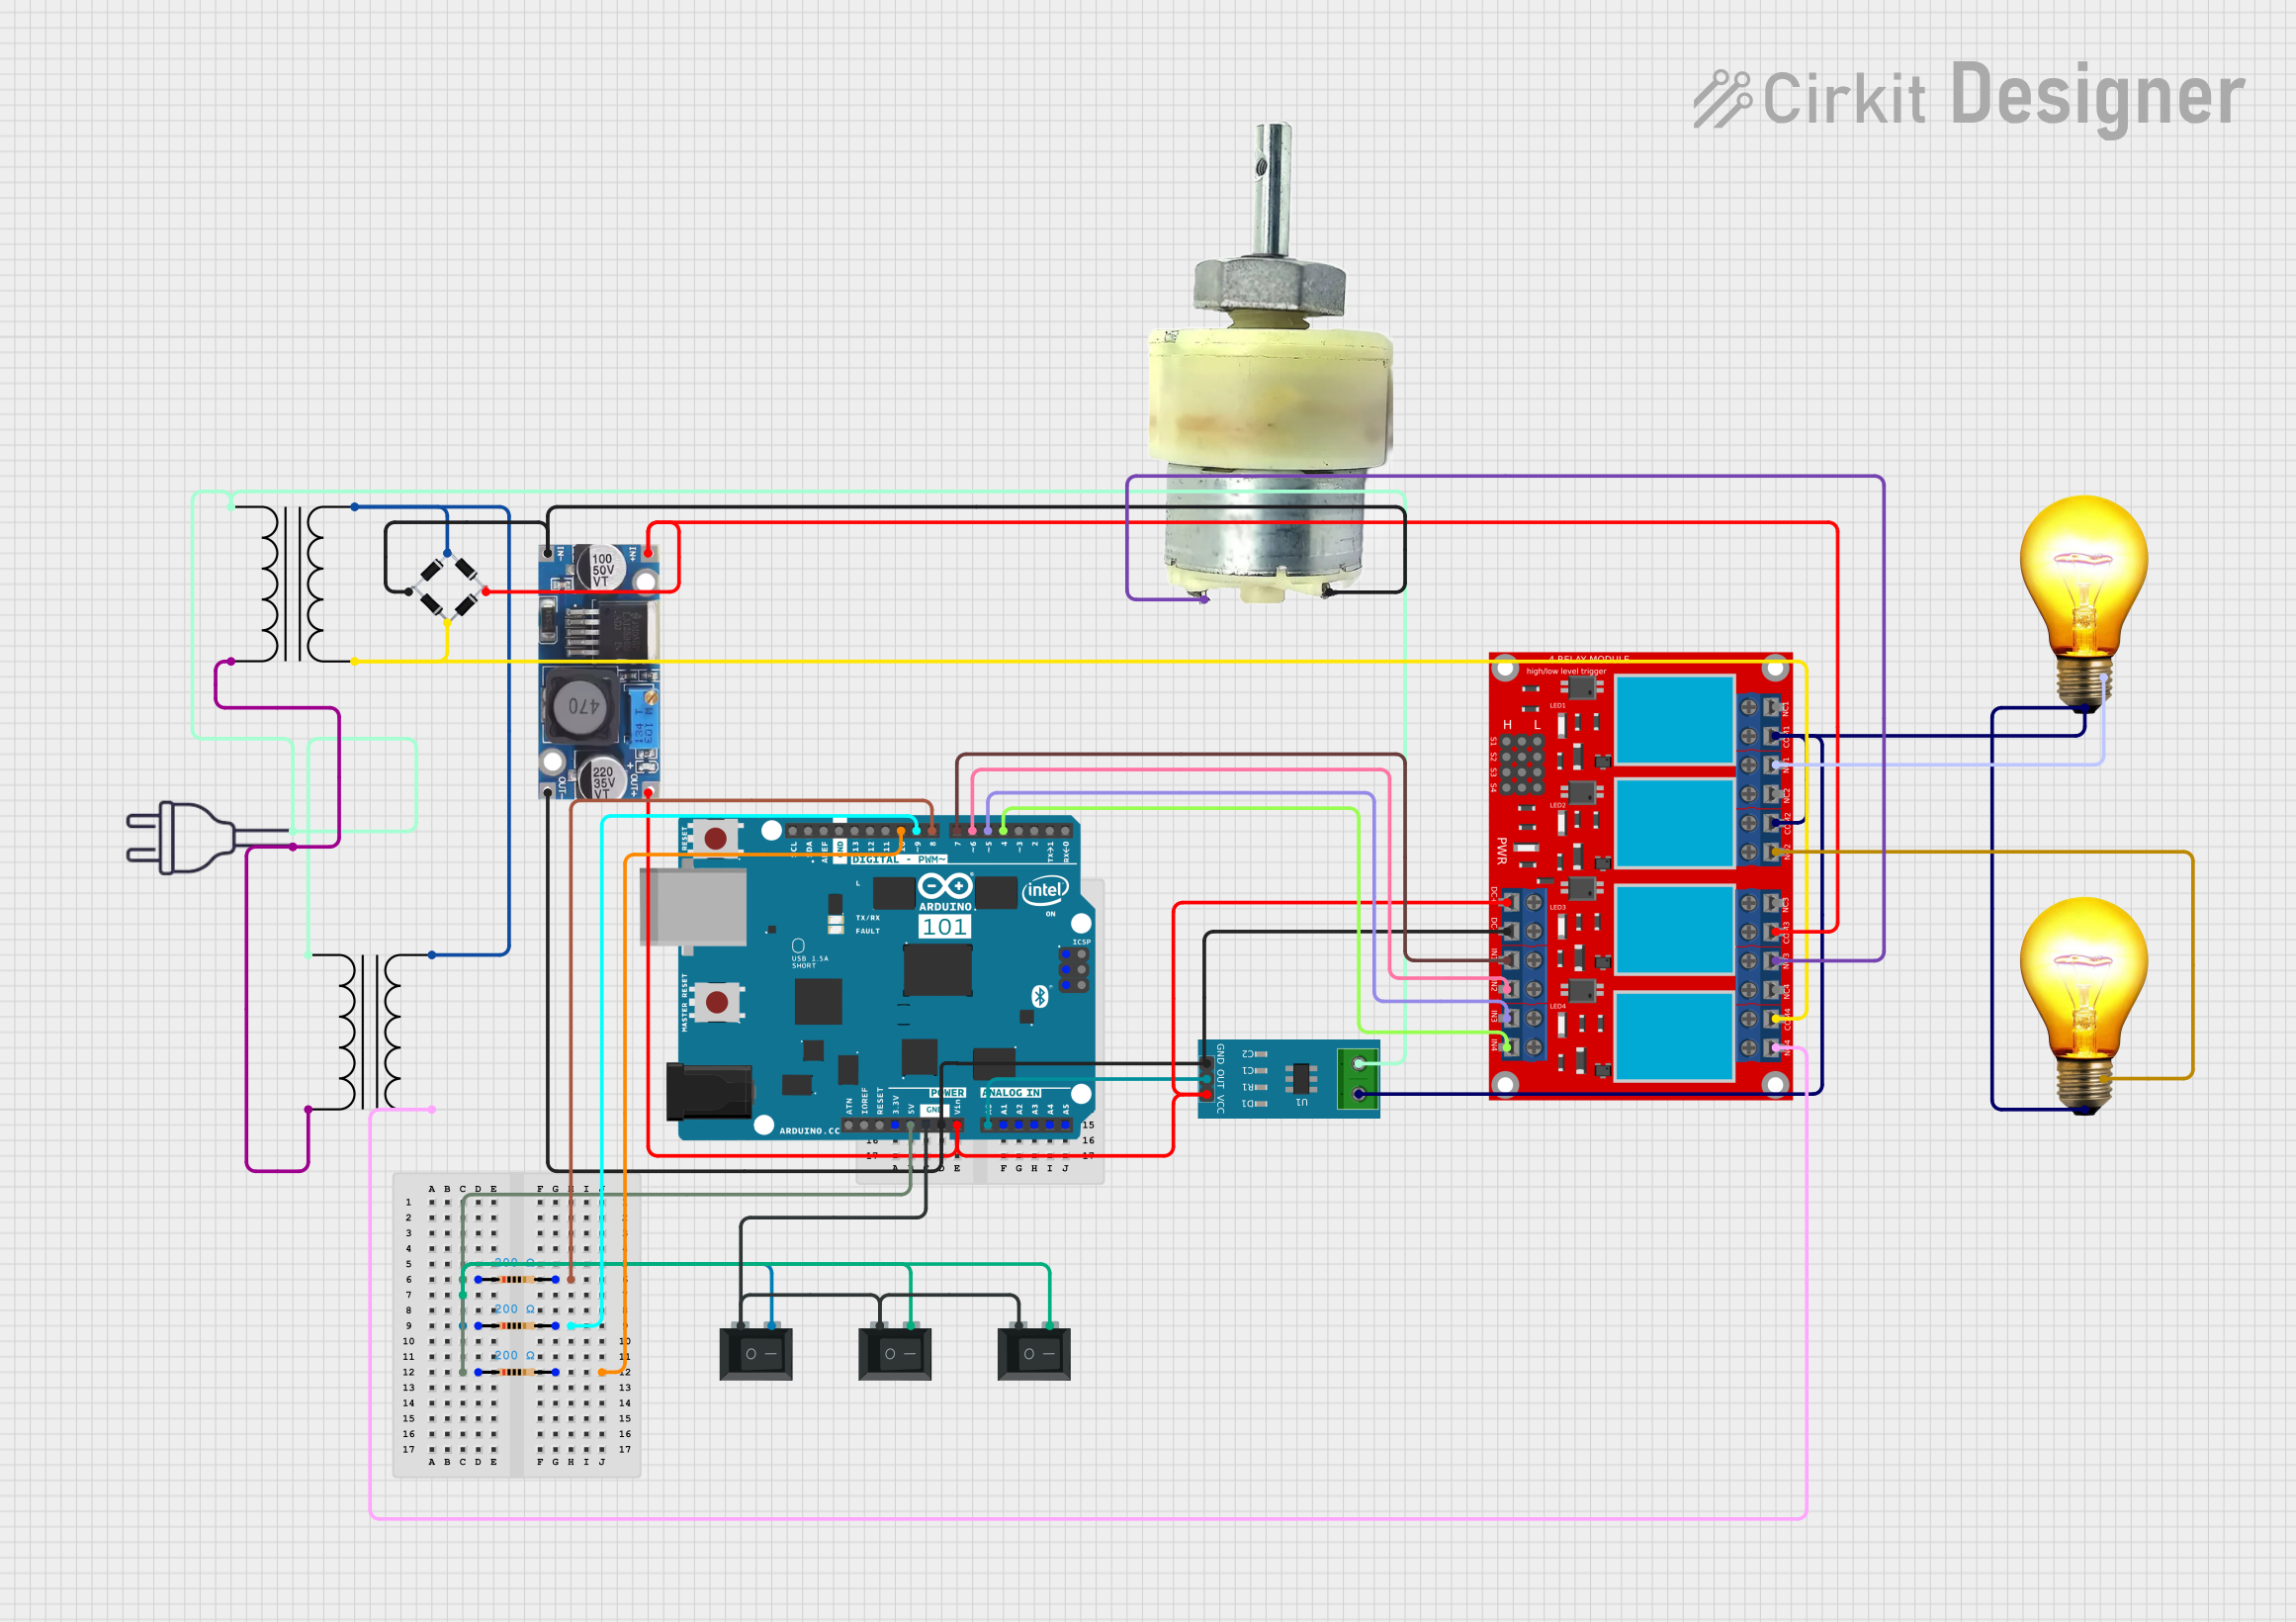

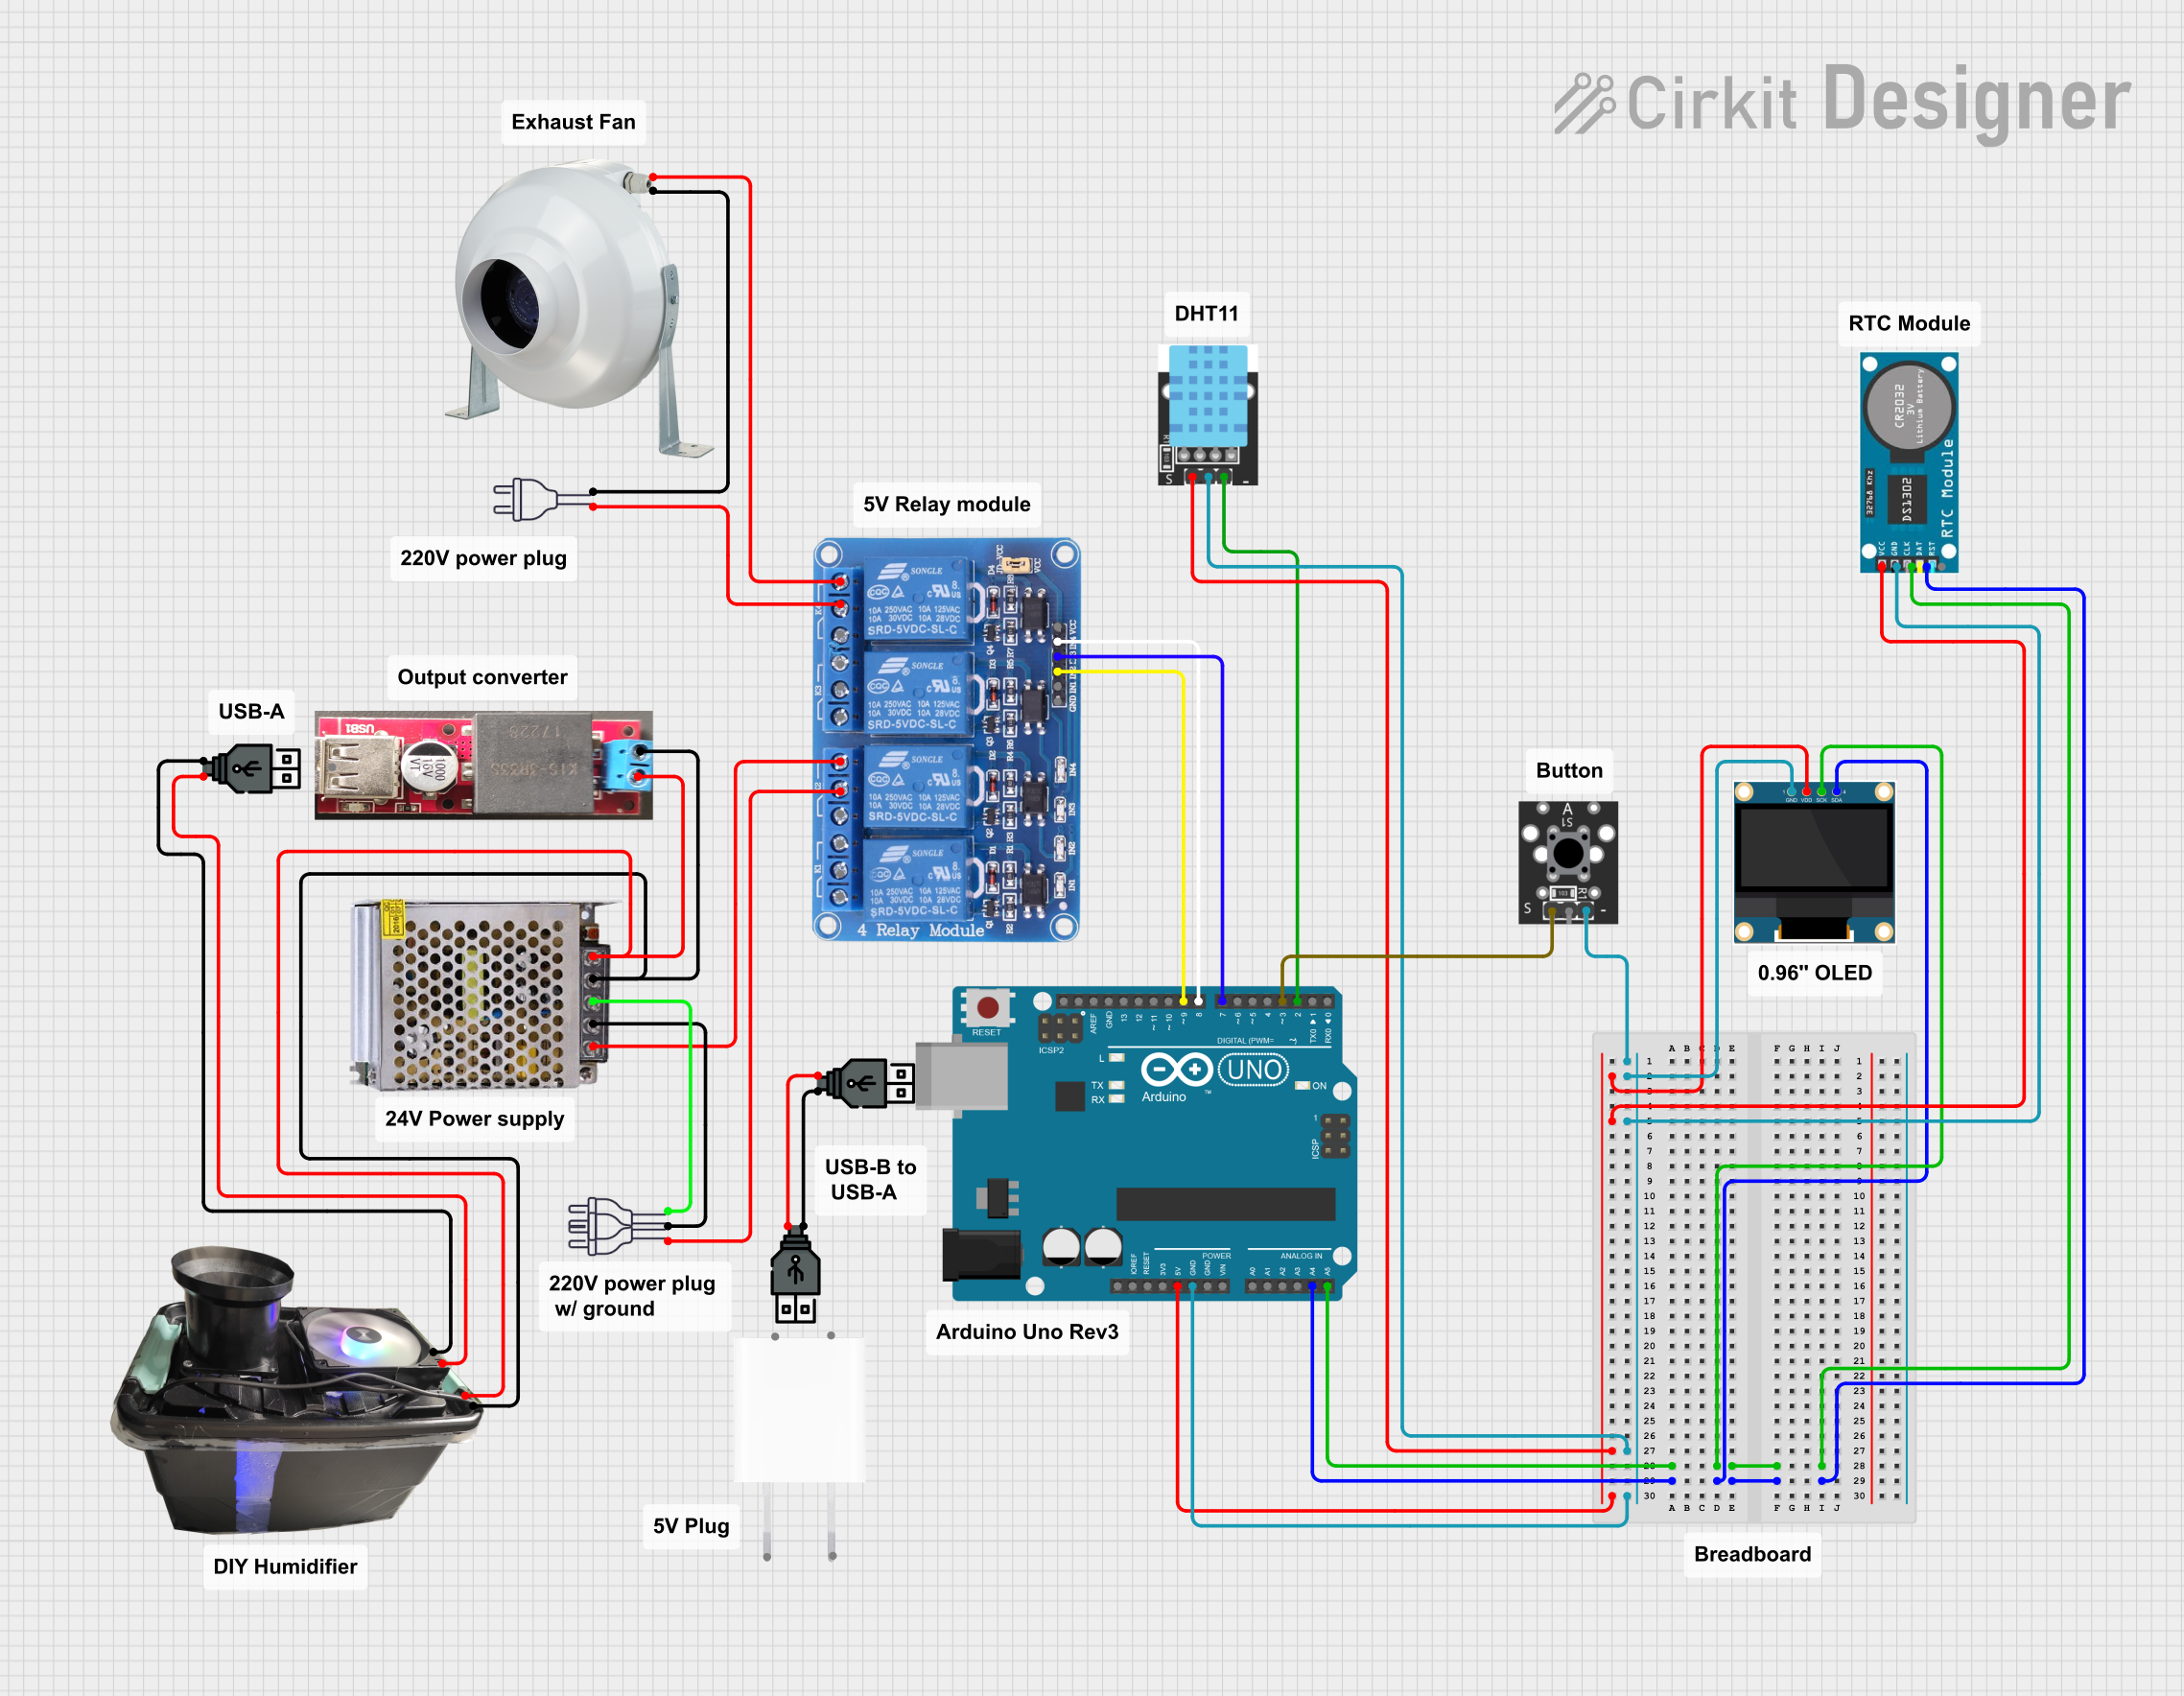
Explore Projects Built with Домовент 100 ВКО
Technical Specifications
Key Technical Details
| Parameter | Value |
|---|---|
| Voltage | 220-240V AC |
| Frequency | 50/60 Hz |
| Power Consumption | 14W |
| Airflow | 98 m³/h |
| Noise Level | 35 dB(A) |
| IP Rating | IP34 |
| Weight | 0.5 kg |
| Dimensions | 150mm x 150mm x 100mm |
Pin Configuration and Descriptions
The Домовент 100 ВКО is a simple device with a straightforward wiring configuration. It typically has three main connections:
| Pin Number | Description | Color Code |
|---|---|---|
| 1 | Live (L) | Brown |
| 2 | Neutral (N) | Blue |
| 3 | Earth (E) | Green/Yellow |
Usage Instructions
How to Use the Component in a Circuit
- Safety First: Ensure the power supply is turned off before making any electrical connections.
- Mounting: Securely mount the Домовент 100 ВКО in the desired location using the provided screws and brackets.
- Wiring:
- Connect the Live (L) wire (brown) to the live terminal of your power supply.
- Connect the Neutral (N) wire (blue) to the neutral terminal of your power supply.
- Connect the Earth (E) wire (green/yellow) to the earth terminal for safety.
- Power On: Once all connections are secure, turn on the power supply to activate the fan.
Important Considerations and Best Practices
- Ensure Proper Ventilation: Make sure the fan is installed in a location where it can effectively circulate air.
- Regular Maintenance: Clean the fan blades and housing periodically to maintain optimal performance.
- Avoid Obstructions: Ensure there are no obstructions blocking the airflow to and from the fan.
- Check Connections: Regularly inspect the electrical connections to ensure they are secure and free from corrosion.
Troubleshooting and FAQs
Common Issues Users Might Face
Fan Does Not Turn On:
- Solution: Check the power supply and ensure all electrical connections are secure. Verify that the circuit breaker or fuse is not tripped.
Excessive Noise:
- Solution: Ensure the fan is securely mounted and not vibrating against any surfaces. Clean the fan blades to remove any debris that may be causing noise.
Reduced Airflow:
- Solution: Check for obstructions in the air ducts or vents. Clean the fan blades and housing to ensure optimal airflow.
FAQs
Q1: Can the Домовент 100 ВКО be used in a humid environment?
- A1: Yes, the Домовент 100 ВКО has an IP34 rating, making it suitable for use in humid environments such as bathrooms and kitchens.
Q2: How often should I clean the fan?
- A2: It is recommended to clean the fan blades and housing every 3-6 months to maintain optimal performance.
Q3: Can I connect the Домовент 100 ВКО to an Arduino UNO?
- A3: The Домовент 100 ВКО is a high-voltage AC device and cannot be directly connected to an Arduino UNO. However, you can use a relay module to control the fan with an Arduino. Below is an example code snippet for controlling the fan using a relay module:
// Arduino code to control Домовент 100 ВКО using a relay module

const int relayPin = 7; // Pin connected to the relay module

void setup() {
  pinMode(relayPin, OUTPUT); // Set relay pin as output
  digitalWrite(relayPin, LOW); // Ensure the relay is off initially
}

void loop() {
  digitalWrite(relayPin, HIGH); // Turn on the relay (and the fan)
  delay(10000); // Keep the fan on for 10 seconds
  digitalWrite(relayPin, LOW); // Turn off the relay (and the fan)
  delay(10000); // Keep the fan off for 10 seconds
}
Q4: What should I do if the fan stops working suddenly?
- A4: First, check the power supply and electrical connections. If the issue persists, consult a qualified electrician to inspect the fan and wiring.
By following this documentation, users can effectively install, use, and troubleshoot the Домовент 100 ВКО ventilation fan, ensuring a well-ventilated and healthy indoor environment.