
How to Use Phanteks T30-140: Examples, Pinouts, and Specs
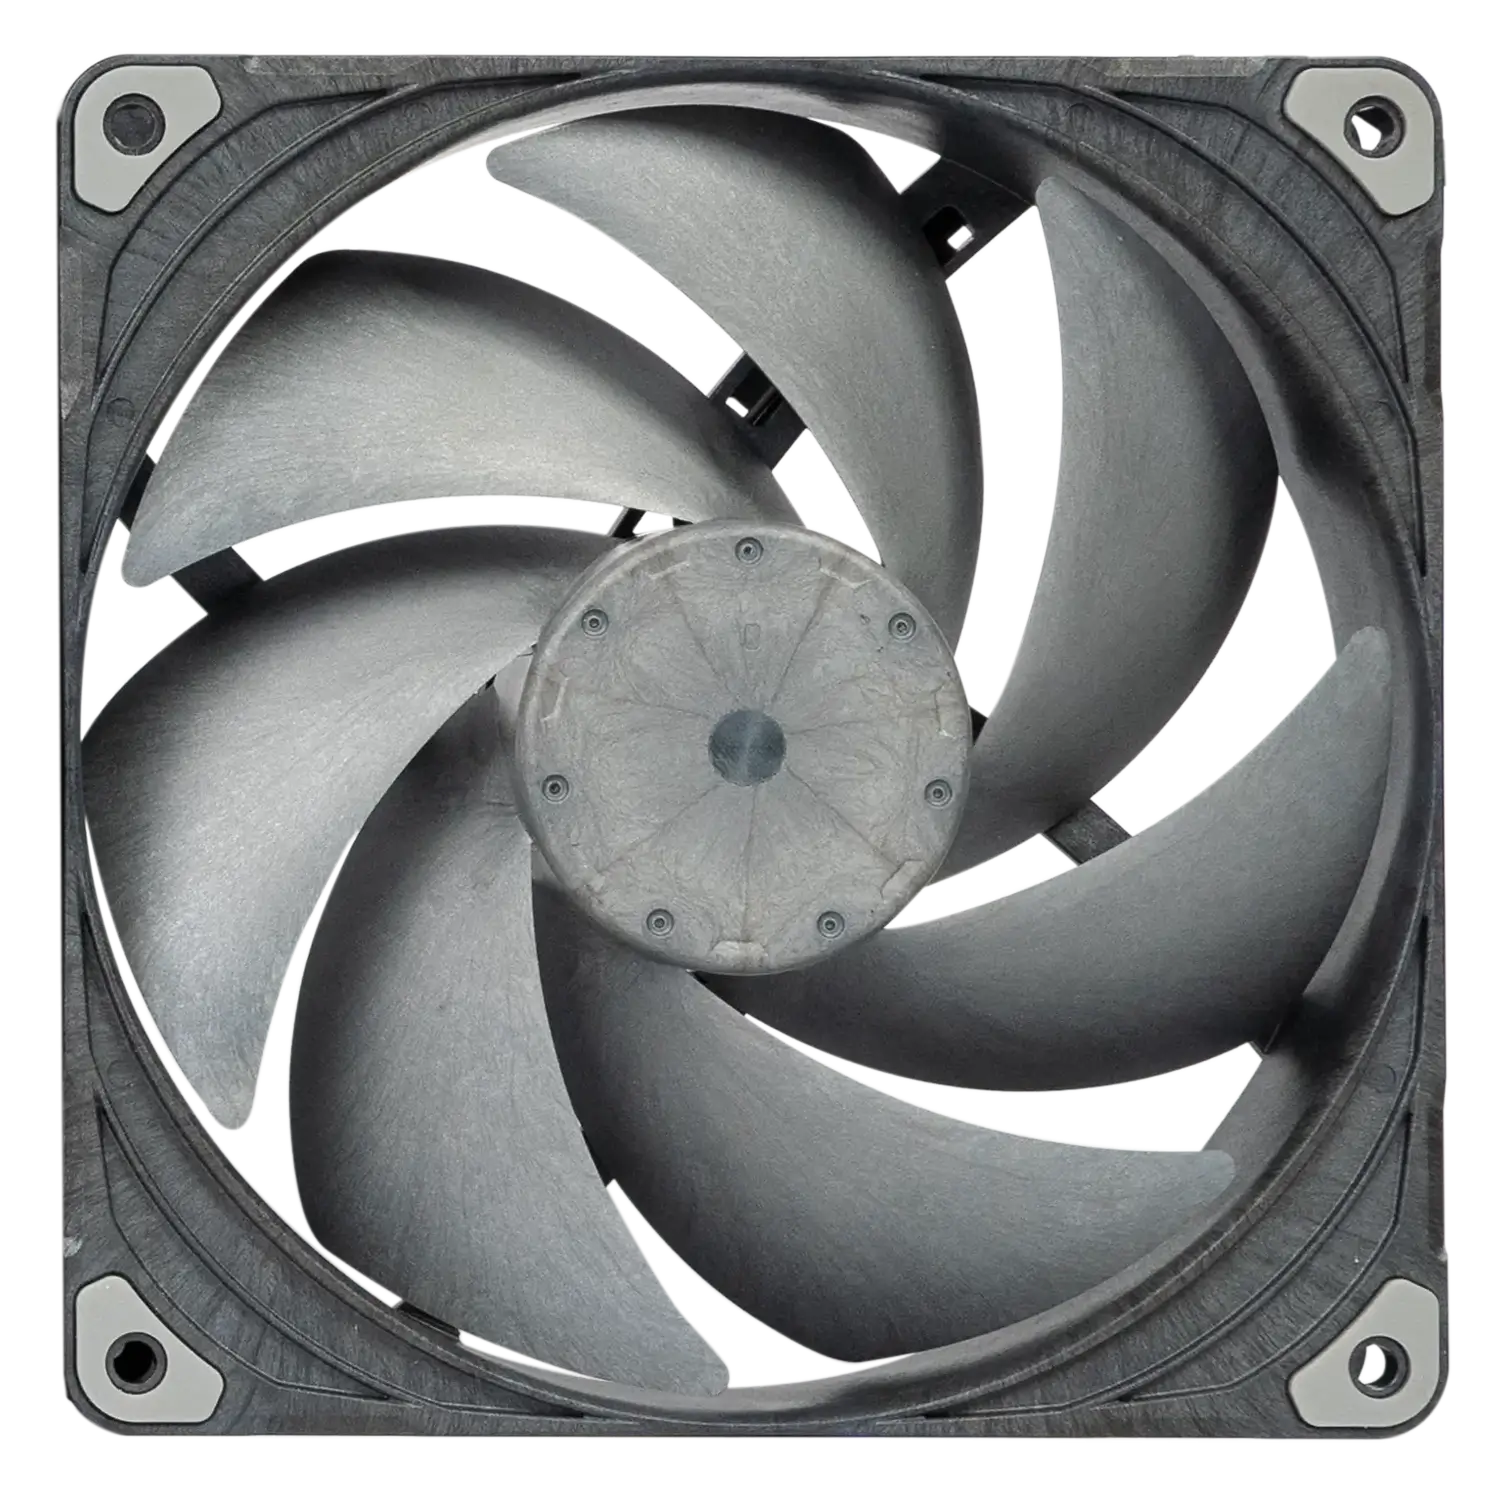
 Design with Phanteks T30-140 in Cirkit Designer
Introduction
The Phanteks T30-140 (Manufacturer Part ID: PH-F140T30_BG) is a high-performance 140mm cooling fan designed to deliver exceptional airflow and static pressure. With its unique 30mm thickness, it provides enhanced cooling efficiency compared to standard 25mm fans. The T30-140 is equipped with a durable three-phase motor for quiet operation and features customizable RGB lighting, making it an excellent choice for both performance and aesthetics in PC builds.
Explore Projects Built with Phanteks T30-140
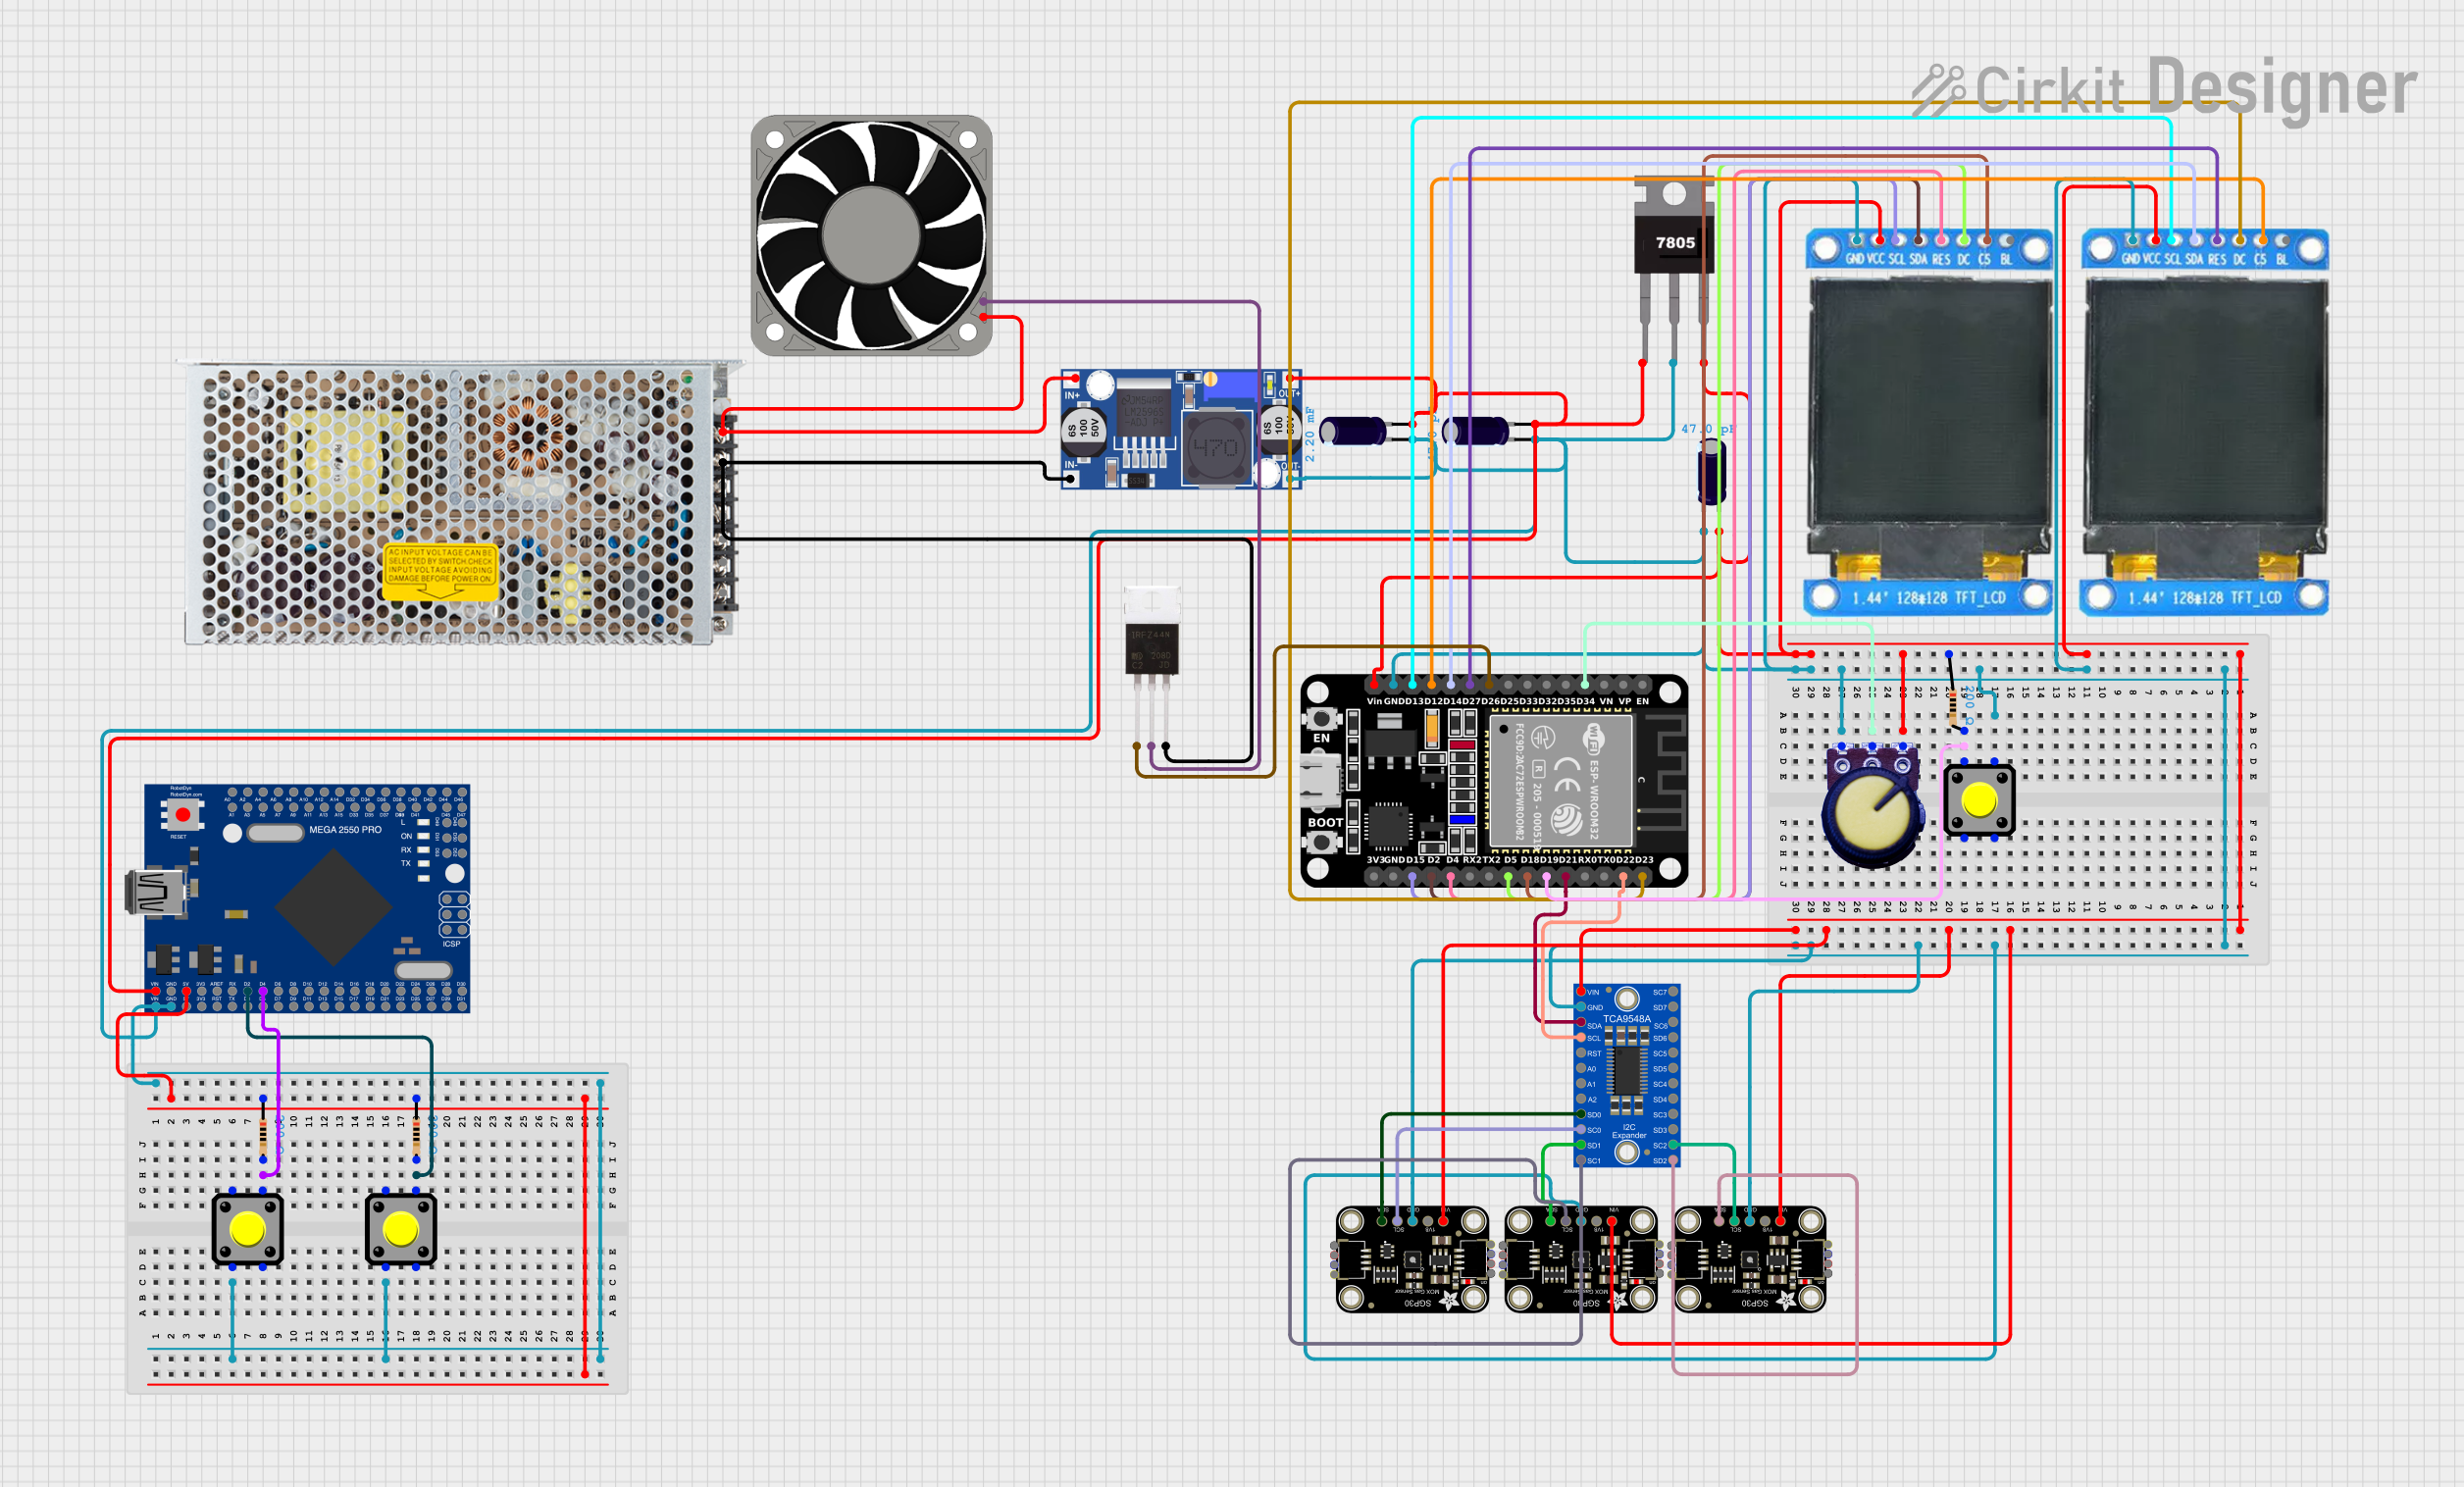 Open Project in Cirkit Designer
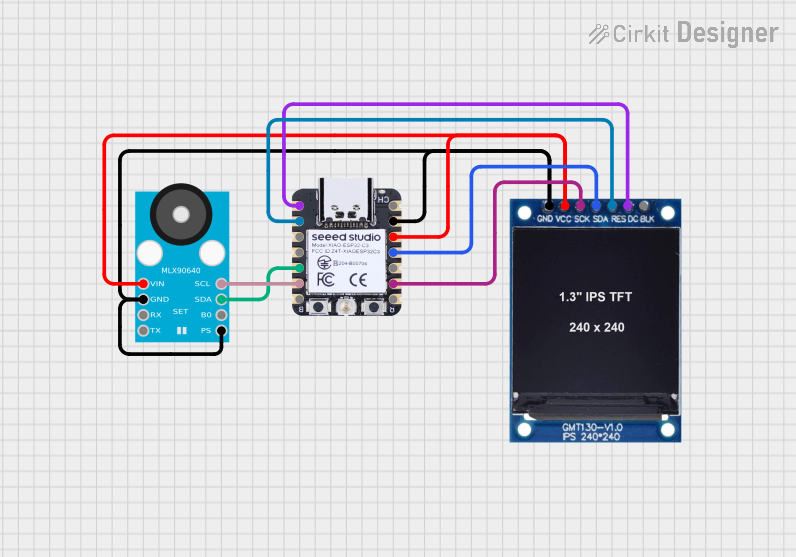 Open Project in Cirkit Designer
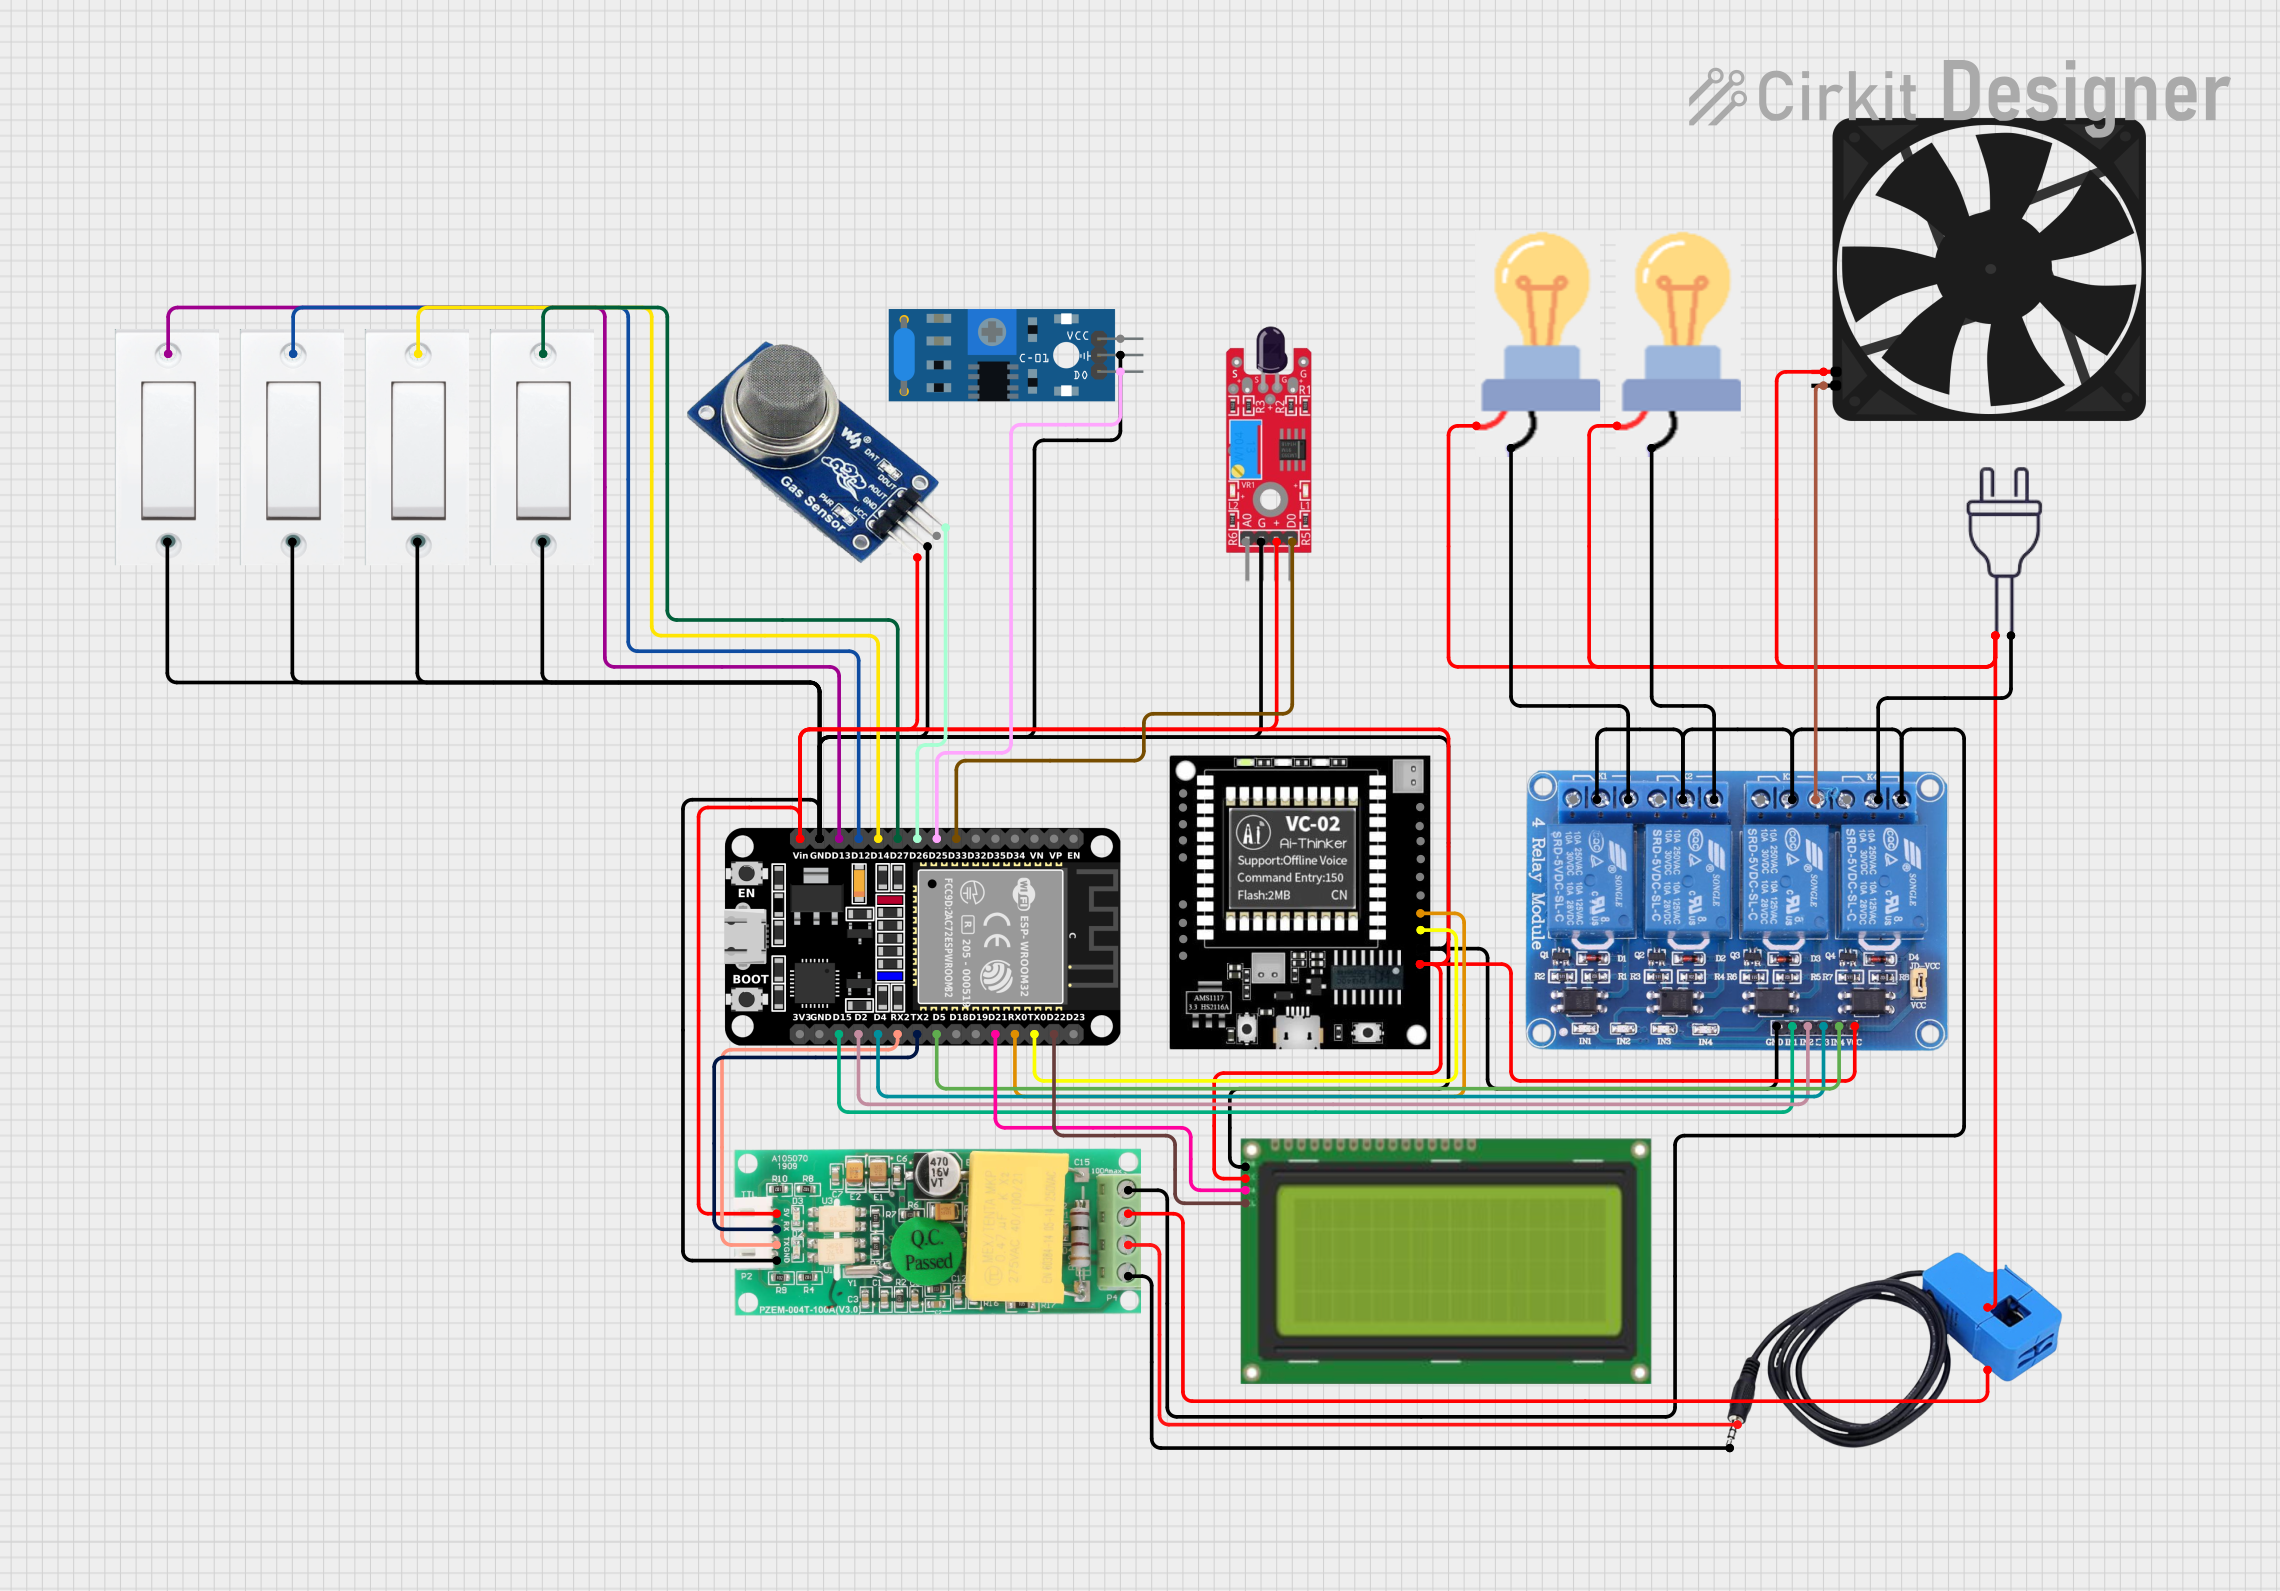 Open Project in Cirkit Designer
 Open Project in Cirkit Designer
Explore Projects Built with Phanteks T30-140
Open Project in Cirkit DesignerOpen Project in Cirkit DesignerOpen Project in Cirkit DesignerOpen Project in Cirkit DesignerCommon Applications and Use Cases
- High-performance PC cooling for CPUs, GPUs, and radiators
- Airflow optimization in gaming and workstation builds
- Aesthetic enhancement with customizable RGB lighting
- Use in custom water-cooling loops for improved thermal performance
Technical Specifications
Key Technical Details
| Parameter | Specification |
|---|---|
| Dimensions | 140mm x 140mm x 30mm |
| Fan Speed Range | 500 - 3000 RPM |
| Airflow | Up to 101 CFM |
| Static Pressure | Up to 7.11 mmH₂O |
| Noise Level | 12 - 39.7 dBA |
| Voltage Range | 12V DC |
| Power Consumption | 3.6W |
| Bearing Type | Fluid Dynamic Bearing (FDB) |
| Connector Type | 4-pin PWM + 3-pin ARGB |
| RGB Compatibility | Addressable RGB (3-pin, 5V) |
| Lifespan | 150,000 hours |
Pin Configuration and Descriptions
4-Pin PWM Connector (Fan Control)
| Pin Number | Function | Description |
|---|---|---|
| 1 | Ground (GND) | Provides ground connection for the fan. |
| 2 | Power (12V) | Supplies 12V DC power to the fan. |
| 3 | Tachometer (TACH) | Outputs fan speed signal. |
| 4 | PWM Signal | Receives PWM signal for speed control. |
3-Pin ARGB Connector (Lighting Control)
| Pin Number | Function | Description |
|---|---|---|
| 1 | Ground (GND) | Provides ground connection for RGB. |
| 2 | Data (DATA) | Transmits RGB control signal. |
| 3 | Power (5V) | Supplies 5V DC power for RGB lighting. |
Usage Instructions
How to Use the Component in a Circuit
Fan Installation:
- Mount the T30-140 fan to your desired location (e.g., case, radiator) using the provided screws.
- Ensure the airflow direction matches your cooling requirements (check the arrow markings on the fan frame).
Electrical Connections:
- Connect the 4-pin PWM connector to the motherboard's fan header or a dedicated fan controller.
- For RGB lighting, connect the 3-pin ARGB connector to a compatible 5V ARGB header on the motherboard or an ARGB controller.
Fan Speed Control:
- Use the motherboard's BIOS or fan control software to adjust the fan speed via PWM.
- Set profiles for silent, balanced, or performance modes based on your cooling needs.
RGB Lighting Control:
- Use motherboard software (e.g., ASUS Aura Sync, MSI Mystic Light, Gigabyte RGB Fusion) or a standalone ARGB controller to customize the lighting effects.
Important Considerations and Best Practices
- Ensure your motherboard or fan controller supports 4-pin PWM and 3-pin ARGB connections.
- Avoid connecting the ARGB connector to a 12V RGB header, as this may damage the lighting system.
- Use the included anti-vibration pads to minimize noise and vibration during operation.
- Maintain proper airflow in your PC case by balancing intake and exhaust fans.
Example Code for RGB Control with an Arduino UNO
If you wish to control the RGB lighting manually using an Arduino UNO, you can use the following example code:
// Example code to control the RGB lighting of the Phanteks T30-140 fan
// using an Arduino UNO. Ensure the ARGB connector is connected to
// the appropriate PWM-capable pins on the Arduino.

#define RGB_PIN 6  // Pin connected to the ARGB data line

void setup() {
  pinMode(RGB_PIN, OUTPUT);  // Set the RGB pin as an output
}

void loop() {
  // Example: Cycle through RGB colors
  for (int brightness = 0; brightness <= 255; brightness++) {
    analogWrite(RGB_PIN, brightness);  // Increase brightness
    delay(10);  // Delay for smooth transition
  }
  for (int brightness = 255; brightness >= 0; brightness--) {
    analogWrite(RGB_PIN, brightness);  // Decrease brightness
    delay(10);  // Delay for smooth transition
  }
}
Note: This example assumes the ARGB data line is connected to a PWM-capable pin on the Arduino. Additional libraries or circuits may be required for full ARGB control.
Troubleshooting and FAQs
Common Issues Users Might Face
Fan Not Spinning:
- Cause: Incorrect connection or insufficient power.
- Solution: Verify the 4-pin PWM connector is securely connected to a powered fan header.
No RGB Lighting:
- Cause: ARGB connector not connected or connected to the wrong header.
- Solution: Ensure the 3-pin ARGB connector is connected to a 5V ARGB header, not a 12V RGB header.
Excessive Noise:
- Cause: Fan running at maximum speed or improper mounting.
- Solution: Adjust the fan speed in the BIOS or fan control software. Check for secure mounting and use anti-vibration pads.
Inconsistent RGB Effects:
- Cause: Incompatible or faulty ARGB controller.
- Solution: Use a compatible ARGB controller or motherboard software for proper synchronization.
Solutions and Tips for Troubleshooting
- Double-check all connections and ensure they are secure.
- Refer to your motherboard or fan controller manual for compatibility and connection details.
- Clean the fan blades periodically to maintain optimal performance and reduce noise.
- If issues persist, contact Phanteks customer support for assistance.
This concludes the documentation for the Phanteks T30-140.