How to Use LA5_4G_LayerBoard: Examples, Pinouts, and Specs
Introduction
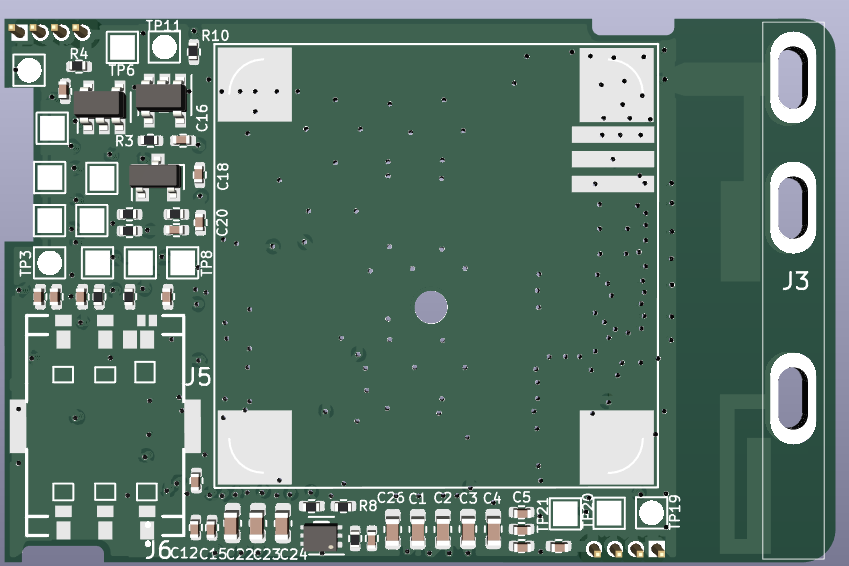
The LA5_4G_LayerBoard (Manufacturer Part ID: P23V9) is a high-performance, multi-layer printed circuit board (PCB) designed by ITPL. It is specifically engineered for high-frequency applications, making it an ideal choice for wireless communication systems. The board features optimized signal integrity and reduced electromagnetic interference (EMI), ensuring reliable performance in demanding environments.
Explore Projects Built with LA5_4G_LayerBoard


Explore Projects Built with LA5_4G_LayerBoard
Common Applications and Use Cases
- Wireless communication systems (e.g., 4G LTE, IoT devices)
- High-frequency signal processing
- RF (Radio Frequency) modules and circuits
- Antenna design and testing
- Prototyping and development of high-speed communication devices
Technical Specifications
Key Technical Details
| Parameter | Specification |
|---|---|
| Manufacturer | ITPL |
| Part ID | P23V9 |
| Layers | 4 |
| Frequency Range | Up to 6 GHz |
| Dielectric Material | Low-loss material for high-frequency |
| Impedance Control | ±5% |
| Operating Temperature | -40°C to +85°C |
| Dimensions | 100 mm x 80 mm |
| Copper Thickness | 35 µm (1 oz/ft²) |
| Surface Finish | ENIG (Electroless Nickel Immersion Gold) |
| EMI Shielding | Integrated shielding for reduced interference |
Pin Configuration and Descriptions
The LA5_4G_LayerBoard does not have traditional pins but includes key connection points for interfacing with external components. Below is a table of the primary connection points:
| Connection Point | Description |
|---|---|
| VCC | Power supply input (3.3V or 5V) |
| GND | Ground connection |
| RF_IN | Input for high-frequency RF signals |
| RF_OUT | Output for processed RF signals |
| GPIO1 | General-purpose input/output pin 1 |
| GPIO2 | General-purpose input/output pin 2 |
| ANT | Antenna connection point |
Usage Instructions
How to Use the Component in a Circuit
- Power Supply: Connect the VCC pin to a stable 3.3V or 5V power source, and connect the GND pin to the ground of your circuit.
- Signal Input/Output: Use the RF_IN and RF_OUT points to interface with RF signals. Ensure proper impedance matching (typically 50 ohms) for optimal performance.
- Antenna Connection: Attach an appropriate antenna to the ANT connection point. The antenna should be designed for the operating frequency range of the board.
- GPIO Usage: The GPIO1 and GPIO2 pins can be used for custom control or interfacing with microcontrollers, such as an Arduino UNO.
Important Considerations and Best Practices
- Impedance Matching: Ensure that all RF connections are impedance-matched to 50 ohms to minimize signal loss and reflections.
- EMI Shielding: The board includes integrated EMI shielding, but additional shielding may be required in extremely noisy environments.
- Thermal Management: Operate the board within the specified temperature range (-40°C to +85°C) to avoid performance degradation.
- Antenna Selection: Use an antenna that matches the frequency range of your application for optimal signal transmission and reception.
Example: Connecting to an Arduino UNO
Below is an example of how to interface the LA5_4G_LayerBoard with an Arduino UNO for basic GPIO control:
// Example code to control GPIO pins on the LA5_4G_LayerBoard using Arduino UNO

#define GPIO1_PIN 7  // Connect GPIO1 of the board to Arduino digital pin 7
#define GPIO2_PIN 8  // Connect GPIO2 of the board to Arduino digital pin 8

void setup() {
  pinMode(GPIO1_PIN, OUTPUT); // Set GPIO1 as an output
  pinMode(GPIO2_PIN, INPUT);  // Set GPIO2 as an input

  // Initialize GPIO1 to LOW
  digitalWrite(GPIO1_PIN, LOW);
}

void loop() {
  // Toggle GPIO1 every second
  digitalWrite(GPIO1_PIN, HIGH); // Set GPIO1 HIGH
  delay(1000);                   // Wait for 1 second
  digitalWrite(GPIO1_PIN, LOW);  // Set GPIO1 LOW
  delay(1000);                   // Wait for 1 second

  // Read the state of GPIO2 and print it to the Serial Monitor
  int gpio2State = digitalRead(GPIO2_PIN);
  Serial.begin(9600);
  Serial.print("GPIO2 State: ");
  Serial.println(gpio2State);
}
Troubleshooting and FAQs
Common Issues and Solutions
No Signal Output on RF_OUT
- Cause: Impedance mismatch or incorrect antenna connection.
- Solution: Verify that all RF connections are impedance-matched to 50 ohms. Check the antenna connection and ensure it is designed for the operating frequency range.
Excessive Signal Loss
- Cause: Poor-quality cables or connectors.
- Solution: Use high-quality RF cables and connectors to minimize signal loss.
Overheating
- Cause: Operating outside the specified temperature range.
- Solution: Ensure proper ventilation and operate the board within the -40°C to +85°C range.
Interference with Other Devices
- Cause: Insufficient EMI shielding.
- Solution: Add additional shielding or relocate the board to reduce interference.
FAQs
Q1: Can the LA5_4G_LayerBoard be used for 5G applications?
A1: The board is optimized for frequencies up to 6 GHz, which may overlap with some 5G bands. However, it is primarily designed for 4G LTE and similar applications.
Q2: What type of antenna should I use?
A2: Use an antenna that matches the frequency range of your application (e.g., 2.4 GHz for Wi-Fi or 4G LTE bands).
Q3: Can I use this board with a 12V power supply?
A3: No, the board is designed for 3.3V or 5V power input. Using a 12V supply may damage the board.
Q4: How do I ensure proper impedance matching?
A4: Use a network analyzer or impedance-matching tools to verify that all RF connections are matched to 50 ohms.