
How to Use Qwiic Scale: Examples, Pinouts, and Specs
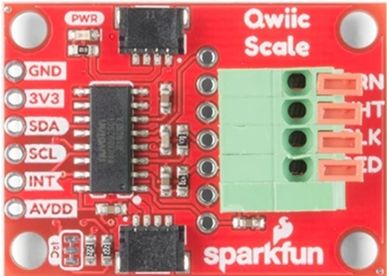
 Design with Qwiic Scale in Cirkit Designer
Introduction
The Qwiic Scale is a digital weight measurement module designed by SparkFun, featuring the NAU7802 analog-to-digital converter (ADC). This component is part of the Qwiic Connect System, which simplifies integration with microcontrollers by using a standardized I2C interface. The Qwiic Scale is ideal for applications requiring precise weight measurements, such as kitchen scales, industrial weighing systems, robotics, and IoT projects.
With its high-resolution ADC and easy-to-use interface, the Qwiic Scale enables accurate and reliable weight sensing in a compact form factor. Its plug-and-play design makes it accessible for both beginners and advanced users.
Explore Projects Built with Qwiic Scale
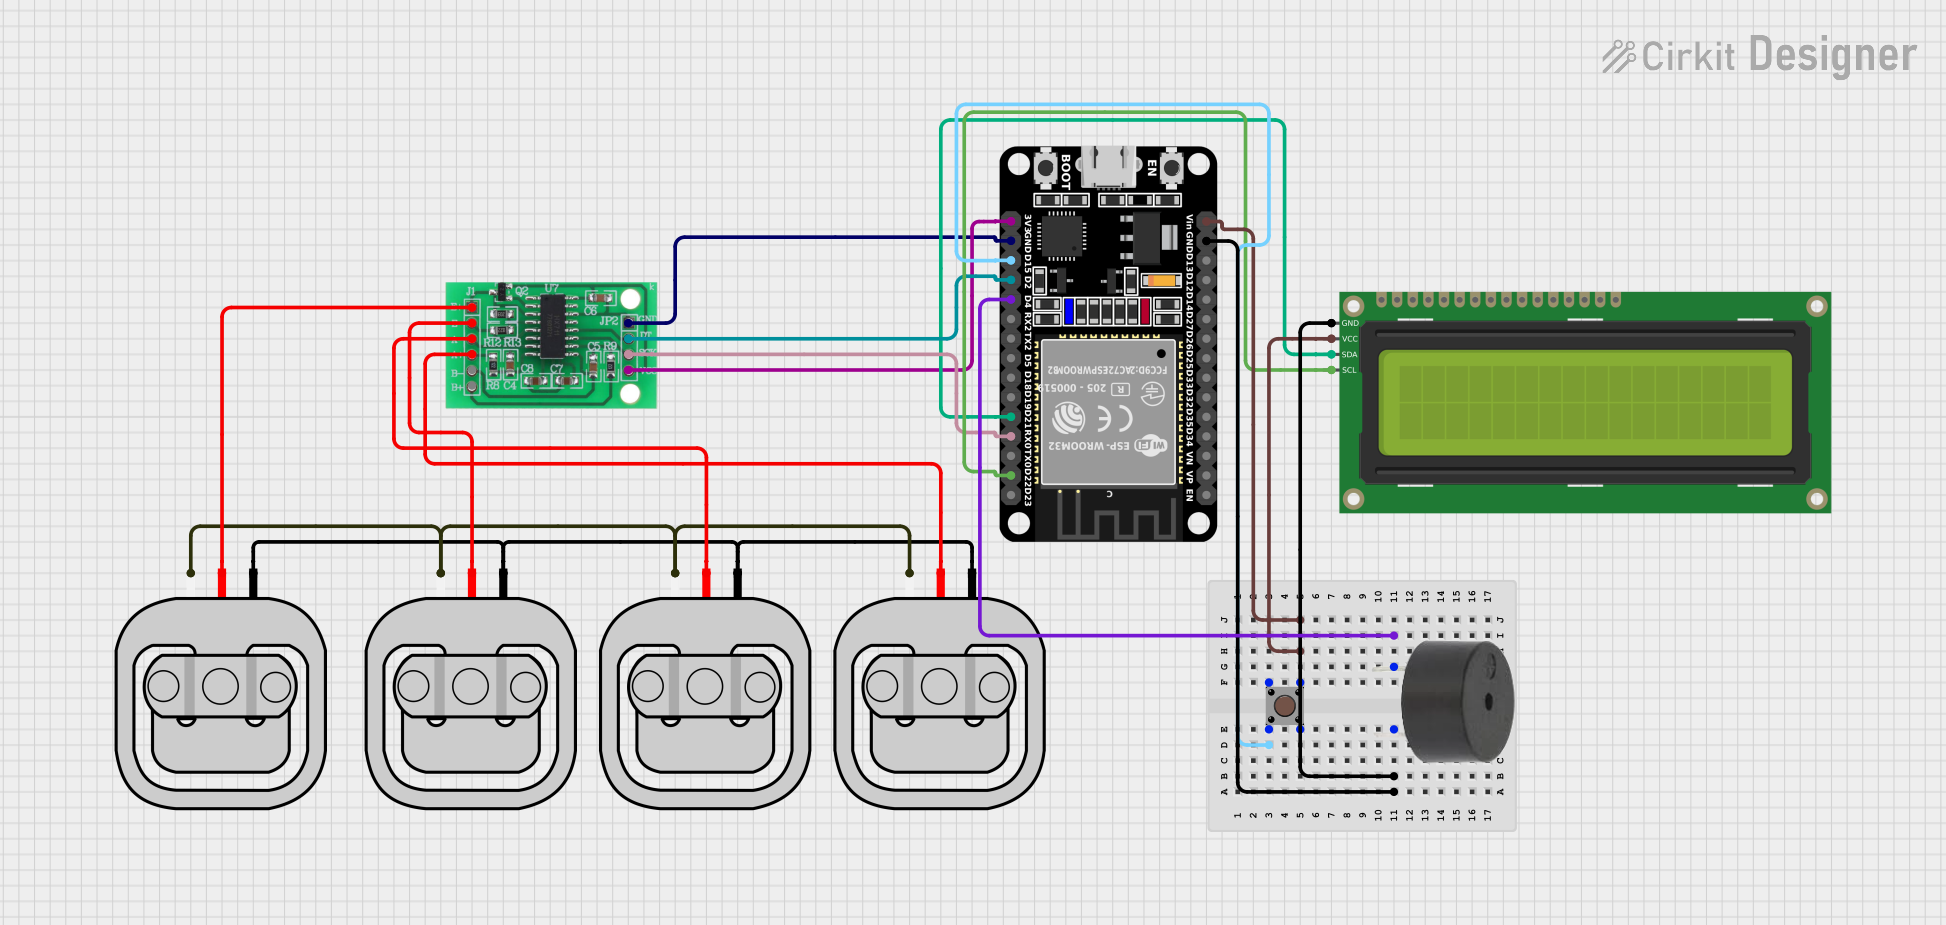 Open Project in Cirkit Designer
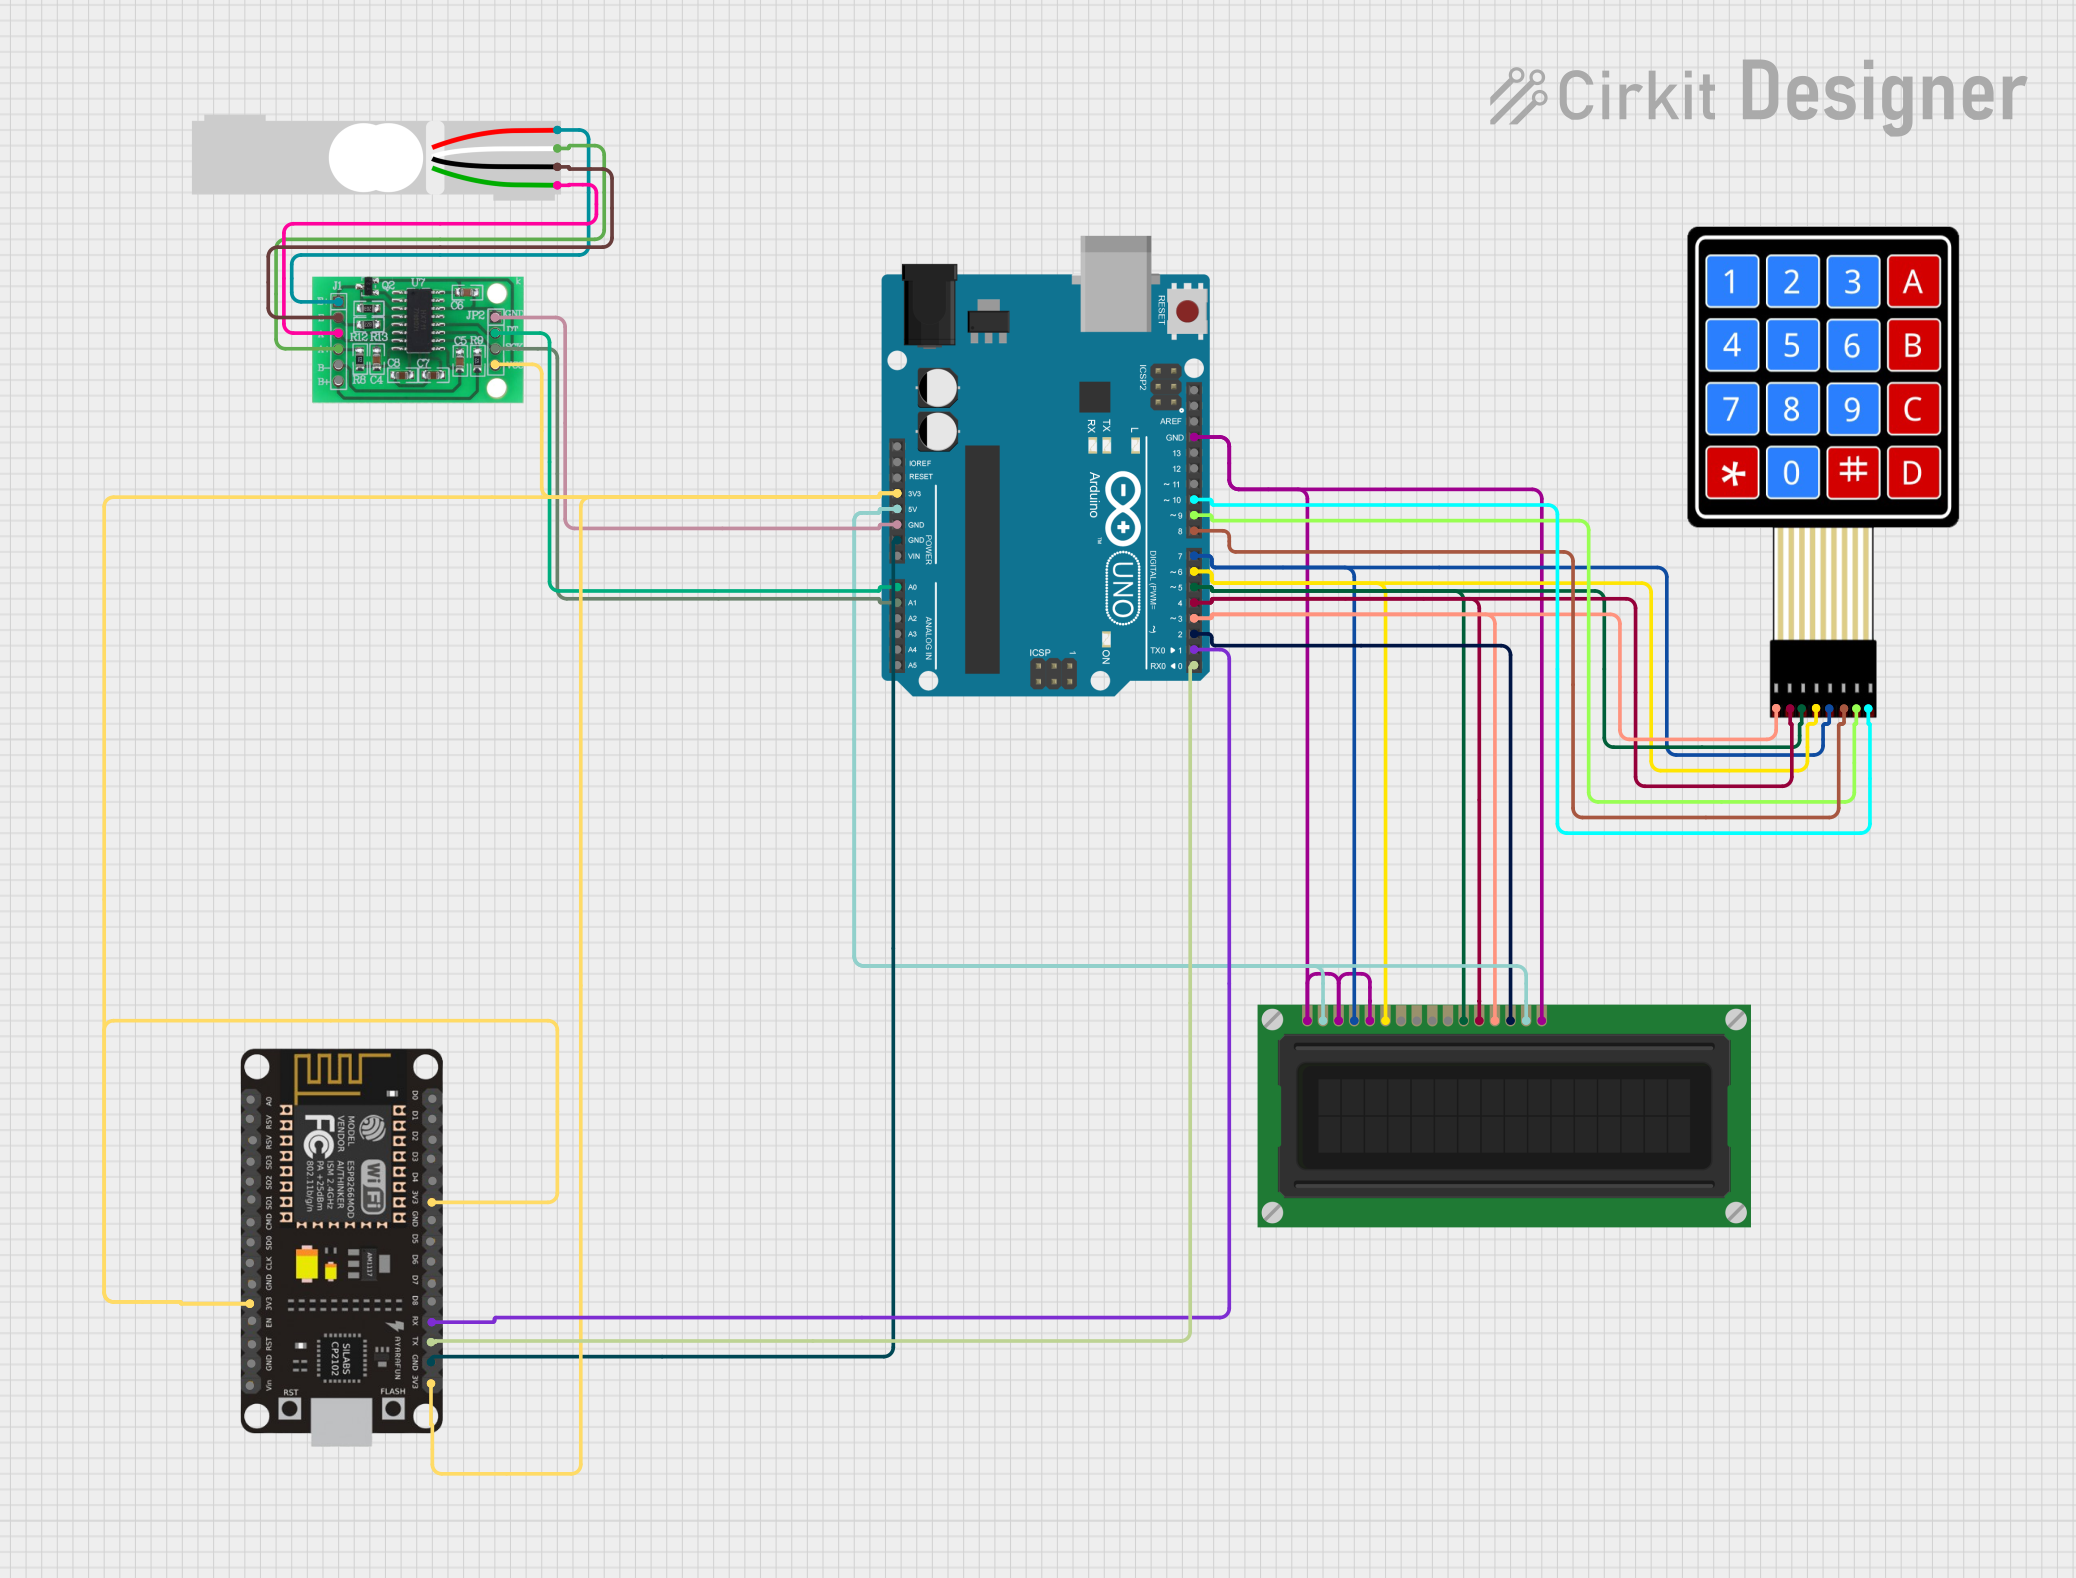 Open Project in Cirkit Designer
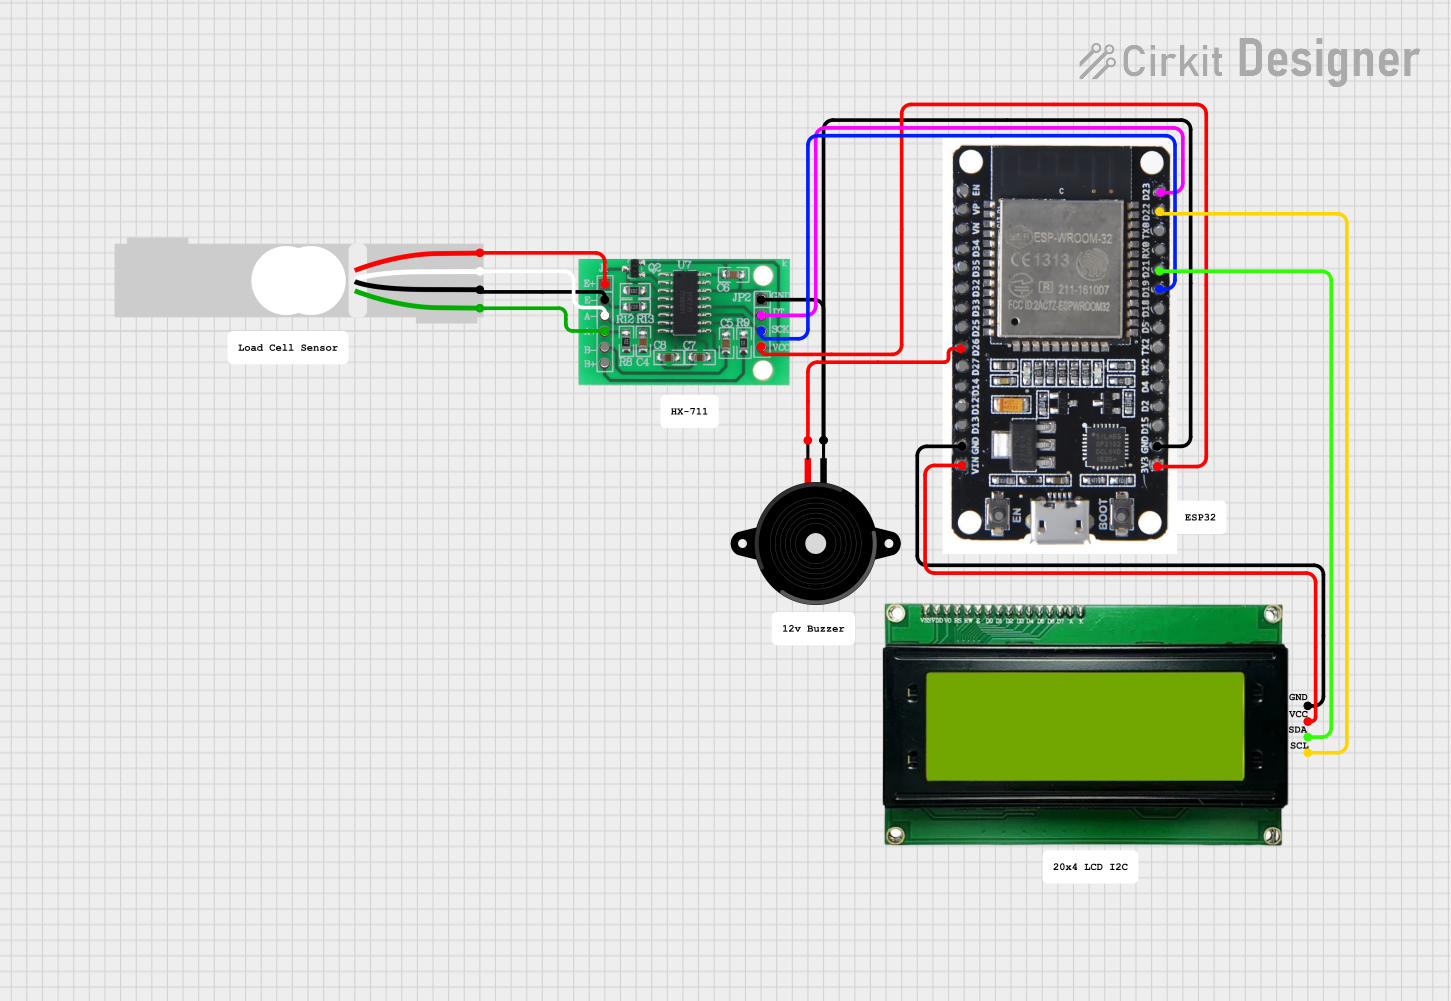 Open Project in Cirkit Designer
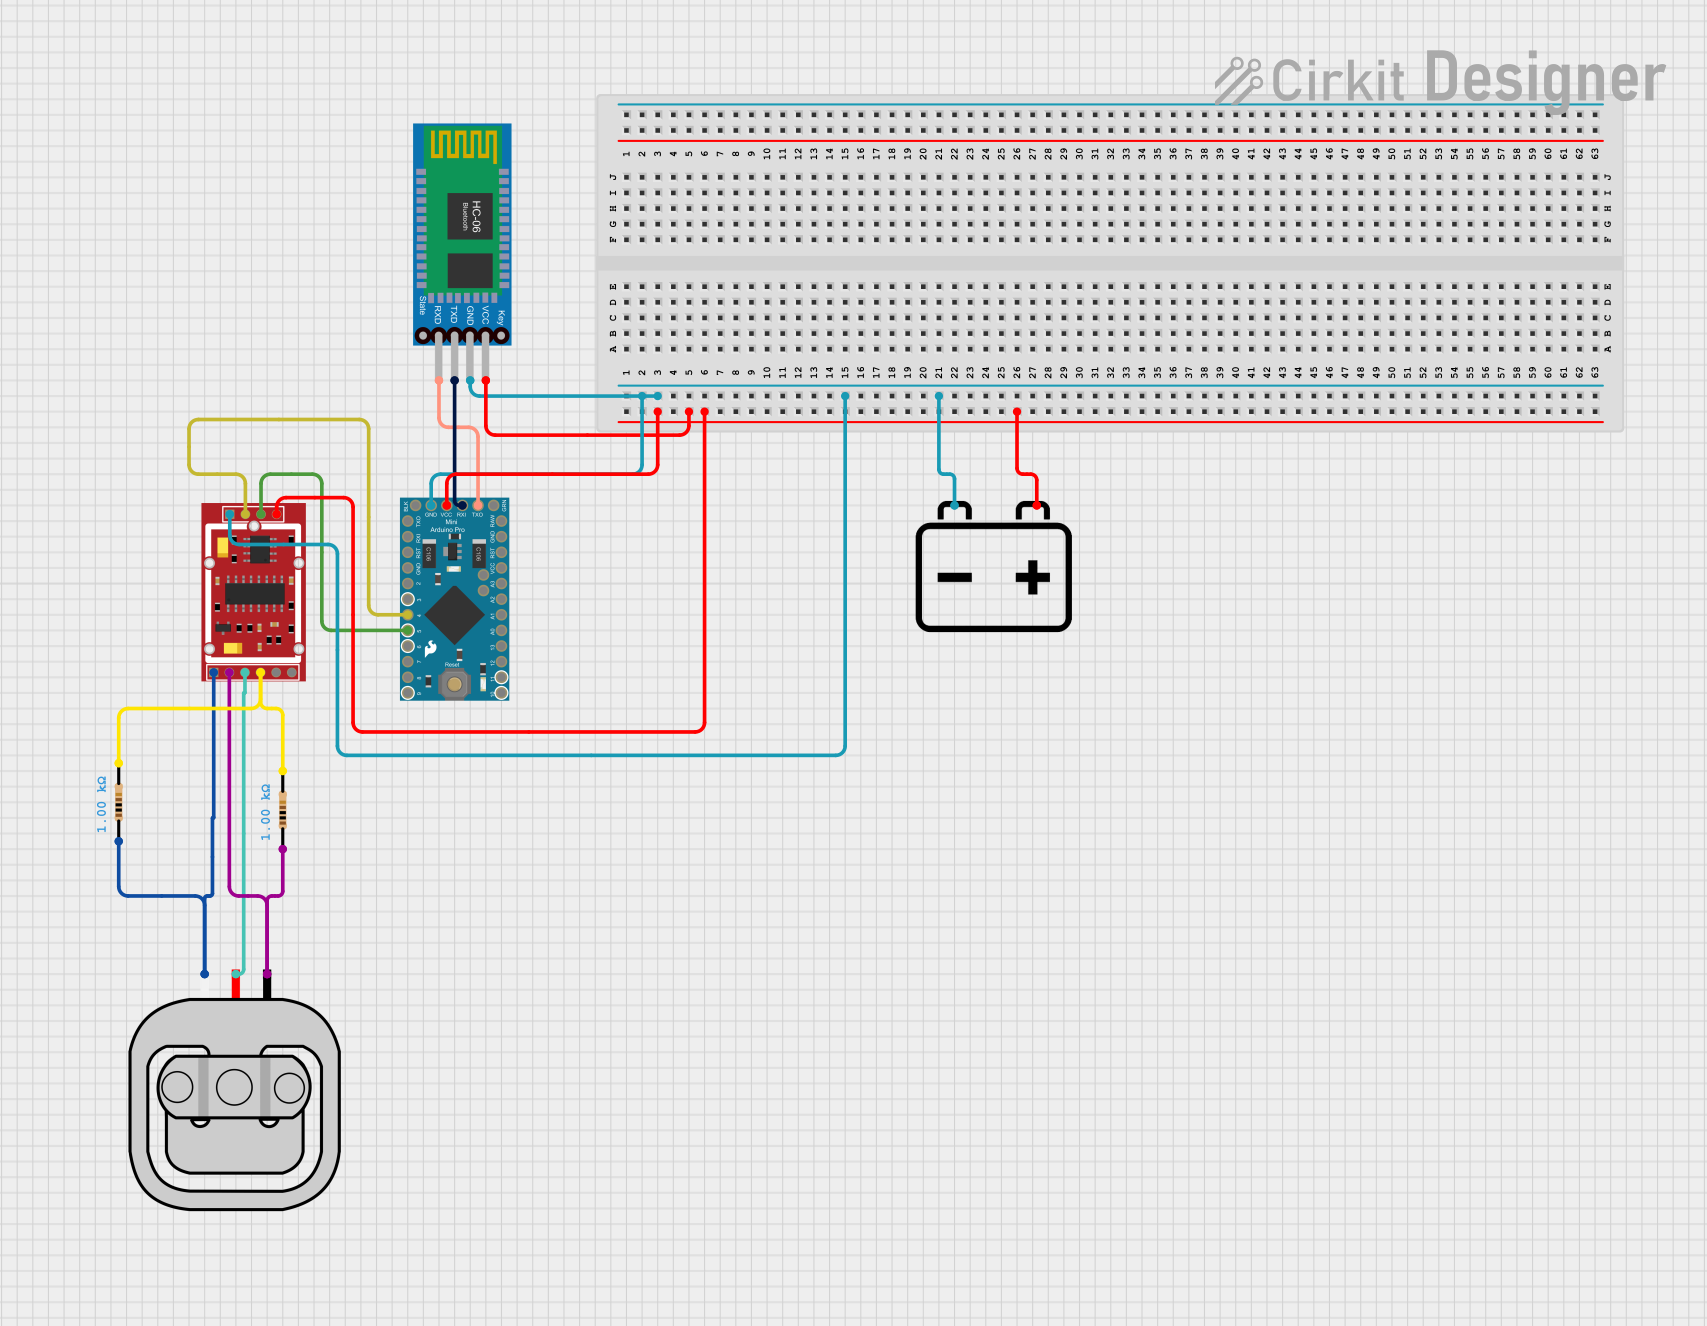 Open Project in Cirkit Designer
Explore Projects Built with Qwiic Scale
Open Project in Cirkit DesignerOpen Project in Cirkit DesignerOpen Project in Cirkit DesignerOpen Project in Cirkit DesignerTechnical Specifications
Below are the key technical details of the Qwiic Scale:
| Parameter | Specification |
|---|---|
| ADC | NAU7802 |
| Interface | I2C (Qwiic Connect System) |
| I2C Address | Default: 0x2A (configurable) |
| Input Voltage | 3.3V (via Qwiic connector) |
| Current Consumption | ~1.5mA (typical) |
| Resolution | 24-bit ADC |
| Gain Settings | Programmable (1x, 2x, 4x, 8x, 16x, 32x, 64x, 128x) |
| Load Cell Support | Single-channel load cell |
| Operating Temperature | -40°C to +85°C |
| Dimensions | 25.4mm x 25.4mm (1" x 1") |
Pin Configuration
The Qwiic Scale uses the Qwiic connector for I2C communication. It also includes breakout pins for additional flexibility. Below is the pin configuration:
| Pin | Label | Description |
|---|---|---|
| 1 | GND | Ground |
| 2 | 3.3V | Power supply (3.3V input) |
| 3 | SDA | I2C data line |
| 4 | SCL | I2C clock line |
| 5 | DRDY | Data ready output (optional, for interrupts) |
| 6 | AVDD | Analog power supply for load cell (3.3V) |
| 7 | AIN+ | Positive analog input for load cell |
| 8 | AIN- | Negative analog input for load cell |
Usage Instructions
Connecting the Qwiic Scale
Hardware Setup:
- Connect the Qwiic Scale to your microcontroller using a Qwiic cable.
- If using a load cell, connect its wires to the AIN+ and AIN- pins on the Qwiic Scale.
- Ensure the microcontroller operates at 3.3V logic levels to match the Qwiic Scale.
Software Setup:
- Install the SparkFun NAU7802 library for Arduino from the Arduino Library Manager.
- Include the library in your Arduino sketch to communicate with the Qwiic Scale.
Example Code for Arduino UNO
Below is an example Arduino sketch to read weight data from the Qwiic Scale:
#include <Wire.h>
#include <SparkFun_Qwiic_Scale_NAU7802_Arduino_Library.h>

// Create an instance of the NAU7802 class
NAU7802 myScale;

void setup() {
  Serial.begin(9600); // Initialize serial communication
  while (!Serial);    // Wait for the serial port to connect

  Serial.println("Qwiic Scale Example");

  // Initialize the Qwiic Scale
  if (!myScale.begin()) {
    Serial.println("Failed to find Qwiic Scale. Check connections.");
    while (1); // Halt if initialization fails
  }

  Serial.println("Qwiic Scale initialized!");

  // Calibrate the scale
  if (!myScale.calibrateAFE()) {
    Serial.println("Failed to calibrate the scale.");
    while (1); // Halt if calibration fails
  }

  Serial.println("Scale calibrated. Ready to measure weight.");
}

void loop() {
  // Read the raw ADC value
  long rawValue = myScale.getReading();
  Serial.print("Raw ADC Value: ");
  Serial.println(rawValue);

  // Convert the raw value to weight (requires calibration for accuracy)
  float weight = myScale.getWeight();
  Serial.print("Weight: ");
  Serial.print(weight);
  Serial.println(" grams");

  delay(1000); // Wait 1 second before the next reading
}
Important Considerations
- Calibration: For accurate weight measurements, calibrate the scale with a known weight using the
calibrateScale()function in the library. - Power Supply: Ensure a stable 3.3V power supply to avoid noise in the ADC readings.
- Load Cell Wiring: Connect the load cell wires securely to avoid inconsistent readings.
Troubleshooting and FAQs
Common Issues
Qwiic Scale Not Detected:
- Ensure the Qwiic cable is securely connected.
- Verify the I2C address (default: 0x2A) matches the address in your code.
- Check that the microcontroller operates at 3.3V logic levels.
Inaccurate Weight Readings:
- Perform a proper calibration with a known weight.
- Ensure the load cell is not under physical stress or improperly mounted.
No Data from the Scale:
- Verify the
DRDYpin is functioning if used for interrupts. - Check the power supply voltage and connections.
- Verify the
FAQs
Q: Can I use the Qwiic Scale with a 5V microcontroller?
A: The Qwiic Scale operates at 3.3V logic levels. If using a 5V microcontroller, use a logic level shifter to prevent damage.
Q: How do I change the I2C address?
A: The I2C address can be changed by modifying the address in the library code or using the setI2CAddress() function.
Q: What is the maximum weight the Qwiic Scale can measure?
A: The maximum weight depends on the load cell used. Refer to the load cell's datasheet for its capacity.
Q: Can I use multiple Qwiic Scales on the same I2C bus?
A: Yes, but each scale must have a unique I2C address. Configure the address using the library functions.
By following this documentation, you can effectively integrate the Qwiic Scale into your projects for precise weight measurement.