How to Use MKR WIFI 1010: Examples, Pinouts, and Specs
Introduction
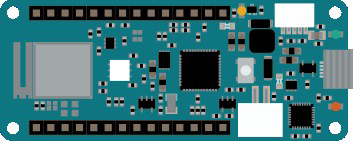
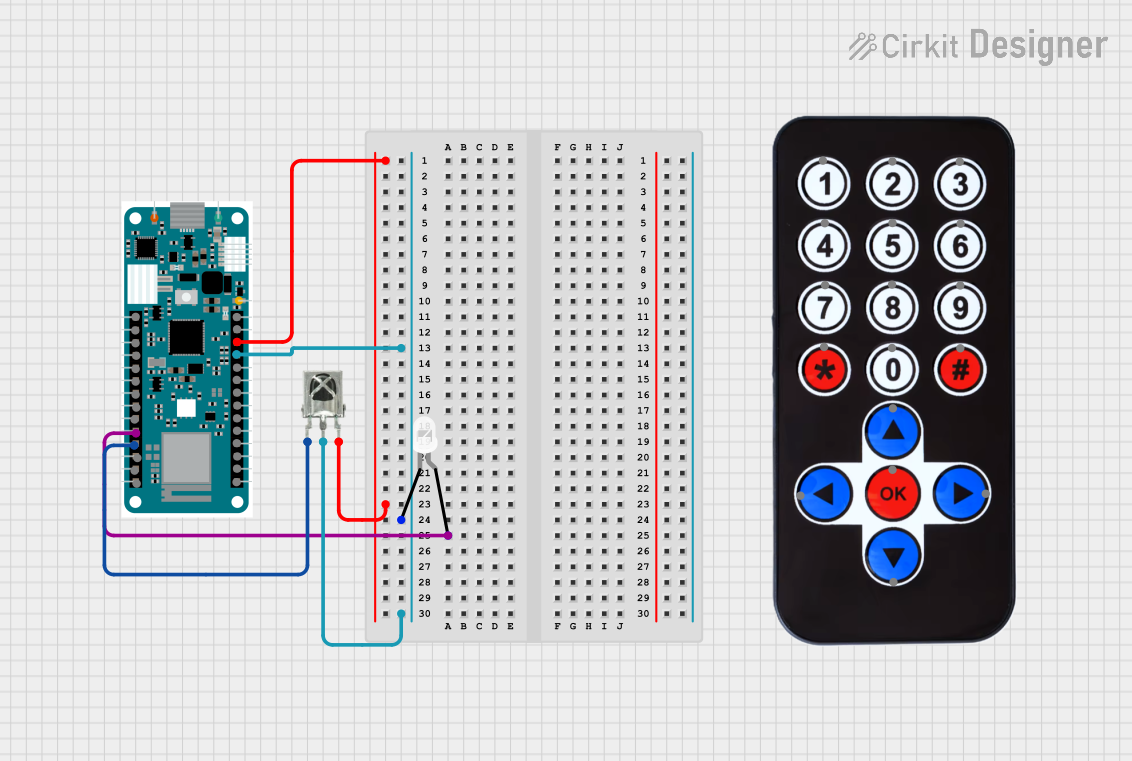
The MKR WIFI 1010, manufactured by Arduino (Part ID: 21-2), is a powerful microcontroller board designed for IoT (Internet of Things) applications. It is based on the SAMD21 Cortex-M0+ 32-bit ARM microcontroller and features built-in Wi-Fi connectivity via the u-blox NINA-W102 module. This board is ideal for projects requiring wireless communication, low power consumption, and compatibility with the Arduino ecosystem.
Explore Projects Built with MKR WIFI 1010
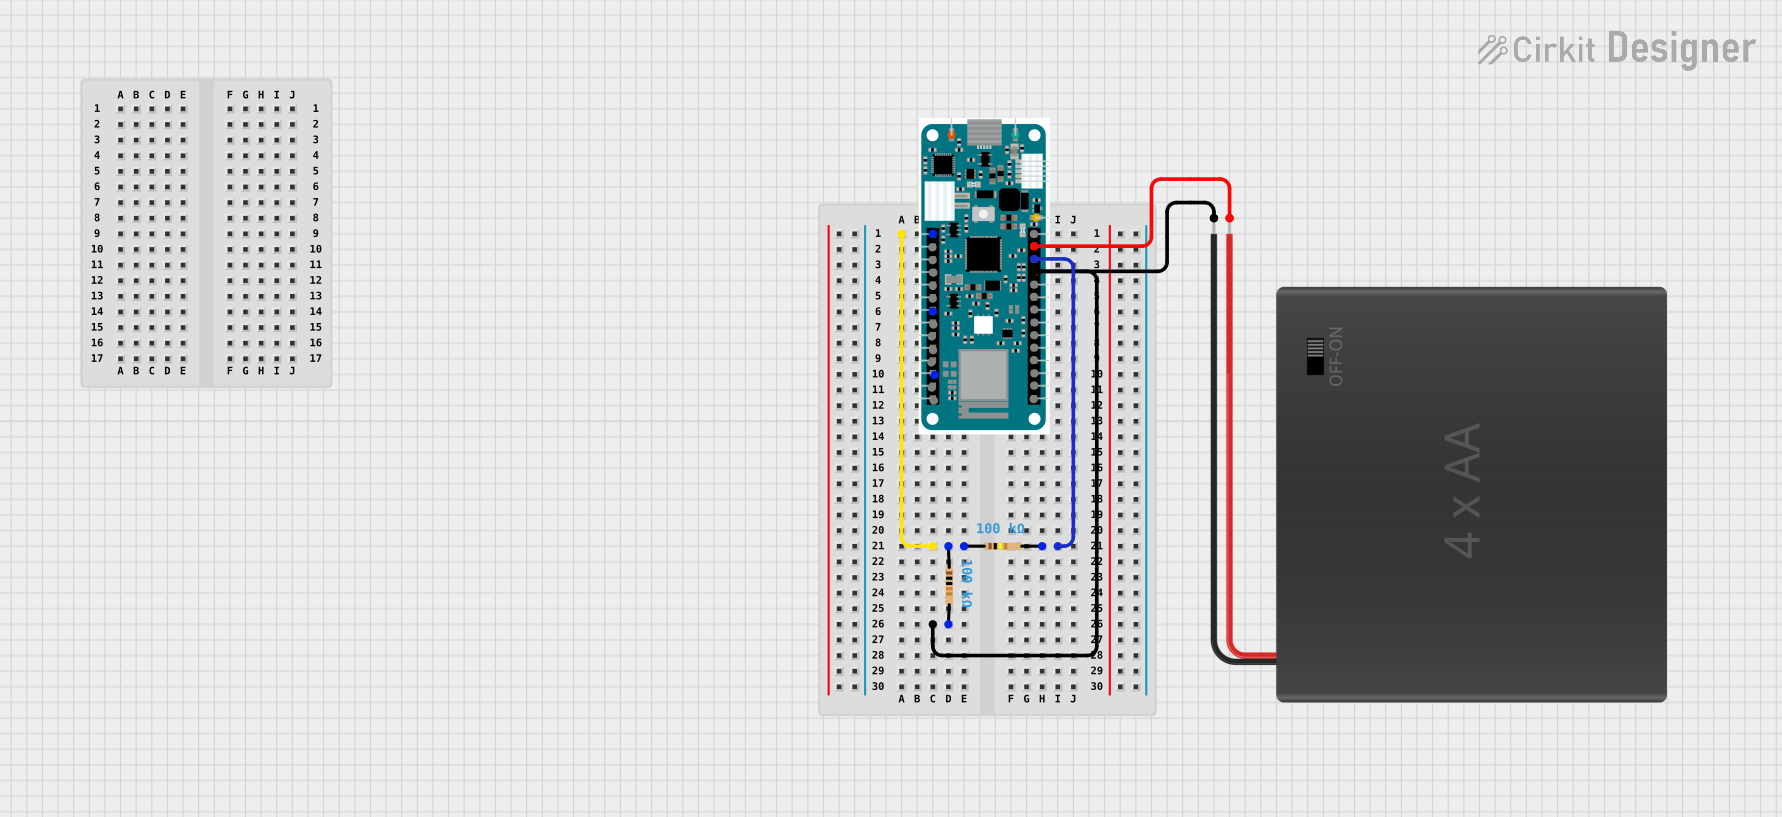
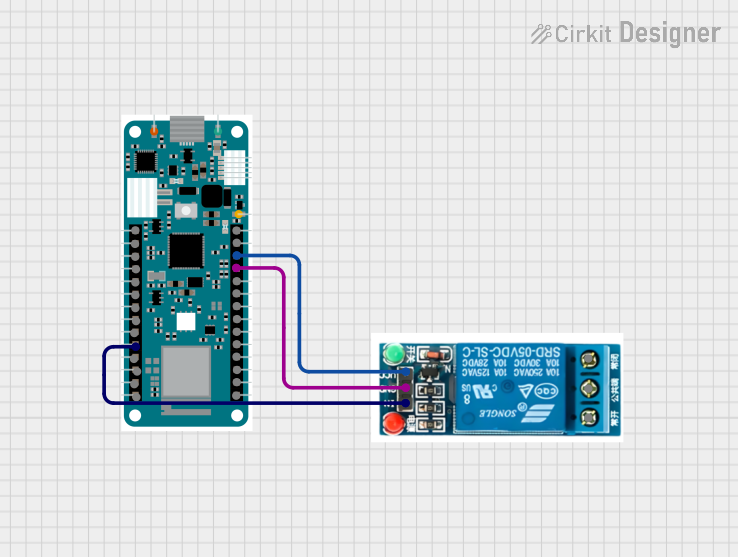
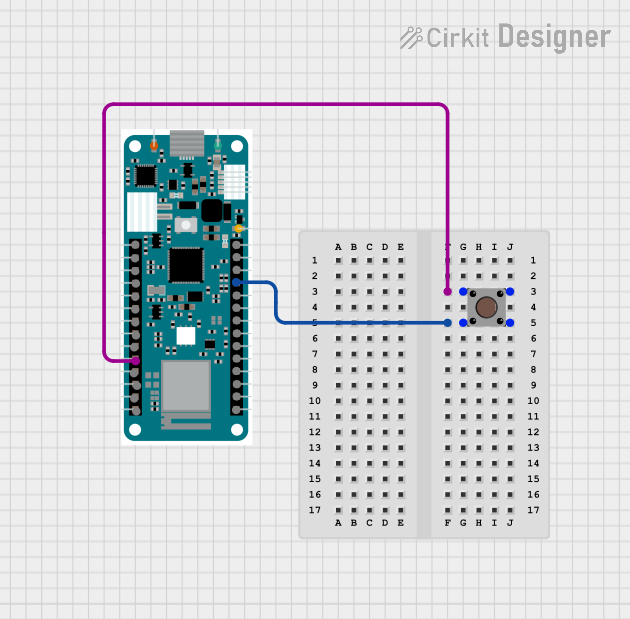
Explore Projects Built with MKR WIFI 1010
Common Applications and Use Cases
- IoT devices and smart home automation
- Wireless sensor networks
- Remote monitoring and control systems
- Prototyping connected devices
- Educational projects involving Wi-Fi communication
Technical Specifications
Key Technical Details
| Parameter | Specification |
|---|---|
| Microcontroller | SAMD21 Cortex-M0+ 32-bit ARM |
| Operating Voltage | 3.3V |
| Input Voltage (VIN) | 5V to 6V |
| Digital I/O Pins | 8 (of which 12 support PWM) |
| Analog Input Pins | 7 |
| Analog Output Pins | 1 (DAC) |
| Flash Memory | 256 KB |
| SRAM | 32 KB |
| Clock Speed | 48 MHz |
| Wi-Fi Module | u-blox NINA-W102 |
| Connectivity | Wi-Fi 802.11 b/g/n, BLE |
| Battery Connector | Yes (Li-Po, 3.7V, 1024mAh recommended) |
| Dimensions | 61.5 mm x 25 mm |
| Weight | 32 g |
Pin Configuration and Descriptions
| Pin Name | Description |
|---|---|
| VIN | Input voltage pin (5V to 6V) for powering the board |
| 3.3V | Regulated 3.3V output pin |
| GND | Ground pin |
| Digital Pins 0-7 | General-purpose digital I/O pins (PWM supported on some pins) |
| Analog Pins A0-A6 | Analog input pins for reading sensor data |
| DAC (A0) | Analog output pin for generating analog signals |
| I2C (SDA, SCL) | Pins for I2C communication |
| SPI (MISO, MOSI, SCK) | Pins for SPI communication |
| UART (TX, RX) | Pins for serial communication |
| Li-Po Connector | Connector for a 3.7V Li-Po battery |
| Reset (RST) | Pin to reset the board |
Usage Instructions
How to Use the MKR WIFI 1010 in a Circuit
Powering the Board:
- Use the USB port for development and programming.
- For standalone operation, connect a 3.7V Li-Po battery to the battery connector or supply 5V to the VIN pin.
Connecting to Wi-Fi:
- The u-blox NINA-W102 module provides Wi-Fi connectivity. Use the Arduino IDE's
WiFiNINAlibrary to configure and manage Wi-Fi connections.
- The u-blox NINA-W102 module provides Wi-Fi connectivity. Use the Arduino IDE's
Programming the Board:
- Connect the board to your computer via USB.
- Open the Arduino IDE, select "Arduino MKR WIFI 1010" from the board menu, and upload your code.
Interfacing with Sensors and Modules:
- Use the digital and analog pins to connect sensors, actuators, and other modules.
- For I2C devices, connect to the SDA and SCL pins. For SPI devices, use the MISO, MOSI, and SCK pins.
Important Considerations and Best Practices
- Voltage Levels: The MKR WIFI 1010 operates at 3.3V. Ensure that any connected components are compatible with this voltage level.
- Battery Usage: When using a Li-Po battery, ensure it is within the recommended specifications (3.7V, 1024mAh).
- Wi-Fi Antenna: Avoid placing the board in a metal enclosure or near sources of interference to ensure optimal Wi-Fi performance.
- Library Compatibility: Use the
WiFiNINAlibrary for Wi-Fi functionality and ensure it is updated to the latest version.
Example Code: Connecting to Wi-Fi
#include <WiFiNINA.h>

// Replace with your network credentials
const char* ssid = "Your_SSID"; // Your Wi-Fi network name
const char* password = "Your_PASSWORD"; // Your Wi-Fi password

void setup() {
  Serial.begin(9600); // Initialize serial communication
  while (!Serial);    // Wait for the serial monitor to open

  Serial.print("Connecting to Wi-Fi...");
  WiFi.begin(ssid, password); // Start Wi-Fi connection

  while (WiFi.status() != WL_CONNECTED) {
    delay(1000); // Wait for connection
    Serial.print(".");
  }

  Serial.println("\nConnected to Wi-Fi!");
  Serial.print("IP Address: ");
  Serial.println(WiFi.localIP()); // Print the board's IP address
}

void loop() {
  // Add your main code here
}
Troubleshooting and FAQs
Common Issues and Solutions
The board is not recognized by the Arduino IDE:
- Ensure you have installed the latest Arduino SAMD Boards package in the Board Manager.
- Check the USB cable and port for proper connection.
Wi-Fi connection fails:
- Verify the SSID and password are correct.
- Ensure the Wi-Fi network is within range and not restricted by firewalls.
The board resets unexpectedly:
- Check the power supply. Ensure the Li-Po battery or VIN input provides sufficient voltage and current.
Cannot upload code to the board:
- Double-tap the reset button to put the board into bootloader mode, then try uploading again.
FAQs
Can I use the MKR WIFI 1010 with 5V sensors?
No, the board operates at 3.3V. Use a level shifter to interface with 5V sensors.What is the maximum range of the Wi-Fi module?
The range depends on environmental factors but typically extends up to 100 meters in open spaces.Can I use the board without a battery?
Yes, the board can be powered via USB or the VIN pin without a battery.Is the MKR WIFI 1010 compatible with Arduino shields?
The board is not directly compatible with standard Arduino shields due to its smaller form factor. However, it can be used with MKR-compatible shields.