
How to Use Buzzer: Examples, Pinouts, and Specs

 Design with Buzzer in Cirkit Designer
Introduction
A buzzer is an audio signaling device that produces sound when an electric current passes through it. It is widely used in various electronic applications to provide audible alerts or notifications. Buzzers are commonly found in alarms, timers, household appliances, and embedded systems. They are available in two main types: active buzzers, which generate sound when powered, and passive buzzers, which require an external signal to produce sound.
Explore Projects Built with Buzzer
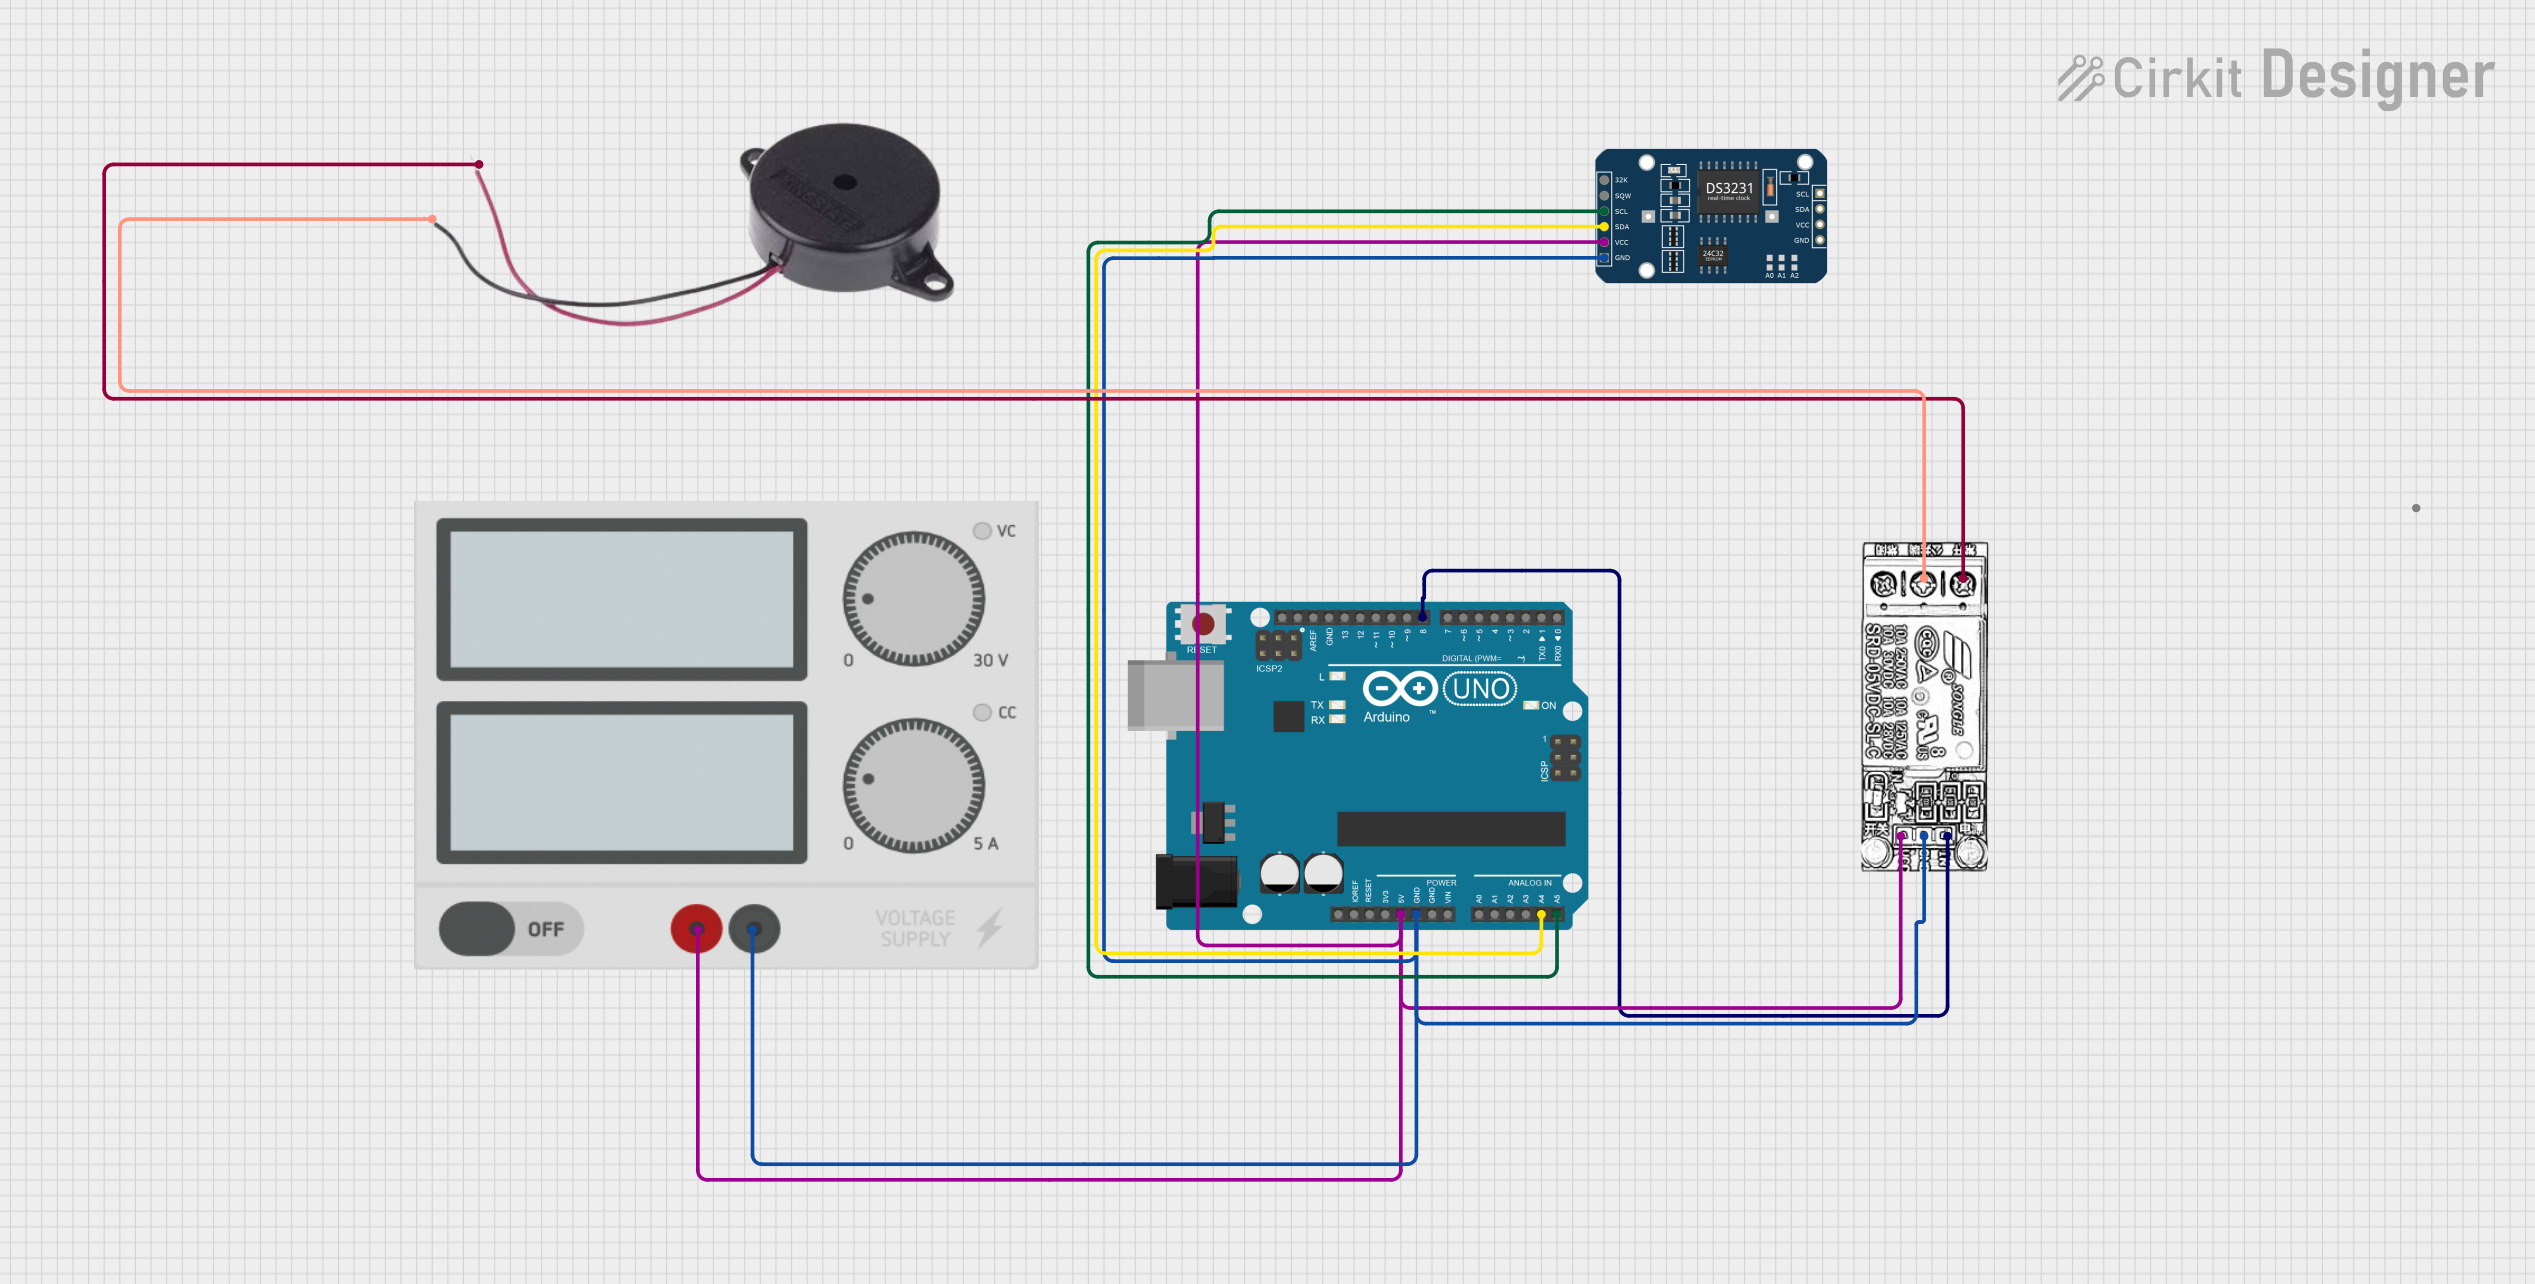 Open Project in Cirkit Designer
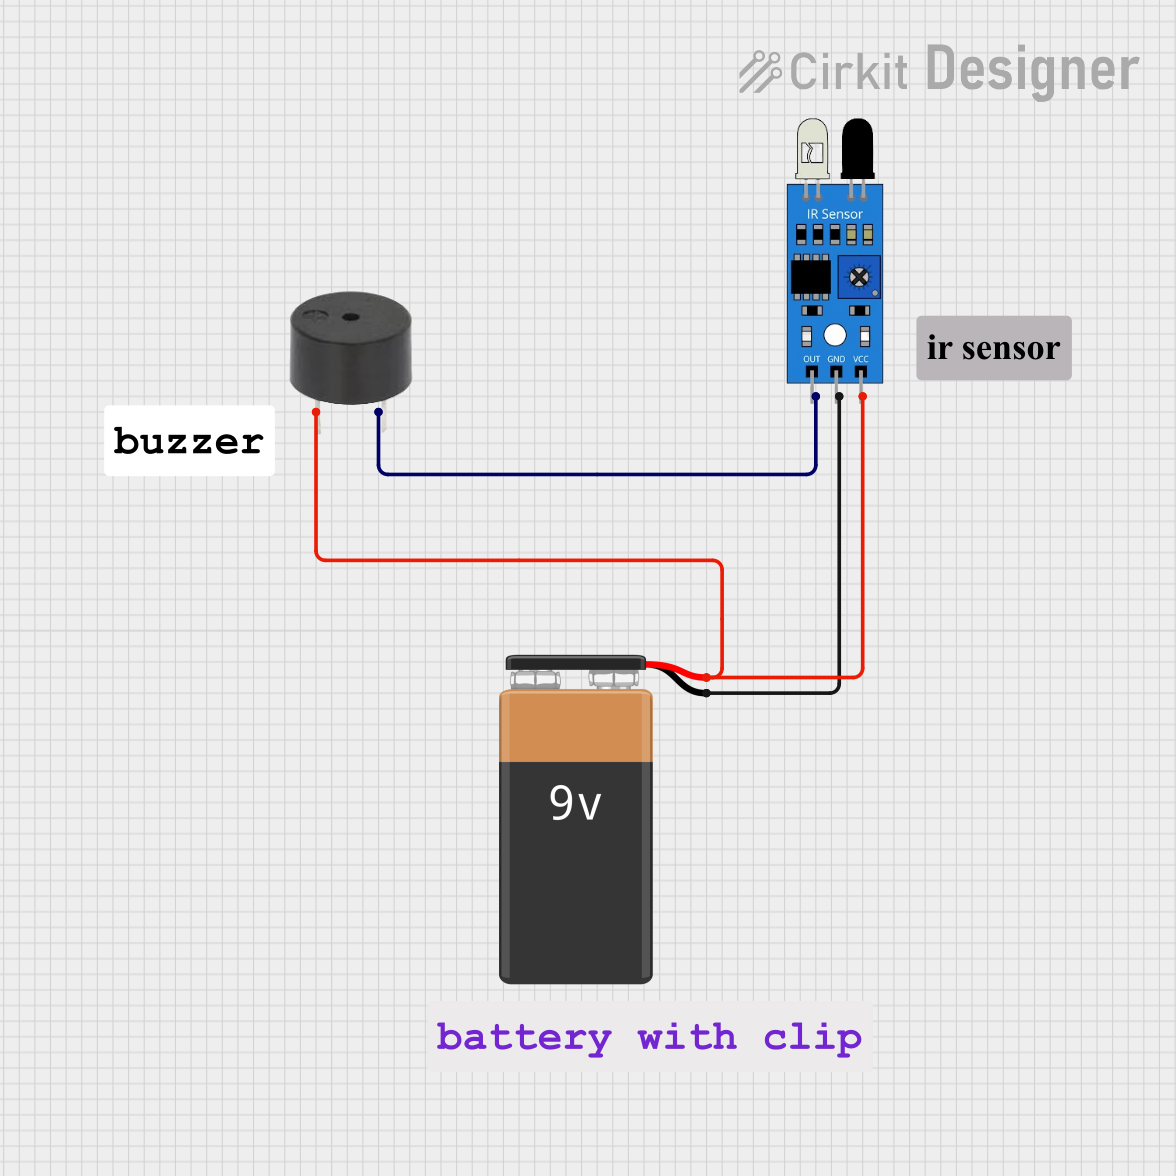 Open Project in Cirkit Designer
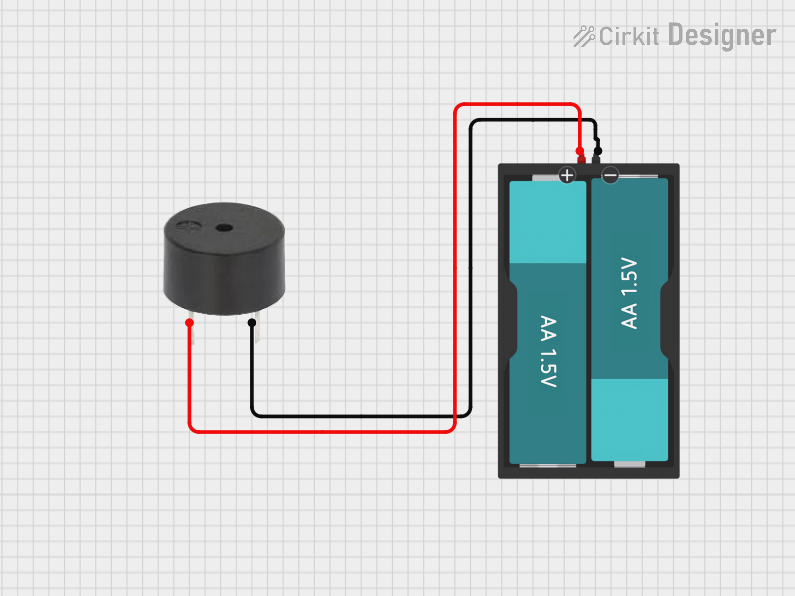 Open Project in Cirkit Designer
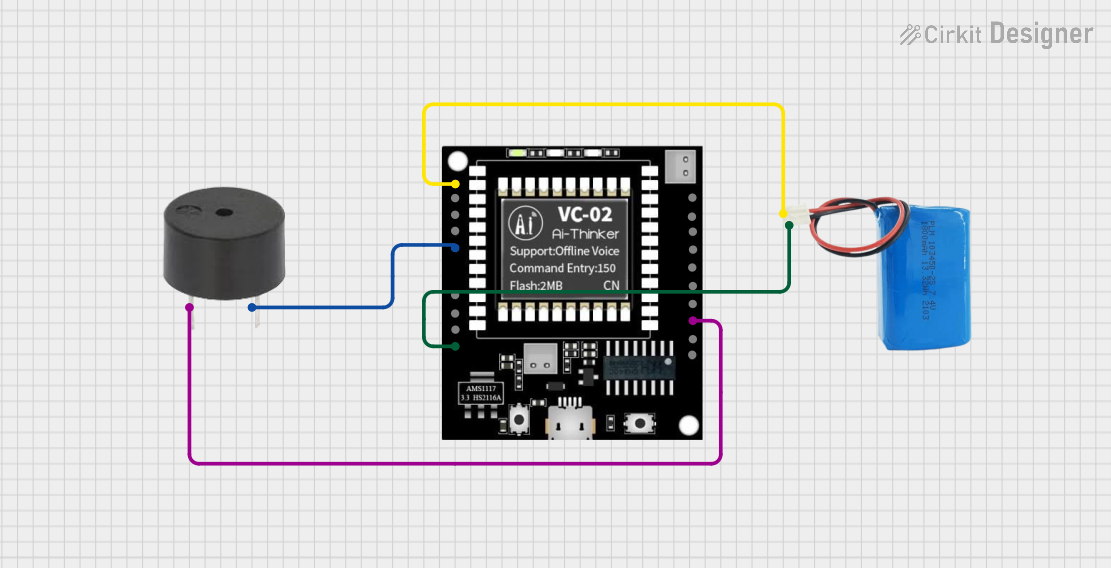 Open Project in Cirkit Designer
Explore Projects Built with Buzzer
Open Project in Cirkit DesignerOpen Project in Cirkit DesignerOpen Project in Cirkit DesignerOpen Project in Cirkit DesignerTechnical Specifications
Below are the general technical specifications for a typical buzzer. Note that specific values may vary depending on the manufacturer and model.
General Specifications
- Operating Voltage: 3V to 12V (commonly 5V)
- Operating Current: 10mA to 50mA
- Sound Output: 85dB to 100dB (at 10cm distance)
- Frequency Range: 2kHz to 4kHz
- Type: Active or Passive
- Size: Varies (commonly 12mm diameter)
Pin Configuration
Buzzers typically have two pins: a positive (+) and a negative (-) terminal. Below is the pin configuration:
| Pin Name | Description |
|---|---|
| Positive (+) | Connects to the positive terminal of the power supply or control signal. |
| Negative (-) | Connects to the ground (GND) of the circuit. |
Note: For active buzzers, simply applying a DC voltage will produce sound. For passive buzzers, an oscillating signal (e.g., PWM) is required.
Usage Instructions
How to Use the Buzzer in a Circuit
- Identify the Type of Buzzer: Determine whether the buzzer is active or passive. Active buzzers are easier to use as they only require a DC voltage, while passive buzzers need a PWM signal.
- Connect the Pins:
- Connect the positive (+) pin of the buzzer to the power supply or control pin of a microcontroller.
- Connect the negative (-) pin to the ground (GND).
- Power the Buzzer:
- For an active buzzer, apply a voltage within the operating range (e.g., 5V).
- For a passive buzzer, generate a PWM signal using a microcontroller to produce sound.
Example: Connecting a Buzzer to an Arduino UNO
Below is an example of how to connect and control a buzzer using an Arduino UNO. This example assumes the use of a passive buzzer.
Circuit Diagram
- Connect the positive (+) pin of the buzzer to Arduino pin 9.
- Connect the negative (-) pin of the buzzer to GND.
Arduino Code
// Example code to control a passive buzzer with Arduino UNO
// The buzzer will produce a tone at 1kHz for 1 second, then stop for 1 second.

int buzzerPin = 9; // Pin connected to the buzzer

void setup() {
  pinMode(buzzerPin, OUTPUT); // Set the buzzer pin as an output
}

void loop() {
  tone(buzzerPin, 1000); // Generate a 1kHz tone on the buzzer
  delay(1000);           // Wait for 1 second
  noTone(buzzerPin);     // Stop the tone
  delay(1000);           // Wait for 1 second
}
Important Considerations
- Voltage Compatibility: Ensure the buzzer's operating voltage matches your circuit's power supply.
- Current Limitation: If the buzzer draws more current than the microcontroller pin can supply, use a transistor or MOSFET as a driver.
- Polarity: Always connect the positive (+) and negative (-) pins correctly to avoid damage.
Troubleshooting and FAQs
Common Issues
No Sound from the Buzzer:
- Cause: Incorrect wiring or insufficient voltage.
- Solution: Verify the connections and ensure the power supply matches the buzzer's operating voltage.
Low or Distorted Sound:
- Cause: Insufficient current or incorrect signal frequency (for passive buzzers).
- Solution: Check the current supply and ensure the PWM signal frequency is within the buzzer's range.
Buzzer Overheats:
- Cause: Exceeding the voltage or current rating.
- Solution: Use a resistor or current-limiting circuit to protect the buzzer.
FAQs
Can I use a passive buzzer without a microcontroller?
- Yes, but you will need an external oscillator circuit to generate the required signal.
What is the difference between active and passive buzzers?
- Active buzzers produce sound when powered with DC voltage, while passive buzzers require an external oscillating signal.
Can I control multiple buzzers with one microcontroller?
- Yes, but ensure the microcontroller can supply enough current or use external drivers for each buzzer.
By following this documentation, you can effectively integrate a buzzer into your electronic projects for reliable audio signaling.