
How to Use Adafruit MIDI FeatherWing Kit: Examples, Pinouts, and Specs
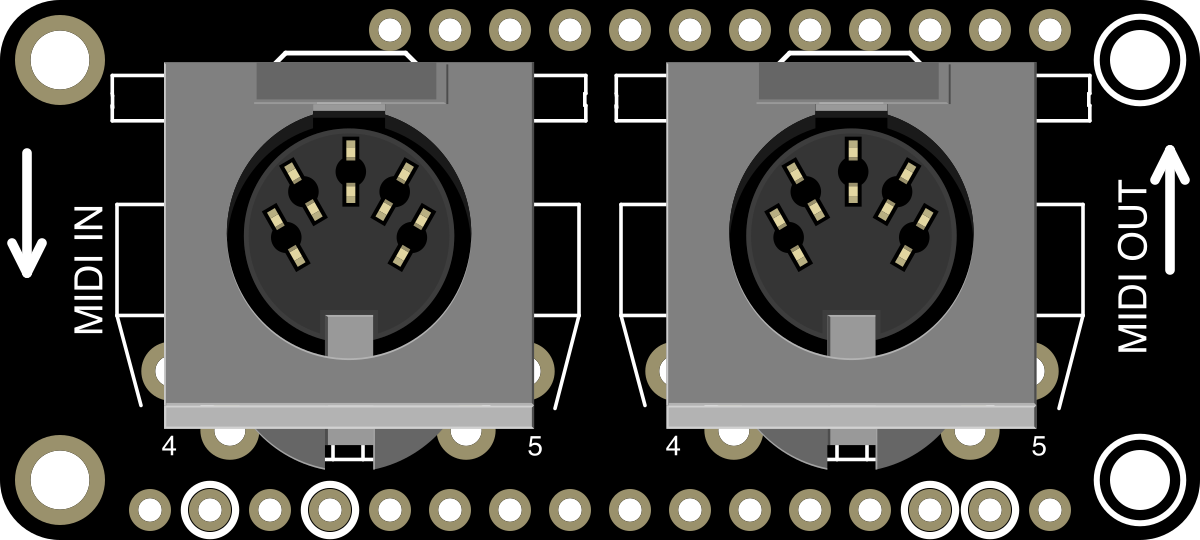
 Design with Adafruit MIDI FeatherWing Kit in Cirkit Designer
Introduction
The Adafruit MIDI FeatherWing Kit (Manufacturer Part ID: 4740) is a versatile add-on board designed for Feather microcontrollers. It enables seamless MIDI (Musical Instrument Digital Interface) communication, allowing users to create and control musical projects with ease. This FeatherWing features MIDI input and output ports, making it compatible with a wide range of MIDI devices such as keyboards, synthesizers, and controllers. Whether you're building a MIDI controller, synthesizer, or experimenting with music-based projects, this kit provides a reliable and user-friendly solution.
Explore Projects Built with Adafruit MIDI FeatherWing Kit
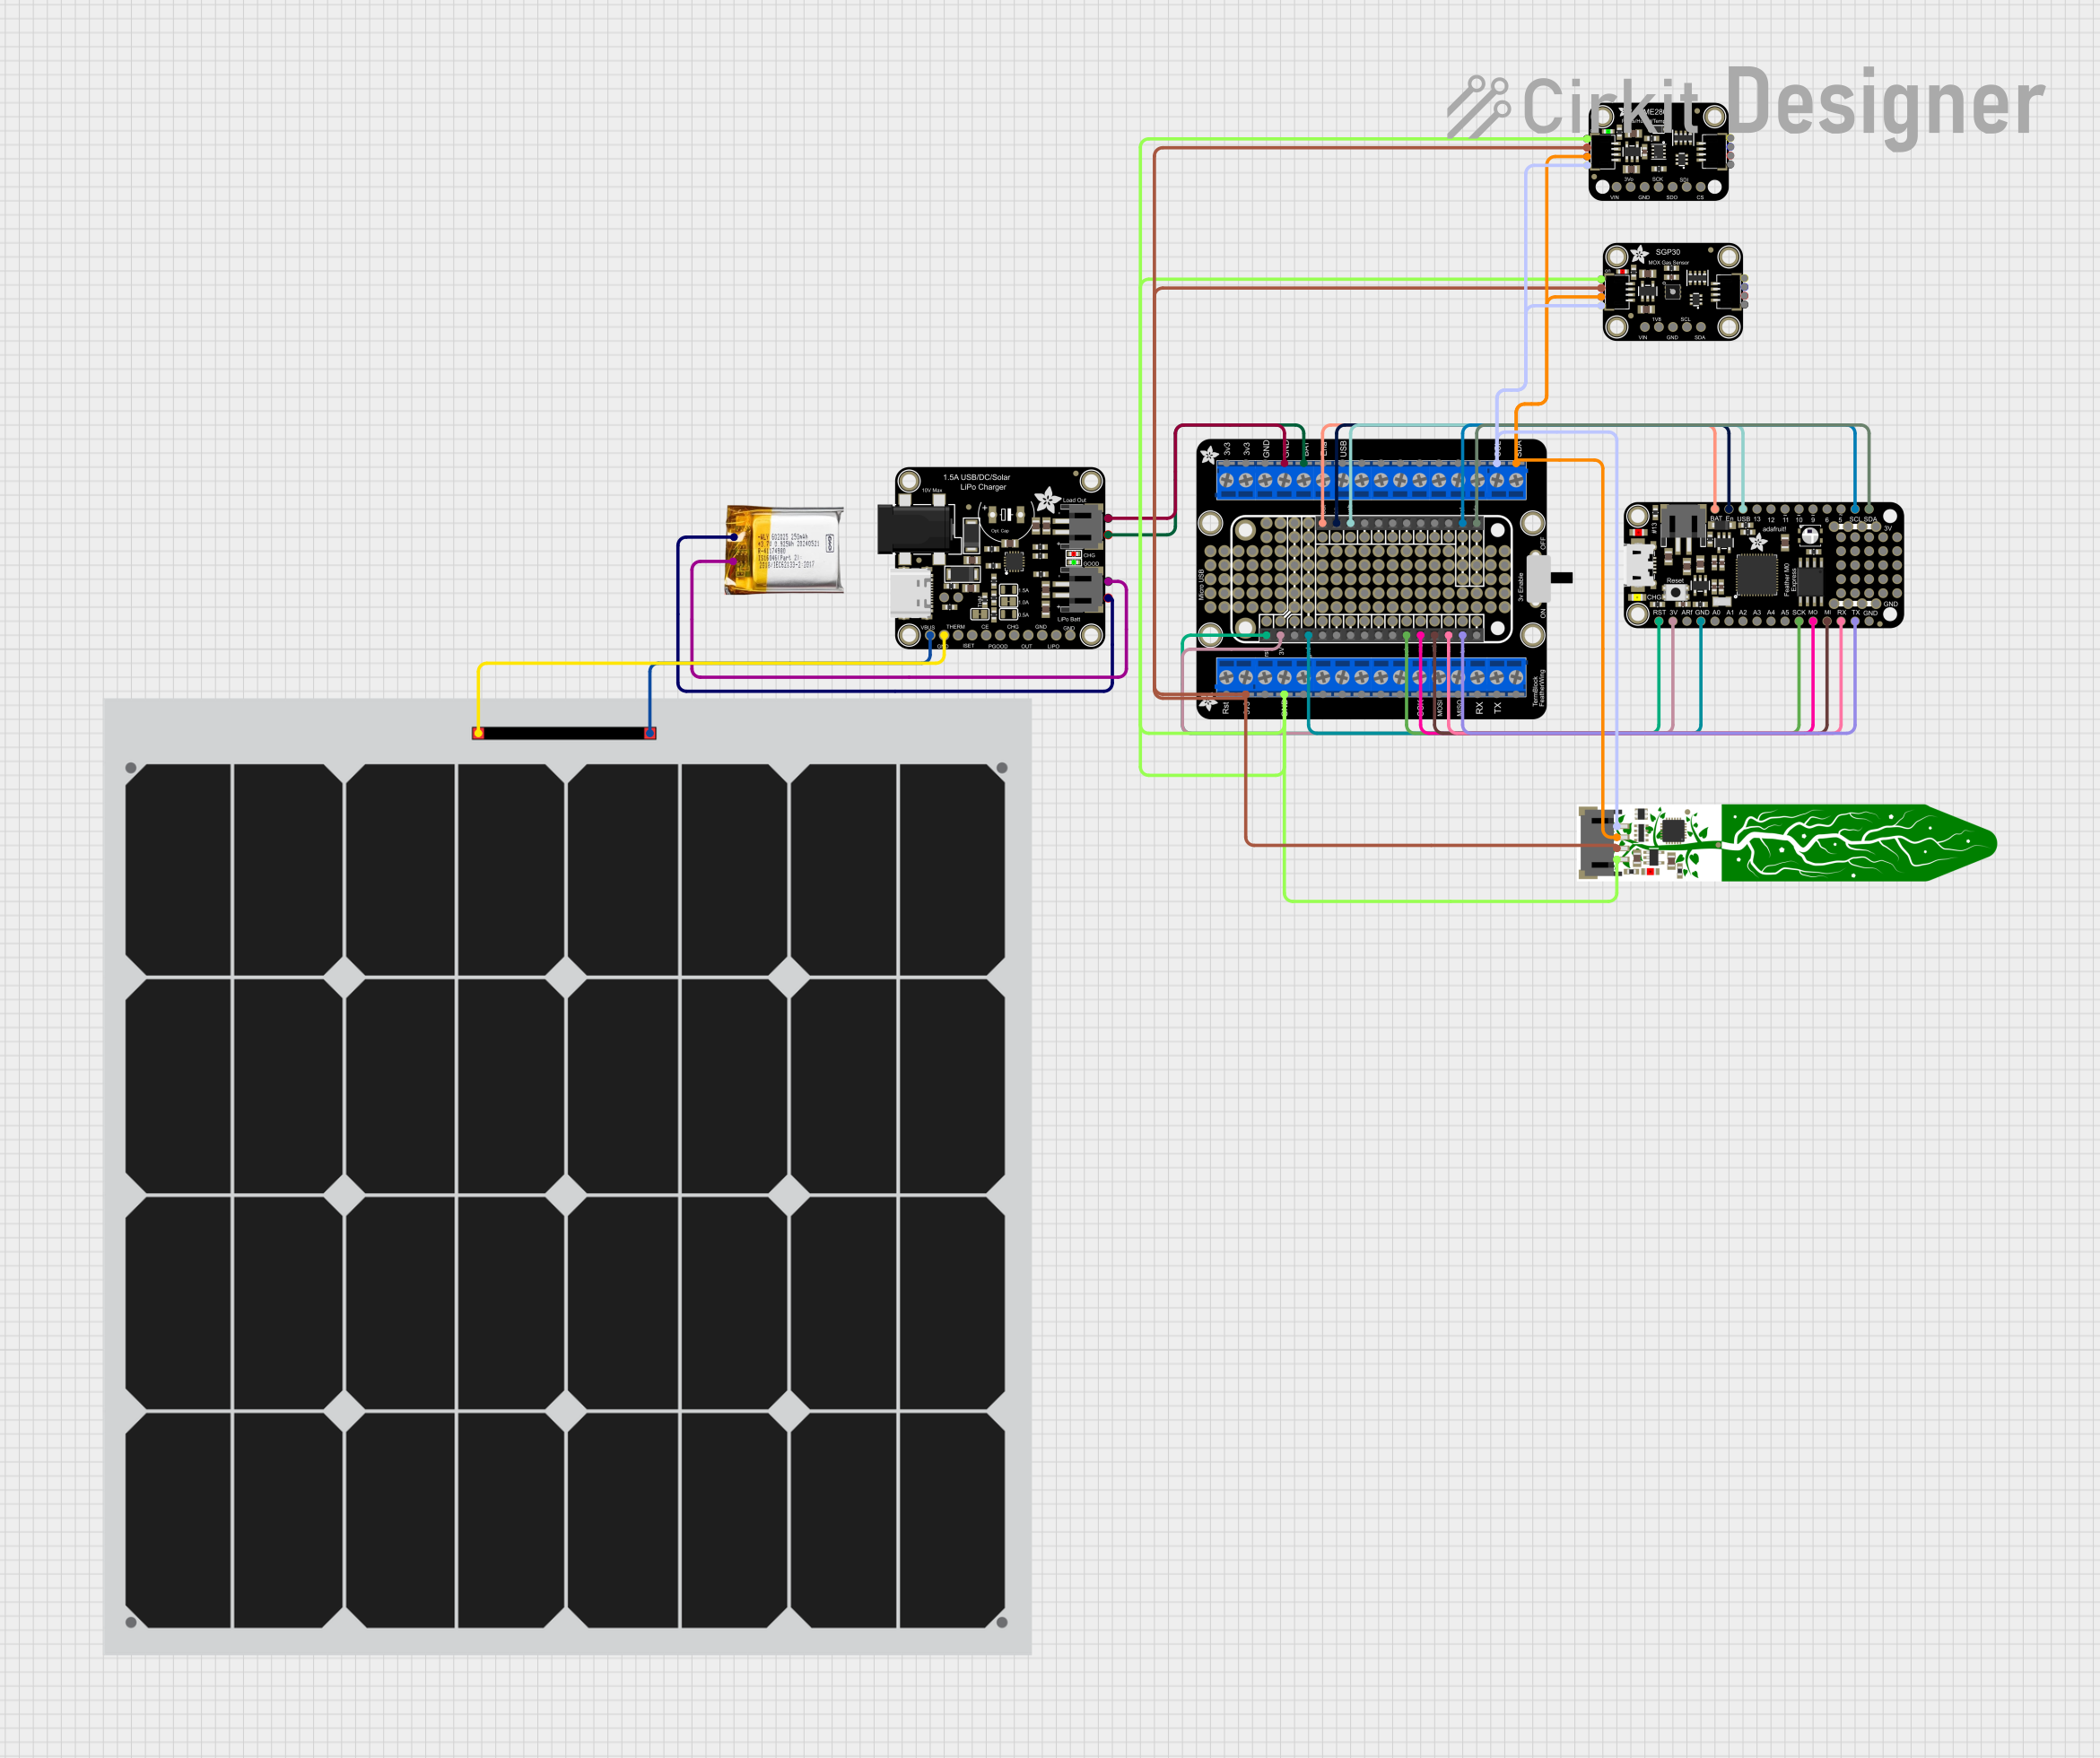 Open Project in Cirkit Designer
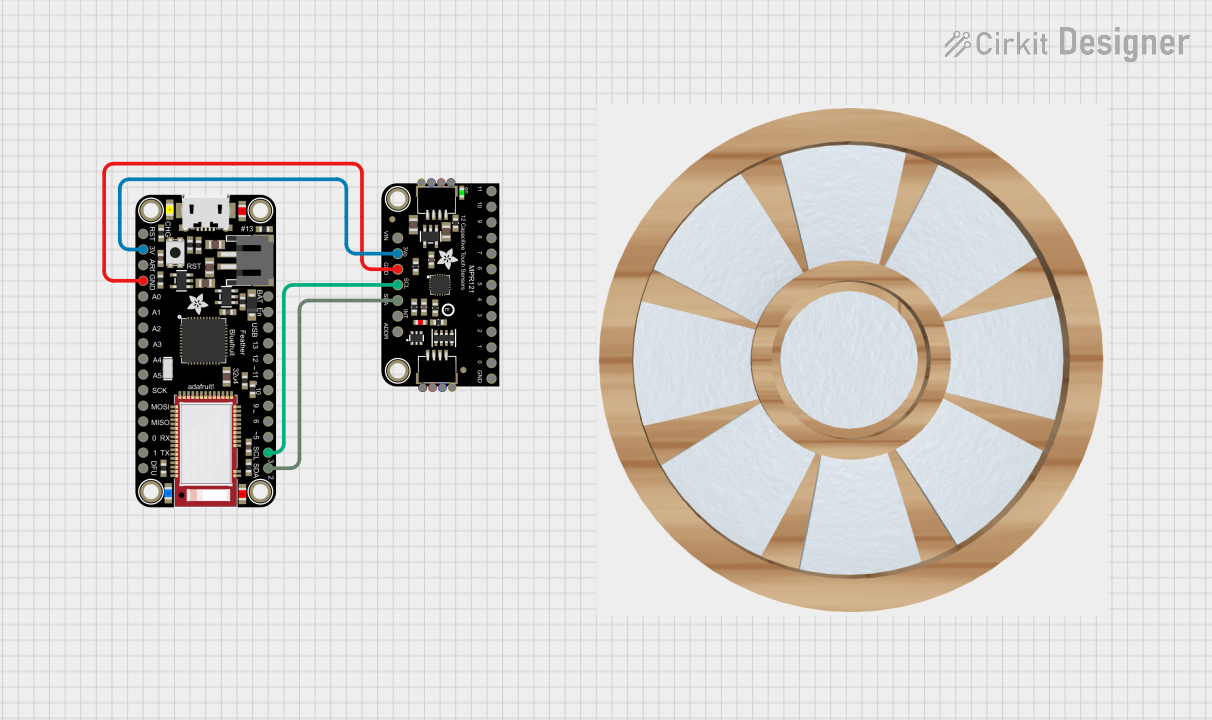 Open Project in Cirkit Designer
 Open Project in Cirkit Designer
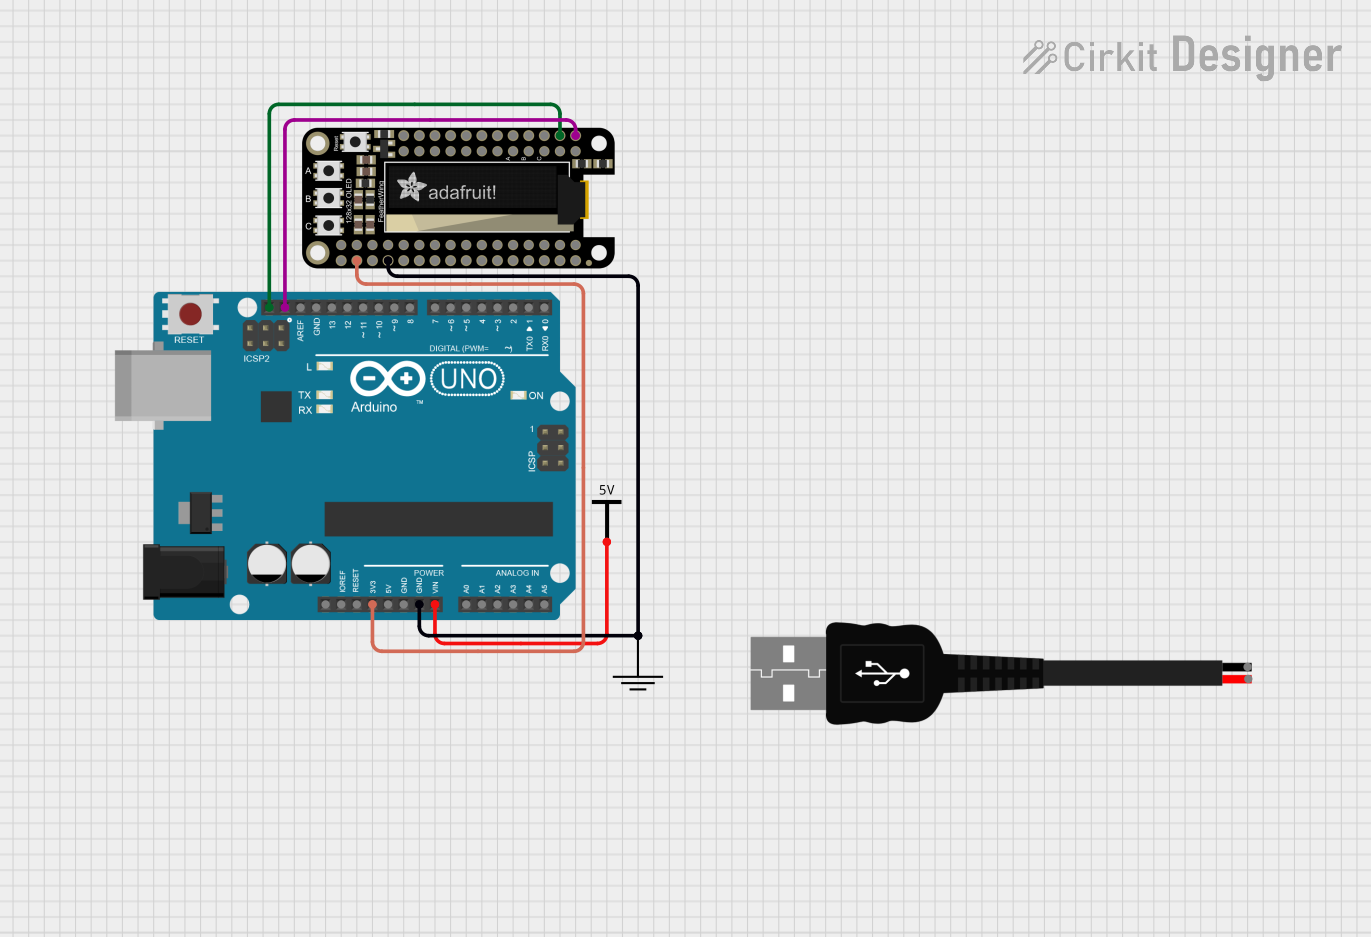 Open Project in Cirkit Designer
Explore Projects Built with Adafruit MIDI FeatherWing Kit
Open Project in Cirkit DesignerOpen Project in Cirkit DesignerOpen Project in Cirkit DesignerOpen Project in Cirkit DesignerCommon Applications and Use Cases
- Building custom MIDI controllers for music production.
- Interfacing Feather microcontrollers with MIDI-compatible instruments.
- Creating DIY synthesizers or sound generators.
- Developing MIDI-based lighting or visual effects systems.
- Experimenting with MIDI communication in educational or hobbyist projects.
Technical Specifications
The Adafruit MIDI FeatherWing Kit is designed to work seamlessly with Feather microcontrollers and provides robust MIDI communication capabilities. Below are the key technical details:
General Specifications
| Parameter | Value |
|---|---|
| Manufacturer | Adafruit |
| Part ID | 4740 |
| Communication Protocol | MIDI (Musical Instrument Digital Interface) |
| Input Voltage | 3.3V or 5V (depends on Feather board used) |
| Dimensions | 51mm x 23mm x 8mm |
| Weight | 5.5g |
Pin Configuration and Descriptions
The MIDI FeatherWing Kit connects to the Feather microcontroller via its standard Feather headers. Below is the pin configuration:
| Pin Name | Description |
|---|---|
| TX | Transmit pin for MIDI output. Sends MIDI data from the Feather to devices. |
| RX | Receive pin for MIDI input. Receives MIDI data from external devices. |
| 3V or 5V | Power supply pin. Voltage depends on the Feather board used. |
| GND | Ground pin. Common ground for the Feather and MIDI FeatherWing. |
MIDI Ports
- MIDI IN: Standard 5-pin DIN connector for receiving MIDI data.
- MIDI OUT: Standard 5-pin DIN connector for sending MIDI data.
Usage Instructions
The Adafruit MIDI FeatherWing Kit is easy to set up and use with Feather microcontrollers. Follow the steps below to integrate it into your project:
Assembly
- Soldering: Solder the included headers to the FeatherWing PCB. Ensure clean and secure connections.
- Connection: Attach the FeatherWing to your Feather microcontroller by aligning the headers and pressing them together.
- MIDI Ports: Connect MIDI cables to the MIDI IN and MIDI OUT ports as needed.
Circuit Integration
- Ensure the Feather microcontroller is powered via USB or a battery.
- Connect the MIDI FeatherWing to external MIDI devices using standard 5-pin DIN cables.
- Use the TX and RX pins for MIDI communication. The Feather microcontroller will handle the data processing.
Example Code for Arduino UNO-Compatible Feather Boards
Below is an example of how to send and receive MIDI messages using the Adafruit MIDI FeatherWing Kit with a Feather board:
#include <MIDI.h> // Include the MIDI library

MIDI_CREATE_DEFAULT_INSTANCE(); // Create a default MIDI instance

void setup() {
  MIDI.begin(MIDI_CHANNEL_OMNI);
  // Start MIDI communication on all channels
  Serial.begin(9600);
  // Initialize serial communication for debugging
  Serial.println("MIDI FeatherWing Example");
}

void loop() {
  if (MIDI.read()) {
    // Check if a MIDI message is received
    Serial.print("Received MIDI message: ");
    Serial.print("Type: ");
    Serial.print(MIDI.getType());
    Serial.print(", Channel: ");
    Serial.print(MIDI.getChannel());
    Serial.print(", Data1: ");
    Serial.print(MIDI.getData1());
    Serial.print(", Data2: ");
    Serial.println(MIDI.getData2());
  }

  // Example: Send a Note On message (Middle C, velocity 100) on channel 1
  MIDI.sendNoteOn(60, 100, 1);
  delay(500); // Wait for 500ms
  MIDI.sendNoteOff(60, 0, 1);
  delay(500); // Wait for 500ms
}
Important Considerations and Best Practices
- Ensure the Feather microcontroller and MIDI FeatherWing are securely connected.
- Use appropriate MIDI cables to avoid signal loss or interference.
- Verify that the Feather board's voltage (3.3V or 5V) matches the MIDI FeatherWing's requirements.
- Use the latest version of the Arduino IDE and install the MIDI Library from the Library Manager.
Troubleshooting and FAQs
Common Issues and Solutions
No MIDI Communication:
- Verify that the FeatherWing is properly connected to the Feather microcontroller.
- Check the solder joints on the headers for any loose or cold connections.
- Ensure the MIDI cables are securely plugged into the MIDI IN and OUT ports.
Incorrect MIDI Messages:
- Confirm that the TX and RX pins are correctly configured in your code.
- Check the MIDI channel settings in your code and ensure they match the external device.
Power Issues:
- Ensure the Feather microcontroller is powered via USB or a battery.
- Verify that the Feather board's voltage matches the FeatherWing's requirements.
FAQs
Q: Can I use the MIDI FeatherWing with non-Adafruit Feather boards?
A: The MIDI FeatherWing is designed for Adafruit Feather boards, but it may work with other boards that have compatible pin layouts. Ensure proper voltage levels and pin configurations.
Q: Does the MIDI FeatherWing support USB MIDI?
A: No, the MIDI FeatherWing is designed for standard 5-pin DIN MIDI communication. For USB MIDI, additional hardware or software may be required.
Q: Can I use multiple MIDI FeatherWings in one project?
A: Yes, but you will need to manage the TX and RX pins carefully to avoid conflicts. Consider using a multiplexer or software-based routing.
By following this documentation, you can effectively integrate the Adafruit MIDI FeatherWing Kit into your projects and explore the exciting world of MIDI communication!