How to Use Pilot lamp blue: Examples, Pinouts, and Specs
Introduction
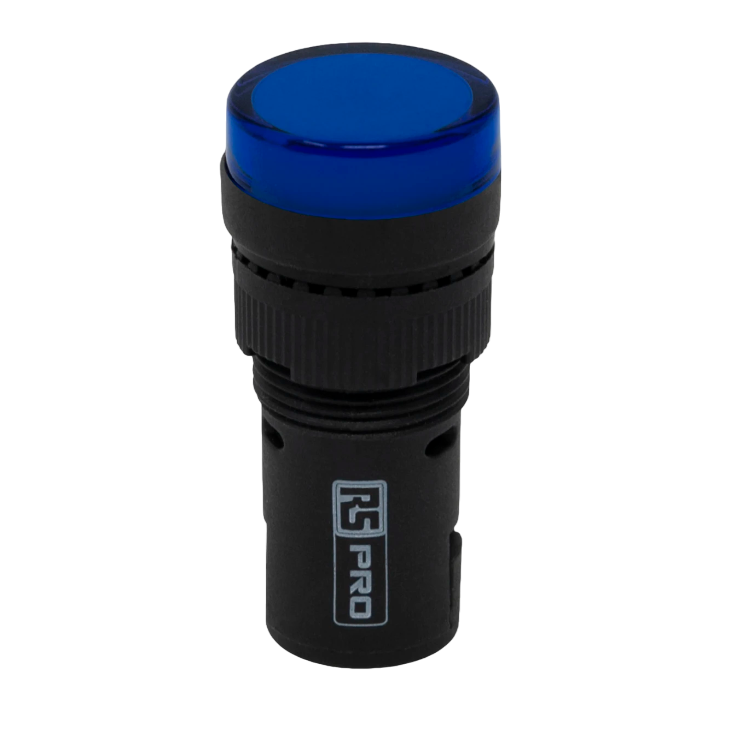
A Pilot Lamp Blue is a small indicator light commonly used in electronic circuits to provide a visual indication of the on/off status or a specific condition. These lamps are often found on control panels, dashboards, and various types of machinery to alert operators to the operational state of a device.
Explore Projects Built with Pilot lamp blue


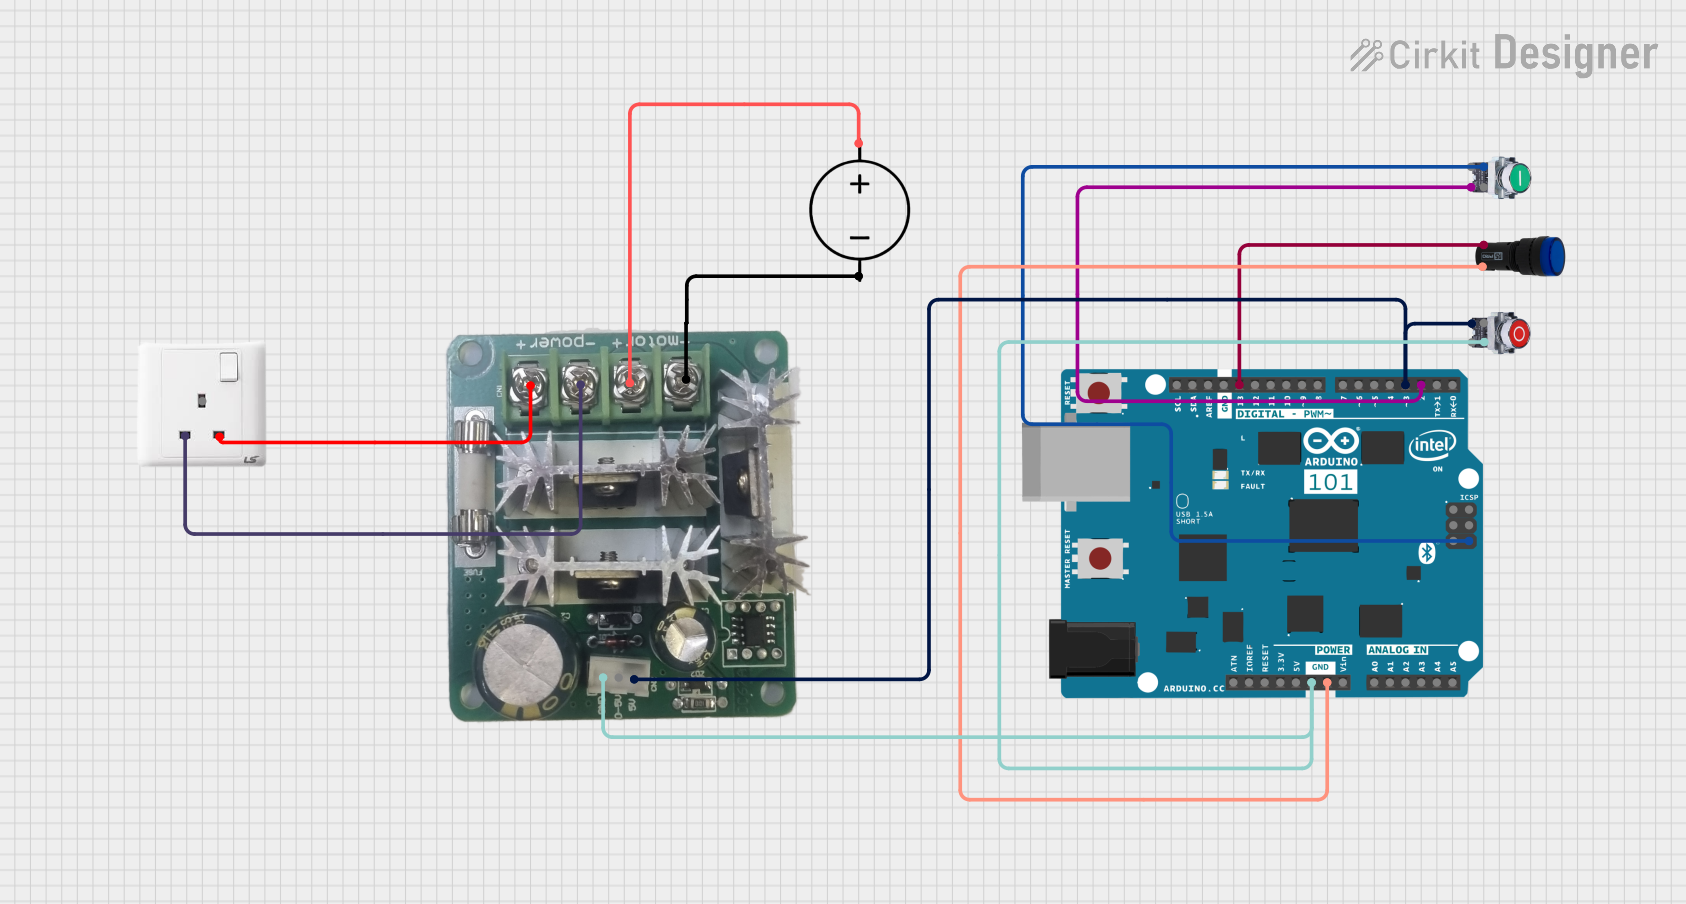
Explore Projects Built with Pilot lamp blue
Common Applications and Use Cases
- Control panels for machinery
- Dashboard indicators in vehicles
- Power status indicators on electronic devices
- Signal indicators in communication equipment
Technical Specifications
Key Technical Details
- Voltage Rating: Typically 12V or 24V
- Current Consumption: Depends on the specific model, usually in the range of 10-20mA
- Power Rating: Generally low, around 0.2W to 0.5W
- Luminous Color: Blue
- Lifespan: Often rated for 10,000 to 100,000 hours of continuous use
- Operating Temperature: -20°C to +65°C
Pin Configuration and Descriptions
| Pin Number | Description | Notes |
|---|---|---|
| 1 | Anode (+) | Connect to positive voltage |
| 2 | Cathode (-) | Connect to ground |
Usage Instructions
How to Use the Component in a Circuit
- Power Supply: Ensure that the power supply matches the voltage rating of the Pilot Lamp Blue.
- Connection: Connect the anode pin to the positive side of the power supply and the cathode pin to the ground.
- Series Resistor: If the voltage supply exceeds the lamp's rating, include a current-limiting resistor in series to prevent damage.
- Switching: To control the lamp, you can use a switch, relay, or a transistor circuit to toggle the power supply to the lamp.
Important Considerations and Best Practices
- Voltage Matching: Always verify that the supply voltage matches the lamp's specifications to avoid overloading.
- Heat Dissipation: Although Pilot Lamps typically do not generate much heat, ensure there is adequate ventilation around the lamp.
- Mounting: Secure the lamp firmly in place to prevent movement that could lead to wiring fatigue or disconnection.
Troubleshooting and FAQs
Common Issues Users Might Face
- Lamp Does Not Illuminate: Check the power supply and connections. Ensure the polarity is correct and that there is no break in the circuit.
- Flickering Lamp: This could indicate a loose connection or an intermittent power supply. Check all connections and the stability of the power source.
- Dim Light: The voltage may be lower than required, or the lamp may be nearing the end of its lifespan.
Solutions and Tips for Troubleshooting
- Double-Check Connections: Ensure all connections are secure and properly soldered if applicable.
- Voltage Testing: Use a multimeter to test the voltage at the lamp's terminals to ensure it matches the specifications.
- Resistor Calculation: If using a resistor, calculate the correct value using Ohm's law to ensure the current is within the safe operating range for the lamp.
FAQs
Q: Can I use a Pilot Lamp Blue with an Arduino UNO? A: Yes, you can use it with an Arduino UNO, but ensure you include a current-limiting resistor.
Q: What resistor value should I use? A: The resistor value depends on your supply voltage and the lamp's voltage rating. Use the formula: R = (V_supply - V_lamp) / I_lamp.
Q: Is polarity important when connecting the Pilot Lamp Blue? A: Yes, connecting the lamp with reverse polarity will prevent it from lighting up.
Example Arduino UNO Code
// Define the pin where the pilot lamp is connected
const int pilotLampPin = 13; // Most Arduino UNOs have an onboard LED at pin 13

void setup() {
  // Set the pilot lamp pin as an output
  pinMode(pilotLampPin, OUTPUT);
}

void loop() {
  // Turn on the pilot lamp
  digitalWrite(pilotLampPin, HIGH);
  delay(1000); // Wait for 1 second
  // Turn off the pilot lamp
  digitalWrite(pilotLampPin, LOW);
  delay(1000); // Wait for 1 second
}
Note: When connecting the Pilot Lamp Blue to an Arduino UNO, ensure you use a current-limiting resistor if the lamp's voltage rating is less than the Arduino's 5V output. The onboard LED at pin 13 has an integrated resistor on the Arduino UNO board.