How to Use Float Switch: Examples, Pinouts, and Specs
Introduction
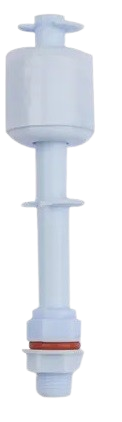
A float switch is an essential device used to detect and control the level of liquid within a tank or container. It operates on a simple mechanism: a buoyant float is attached to a switch, which activates as the liquid level rises or falls. This makes float switches ideal for applications such as automatic water level control in tanks, sump pump activation, and overflow prevention.
Explore Projects Built with Float Switch
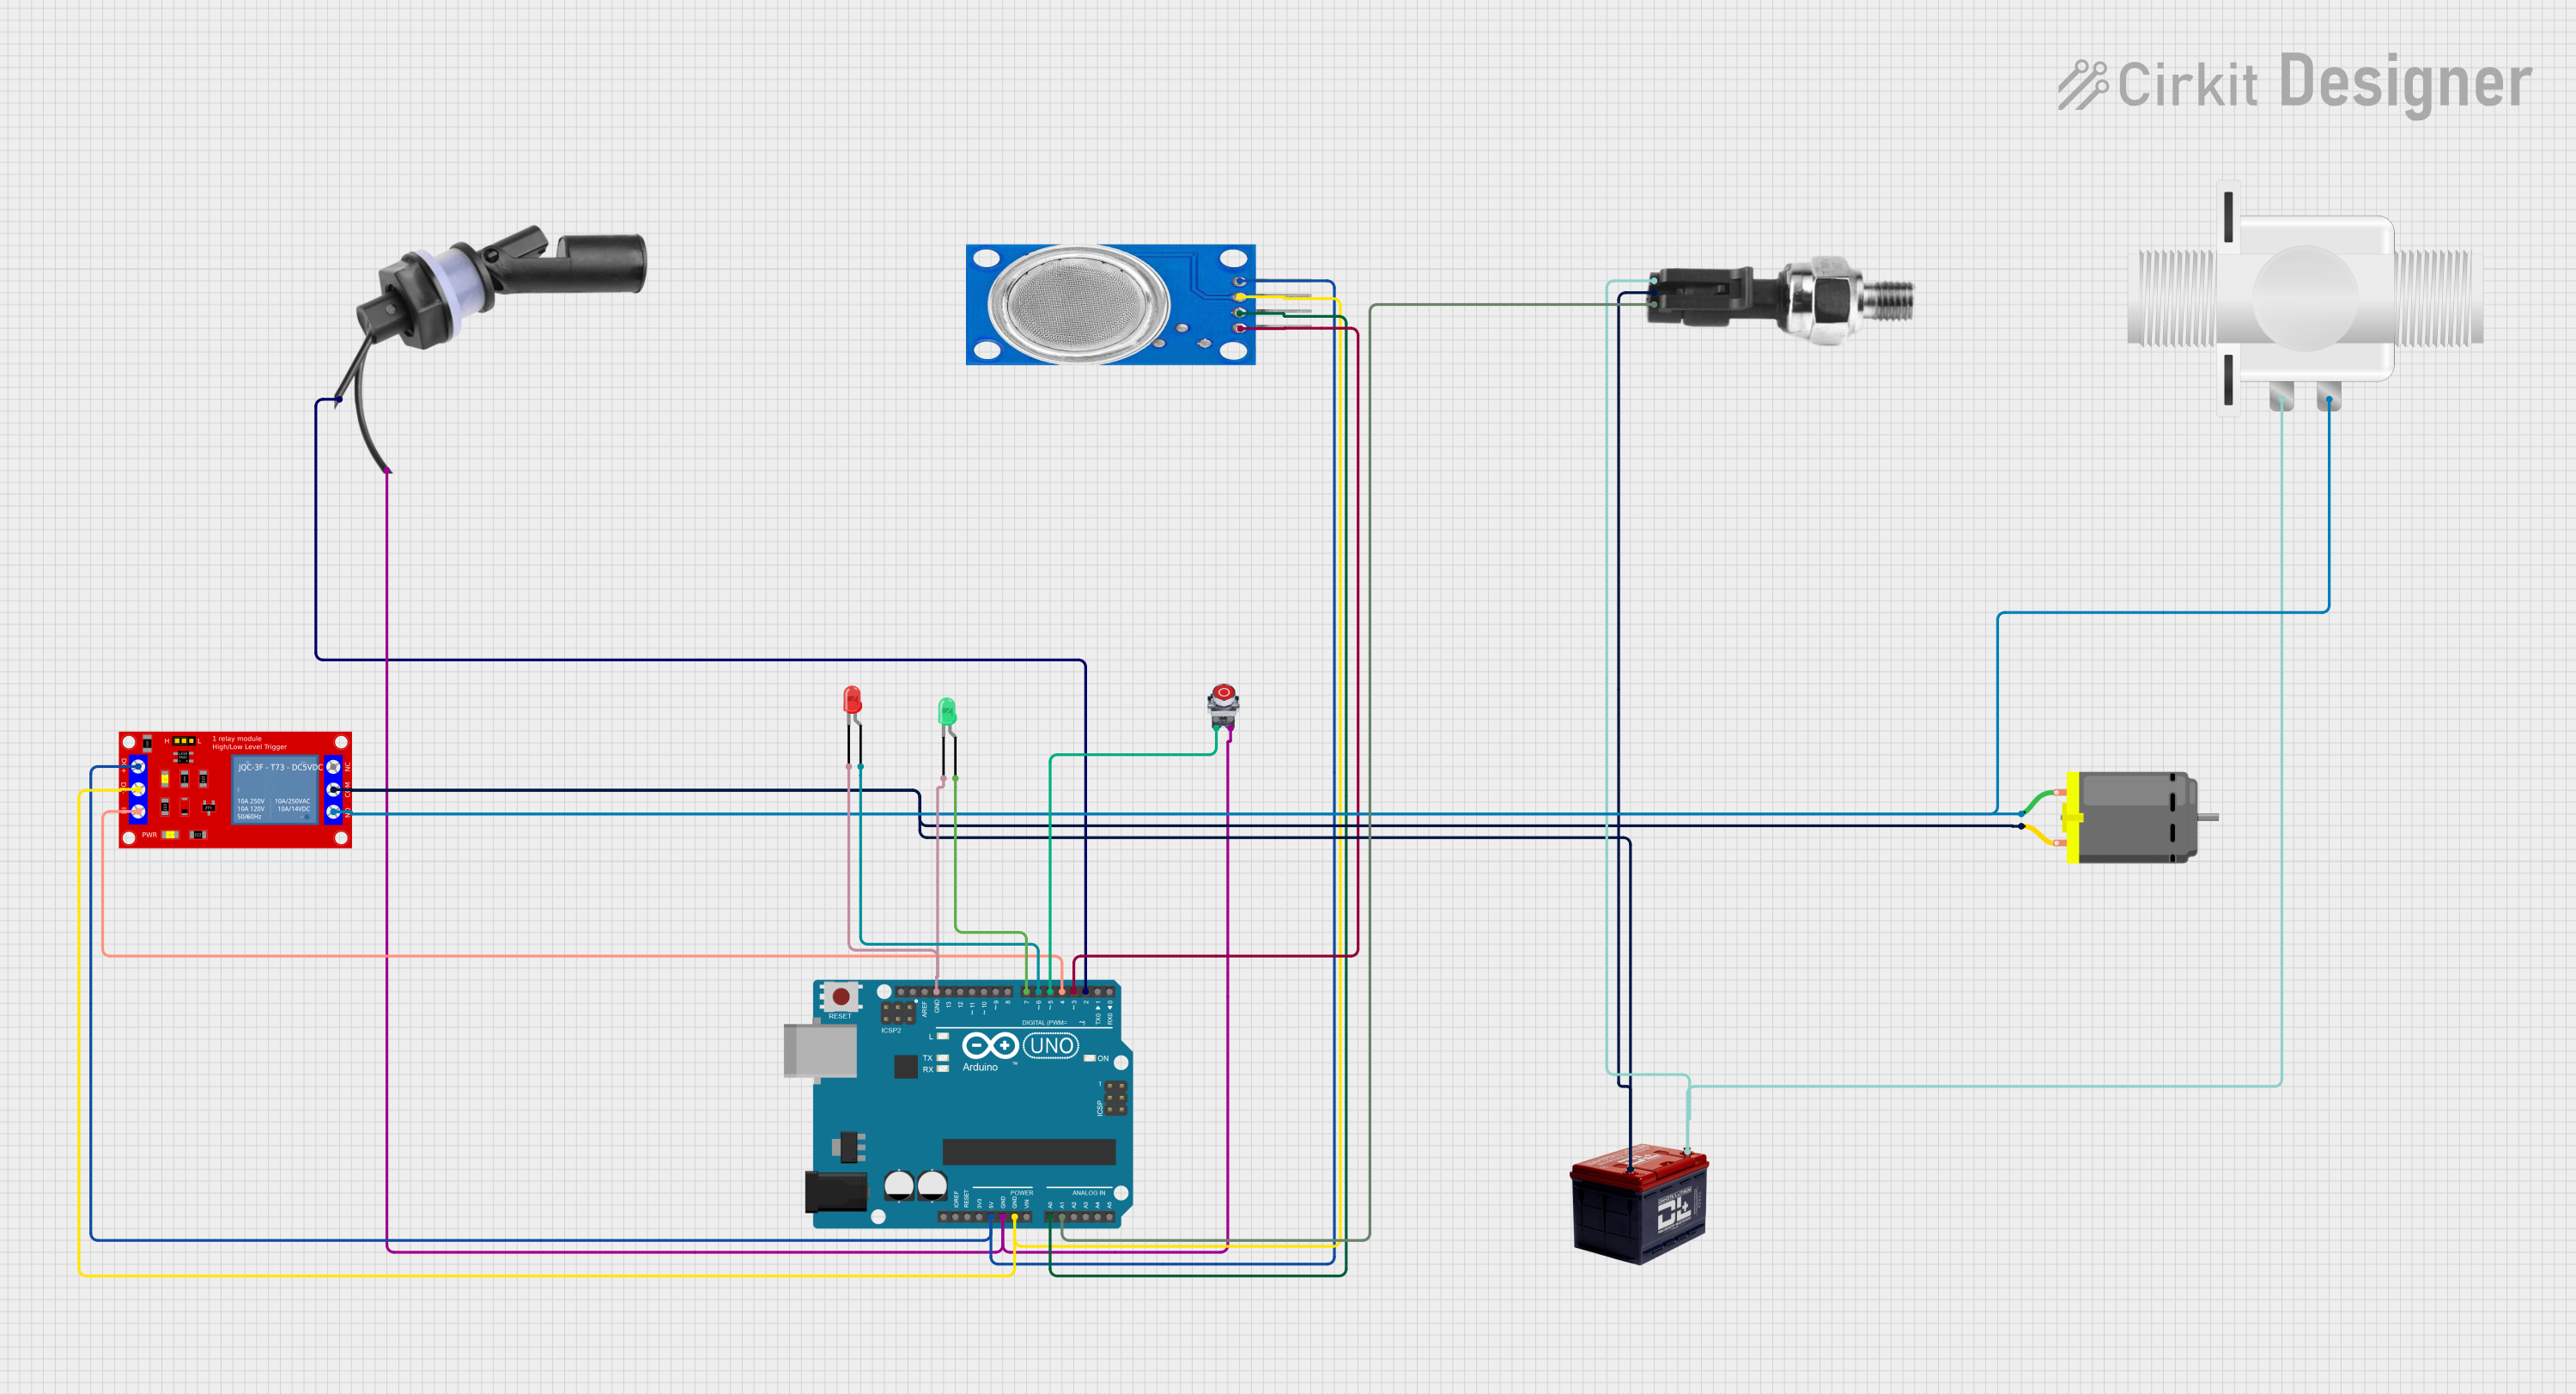
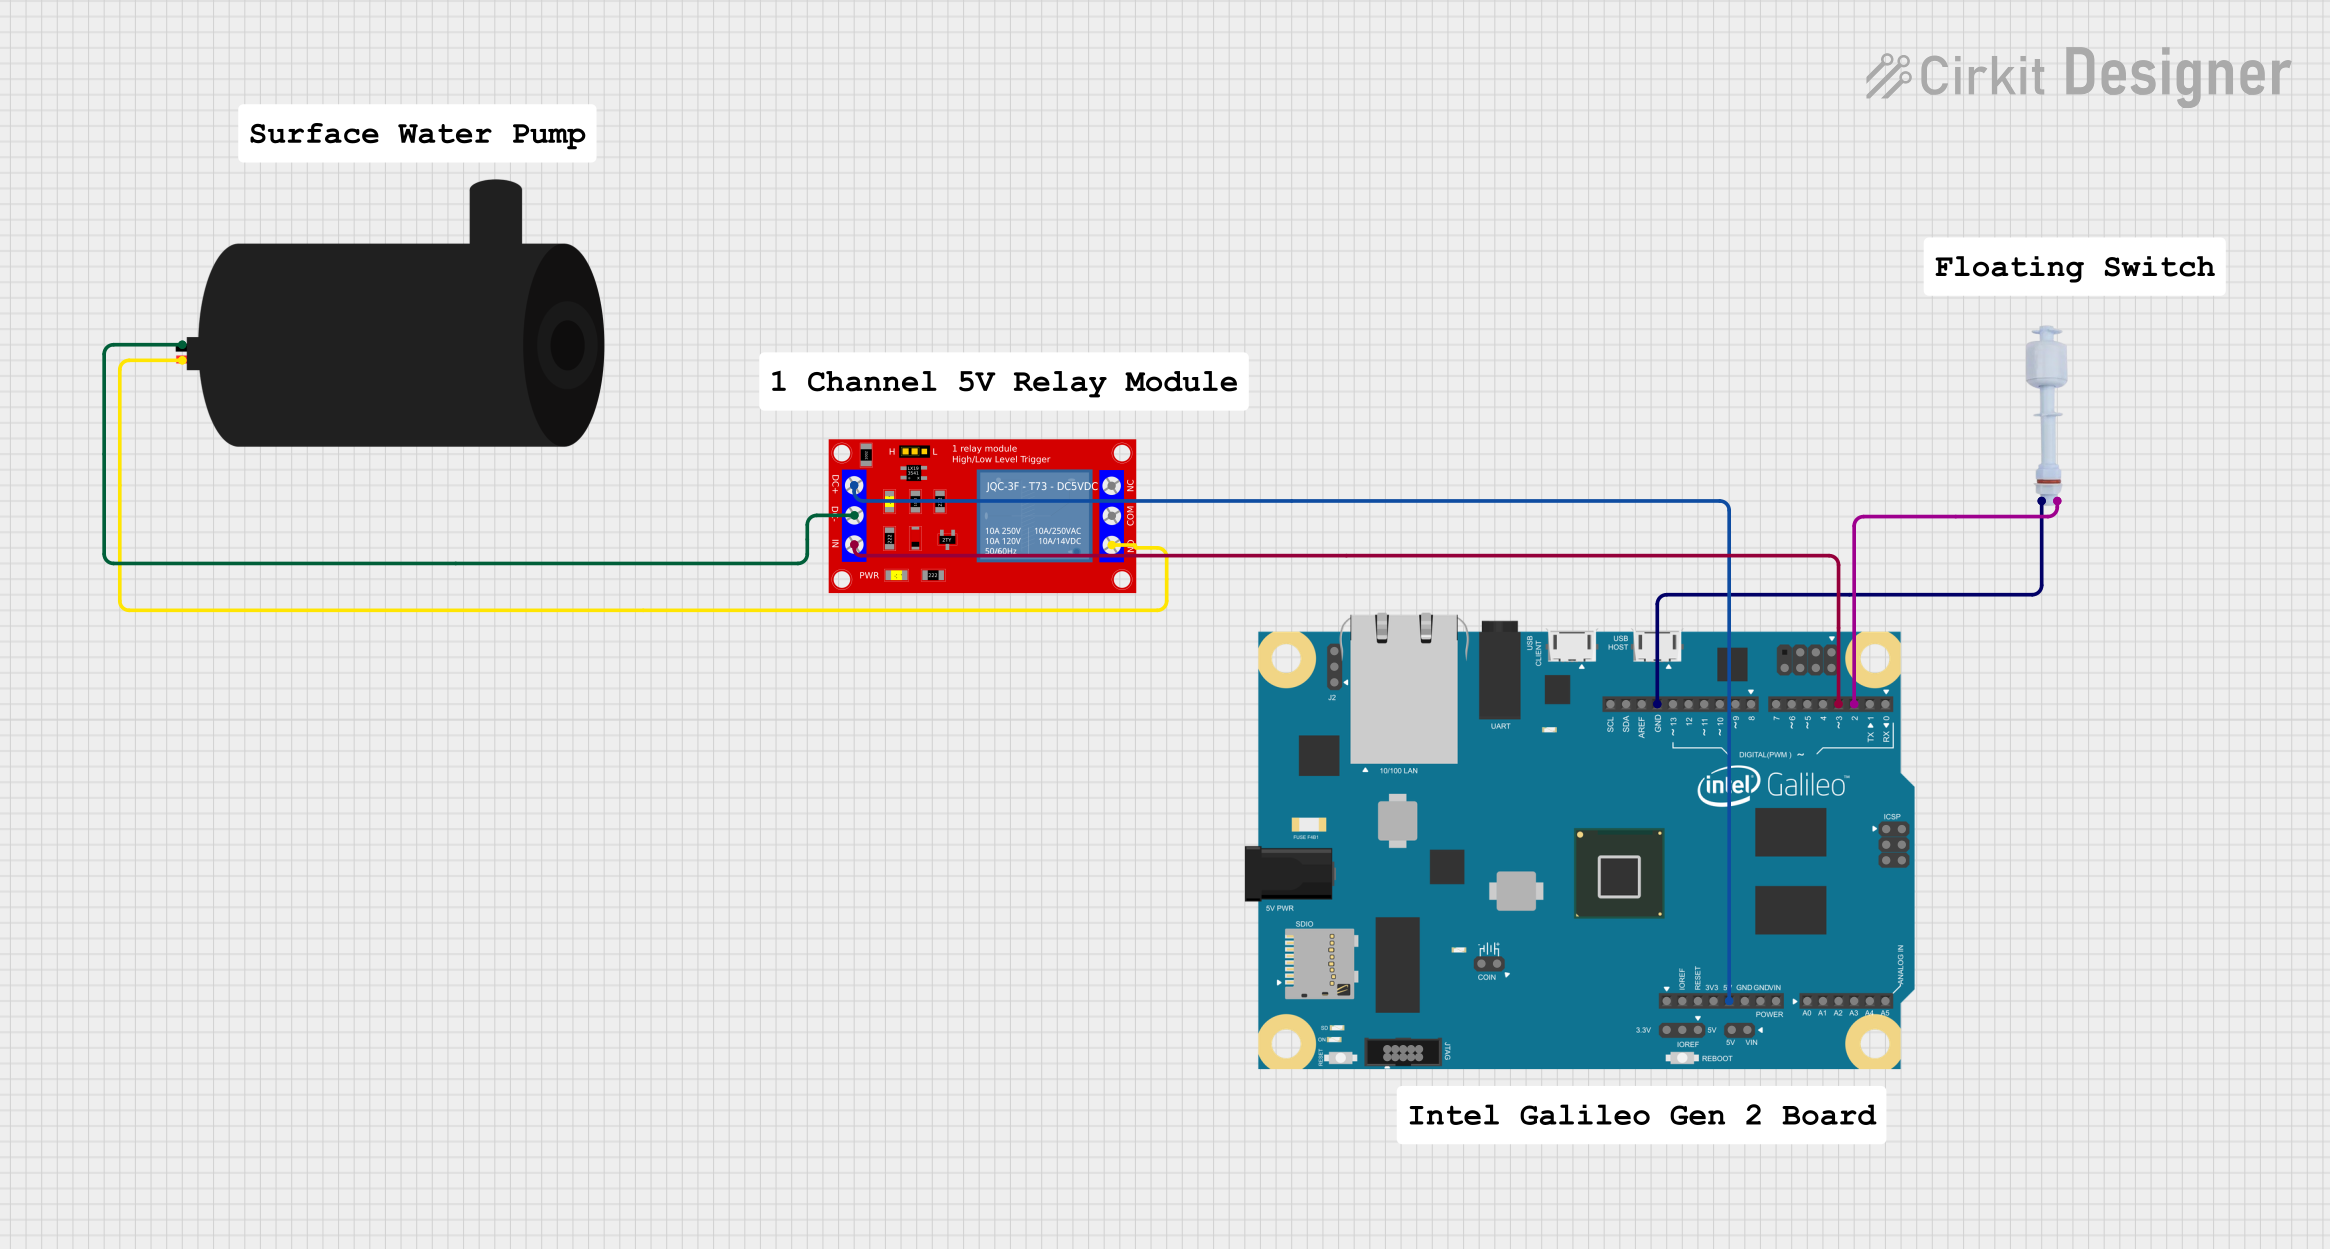
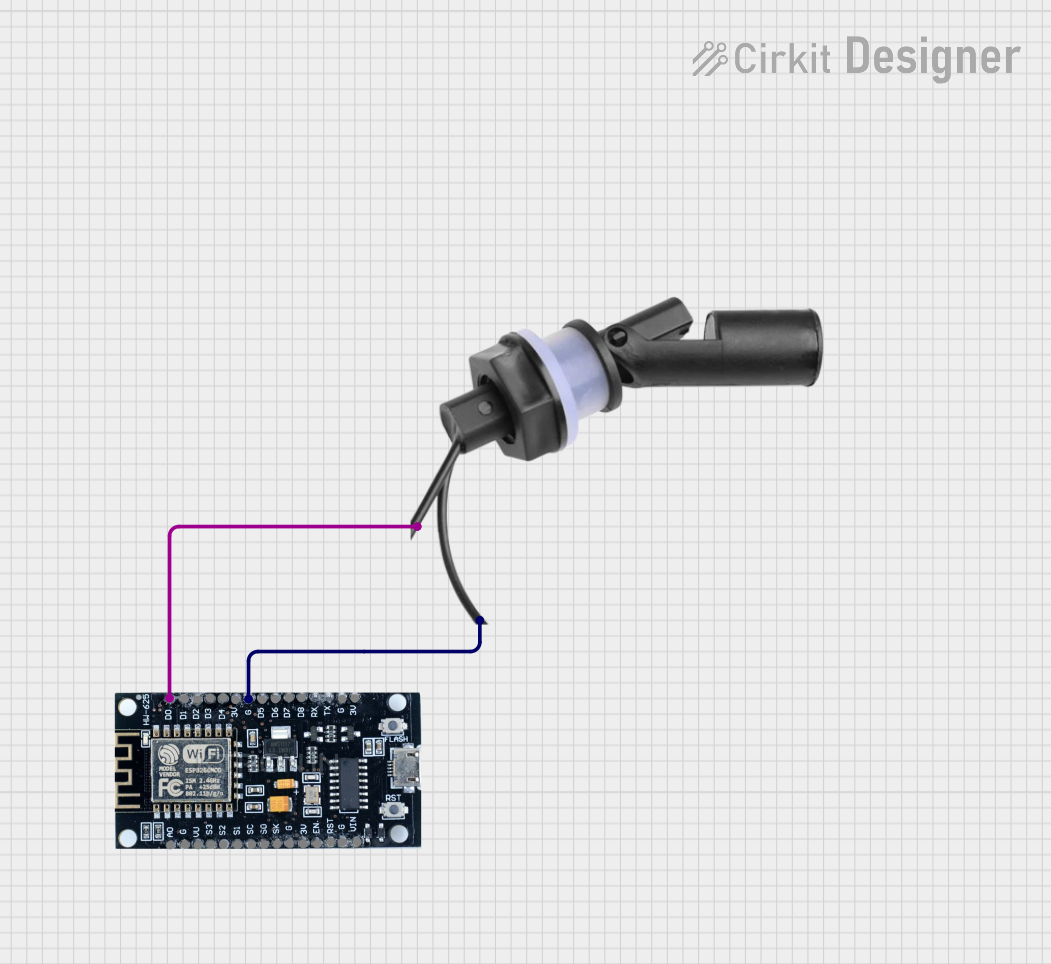
Explore Projects Built with Float Switch
Common Applications and Use Cases
- Water level monitoring in tanks and sumps
- Automatic refilling or draining systems
- Overflow or dry-run protection for pumps
- Alarms for high or low water levels
Technical Specifications
Key Technical Details
- Operating Voltage: Typically 5V to 24V DC
- Max Switching Current: Often 0.5A to 1A (varies by model)
- Max Switching Voltage: Commonly up to 100V to 240V AC
- Temperature Range: Usually -10°C to 60°C (varies by model)
- Material: Often made of plastic (e.g., PP) or stainless steel for corrosion resistance
Pin Configuration and Descriptions
| Pin Number | Description |
|---|---|
| 1 | Common (COM) |
| 2 | Normally Closed (NC) Contact |
| 3 | Normally Open (NO) Contact |
- Common (COM): Connects to the power supply.
- Normally Closed (NC): Circuit is closed when the float is at rest (low level).
- Normally Open (NO): Circuit is open when the float is at rest (low level).
Usage Instructions
How to Use the Component in a Circuit
- Identify the Contacts: Determine the COM, NC, and NO contacts on the float switch.
- Connect Power: Attach the COM contact to the power supply.
- Set Up Control Circuit: Connect the NO or NC contact to the device you wish to control (e.g., a relay or an alarm).
- Mount the Float Switch: Secure the float switch at the desired height in the tank or container.
- Test the System: Fill the container with liquid to ensure the float switch activates at the correct level.
Important Considerations and Best Practices
- Mounting Position: Ensure the float switch is mounted vertically for accurate operation.
- Material Compatibility: Choose a float switch with materials compatible with the liquid.
- Electrical Ratings: Do not exceed the voltage and current ratings of the float switch.
- Debouncing: Implement a debounce circuit or software to prevent rapid switching due to turbulence.
Troubleshooting and FAQs
Common Issues
- Switch Does Not Activate: Verify the float can move freely and is not obstructed.
- Intermittent Operation: Check for loose connections and ensure proper contact with terminals.
- Corrosion or Damage: Inspect the float switch for any signs of wear or chemical damage.
Solutions and Tips
- Free Movement: Regularly check that the float moves without hindrance.
- Secure Connections: Tighten terminal screws and ensure wires are firmly connected.
- Regular Inspection: Periodically inspect the float switch for any signs of damage or malfunction.
FAQs
Q: Can I use a float switch with any liquid? A: Float switches are designed for use with a variety of liquids, but always check the material compatibility with the specific liquid in your application.
Q: How do I adjust the switch activation point? A: Adjust the mounting height of the float switch to change the activation point.
Q: Is it possible to use a float switch with an Arduino? A: Yes, a float switch can be connected to an Arduino's digital input pin for liquid level sensing.
Example Arduino Code
// Define the float switch pin
const int floatSwitchPin = 2;

void setup() {
  pinMode(floatSwitchPin, INPUT_PULLUP); // Set the float switch pin as an input
  Serial.begin(9600);                    // Start serial communication
}

void loop() {
  // Read the state of the float switch
  int floatSwitchState = digitalRead(floatSwitchPin);

  // Check if the float switch is triggered (assuming NO configuration)
  if (floatSwitchState == LOW) {
    // The liquid level has reached the float switch
    Serial.println("Liquid level high");
  } else {
    // The liquid level is below the float switch
    Serial.println("Liquid level low");
  }

  delay(1000); // Wait for 1 second before reading again
}
Note: The above code assumes the float switch is wired in a Normally Open (NO) configuration. If your switch is Normally Closed (NC), the logic in the if statement will be reversed.