
How to Use 8 Ohm 2W Square Cavity Speaker: Examples, Pinouts, and Specs
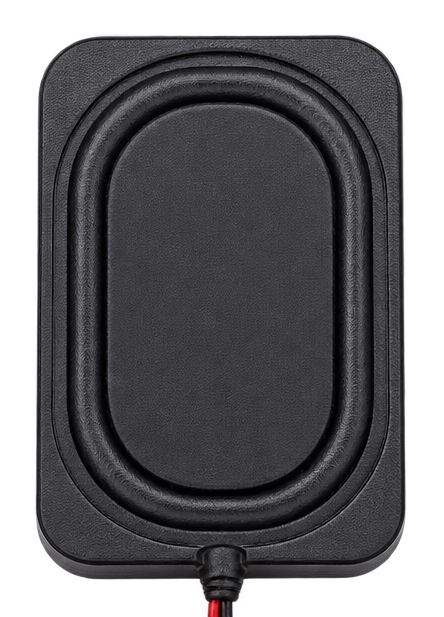
 Design with 8 Ohm 2W Square Cavity Speaker in Cirkit Designer
Introduction
The LAFVIN 8 Ohm 2W Speaker is a compact and efficient audio output device designed for use in a wide range of electronic projects. With an impedance of 8 Ohms and a power rating of 2 Watts, this speaker is ideal for applications requiring clear and reliable sound output in a small form factor. Its square cavity design enhances sound quality, making it suitable for hobbyist projects, DIY audio systems, and educational purposes.
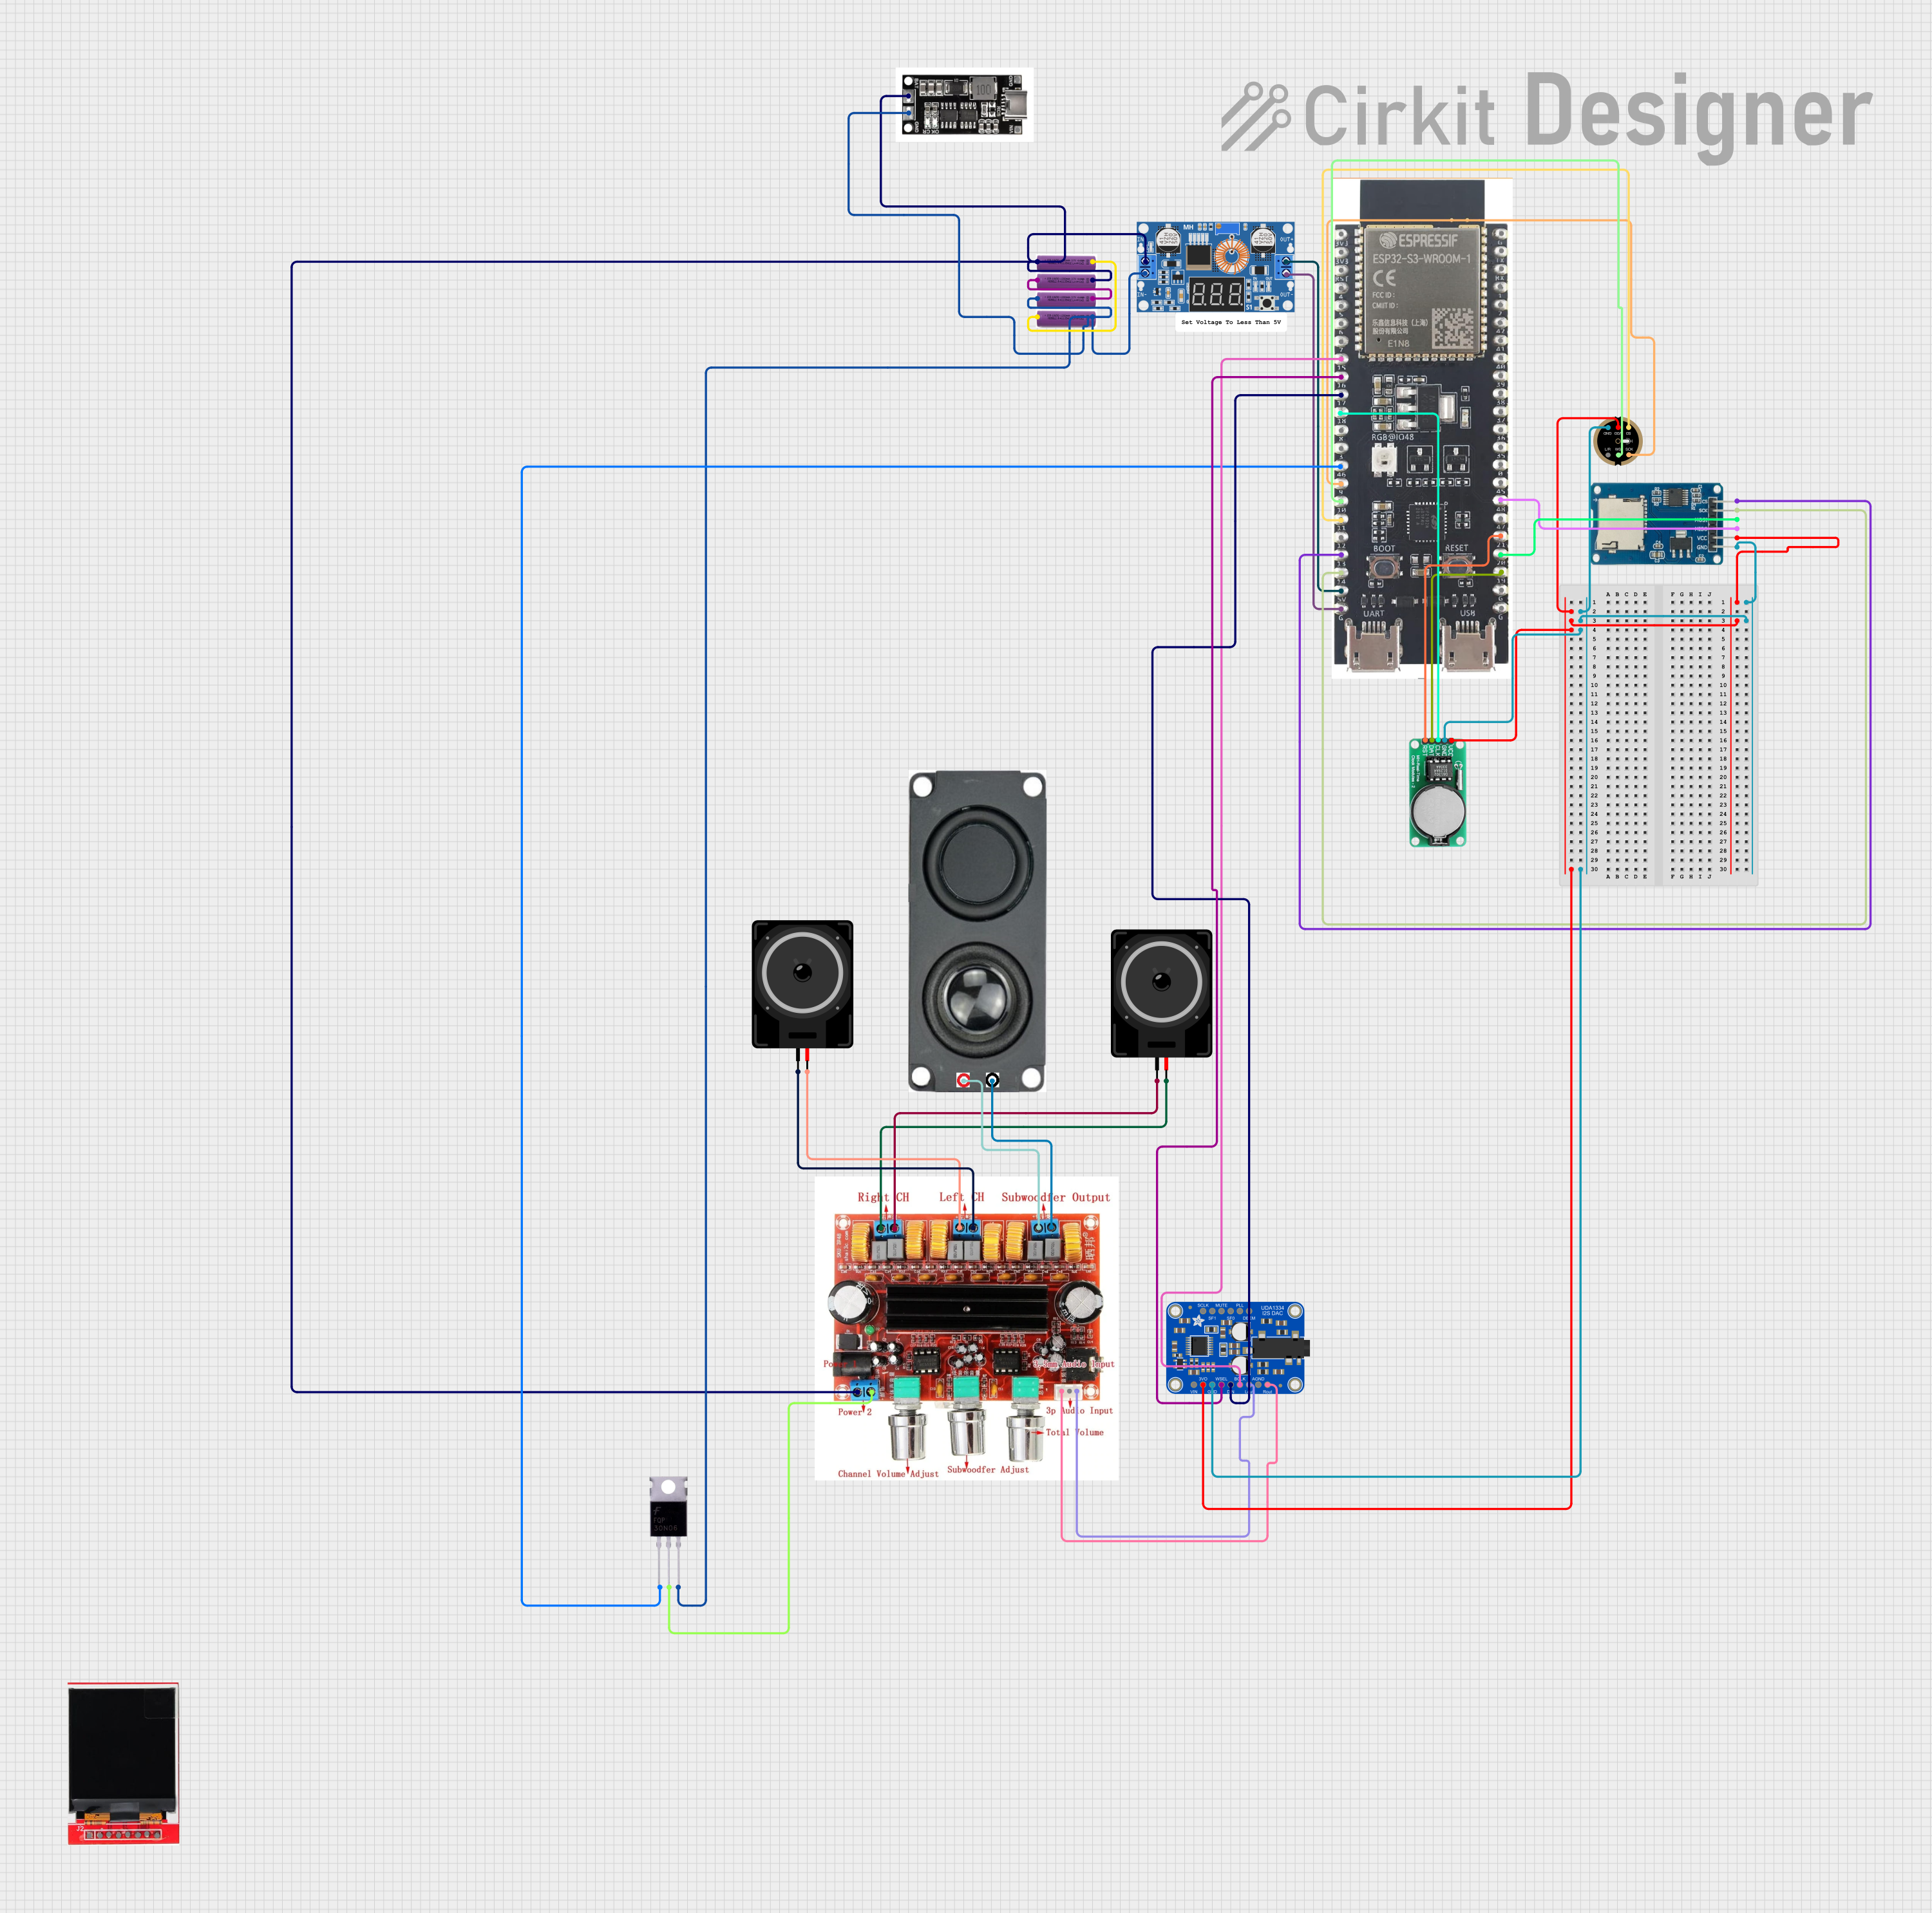
Explore Projects Built with 8 Ohm 2W Square Cavity Speaker
 Open Project in Cirkit Designer
 Open Project in Cirkit Designer
 Open Project in Cirkit Designer
 Open Project in Cirkit Designer
Explore Projects Built with 8 Ohm 2W Square Cavity Speaker
Open Project in Cirkit DesignerOpen Project in Cirkit DesignerOpen Project in Cirkit DesignerOpen Project in Cirkit DesignerCommon Applications
- Audio output for microcontroller-based projects (e.g., Arduino, Raspberry Pi)
- DIY portable speaker systems
- Alarm and notification systems
- Educational kits and experiments
- Voice playback modules in embedded systems
Technical Specifications
Below are the key technical details of the LAFVIN 8 Ohm 2W Speaker:
| Parameter | Specification |
|---|---|
| Manufacturer | LAFVIN |
| Part ID | LAFVIN 8 Ohm 2W Speaker |
| Impedance | 8 Ohms |
| Power Rating | 2 Watts |
| Frequency Response | 200 Hz – 20 kHz |
| Dimensions | 40 mm x 40 mm x 15 mm |
| Connector Type | Solder terminals |
| Housing Material | Plastic (square cavity design) |
| Weight | ~20 grams |
Pin Configuration and Descriptions
The speaker has two solder terminals for electrical connections:
| Terminal | Description |
|---|---|
| Positive (+) | Connect to the positive output of the audio amplifier or circuit. |
| Negative (-) | Connect to the ground or negative output of the audio amplifier. |
Usage Instructions
How to Use the Speaker in a Circuit
Connect to an Audio Amplifier:
The speaker requires an audio amplifier to drive it effectively. Ensure the amplifier's output matches the speaker's impedance (8 Ohms) and does not exceed its power rating (2 Watts).Wiring:
- Solder the positive terminal of the speaker to the positive output of the amplifier.
- Solder the negative terminal of the speaker to the ground or negative output of the amplifier.
Use insulated wires to prevent short circuits.
Mounting:
Secure the speaker in your project enclosure using screws or adhesive, ensuring the cavity is unobstructed for optimal sound quality.Testing:
Play an audio signal through the amplifier to test the speaker. Adjust the volume to avoid exceeding the power rating.
Important Considerations and Best Practices
- Power Handling: Do not exceed the 2W power rating to prevent damage to the speaker.
- Impedance Matching: Ensure the amplifier's output impedance matches the speaker's 8 Ohm impedance for efficient operation.
- Avoid Overheating: Prolonged use at high volumes may cause overheating. Allow adequate ventilation.
- Polarity: Always connect the terminals with the correct polarity to avoid phase issues.
- Protection: Use a capacitor or resistor in series if needed to limit current and protect the speaker.
Example: Connecting to an Arduino UNO
To use the speaker with an Arduino UNO, you can connect it via a simple transistor-based amplifier circuit. Below is an example circuit and code to generate a tone:
Circuit Diagram
- Connect the speaker's positive terminal to the collector of an NPN transistor (e.g., 2N2222).
- Connect the emitter of the transistor to ground.
- Connect a 1 kΩ resistor between the Arduino's digital pin (e.g., D9) and the transistor's base.
- Connect the speaker's negative terminal to ground.
- Power the Arduino and upload the code.
Arduino Code
// Example code to generate a tone on the LAFVIN 8 Ohm 2W Speaker
// Connect the speaker via a transistor amplifier circuit as described above.

int speakerPin = 9; // Pin connected to the transistor base via a resistor

void setup() {
  pinMode(speakerPin, OUTPUT); // Set the pin as an output
}

void loop() {
  // Generate a 1 kHz tone for 500 ms
  tone(speakerPin, 1000, 500);
  delay(1000); // Wait for 1 second before repeating

  // Generate a 500 Hz tone for 500 ms
  tone(speakerPin, 500, 500);
  delay(1000); // Wait for 1 second before repeating
}
Troubleshooting and FAQs
Common Issues
No Sound Output:
- Check the wiring and ensure the speaker is connected to the amplifier correctly.
- Verify that the amplifier is powered and functioning.
- Ensure the audio signal is being sent to the amplifier.
Distorted Sound:
- Reduce the volume or power level to avoid overdriving the speaker.
- Check for loose connections or damaged wires.
Speaker Not Working with Arduino:
- Ensure the transistor amplifier circuit is correctly assembled.
- Verify the Arduino code is uploaded and running without errors.
Overheating:
- Ensure the speaker is not being driven beyond its 2W power rating.
- Allow proper ventilation around the speaker.
FAQs
Q: Can I connect the speaker directly to an Arduino pin?
A: No, the Arduino cannot supply enough current to drive the speaker directly. Use a transistor-based amplifier circuit.
Q: What type of amplifier should I use?
A: Use an amplifier that supports an 8 Ohm load and outputs a maximum of 2 Watts.
Q: Can I use this speaker for music playback?
A: Yes, but the sound quality and volume will depend on the amplifier and enclosure design.
Q: How do I clean the speaker?
A: Use a soft, dry cloth to clean the speaker. Avoid using liquids or abrasive materials.
By following this documentation, you can effectively integrate the LAFVIN 8 Ohm 2W Speaker into your projects and achieve optimal performance.