Cirkit Designer Logo
Cirkit Designer
Your all-in-one circuit design IDE
Home / 
Component Documentation

How to Use Holybro Airspeed Sensor: Examples, Pinouts, and Specs

Image of Holybro Airspeed Sensor
Cirkit Designer LogoDesign with Holybro Airspeed Sensor in Cirkit Designer

Introduction

The Holybro Airspeed Sensor is an electronic device designed to measure the speed of an aircraft relative to the surrounding air. This sensor is crucial for various applications, including unmanned aerial vehicles (UAVs), drones, and other aircraft, where accurate airspeed measurements are essential for stability and performance. It is commonly used in autopilot systems and can provide data for flight control algorithms to ensure safe and efficient operation.

Explore Projects Built with Holybro Airspeed Sensor
Use Cirkit Designer to design, explore, and prototype these projects online. Some projects support real-time simulation. Click "Open Project" to start designing instantly!
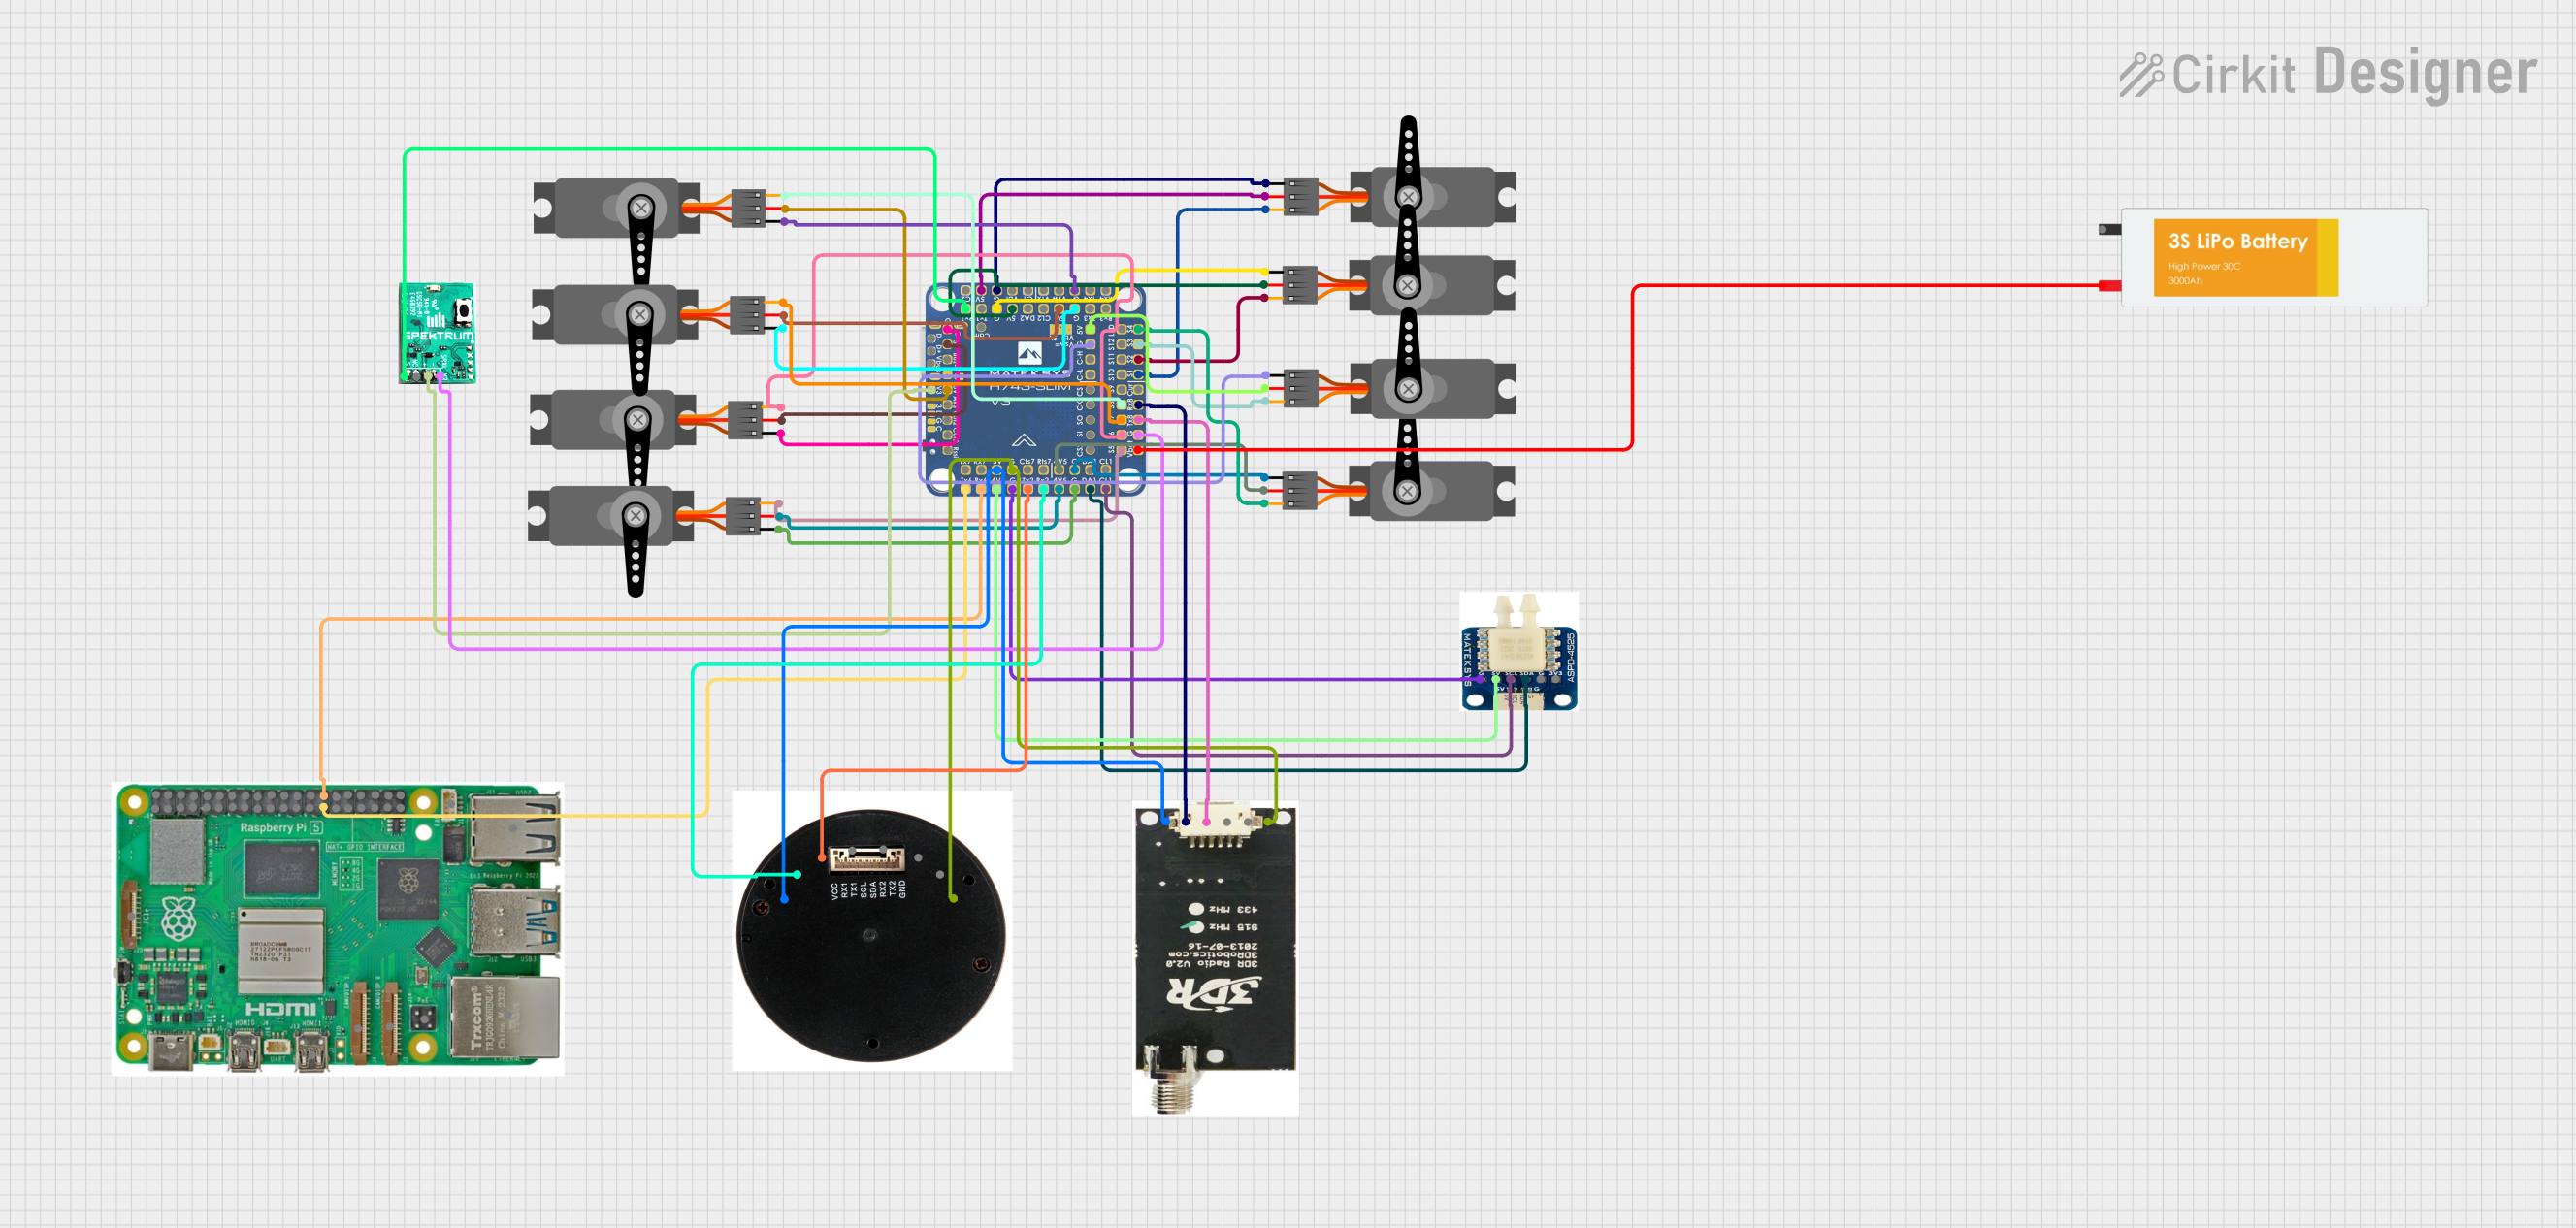
Raspberry Pi and H743-SLIM V3 Controlled Servo System with GPS and Telemetry
Image of Avionics Wiring Diagram: A project utilizing Holybro Airspeed Sensor in a practical application
This circuit is designed for a UAV control system, featuring an H743-SLIM V3 flight controller connected to multiple servos for control surfaces, a GPS module for navigation, a telemetry radio for communication, and a digital airspeed sensor for flight data. The system is powered by a LiPo battery and includes a Raspberry Pi for additional processing and control tasks.
Cirkit Designer LogoOpen Project in Cirkit Designer
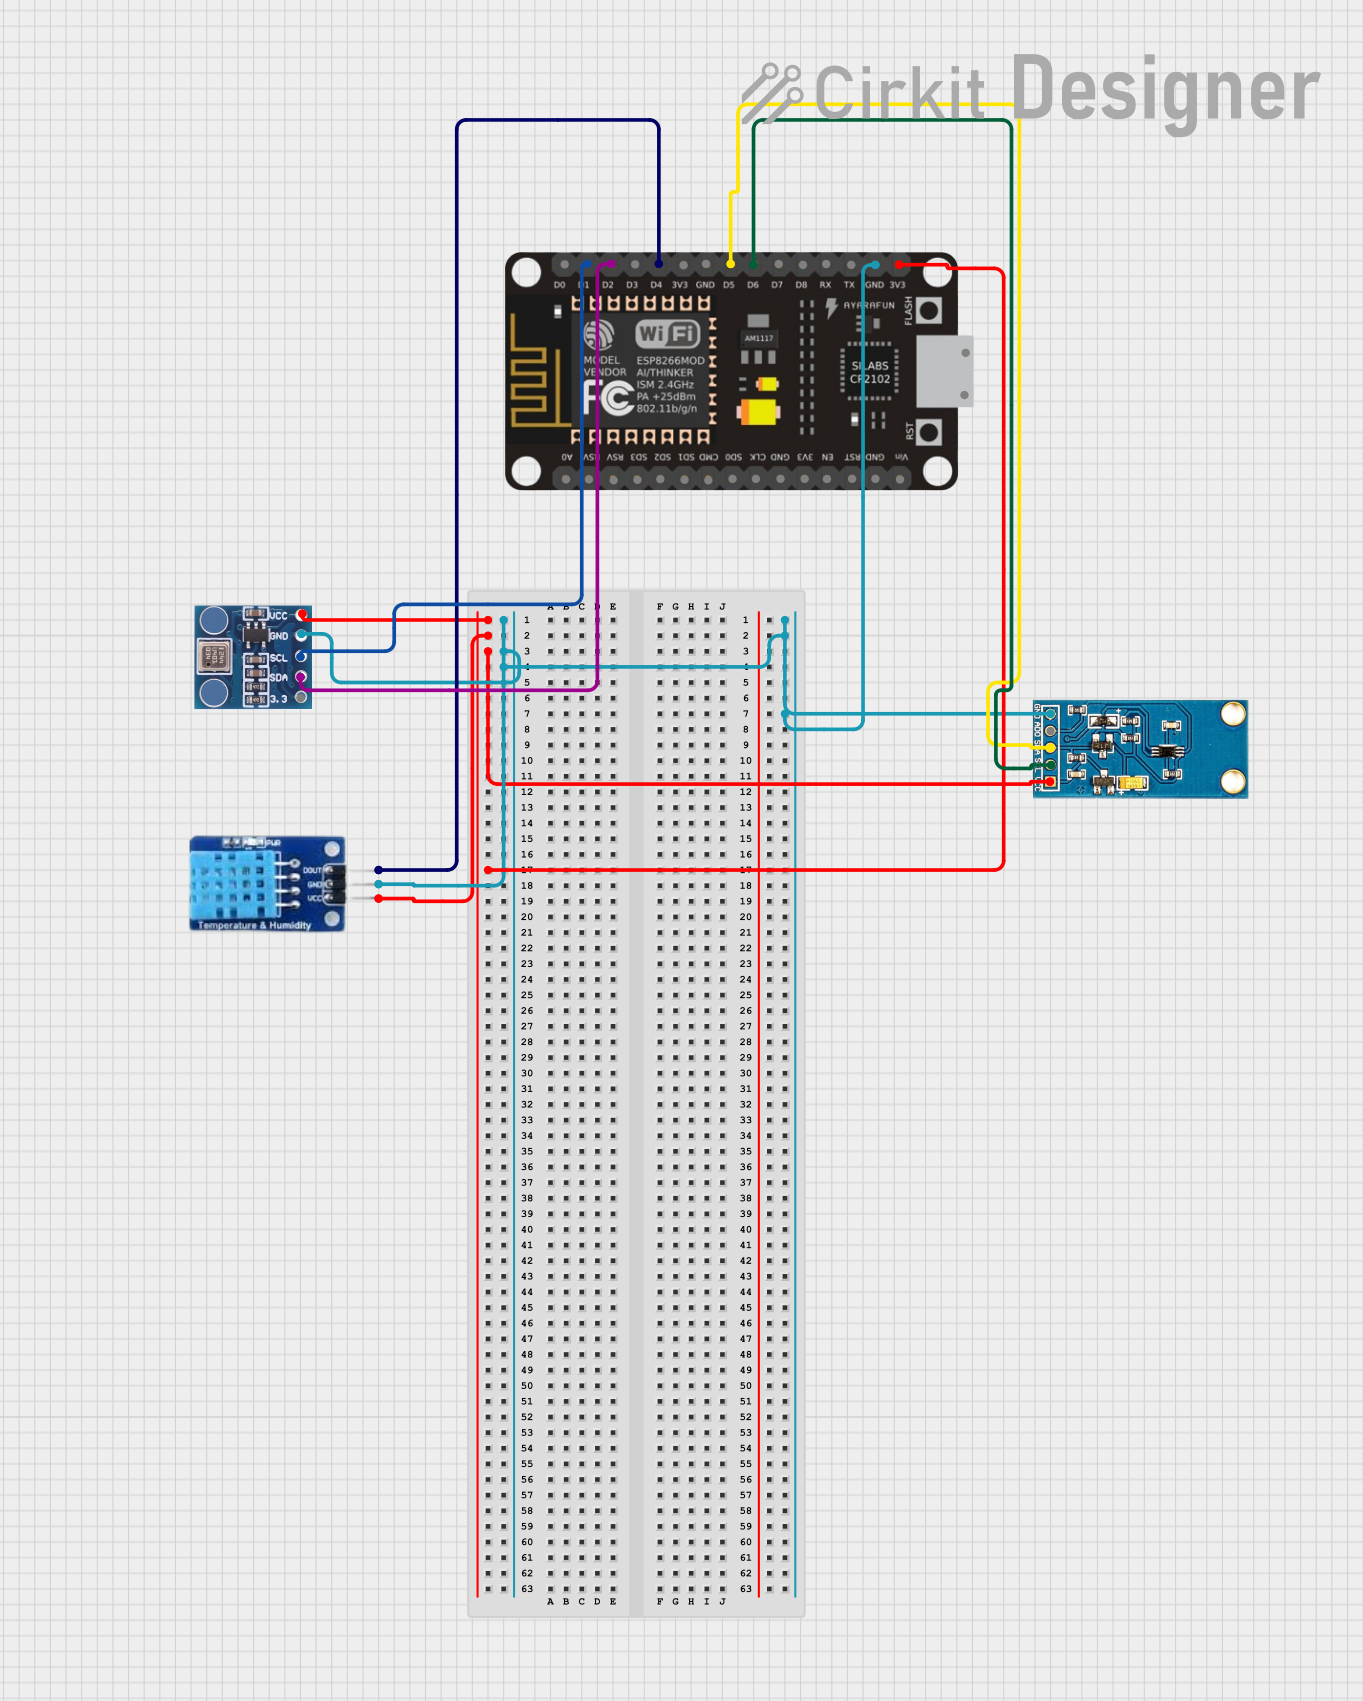
ESP8266-Based Environmental Monitoring System
Image of Stacja_Pogodowa1: A project utilizing Holybro Airspeed Sensor in a practical application
This circuit is designed to collect environmental data using an ESP-8266 microcontroller connected to a BMP180 barometric pressure sensor, a GY-30 BH1750FVI digital light intensity sensor, and a DHT11 temperature and humidity sensor. The sensors are interfaced with the ESP-8266 via I2C (SCL and SDA lines) and digital IO pins, and they share a common power supply (3.3V) and ground. The circuit is likely intended for weather monitoring or home automation applications, with capabilities to measure temperature, humidity, barometric pressure, and light intensity.
Cirkit Designer LogoOpen Project in Cirkit Designer
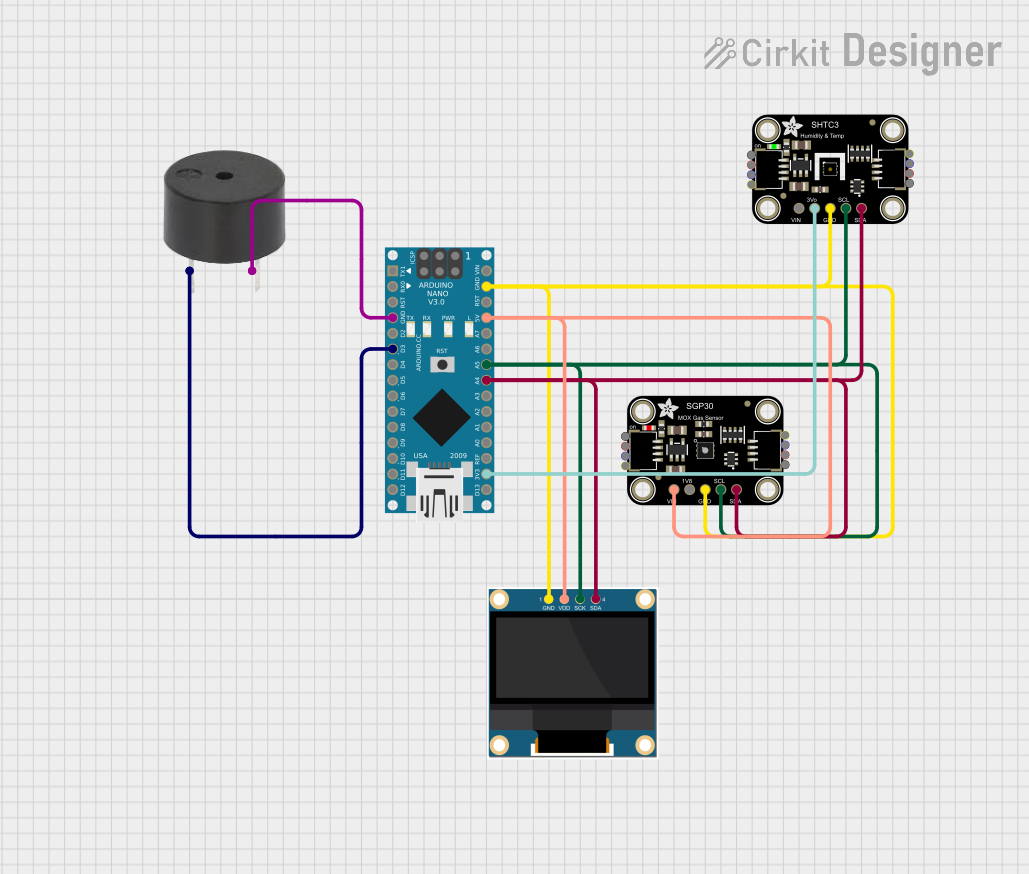
Arduino Nano-Based Air Quality Monitor with OLED Display and Alert Buzzer
Image of Luftkvalitetsmätare: A project utilizing Holybro Airspeed Sensor in a practical application
This circuit features an Arduino Nano microcontroller interfaced with an Adafruit SGP30 air quality sensor, an Adafruit SHTC3 temperature and humidity sensor, and a 0.96" OLED display for real-time environmental monitoring. The sensors communicate with the Arduino via I2C, with the SGP30 and SHTC3 sensors providing air quality readings (CO2 and TVOC) and temperature/humidity data, respectively, which are then displayed on the OLED. Additionally, a buzzer is connected to the Arduino and is programmed to activate when CO2 levels exceed a certain threshold, serving as an alert system.
Cirkit Designer LogoOpen Project in Cirkit Designer
Battery-Powered Health Monitoring System with Nucleo WB55RG and OLED Display
Image of Pulsefex: A project utilizing Holybro Airspeed Sensor in a practical application
This circuit is a multi-sensor data acquisition system that uses a Nucleo WB55RG microcontroller to interface with a digital temperature sensor (TMP102), a pulse oximeter and heart-rate sensor (MAX30102), and a 0.96" OLED display via I2C. Additionally, it includes a Sim800l module for GSM communication, powered by a 3.7V LiPo battery.
Cirkit Designer LogoOpen Project in Cirkit Designer

Explore Projects Built with Holybro Airspeed Sensor

Use Cirkit Designer to design, explore, and prototype these projects online. Some projects support real-time simulation. Click "Open Project" to start designing instantly!
Image of Avionics Wiring Diagram: A project utilizing Holybro Airspeed Sensor in a practical application
Raspberry Pi and H743-SLIM V3 Controlled Servo System with GPS and Telemetry
This circuit is designed for a UAV control system, featuring an H743-SLIM V3 flight controller connected to multiple servos for control surfaces, a GPS module for navigation, a telemetry radio for communication, and a digital airspeed sensor for flight data. The system is powered by a LiPo battery and includes a Raspberry Pi for additional processing and control tasks.
Cirkit Designer LogoOpen Project in Cirkit Designer
Image of Stacja_Pogodowa1: A project utilizing Holybro Airspeed Sensor in a practical application
ESP8266-Based Environmental Monitoring System
This circuit is designed to collect environmental data using an ESP-8266 microcontroller connected to a BMP180 barometric pressure sensor, a GY-30 BH1750FVI digital light intensity sensor, and a DHT11 temperature and humidity sensor. The sensors are interfaced with the ESP-8266 via I2C (SCL and SDA lines) and digital IO pins, and they share a common power supply (3.3V) and ground. The circuit is likely intended for weather monitoring or home automation applications, with capabilities to measure temperature, humidity, barometric pressure, and light intensity.
Cirkit Designer LogoOpen Project in Cirkit Designer
Image of Luftkvalitetsmätare: A project utilizing Holybro Airspeed Sensor in a practical application
Arduino Nano-Based Air Quality Monitor with OLED Display and Alert Buzzer
This circuit features an Arduino Nano microcontroller interfaced with an Adafruit SGP30 air quality sensor, an Adafruit SHTC3 temperature and humidity sensor, and a 0.96" OLED display for real-time environmental monitoring. The sensors communicate with the Arduino via I2C, with the SGP30 and SHTC3 sensors providing air quality readings (CO2 and TVOC) and temperature/humidity data, respectively, which are then displayed on the OLED. Additionally, a buzzer is connected to the Arduino and is programmed to activate when CO2 levels exceed a certain threshold, serving as an alert system.
Cirkit Designer LogoOpen Project in Cirkit Designer
Image of Pulsefex: A project utilizing Holybro Airspeed Sensor in a practical application
Battery-Powered Health Monitoring System with Nucleo WB55RG and OLED Display
This circuit is a multi-sensor data acquisition system that uses a Nucleo WB55RG microcontroller to interface with a digital temperature sensor (TMP102), a pulse oximeter and heart-rate sensor (MAX30102), and a 0.96" OLED display via I2C. Additionally, it includes a Sim800l module for GSM communication, powered by a 3.7V LiPo battery.
Cirkit Designer LogoOpen Project in Cirkit Designer

Technical Specifications

Key Technical Details

  • Operating Voltage: 3.3V to 5.5V
  • Pressure Range: 10 to 2000 Pa
  • Maximum Airspeed: Approximately 100 m/s
  • Operating Temperature: -40°C to +85°C
  • Accuracy: ±0.25% at 1 kHz
  • Output: I2C digital interface

Pin Configuration and Descriptions

Pin Number Description Voltage/Signal
1 VCC 3.3V - 5.5V
2 SDA (I2C Data) Data Signal
3 SCL (I2C Clock) Clock Signal
4 GND Ground

Usage Instructions

Integration with a Circuit

To use the Holybro Airspeed Sensor in a circuit:

  1. Connect the VCC pin to a power supply within the 3.3V to 5.5V range.
  2. Connect the GND pin to the common ground in your circuit.
  3. Connect the SDA and SCL pins to the I2C data and clock lines, respectively.

Important Considerations and Best Practices

  • Ensure that the power supply is stable and within the specified voltage range to prevent damage to the sensor.
  • Use pull-up resistors on the I2C lines if they are not already present on your microcontroller board.
  • Keep the sensor away from direct sunlight and sources of heat to avoid inaccurate readings.
  • Calibrate the sensor before use to ensure accurate airspeed measurements.
  • Protect the sensor from physical damage and moisture.

Example Code for Arduino UNO

#include <Wire.h>

// I2C address for the Holybro Airspeed Sensor
const int airspeedSensorAddress = 0x28;

void setup() {
  Wire.begin(); // Initialize I2C communication
  Serial.begin(9600); // Start serial communication at 9600 baud rate
}

void loop() {
  Wire.requestFrom(airspeedSensorAddress, 2); // Request 2 bytes from the sensor

  if (Wire.available() == 2) {
    // Read the two bytes if available
    byte highByte = Wire.read();
    byte lowByte = Wire.read();

    // Combine the two bytes to form the raw sensor output
    int airspeedRaw = (highByte << 8) | lowByte;

    // Convert the raw value to actual airspeed (example conversion, may require calibration)
    float airspeed = airspeedRaw * 0.1; // Conversion factor may vary

    // Print the airspeed to the serial monitor
    Serial.print("Airspeed: ");
    Serial.print(airspeed);
    Serial.println(" m/s");
  }

  delay(500); // Wait for half a second before reading again
}

Troubleshooting and FAQs

Common Issues

  • Inaccurate Readings: Ensure the sensor is properly calibrated and not exposed to direct sunlight or heat sources.
  • No Data on I2C: Check connections and pull-up resistors on the I2C lines. Also, verify that the correct I2C address is being used.
  • Sensor Not Powering On: Confirm that the power supply is within the specified voltage range and that connections are secure.

Solutions and Tips for Troubleshooting

  • Calibration: Follow the manufacturer's instructions for calibrating the sensor to ensure accurate readings.
  • Connection Issues: Double-check wiring, especially the I2C lines, and ensure that there are no loose connections.
  • I2C Address Conflict: Make sure no other devices on the I2C bus have the same address as the airspeed sensor.

FAQs

Q: Can the sensor be used in extreme weather conditions? A: The sensor operates within a temperature range of -40°C to +85°C. However, it should be protected from moisture and physical damage.

Q: How often should the sensor be calibrated? A: Calibration frequency depends on usage. Regular calibration is recommended, especially if the sensor is subject to significant temperature changes or physical jostling.

Q: What is the maximum airspeed the sensor can measure? A: The sensor can measure airspeeds up to approximately 100 m/s, but it is important to refer to the manufacturer's datasheet for precise limits and accuracy details.