How to Use Solar Panel Multimeter: Examples, Pinouts, and Specs
Introduction
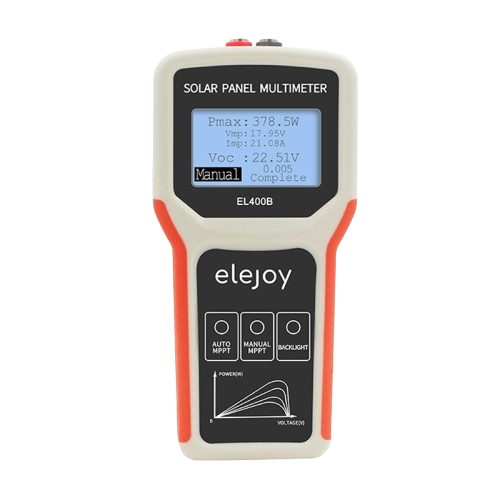
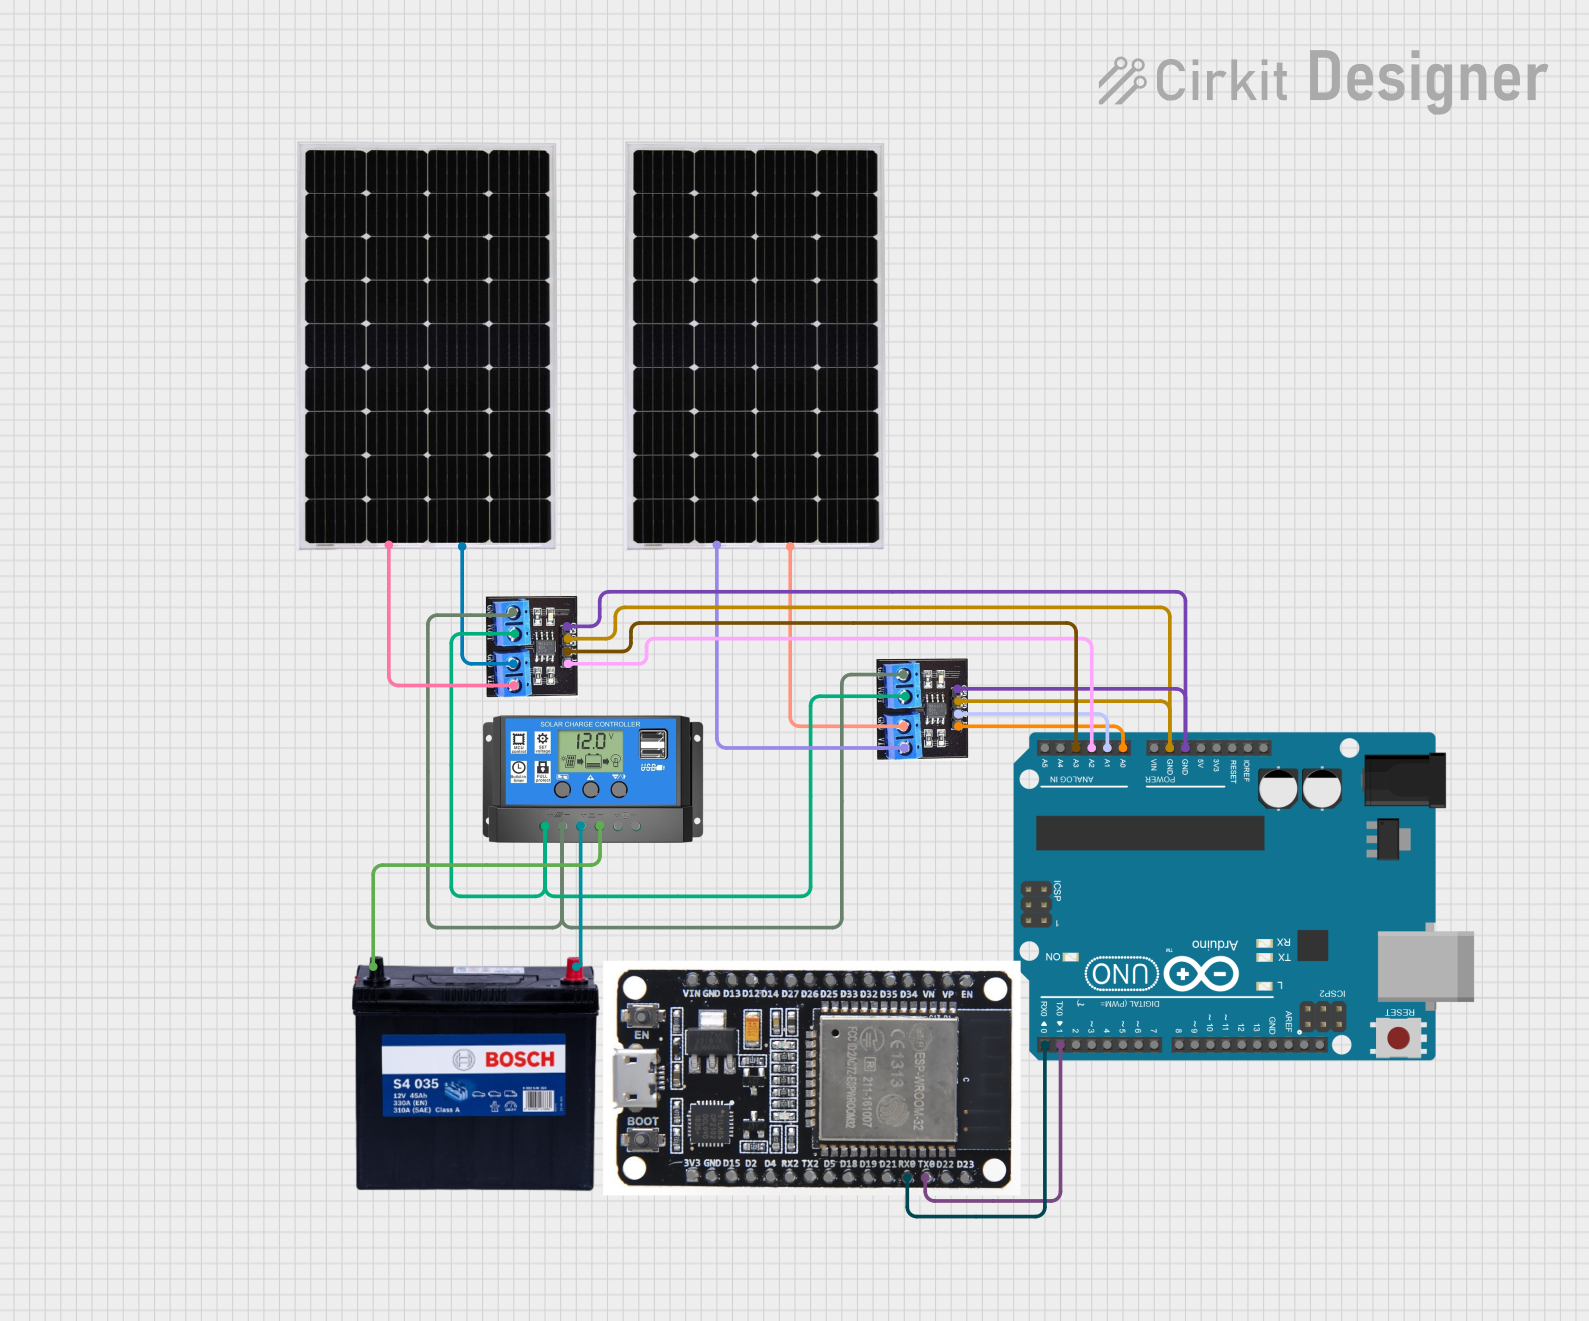
The elejoy 400W MPPT Solar Photovoltaic Panel Multimeter (EL400B) is a versatile and efficient tool designed to monitor and optimize the performance of solar photovoltaic (PV) systems. This device integrates Maximum Power Point Tracking (MPPT) technology to ensure that solar panels operate at their peak efficiency. It measures key parameters such as voltage, current, power, and energy, providing real-time data to users for system diagnostics and optimization.
Explore Projects Built with Solar Panel Multimeter
Explore Projects Built with Solar Panel Multimeter
Common Applications and Use Cases
- Monitoring solar panel performance in residential, commercial, and industrial setups.
- Diagnosing issues in solar PV systems, such as underperformance or wiring faults.
- Optimizing solar panel placement and orientation for maximum energy generation.
- Educational purposes in renewable energy labs and training centers.
Technical Specifications
The following table outlines the key technical details of the elejoy EL400B:
| Parameter | Specification |
|---|---|
| Manufacturer | elejoy |
| Model Number | EL400B |
| Maximum Power Input | 400W |
| Voltage Range | 0V to 100V DC |
| Current Range | 0A to 20A DC |
| Power Measurement Range | 0W to 400W |
| Energy Measurement | 0kWh to 9999kWh |
| Accuracy | ±1% |
| Display Type | LCD with backlight |
| Operating Temperature | -10°C to 60°C |
| Dimensions | 120mm x 80mm x 25mm |
| Weight | 150g |
Pin Configuration and Descriptions
The elejoy EL400B features a simple terminal block for input and output connections. Below is the pin configuration:
| Pin | Label | Description |
|---|---|---|
| 1 | PV+ | Positive terminal for solar panel input |
| 2 | PV- | Negative terminal for solar panel input |
| 3 | LOAD+ | Positive terminal for load connection |
| 4 | LOAD- | Negative terminal for load connection |
Usage Instructions
How to Use the Component in a Circuit
- Connect the Solar Panel:
- Attach the positive terminal of the solar panel to the
PV+pin and the negative terminal to thePV-pin.
- Attach the positive terminal of the solar panel to the
- Connect the Load:
- Connect the positive terminal of the load (e.g., battery, inverter) to the
LOAD+pin and the negative terminal to theLOAD-pin.
- Connect the positive terminal of the load (e.g., battery, inverter) to the
- Power On:
- Once connected, the multimeter will automatically power on and display real-time measurements of voltage, current, power, and energy.
- Monitor the Display:
- Use the LCD screen to monitor the performance of your solar panel and load.
Important Considerations and Best Practices
- Ensure Proper Polarity: Always double-check the polarity of the connections to avoid damage to the multimeter or connected devices.
- Avoid Overloading: Do not exceed the maximum power input of 400W, voltage of 100V, or current of 20A.
- Secure Connections: Use appropriate connectors or terminal blocks to ensure secure and reliable connections.
- Environmental Conditions: Protect the multimeter from extreme weather conditions, such as heavy rain or direct sunlight, to ensure accurate readings and longevity.
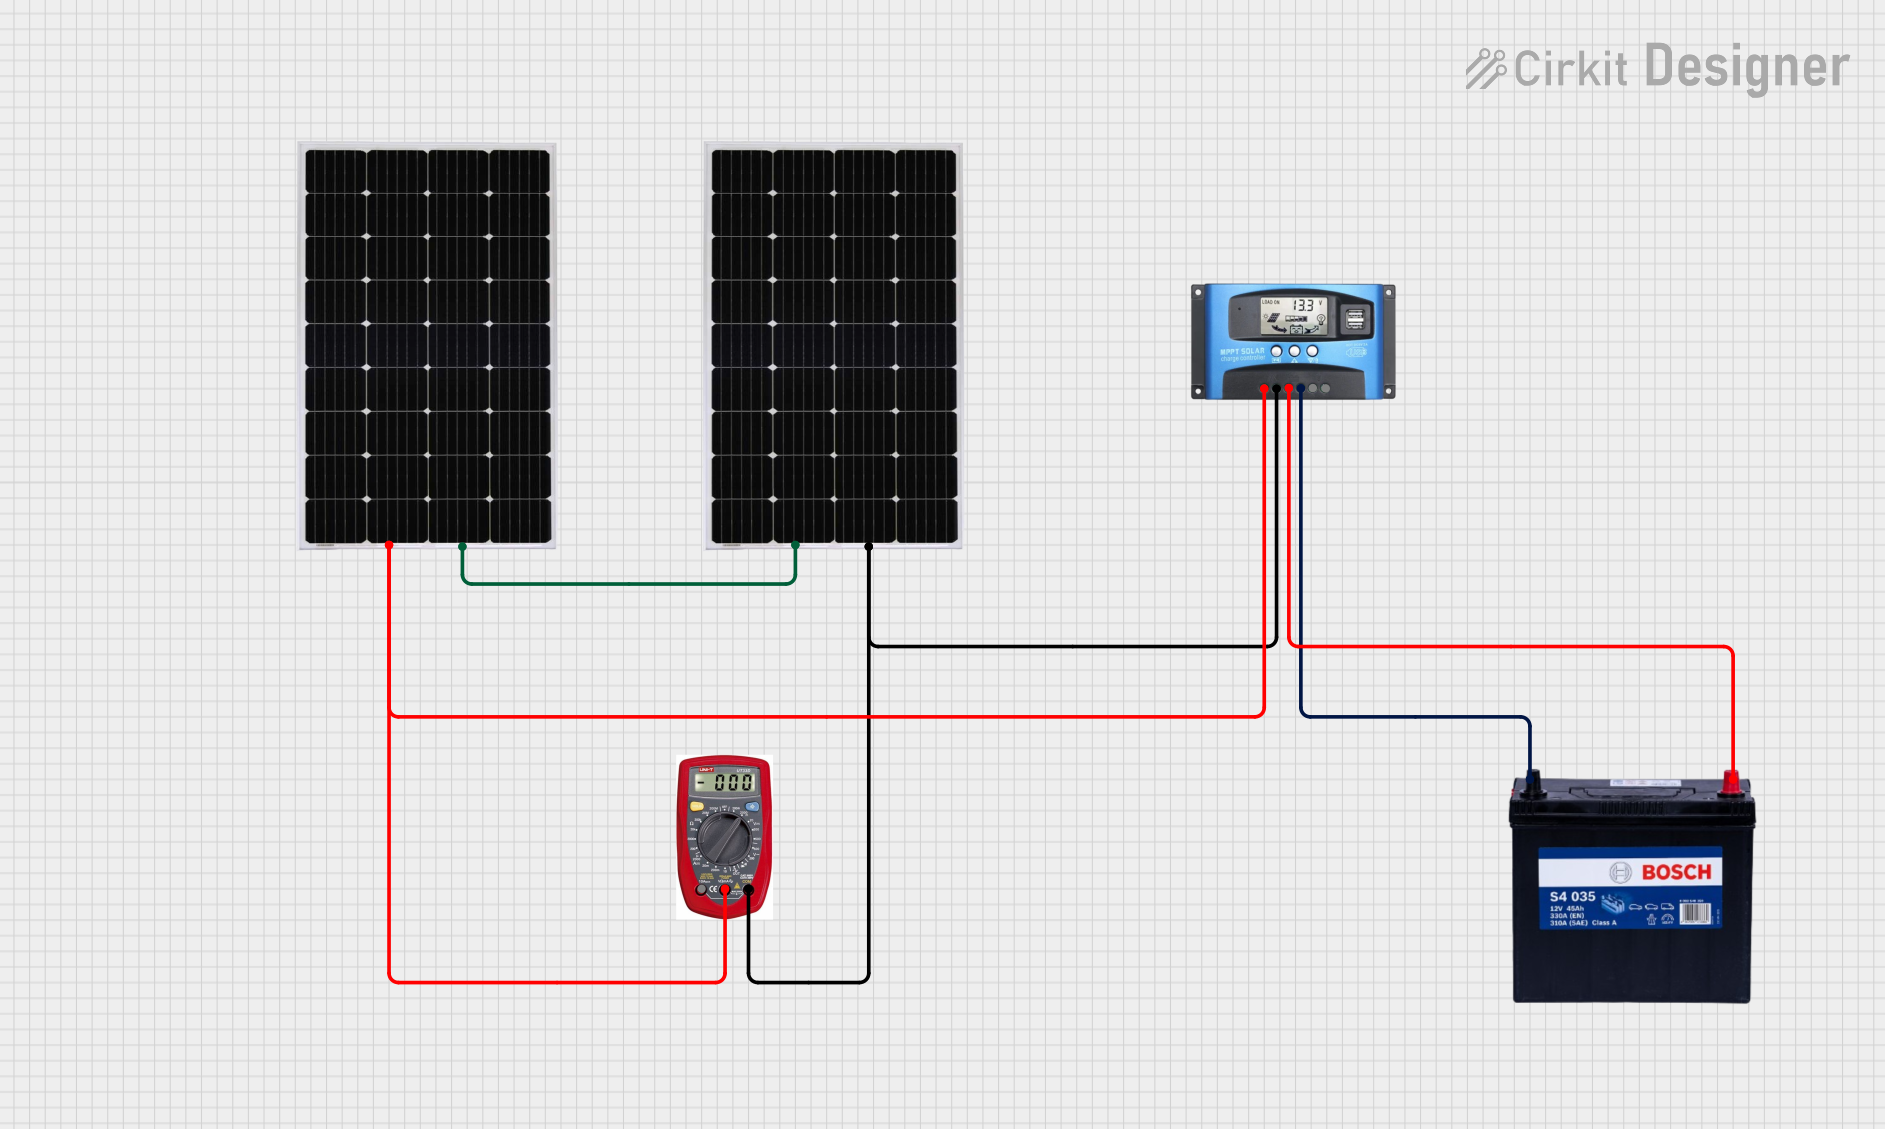
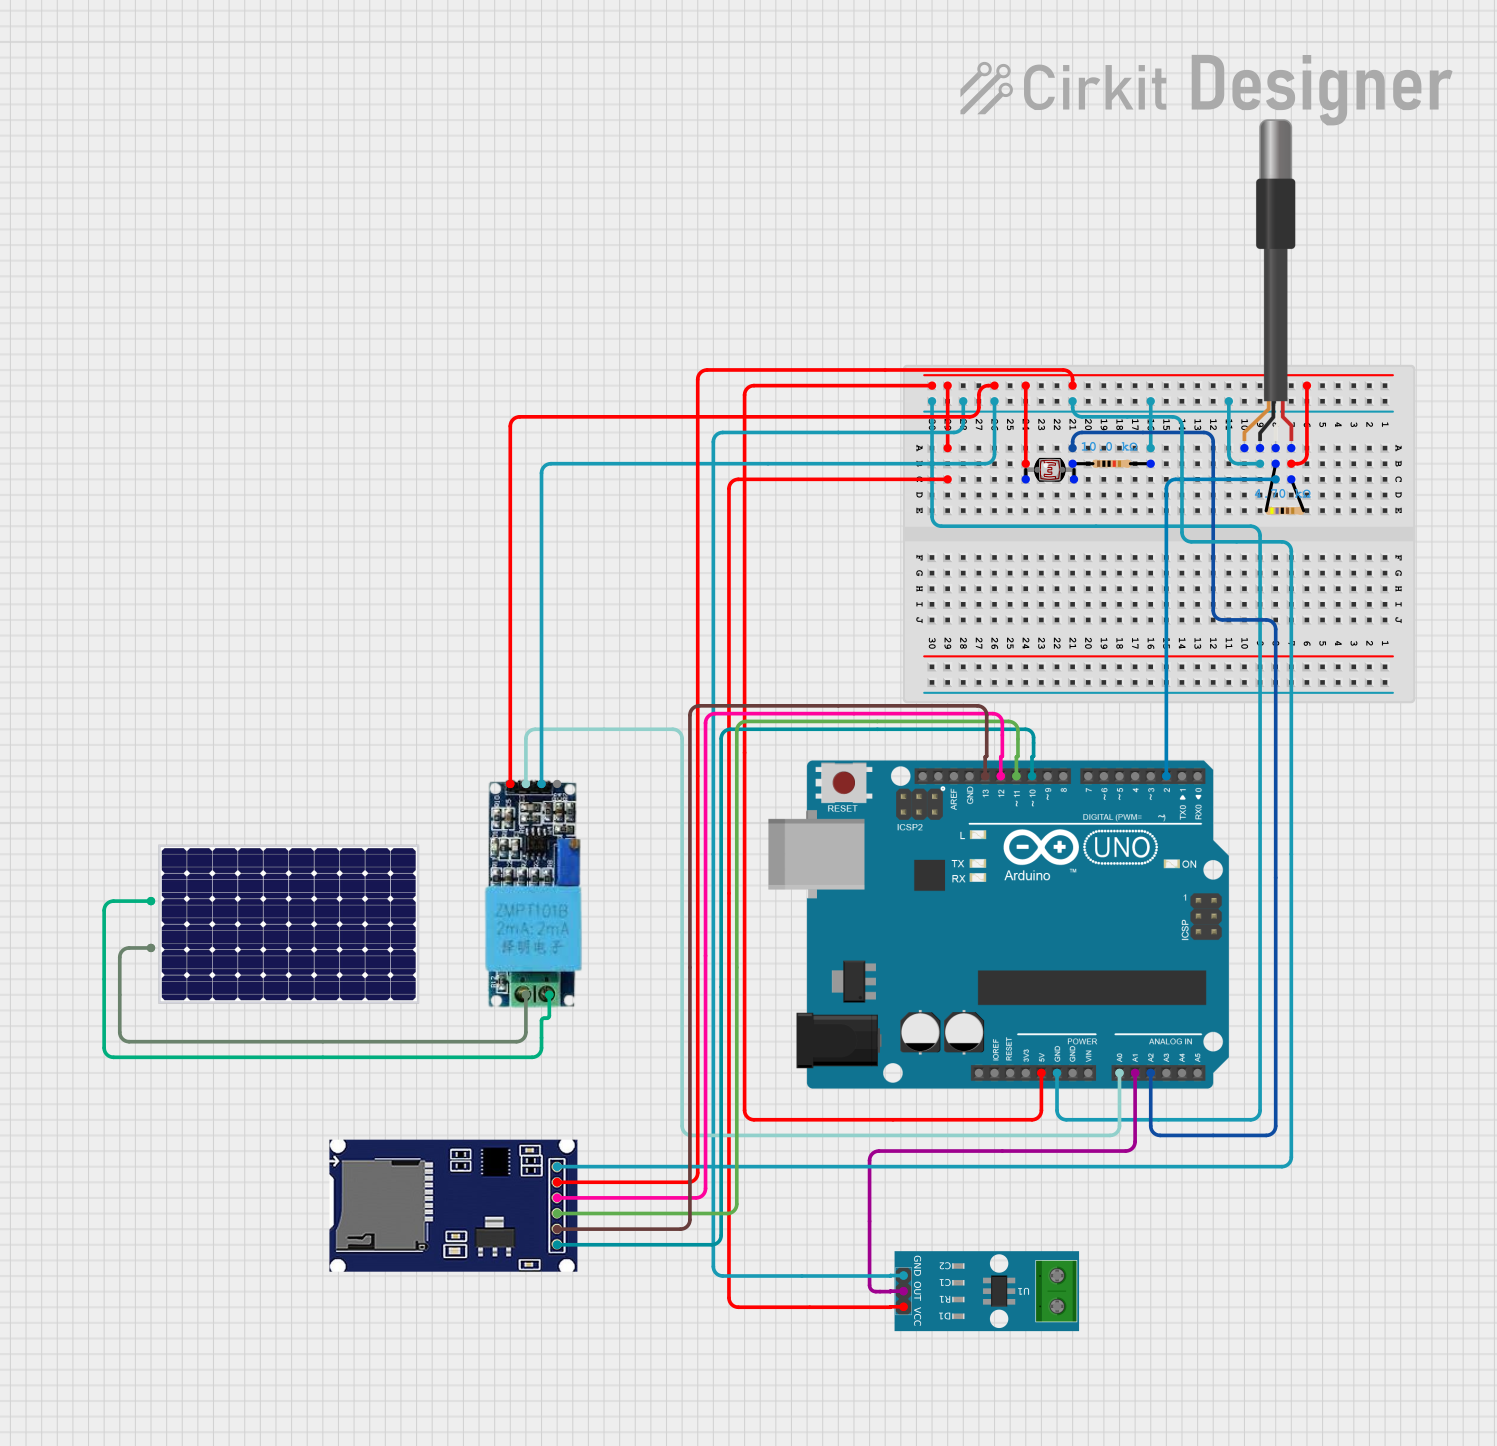
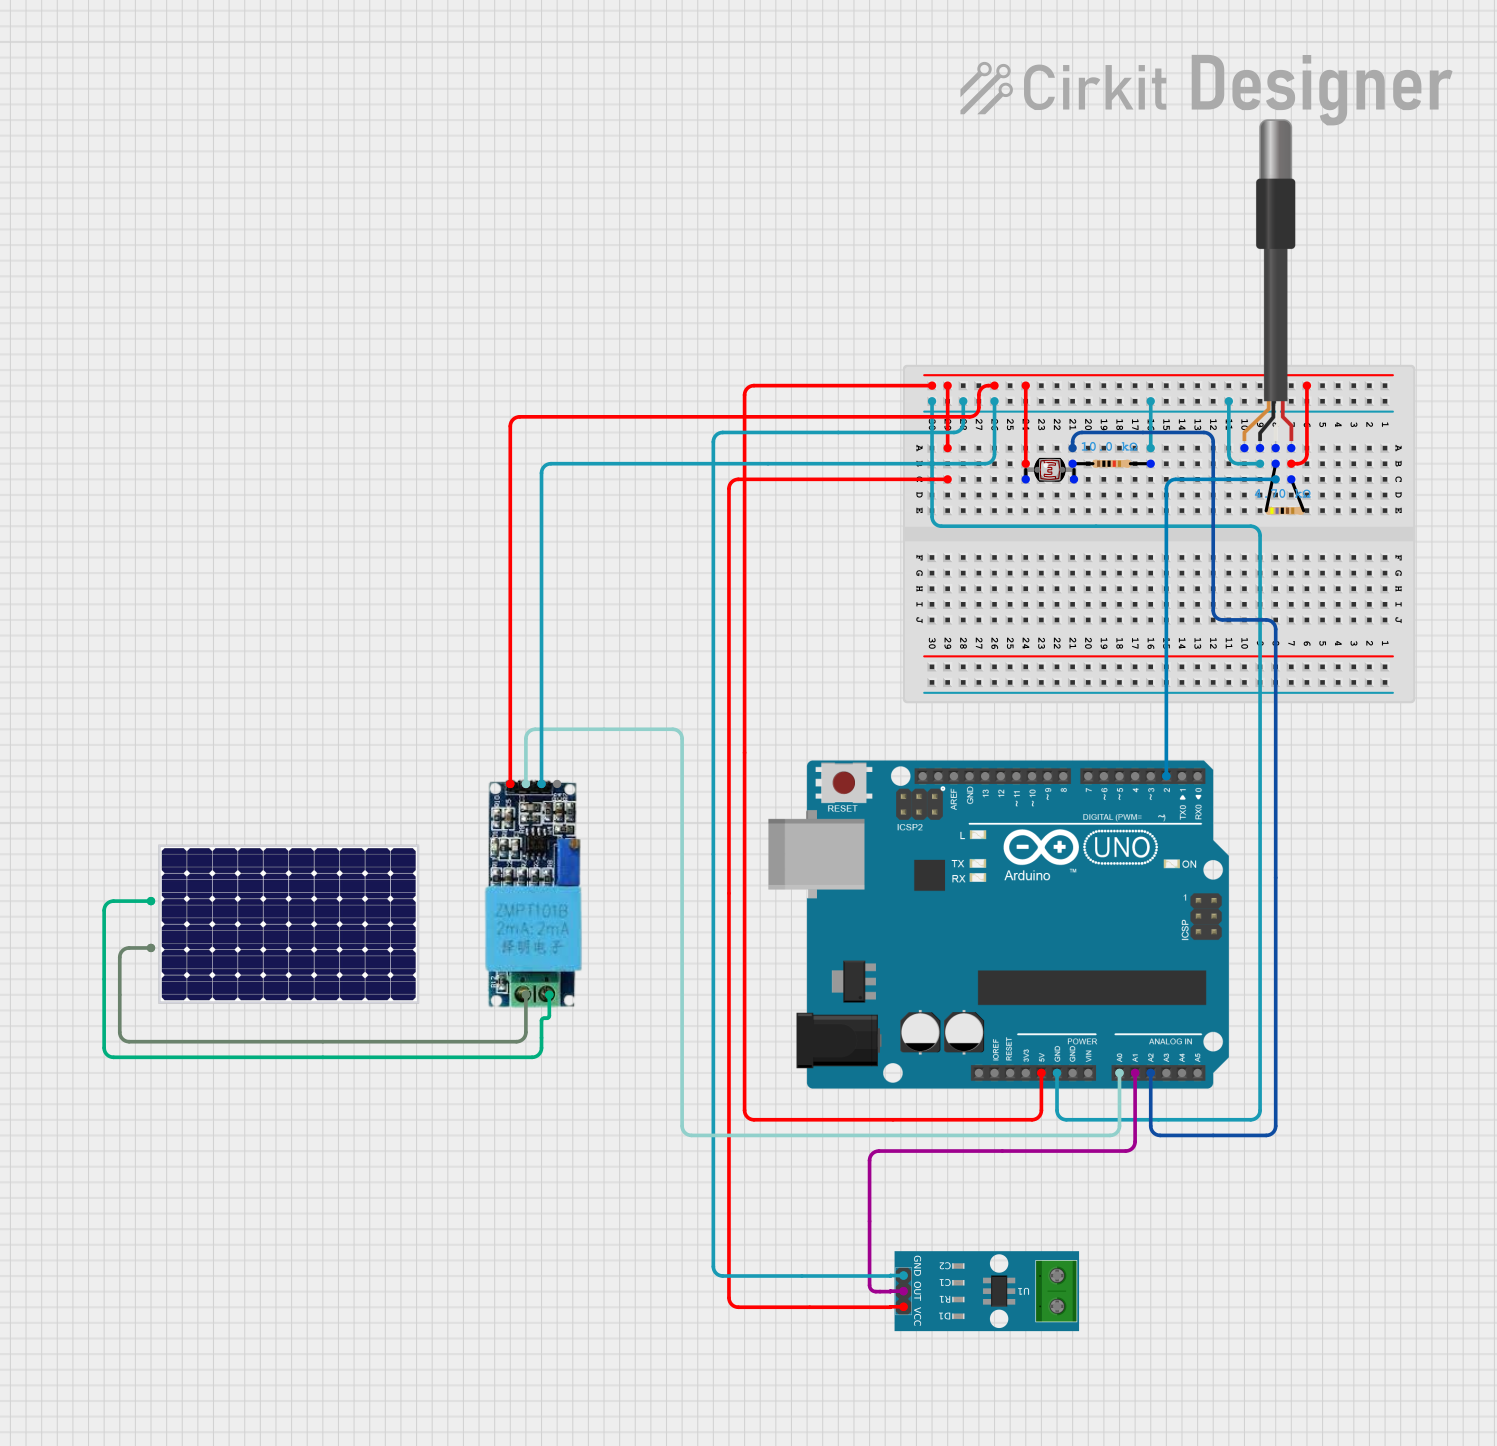
Arduino UNO Integration Example
The elejoy EL400B can be used alongside an Arduino UNO to log solar panel data. Below is an example code to read voltage and current values using analog inputs (assuming external sensors are used to interface with the multimeter):
// Arduino code to log solar panel voltage and current
// Ensure external sensors are used to interface with the multimeter

const int voltagePin = A0; // Analog pin for voltage sensor
const int currentPin = A1; // Analog pin for current sensor

void setup() {
  Serial.begin(9600); // Initialize serial communication
  Serial.println("Solar Panel Monitoring Started");
}

void loop() {
  // Read voltage and current from sensors
  int voltageRaw = analogRead(voltagePin);
  int currentRaw = analogRead(currentPin);

  // Convert raw values to actual voltage and current
  float voltage = (voltageRaw / 1023.0) * 100.0; // Assuming 0-100V range
  float current = (currentRaw / 1023.0) * 20.0;  // Assuming 0-20A range

  // Print values to the Serial Monitor
  Serial.print("Voltage: ");
  Serial.print(voltage);
  Serial.print(" V, Current: ");
  Serial.print(current);
  Serial.println(" A");

  delay(1000); // Wait for 1 second before next reading
}
Troubleshooting and FAQs
Common Issues Users Might Face
No Display on the Multimeter:
- Cause: Incorrect wiring or insufficient power from the solar panel.
- Solution: Verify all connections and ensure the solar panel is generating sufficient voltage.
Inaccurate Readings:
- Cause: Loose connections or exceeding the device's rated specifications.
- Solution: Check and secure all connections. Ensure the input voltage, current, and power are within the specified range.
Overheating:
- Cause: Prolonged operation at maximum power or poor ventilation.
- Solution: Reduce the load or improve ventilation around the multimeter.
Solutions and Tips for Troubleshooting
- Check Connections: Always inspect the wiring for loose or incorrect connections.
- Use Proper Tools: Use a multimeter to verify input and output values if the device seems to malfunction.
- Reset the Device: Disconnect all inputs and outputs, then reconnect to reset the multimeter.
- Contact Support: If issues persist, contact elejoy customer support for assistance.
By following this documentation, users can effectively utilize the elejoy EL400B Solar Panel Multimeter to monitor and optimize their solar PV systems.