How to Use DC Source 9V: Examples, Pinouts, and Specs
Introduction
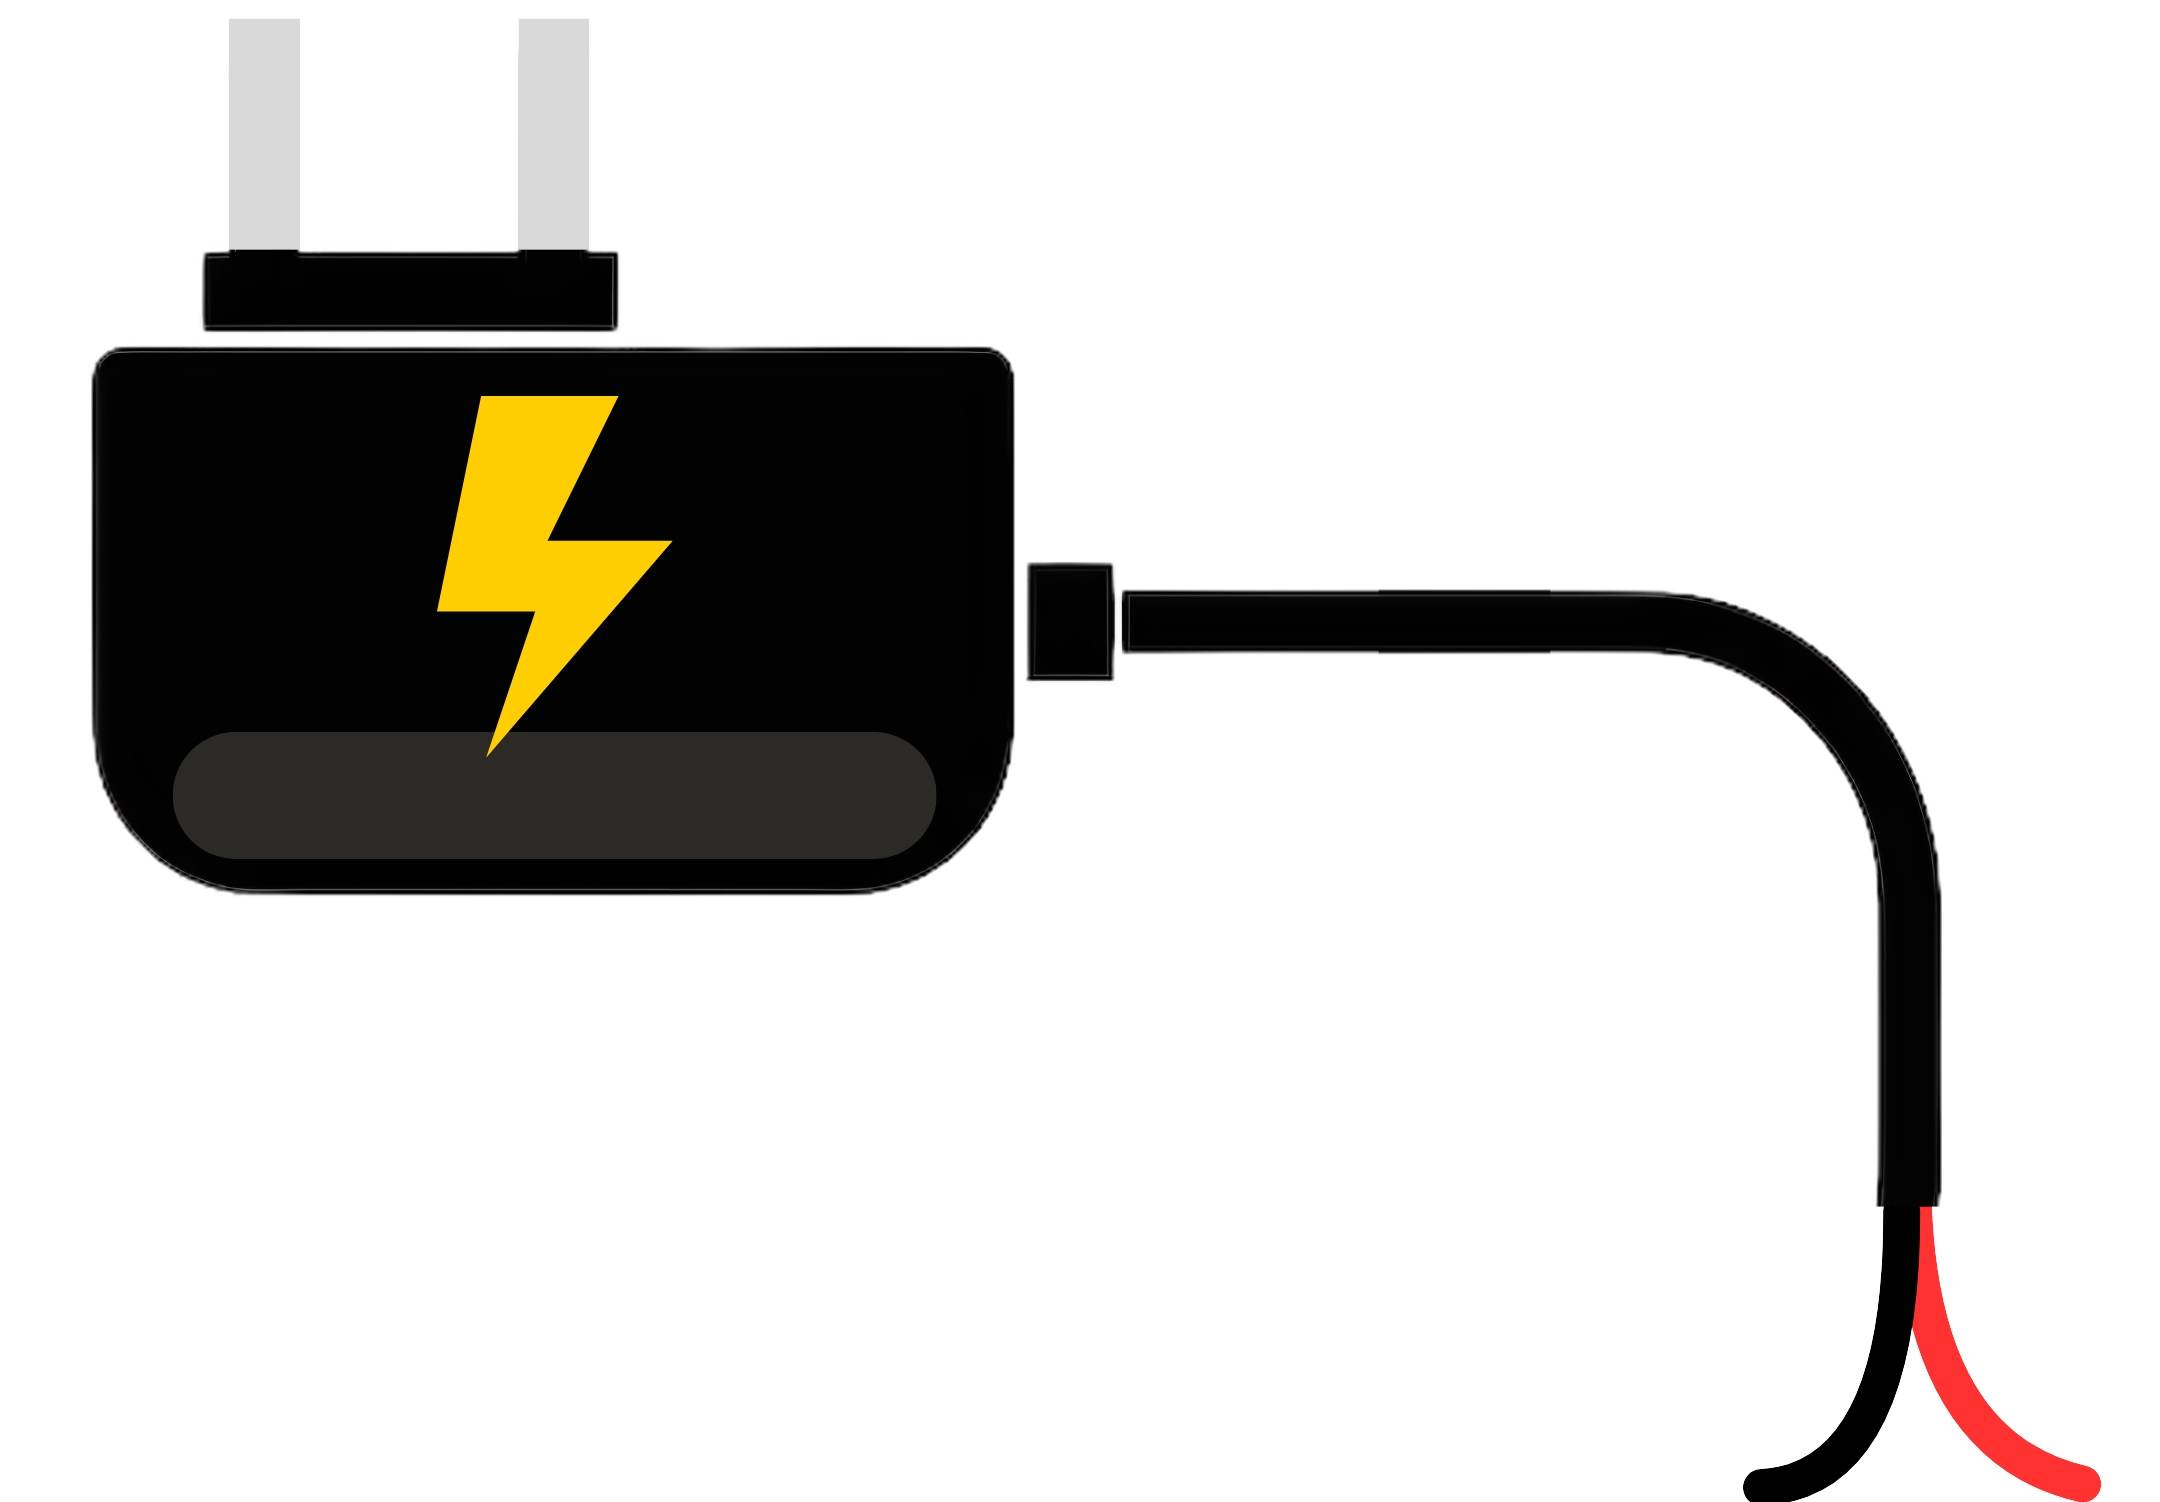
A DC Source 9V is an electronic component that provides a stable and constant direct current (DC) voltage of 9 volts. It is an essential part of many electronic circuits, serving as a power supply for components that require a specific operating voltage. Common applications include powering small motors, Arduino boards, portable devices, and electronic projects that require a 9V power source.
Explore Projects Built with DC Source 9V


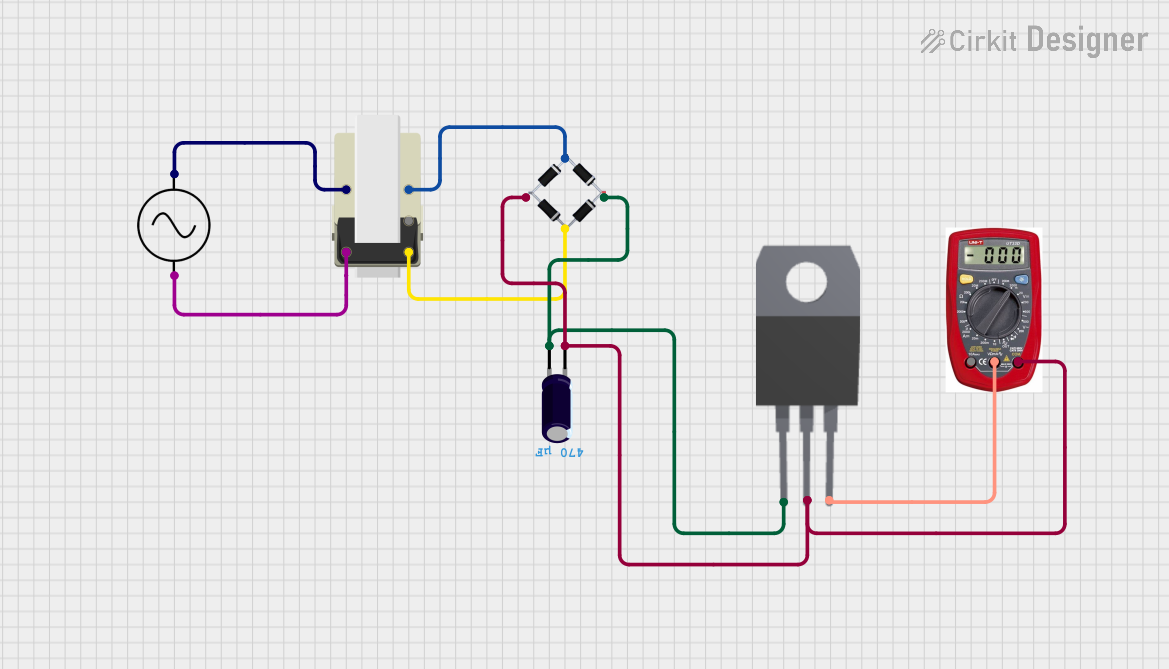

Explore Projects Built with DC Source 9V
Technical Specifications
General Characteristics
- Output Voltage: 9V DC
- Voltage Regulation: Typically ±5%
- Output Current: Varies by model (e.g., 500mA, 1A, 2A)
- Ripple and Noise: <50mV peak-to-peak (typical for good quality sources)
- Efficiency: >80% (varies with load conditions)
- Operating Temperature: -10°C to +60°C
Pin Configuration and Descriptions
| Pin Number | Description | Notes |
|---|---|---|
| 1 | Positive Voltage (V+) | Connect to the positive rail of the circuit |
| 2 | Ground (GND) | Connect to the ground rail of the circuit |
Usage Instructions
Connecting the DC Source 9V to a Circuit
Identify the Polarity: Ensure you correctly identify the positive and negative terminals of the DC source. The positive terminal is often marked with a plus (+) sign, and the negative terminal with a minus (-) sign or "GND" for ground.
Circuit Integration: Connect the positive terminal to the power input of your circuit and the negative terminal to the common ground of the circuit.
Power Rating: Make sure the power requirements of your circuit do not exceed the current rating of the DC source. Overloading the source can lead to overheating and potential failure.
Best Practices
- Voltage Regulation: Use a voltage regulator if your circuit requires a more precise voltage than the DC source can provide.
- Protection: Incorporate a fuse or a current limiting resistor to protect against short circuits or overcurrent conditions.
- Heat Dissipation: If the DC source is used near its maximum rating, ensure adequate ventilation or heat sinks to dissipate heat.
Troubleshooting and FAQs
Common Issues
- Insufficient Current: If the DC source cannot supply enough current for the load, the voltage may drop, causing erratic behavior or shutdown of the circuit.
- Overheating: If the DC source becomes too hot, it may enter a thermal shutdown mode. Ensure proper heat dissipation and check for overcurrent conditions.
- Noise Issues: Some sensitive circuits may pick up noise from the DC source. Using a source with low ripple or adding filtering capacitors can help.
FAQs
Q: Can I use a 9V battery instead of a DC source? A: Yes, but batteries have limited life and may not provide a stable voltage as they discharge.
Q: How do I know if my DC source is working correctly? A: Measure the output voltage with a multimeter. It should be close to 9V.
Q: What happens if I reverse the polarity when connecting the DC source? A: Reversing polarity can damage the circuit. Always double-check connections before powering up.
Q: Can I connect two DC sources in parallel for more current? A: This is generally not recommended unless the sources are designed for parallel operation, as imbalances can cause issues.
Example Code for Arduino UNO
// Example code to demonstrate how to power an Arduino UNO with a 9V DC source

void setup() {
  // Initialize the digital pin as an output.
  pinMode(LED_BUILTIN, OUTPUT); // Most Arduinos have an on-board LED
}

void loop() {
  digitalWrite(LED_BUILTIN, HIGH); // Turn the LED on
  delay(1000);                     // Wait for a second
  digitalWrite(LED_BUILTIN, LOW);  // Turn the LED off
  delay(1000);                     // Wait for a second
}

// Note: The Arduino UNO can be directly powered using a 9V DC source
// through its barrel jack or the VIN pin. Ensure that the polarity is correct.
// The center pin of the barrel jack is positive, and the outer sleeve is ground.
Remember to follow the Arduino UNO's specifications when using an external power source to avoid damaging the board.