Cirkit Designer Logo
Cirkit Designer
Your all-in-one circuit design IDE
Home / 
Component Documentation

How to Use Mean Well HDR-100-24: Examples, Pinouts, and Specs

Image of Mean Well HDR-100-24
Cirkit Designer LogoDesign with Mean Well HDR-100-24 in Cirkit Designer

Introduction

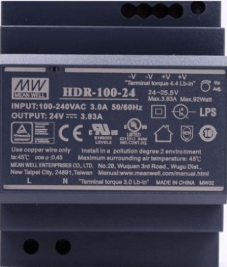
The Mean Well HDR-100-24 is a 100W, 24V single-output LED power supply designed for indoor applications. It features a compact DIN rail-mountable design, high efficiency, and robust protection mechanisms, including short circuit, overload, and overvoltage protection. This power supply is ideal for powering LED lighting systems, industrial control equipment, and other low-voltage DC devices.

Explore Projects Built with Mean Well HDR-100-24

Use Cirkit Designer to design, explore, and prototype these projects online. Some projects support real-time simulation. Click "Open Project" to start designing instantly!
Arduino UNO-Based Spectrophotometer with LCD Display and Stepper Motor
Image of spectro circuit: A project utilizing Mean Well HDR-100-24 in a practical application
This circuit is a spectrophotometer system that uses an Arduino UNO to control an LCD display, a stepper motor, and an LED. The Arduino reads light intensity from a photocell (LDR) to calculate absorbance and concentration of a sample, displaying the results on the LCD and rotating the stepper motor to move the sample.
Cirkit Designer LogoOpen Project in Cirkit Designer
Arduino-Controlled Light-Sensitive LED Circuit
Image of Measuring Brightness with Arduino UNO and LDR: A project utilizing Mean Well HDR-100-24 in a practical application
This circuit is designed to measure ambient light levels using a photocell (LDR) and adjust the brightness of an LED accordingly. The photocell and a 10kΩ resistor form a voltage divider connected to the Arduino's analog input A0, while the LED is driven by digital pin D11 through a 220Ω current-limiting resistor. The Arduino's firmware reads the light level, inverses the value to increase LED brightness as it gets darker, and outputs a corresponding PWM signal to control the LED intensity.
Cirkit Designer LogoOpen Project in Cirkit Designer
Arduino UNO-Based Smart Lighting System with Motion Detection and Energy Monitoring
Image of smart street light: A project utilizing Mean Well HDR-100-24 in a practical application
This circuit is designed to monitor and control lighting based on ambient light levels and motion detection. It uses an Arduino UNO to read data from an LDR and two HC-SR501 motion sensors, and controls a 2-channel relay module to turn lights on or off. The system also measures current and voltage, displays these values on an LCD, and can be remotely controlled or monitored via the Blynk platform.
Cirkit Designer LogoOpen Project in Cirkit Designer
LED Indicator Circuit with Push Switches and Voltage Regulation
Image of circuit 1: A project utilizing Mean Well HDR-100-24 in a practical application
This circuit converts 220V AC to 24V DC using a power transformer and a bridge rectifier, then regulates the voltage to a stable output using a voltage regulator. It includes multiple LEDs controlled by push switches, with current limiting provided by a resistor.
Cirkit Designer LogoOpen Project in Cirkit Designer

Explore Projects Built with Mean Well HDR-100-24

Use Cirkit Designer to design, explore, and prototype these projects online. Some projects support real-time simulation. Click "Open Project" to start designing instantly!
Image of spectro circuit: A project utilizing Mean Well HDR-100-24 in a practical application
Arduino UNO-Based Spectrophotometer with LCD Display and Stepper Motor
This circuit is a spectrophotometer system that uses an Arduino UNO to control an LCD display, a stepper motor, and an LED. The Arduino reads light intensity from a photocell (LDR) to calculate absorbance and concentration of a sample, displaying the results on the LCD and rotating the stepper motor to move the sample.
Cirkit Designer LogoOpen Project in Cirkit Designer
Image of Measuring Brightness with Arduino UNO and LDR: A project utilizing Mean Well HDR-100-24 in a practical application
Arduino-Controlled Light-Sensitive LED Circuit
This circuit is designed to measure ambient light levels using a photocell (LDR) and adjust the brightness of an LED accordingly. The photocell and a 10kΩ resistor form a voltage divider connected to the Arduino's analog input A0, while the LED is driven by digital pin D11 through a 220Ω current-limiting resistor. The Arduino's firmware reads the light level, inverses the value to increase LED brightness as it gets darker, and outputs a corresponding PWM signal to control the LED intensity.
Cirkit Designer LogoOpen Project in Cirkit Designer
Image of smart street light: A project utilizing Mean Well HDR-100-24 in a practical application
Arduino UNO-Based Smart Lighting System with Motion Detection and Energy Monitoring
This circuit is designed to monitor and control lighting based on ambient light levels and motion detection. It uses an Arduino UNO to read data from an LDR and two HC-SR501 motion sensors, and controls a 2-channel relay module to turn lights on or off. The system also measures current and voltage, displays these values on an LCD, and can be remotely controlled or monitored via the Blynk platform.
Cirkit Designer LogoOpen Project in Cirkit Designer
Image of circuit 1: A project utilizing Mean Well HDR-100-24 in a practical application
LED Indicator Circuit with Push Switches and Voltage Regulation
This circuit converts 220V AC to 24V DC using a power transformer and a bridge rectifier, then regulates the voltage to a stable output using a voltage regulator. It includes multiple LEDs controlled by push switches, with current limiting provided by a resistor.
Cirkit Designer LogoOpen Project in Cirkit Designer

Common Applications

  • LED lighting systems
  • Industrial automation and control systems
  • Security and surveillance equipment
  • Home automation systems
  • General-purpose DC power supply for low-voltage devices

Technical Specifications

Key Specifications

Parameter Value
Input Voltage Range 85-264VAC / 120-370VDC
Output Voltage 24VDC
Output Current 4.2A
Output Power 100.8W
Efficiency Up to 91%
Operating Temperature -30°C to +70°C
Protection Features Short circuit, overload,
overvoltage
Dimensions 70mm x 90mm x 54mm
Mounting Type DIN rail (TS-35/7.5 or TS-35/15)

Pin Configuration and Descriptions

The HDR-100-24 features screw terminal connections for input and output. Below is the pin configuration:

Pin No. Label Description
1 L AC Line input
2 N AC Neutral input
3 Ground (⏚) Earth ground connection
4 +V Positive DC output
5 -V Negative DC output

Usage Instructions

How to Use the HDR-100-24 in a Circuit

  1. Mounting: Secure the HDR-100-24 to a DIN rail (TS-35/7.5 or TS-35/15) in your enclosure.
  2. Input Connection:
    • Connect the AC line (L) and neutral (N) wires to the input terminals.
    • Ensure the earth ground (⏚) is properly connected for safety.
  3. Output Connection:
    • Connect the positive (+V) and negative (-V) terminals to your load.
    • Verify that the load does not exceed the maximum output current of 4.2A.
  4. Power On:
    • After verifying all connections, apply AC power to the input terminals.
    • The power supply will regulate the output to 24VDC.

Important Considerations

  • Ventilation: Ensure adequate airflow around the power supply to prevent overheating.
  • Load Requirements: Do not exceed the rated output power of 100.8W.
  • Wiring: Use appropriately rated wires for both input and output connections.
  • Protection: The built-in protection features will safeguard the power supply and connected devices, but ensure proper wiring to avoid triggering these protections unnecessarily.

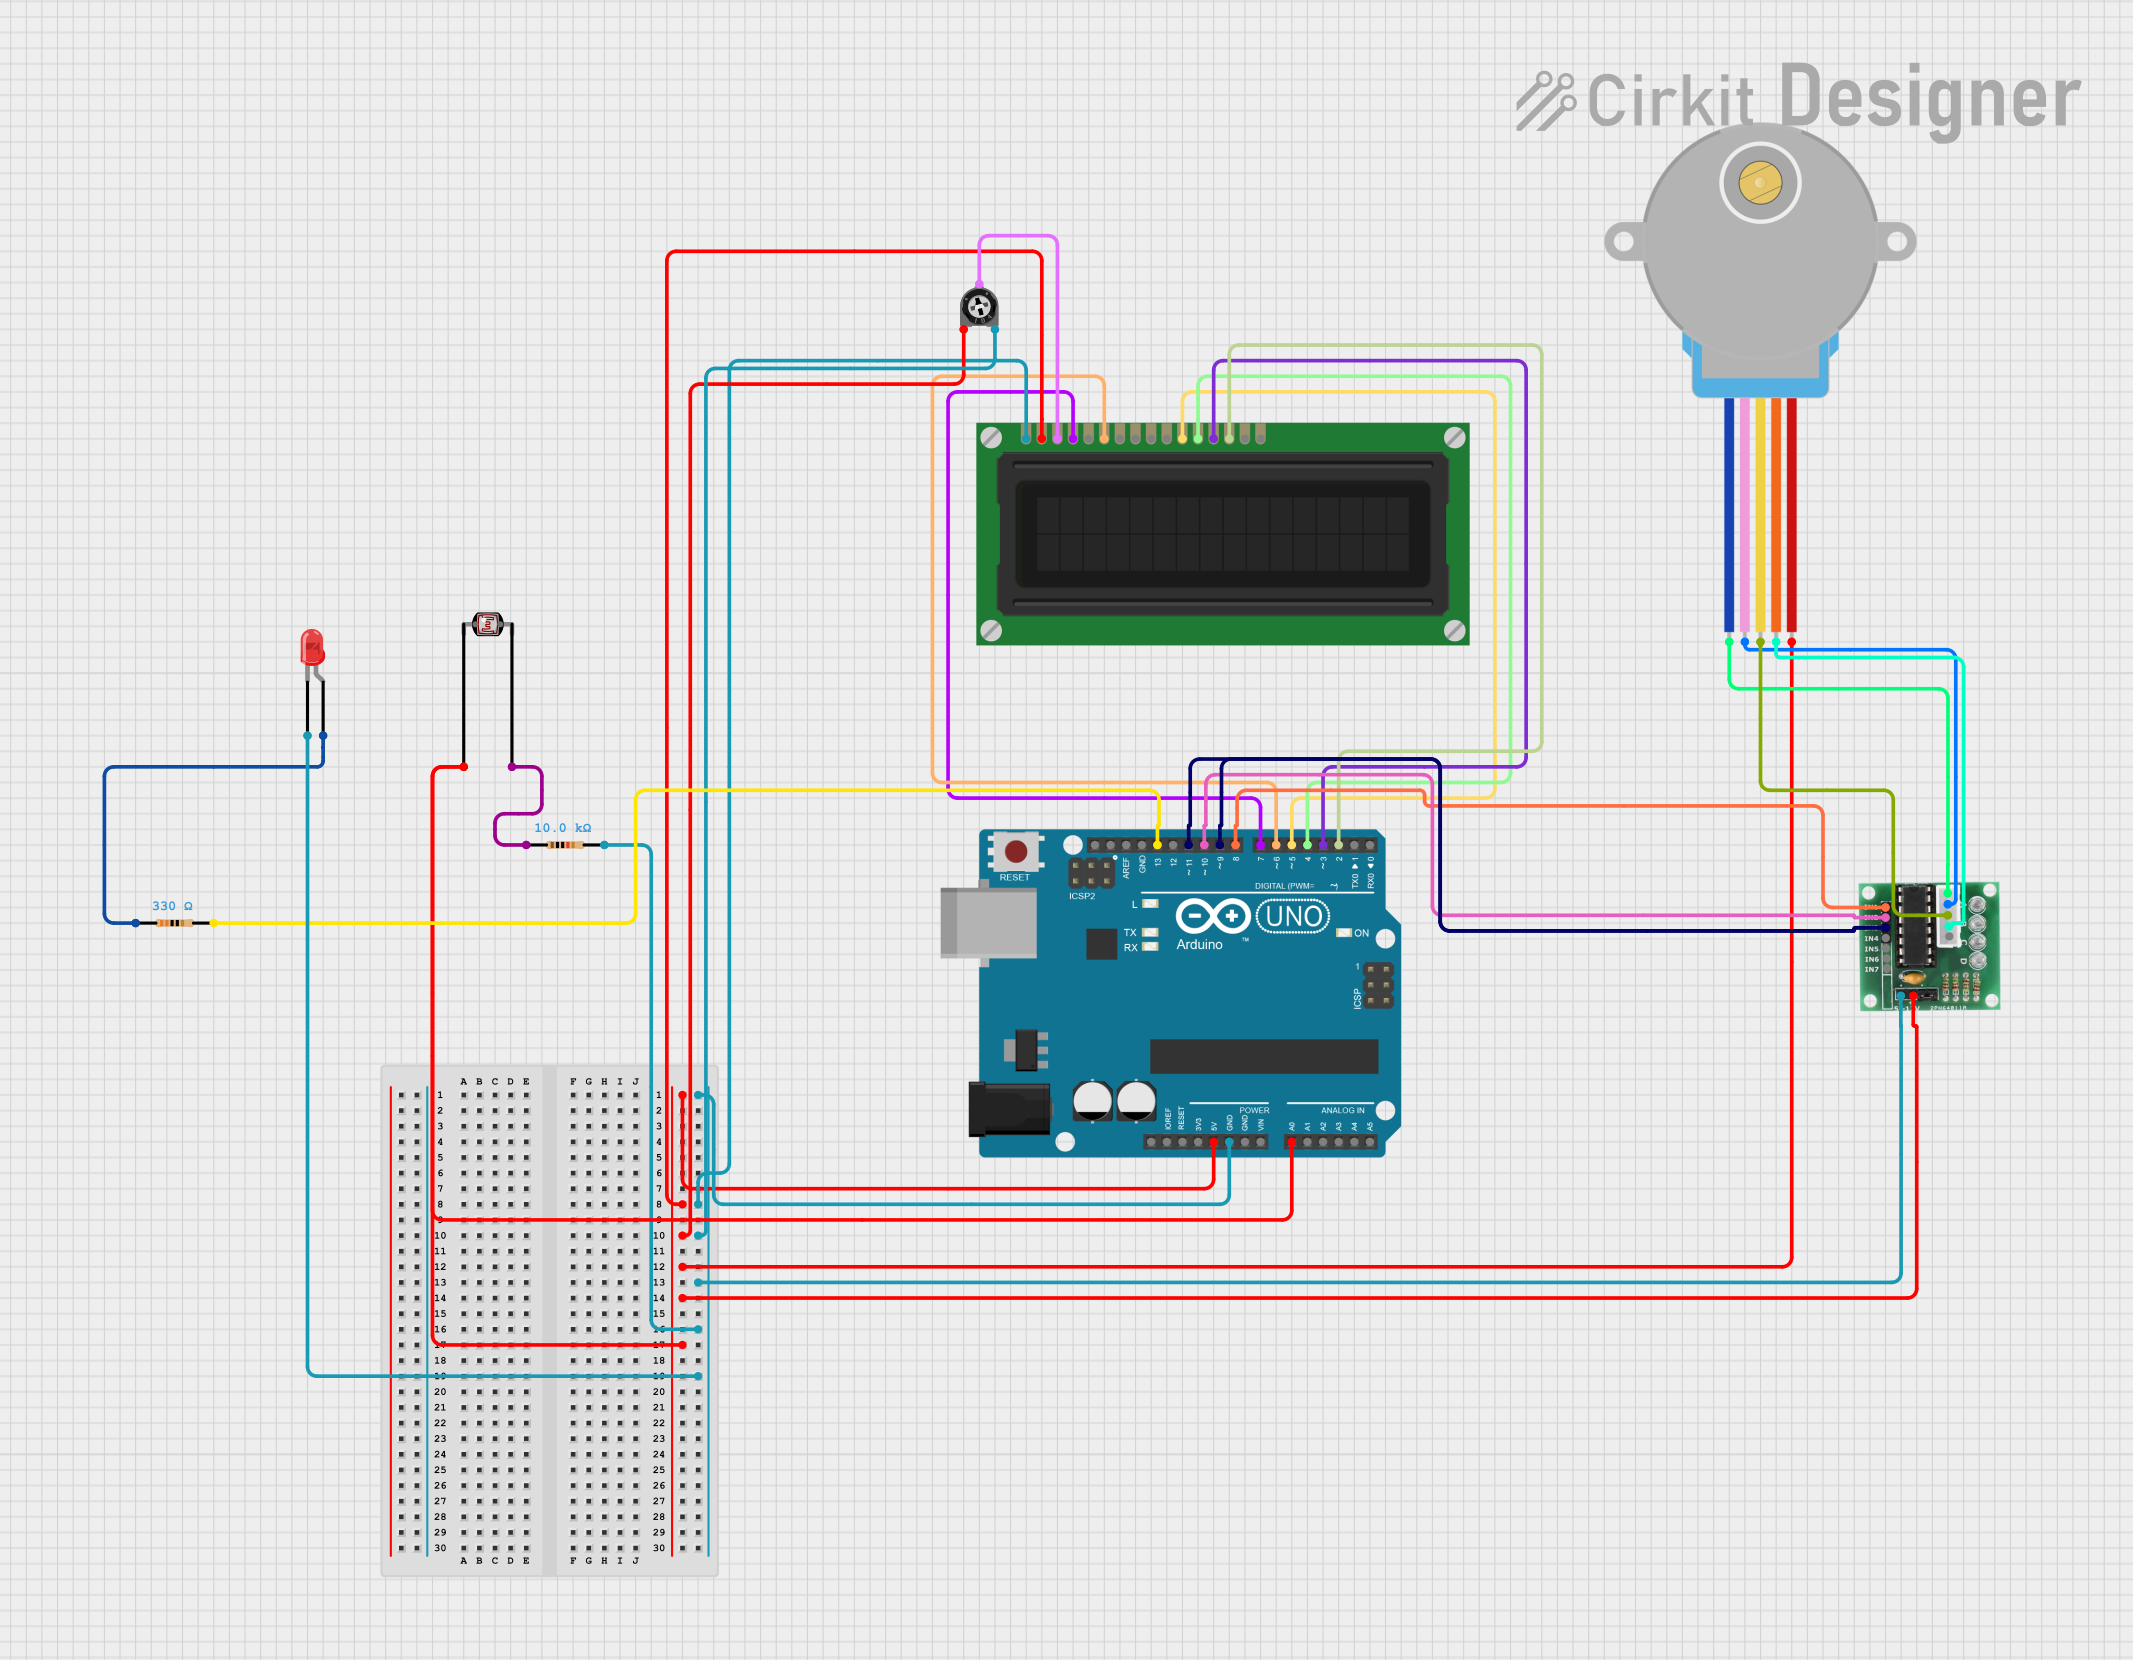
Example: Connecting to an Arduino UNO

The HDR-100-24 can be used to power an Arduino UNO via its VIN pin. Below is an example:

  1. Connect the +V terminal of the HDR-100-24 to the VIN pin of the Arduino UNO.
  2. Connect the -V terminal of the HDR-100-24 to the GND pin of the Arduino UNO.
  3. Ensure the HDR-100-24 is powered on and outputs 24VDC.

Note: The Arduino UNO has an onboard voltage regulator that can handle 24VDC input via the VIN pin. However, ensure the total current draw of the Arduino and connected peripherals does not exceed the HDR-100-24's output capacity.

// Example Arduino code to blink an LED using HDR-100-24 as the power source
// Connect the HDR-100-24 +V to Arduino VIN and -V to Arduino GND

const int ledPin = 13; // Built-in LED pin on Arduino UNO

void setup() {
  pinMode(ledPin, OUTPUT); // Set LED pin as output
}

void loop() {
  digitalWrite(ledPin, HIGH); // Turn the LED on
  delay(1000);               // Wait for 1 second
  digitalWrite(ledPin, LOW);  // Turn the LED off
  delay(1000);               // Wait for 1 second
}

Troubleshooting and FAQs

Common Issues and Solutions

Issue Possible Cause Solution
No output voltage Incorrect input wiring Verify AC input connections (L, N).
No AC power supplied Check the power source.
Output voltage fluctuates Overload or short circuit on the output Reduce the load or check for shorts.
Power supply overheats Insufficient ventilation Ensure proper airflow around the unit.
Load exceeds rated power Reduce the load to within 100.8W.

FAQs

  1. Can the HDR-100-24 be used outdoors?

    • No, the HDR-100-24 is designed for indoor use only. Use a weatherproof enclosure if outdoor installation is required.
  2. What happens if the load exceeds 4.2A?

    • The power supply's overload protection will activate, shutting down the output to protect the unit and connected devices.
  3. Can I use the HDR-100-24 to charge batteries?

    • While possible, it is not recommended unless the battery charging circuit includes proper current and voltage regulation.
  4. Is the HDR-100-24 compatible with other DIN rail systems?

    • Yes, it is compatible with standard TS-35/7.5 and TS-35/15 DIN rails.

By following this documentation, users can safely and effectively integrate the Mean Well HDR-100-24 into their projects.