
How to Use Matek H743-WING V3: Examples, Pinouts, and Specs
 Design with Matek H743-WING V3 in Cirkit Designer
Introduction
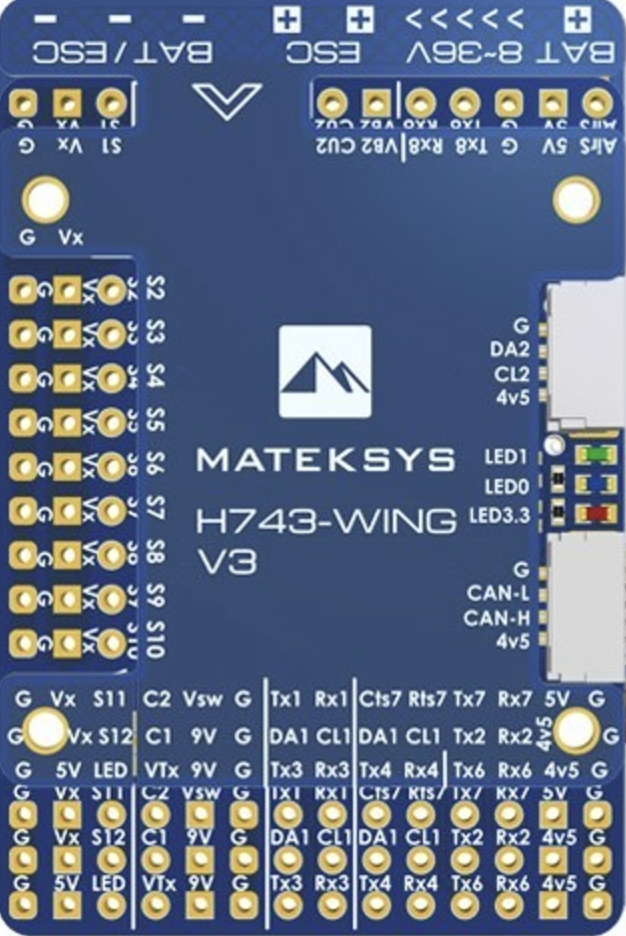
The Matek H743-WING V3 is a high-performance flight controller designed for drones and UAVs. Manufactured by Mateksys, this advanced controller is powered by the STM32H743 microcontroller, offering exceptional processing power and versatility. It supports a wide range of sensors, peripherals, and communication protocols, making it ideal for complex flight control applications in both fixed-wing and multirotor UAVs.
Explore Projects Built with Matek H743-WING V3
 Open Project in Cirkit Designer
 Open Project in Cirkit Designer
 Open Project in Cirkit Designer
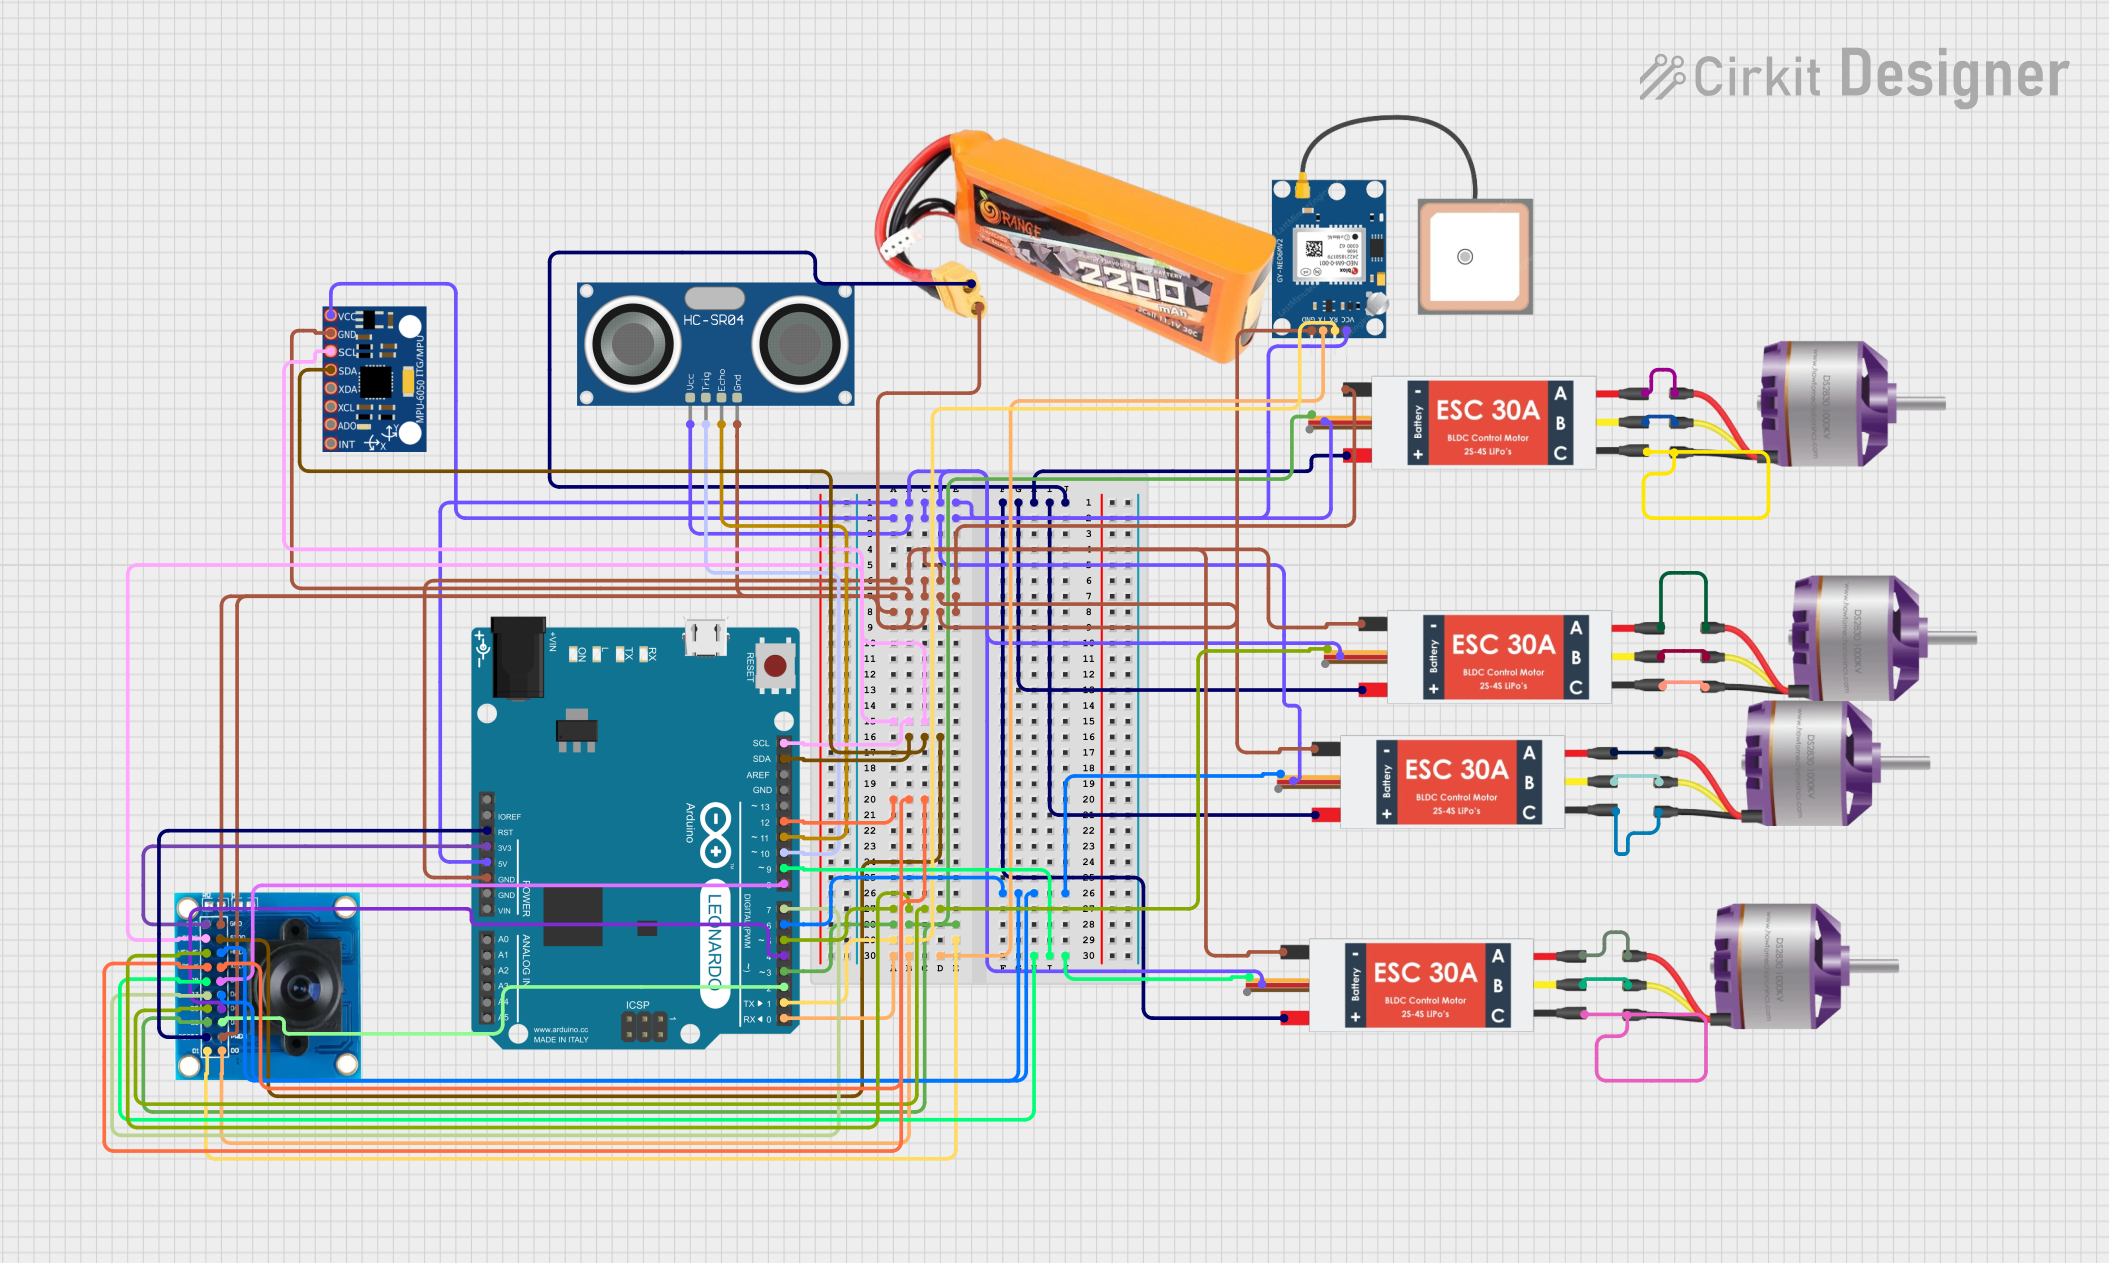 Open Project in Cirkit Designer
Explore Projects Built with Matek H743-WING V3
Open Project in Cirkit DesignerOpen Project in Cirkit DesignerOpen Project in Cirkit DesignerOpen Project in Cirkit DesignerCommon Applications and Use Cases
- Fixed-wing drones for mapping, surveying, and long-range missions
- Multirotor UAVs for aerial photography, videography, and inspection
- Autonomous vehicles requiring advanced navigation and control
- Research and development in robotics and UAV technologies
Technical Specifications
Key Technical Details
| Parameter | Specification |
|---|---|
| Microcontroller | STM32H743VI (32-bit ARM Cortex-M7, 480 MHz) |
| Input Voltage Range | 7V to 30V (2S to 6S LiPo) |
| IMU (Inertial Measurement Unit) | Dual IMU: MPU6000 (SPI) and ICM42688-P (SPI) |
| Flash Memory | 16 MB (for logging and firmware storage) |
| Barometer | BMP280 (I2C) |
| UART Ports | 8 UARTs (configurable for peripherals such as GPS, telemetry, etc.) |
| I2C Ports | 2 I2C buses |
| CAN Bus | 2 CAN buses (CAN1 and CAN2) with UAVCAN support |
| PWM Outputs | 12 PWM outputs for motor and servo control |
| Current Sensor | Built-in current sensor with 132A maximum measurement |
| Dimensions | 68 mm x 38 mm |
| Weight | 15 grams |
Pin Configuration and Descriptions
The Matek H743-WING V3 features a wide array of pins for connecting peripherals. Below is a summary of the key pin configurations:
Power and Ground Pins
| Pin Name | Description |
|---|---|
| VBAT | Main power input (7V to 30V) |
| GND | Ground connection |
| 5V | 5V output for powering peripherals |
| 3.3V | 3.3V output for low-power devices |
Communication Ports
| Pin Name | Description |
|---|---|
| UART1-TX | UART1 Transmit (TX) |
| UART1-RX | UART1 Receive (RX) |
| UART2-TX | UART2 Transmit (TX) |
| UART2-RX | UART2 Receive (RX) |
| CAN1-H | CAN Bus 1 High |
| CAN1-L | CAN Bus 1 Low |
| I2C1-SCL | I2C1 Clock Line |
| I2C1-SDA | I2C1 Data Line |
PWM Outputs
| Pin Name | Description |
|---|---|
| PWM1 | PWM output for motor/servo control |
| PWM2 | PWM output for motor/servo control |
| PWM3 | PWM output for motor/servo control |
| PWM4 | PWM output for motor/servo control |
| PWM5 | PWM output for motor/servo control |
| PWM6 | PWM output for motor/servo control |
Usage Instructions
How to Use the Matek H743-WING V3 in a Circuit
- Powering the Board: Connect a 2S to 6S LiPo battery to the VBAT pin. Ensure the voltage is within the 7V to 30V range.
- Connecting Peripherals:
- Use the UART ports for GPS, telemetry modules, or other serial devices.
- Connect I2C devices (e.g., external barometers or magnetometers) to the I2C1 or I2C2 pins.
- Attach motors or servos to the PWM output pins.
- Flashing Firmware:
- Download the appropriate firmware (e.g., ArduPilot or Betaflight) for your application.
- Use a USB cable to connect the flight controller to your computer.
- Flash the firmware using a compatible software tool (e.g., Betaflight Configurator or Mission Planner).
- Configuring the Flight Controller:
- Use the configuration software to set up the flight modes, calibrate sensors, and assign functions to the PWM outputs.
- Configure the UART ports for specific peripherals (e.g., GPS on UART1).
Important Considerations and Best Practices
- Voltage Regulation: Ensure that the input voltage does not exceed 30V to avoid damaging the board.
- Sensor Calibration: Always calibrate the IMU, barometer, and compass before the first flight.
- Firmware Compatibility: Verify that the firmware you are flashing is compatible with the Matek H743-WING V3.
- Heat Management: Avoid prolonged operation in high-temperature environments to prevent overheating.
Example Code for Arduino UNO Integration
Although the Matek H743-WING V3 is not typically used with an Arduino UNO, it can communicate with it via UART. Below is an example of how to send data from the Arduino to the flight controller:
// Example: Sending data from Arduino UNO to Matek H743-WING V3 via UART

#include <SoftwareSerial.h>

// Define RX and TX pins for SoftwareSerial
SoftwareSerial mySerial(10, 11); // RX = pin 10, TX = pin 11

void setup() {
  // Initialize the serial communication
  Serial.begin(9600); // Arduino's default serial port
  mySerial.begin(9600); // UART communication with Matek H743-WING V3

  // Print a message to indicate setup is complete
  Serial.println("Arduino is ready to communicate with Matek H743-WING V3");
}

void loop() {
  // Send a test message to the flight controller
  mySerial.println("Hello, Matek H743-WING V3!");

  // Check if data is received from the flight controller
  if (mySerial.available()) {
    String receivedData = mySerial.readString();
    Serial.print("Received from Matek: ");
    Serial.println(receivedData);
  }

  delay(1000); // Wait for 1 second before sending the next message
}
Troubleshooting and FAQs
Common Issues and Solutions
Issue: The flight controller does not power on.
- Solution: Verify that the input voltage is within the 7V to 30V range. Check the battery connections and ensure the polarity is correct.
Issue: Peripherals are not detected.
- Solution: Double-check the wiring and ensure the peripherals are connected to the correct pins. Verify that the UART or I2C ports are properly configured in the firmware.
Issue: The flight controller overheats during operation.
- Solution: Ensure adequate airflow around the board. Avoid operating in high-temperature environments.
Issue: Firmware flashing fails.
- Solution: Confirm that the correct firmware file is being used. Ensure the USB cable is functional and securely connected.
FAQs
Q: Can I use the Matek H743-WING V3 with Betaflight?
- A: Yes, the Matek H743-WING V3 is compatible with Betaflight, as well as other firmware like ArduPilot and iNav.
Q: What is the maximum number of motors I can connect?
- A: The board supports up to 12 PWM outputs, which can be used for motors or servos.
Q: Does the board support GPS modules?
- A: Yes, GPS modules can be connected via the UART ports.
Q: Can I use this board for fixed-wing drones?
- A: Absolutely. The Matek H743-WING V3 is specifically designed for fixed-wing and multirotor UAVs.