How to Use Digital Light sensor TSL2561: Examples, Pinouts, and Specs
Introduction
The TSL2561 is a digital light sensor designed to measure light intensity in lux. It features a built-in Analog-to-Digital Converter (ADC) and communicates via the I2C protocol, enabling precise and reliable light measurements. Unlike traditional light sensors, the TSL2561 can measure both infrared and visible light, making it ideal for applications requiring accurate ambient light sensing.
Explore Projects Built with Digital Light sensor TSL2561
Explore Projects Built with Digital Light sensor TSL2561
Common Applications and Use Cases
- Automatic brightness adjustment in displays (e.g., smartphones, laptops)
- Ambient light sensing for smart home devices
- Light intensity monitoring in agriculture and horticulture
- Industrial lighting control systems
- Photography and camera exposure control
Technical Specifications
The TSL2561 is a highly versatile sensor with the following key specifications:
| Parameter | Value |
|---|---|
| Operating Voltage | 2.7V to 3.6V |
| Communication Interface | I2C |
| Lux Range | 0.1 to 40,000 lux |
| Operating Temperature | -30°C to 70°C |
| Power Consumption | 0.6 mW (typical) |
| ADC Resolution | 16-bit |
| I2C Address (Default) | 0x39 |
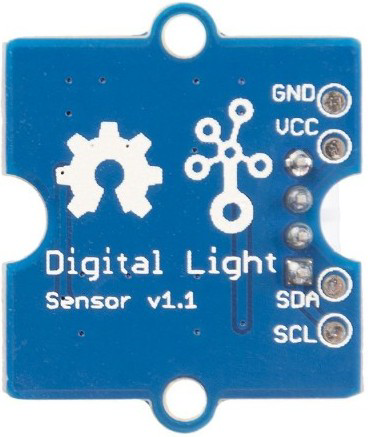
Pin Configuration and Descriptions
The TSL2561 sensor typically comes in an 8-pin package. Below is the pinout description:
| Pin | Name | Description |
|---|---|---|
| 1 | GND | Ground connection |
| 2 | VDD | Power supply (2.7V to 3.6V) |
| 3 | SDA | I2C data line |
| 4 | SCL | I2C clock line |
| 5 | INT | Interrupt output (optional, for event signaling) |
| 6-8 | NC | Not connected (leave unconnected or grounded) |
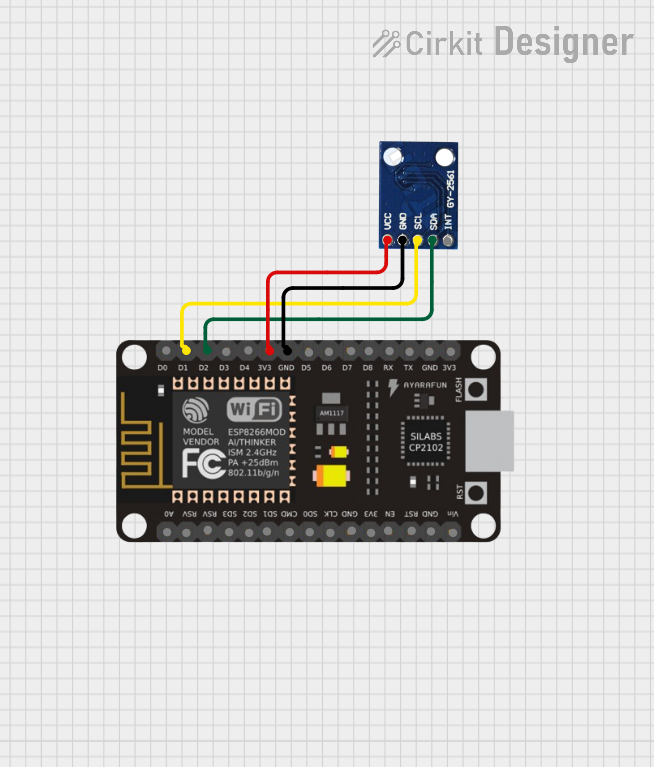
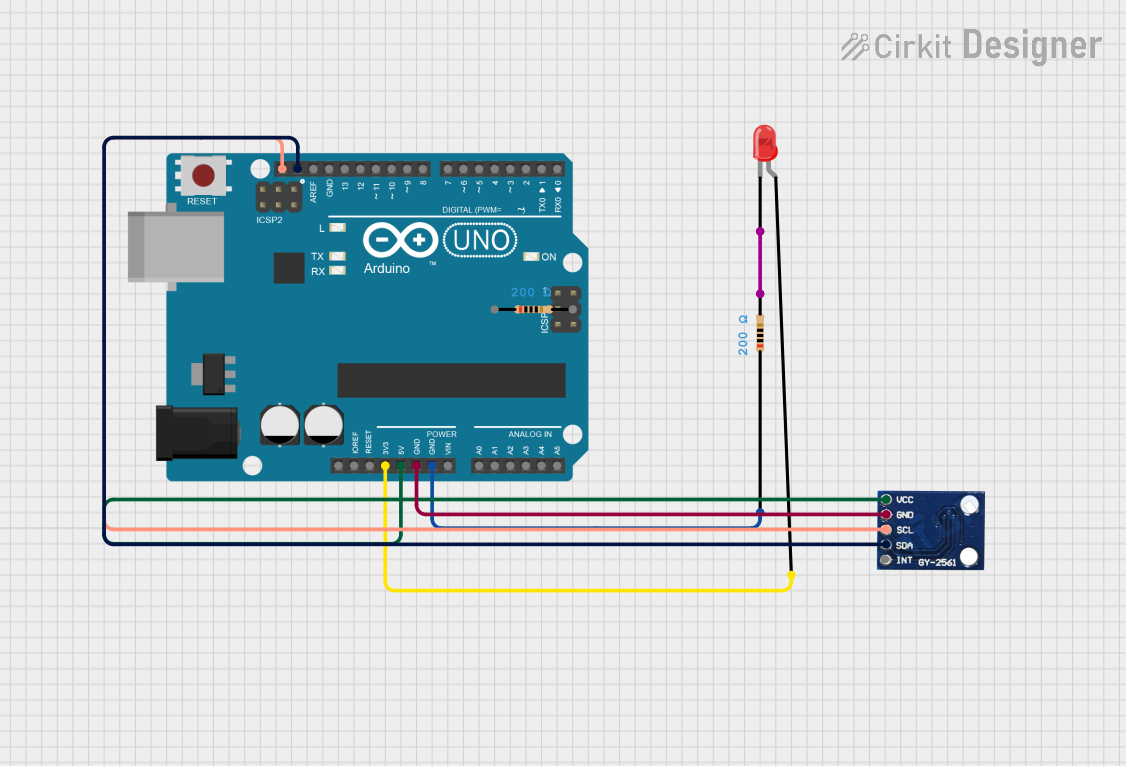
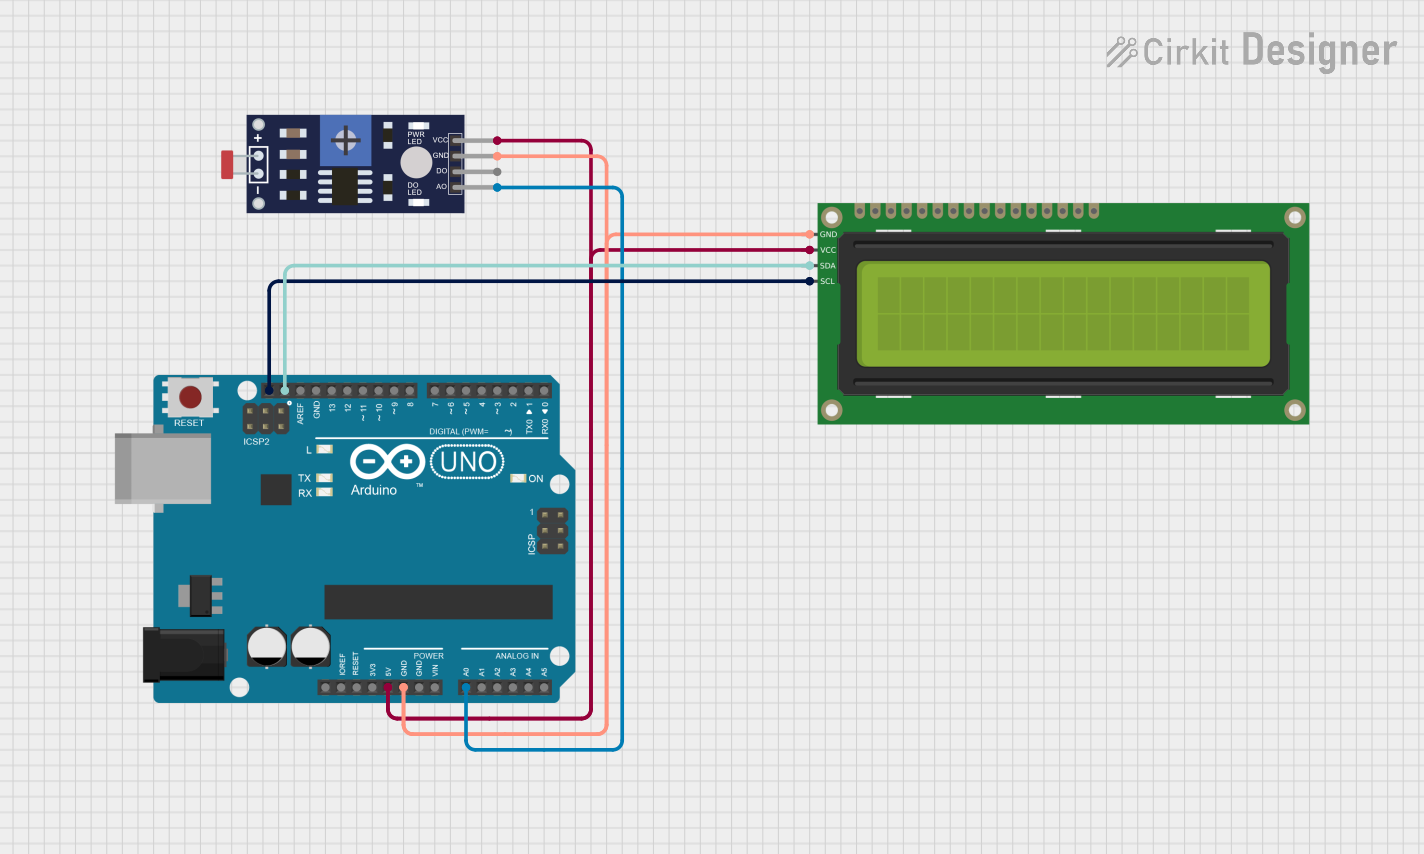
Usage Instructions
How to Use the TSL2561 in a Circuit
- Power Supply: Connect the VDD pin to a 3.3V power source and the GND pin to ground.
- I2C Communication: Connect the SDA and SCL pins to the corresponding I2C pins on your microcontroller. Use pull-up resistors (typically 4.7kΩ) on both SDA and SCL lines if not already present.
- Interrupt Pin (Optional): If using the interrupt feature, connect the INT pin to a GPIO pin on your microcontroller.
- Address Selection: The default I2C address is 0x39. If you have multiple TSL2561 sensors, you can change the address by configuring the ADDR pin (if available on your module).
Important Considerations and Best Practices
- Avoid Direct Sunlight: Prolonged exposure to direct sunlight may damage the sensor or affect its accuracy.
- I2C Pull-Up Resistors: Ensure proper pull-up resistors are in place for the I2C lines to function correctly.
- Lux Calculation: The raw data from the sensor must be converted to lux using the appropriate formula or library.
- Power Management: Use the sensor's low-power mode to conserve energy in battery-powered applications.
Example Code for Arduino UNO
Below is an example of how to interface the TSL2561 with an Arduino UNO using the Adafruit TSL2561 library:
#include <Wire.h>
#include <Adafruit_Sensor.h>
#include <Adafruit_TSL2561_U.h>

// Create an instance of the TSL2561 sensor
Adafruit_TSL2561_Unified tsl = Adafruit_TSL2561_Unified(TSL2561_ADDR_FLOAT, 12345);

void setup() {
  Serial.begin(9600);
  Serial.println("Initializing TSL2561...");

  // Initialize the sensor
  if (!tsl.begin()) {
    Serial.println("TSL2561 not detected. Check wiring!");
    while (1);
  }

  // Configure the sensor
  tsl.enableAutoRange(true); // Automatically adjust gain
  tsl.setIntegrationTime(TSL2561_INTEGRATIONTIME_13MS); // Short integration time

  Serial.println("TSL2561 initialized successfully.");
}

void loop() {
  sensors_event_t event;
  tsl.getEvent(&event);

  if (event.light) {
    // Print the light intensity in lux
    Serial.print("Light Intensity: ");
    Serial.print(event.light);
    Serial.println(" lux");
  } else {
    // If no light is detected
    Serial.println("No light detected.");
  }

  delay(1000); // Wait 1 second before the next reading
}
Notes on the Code
- The
Adafruit_TSL2561_U.hlibrary simplifies communication with the sensor. - The
enableAutoRangefunction adjusts the gain automatically for optimal readings. - The integration time can be adjusted for faster or more accurate measurements.
Troubleshooting and FAQs
Common Issues and Solutions
Sensor Not Detected
- Cause: Incorrect wiring or I2C address mismatch.
- Solution: Verify the connections and ensure the correct I2C address is used in the code.
Inaccurate Lux Readings
- Cause: Improper placement of the sensor or incorrect gain settings.
- Solution: Ensure the sensor is not obstructed and use the auto-range feature for optimal gain.
I2C Communication Errors
- Cause: Missing or incorrect pull-up resistors on SDA and SCL lines.
- Solution: Add 4.7kΩ pull-up resistors to the I2C lines if not already present.
No Light Detected
- Cause: Sensor is in a completely dark environment or malfunctioning.
- Solution: Test the sensor in a well-lit environment to confirm functionality.
FAQs
Q: Can the TSL2561 measure UV light?
A: No, the TSL2561 is designed to measure visible and infrared light, not UV light.
Q: What is the maximum distance for I2C communication?
A: The I2C bus is typically reliable up to 1 meter. For longer distances, consider using I2C extenders.
Q: Can I use the TSL2561 with a 5V microcontroller?
A: Yes, but you must use a logic level shifter to safely interface the 3.3V sensor with a 5V microcontroller.
Q: How do I calculate lux manually from raw sensor data?
A: Refer to the TSL2561 datasheet for the formula to convert raw channel data to lux based on the gain and integration time.
By following this documentation, you can effectively integrate the TSL2561 digital light sensor into your projects for accurate and reliable light measurements.