How to Use SparkFun Mono Audio Amp Breakout: Examples, Pinouts, and Specs
Introduction
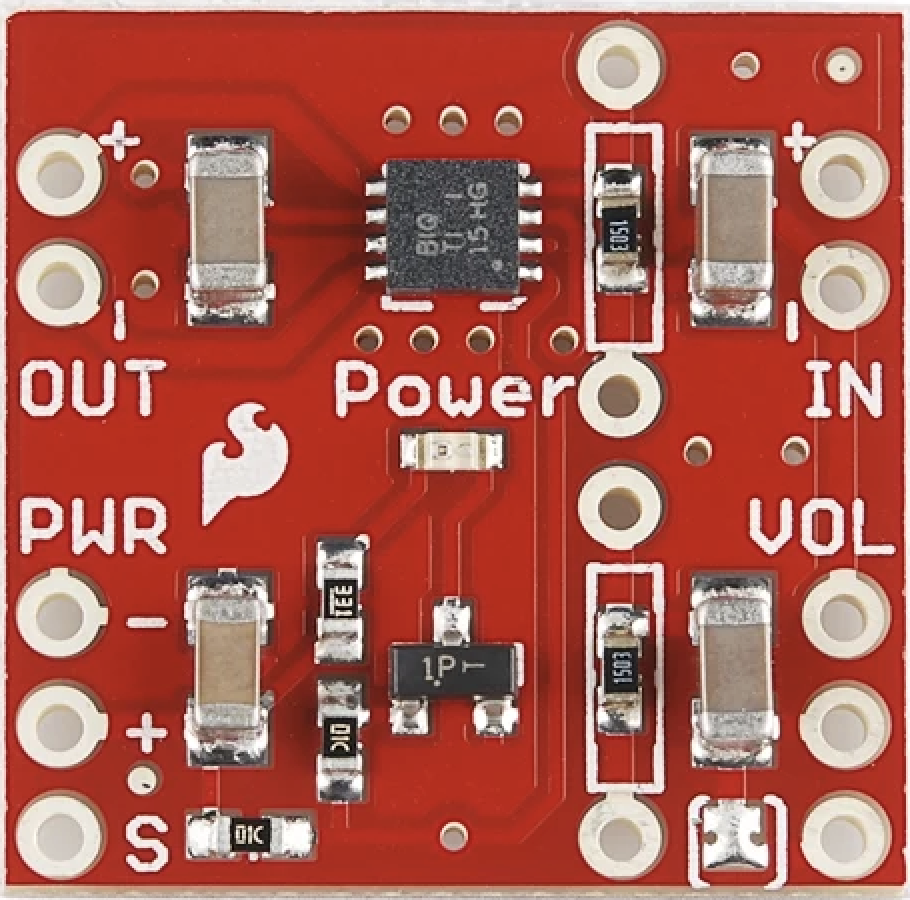
The SparkFun Mono Audio Amp Breakout - TPA2005D1 is a compact and efficient amplifier module designed to drive a single speaker with mono audio signals. This breakout board is ideal for DIY audio projects, portable sound systems, and any application requiring a small, powerful audio amplifier. The TPA2005D1 amplifier chip from Texas Instruments ensures high-quality audio output with minimal power consumption.
Explore Projects Built with SparkFun Mono Audio Amp Breakout
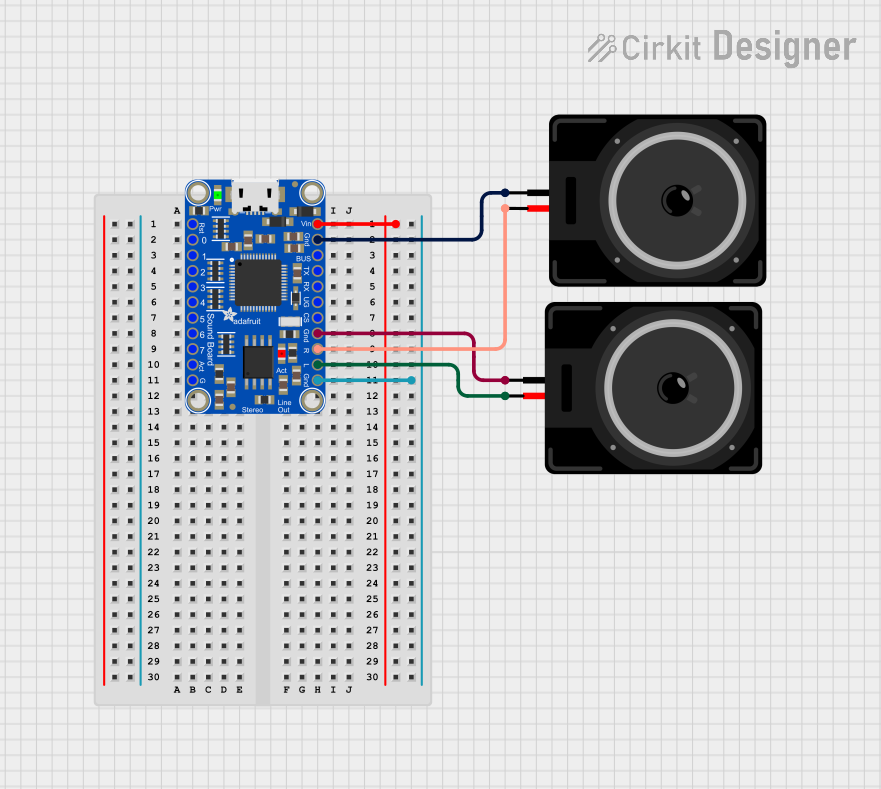

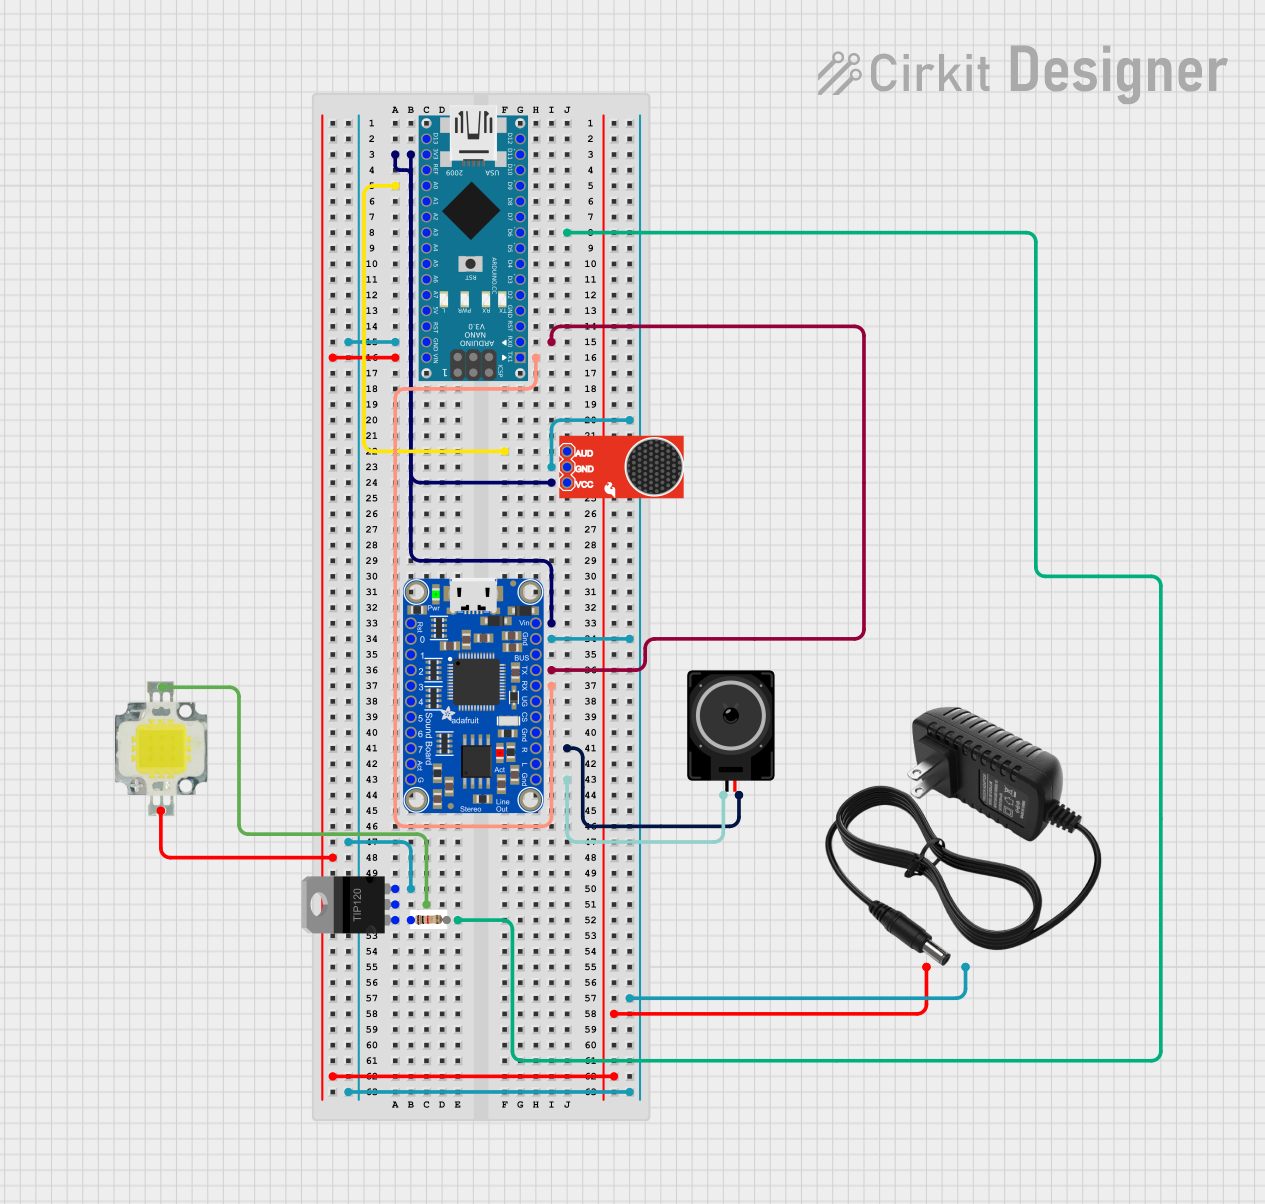
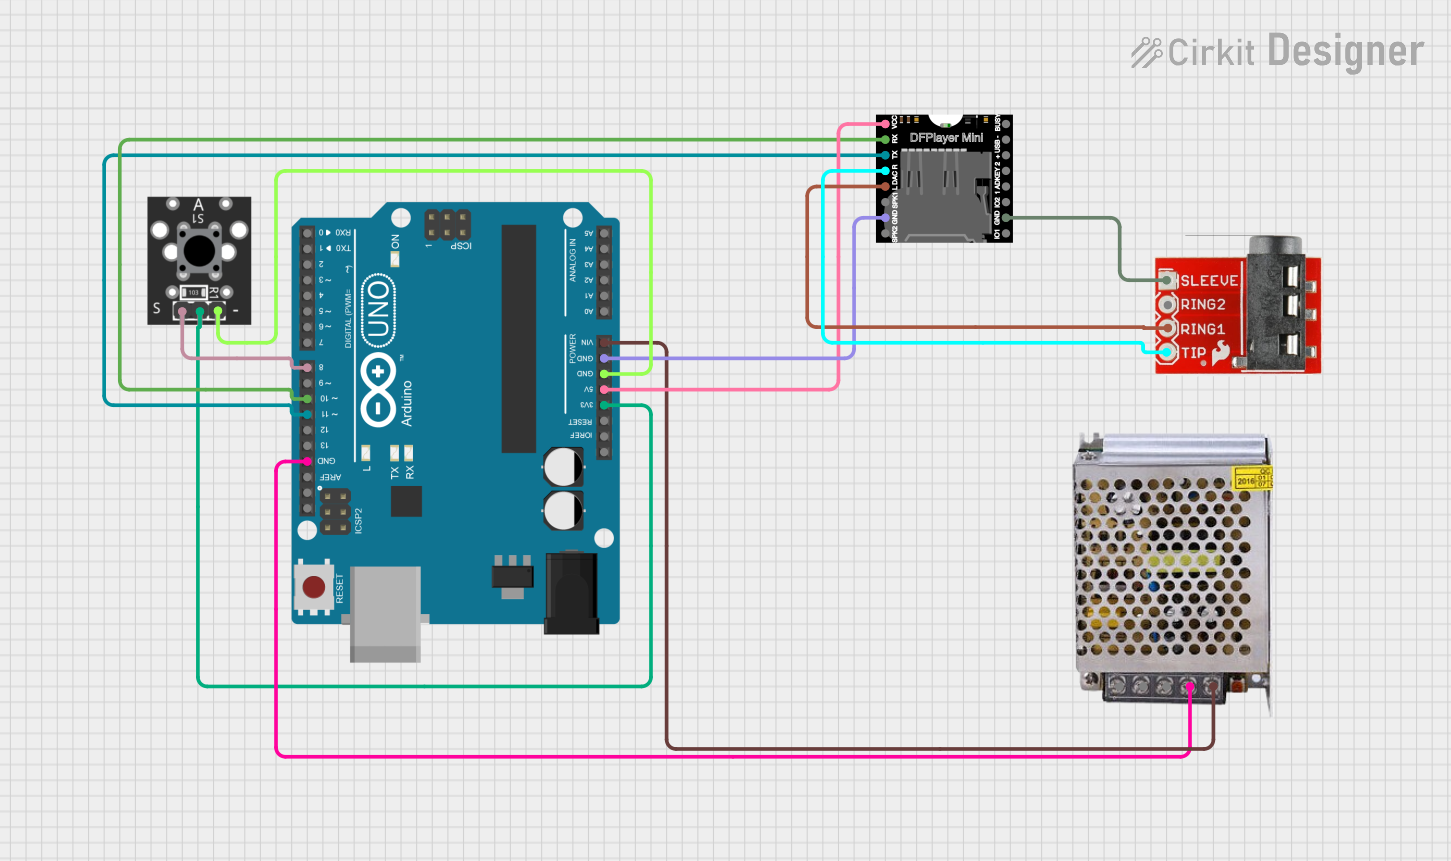
Explore Projects Built with SparkFun Mono Audio Amp Breakout
Technical Specifications
Key Technical Details
| Parameter | Value |
|---|---|
| Operating Voltage | 2.5V to 5.5V |
| Output Power | 1.4W @ 5V, 8Ω |
| Efficiency | Up to 88% |
| Gain | Fixed at 20dB |
| THD+N | 0.1% @ 1kHz, 8Ω, 1W |
| Shutdown Current | < 1µA |
| Speaker Impedance | 4Ω to 8Ω |
| Dimensions | 0.8" x 0.8" (20.3mm x 20.3mm) |
Pin Configuration and Descriptions
| Pin | Name | Description |
|---|---|---|
| 1 | VIN | Power supply input (2.5V to 5.5V) |
| 2 | GND | Ground |
| 3 | SHDN | Shutdown pin (active low) |
| 4 | IN+ | Positive audio input |
| 5 | IN- | Negative audio input |
| 6 | OUT+ | Positive speaker output |
| 7 | OUT- | Negative speaker output |
Usage Instructions
How to Use the Component in a Circuit
- Power Supply: Connect the VIN pin to a power supply ranging from 2.5V to 5.5V. Connect the GND pin to the ground of the power supply.
- Audio Input: Connect the audio signal source to the IN+ and IN- pins. IN+ is the positive audio input, and IN- is the negative audio input.
- Speaker Connection: Connect the speaker to the OUT+ and OUT- pins. Ensure the speaker impedance is between 4Ω and 8Ω.
- Shutdown Control: To enable the amplifier, connect the SHDN pin to a high logic level (e.g., VIN). To disable the amplifier, connect the SHDN pin to ground.
Important Considerations and Best Practices
- Power Supply: Ensure the power supply voltage is within the specified range (2.5V to 5.5V) to avoid damaging the amplifier.
- Heat Dissipation: Although the TPA2005D1 is highly efficient, ensure adequate ventilation to prevent overheating during prolonged use.
- Audio Signal: Use a clean audio signal to minimize distortion and noise in the output.
- Shutdown Pin: Use the SHDN pin to control the amplifier's power state, especially in battery-powered applications, to conserve energy.
Example Code for Arduino UNO
Below is an example code to use the SparkFun Mono Audio Amp Breakout with an Arduino UNO. This code generates a simple square wave audio signal.
// Define the pin connected to the audio input (IN+)
const int audioPin = 9;

void setup() {
  // Set the audio pin as an output
  pinMode(audioPin, OUTPUT);
}

void loop() {
  // Generate a square wave at 1kHz
  digitalWrite(audioPin, HIGH);
  delayMicroseconds(500); // 500us high time for 1kHz frequency
  digitalWrite(audioPin, LOW);
  delayMicroseconds(500); // 500us low time for 1kHz frequency
}
Troubleshooting and FAQs
Common Issues and Solutions
No Sound Output:
- Check Connections: Ensure all connections are secure and correct.
- Power Supply: Verify the power supply voltage is within the specified range.
- Shutdown Pin: Ensure the SHDN pin is connected to a high logic level to enable the amplifier.
Distorted Sound:
- Audio Signal Quality: Ensure the input audio signal is clean and free from noise.
- Speaker Impedance: Verify the speaker impedance is within the 4Ω to 8Ω range.
- Power Supply: Ensure the power supply can provide sufficient current for the amplifier.
Overheating:
- Ventilation: Ensure adequate ventilation around the amplifier to dissipate heat.
- Power Supply Voltage: Verify the power supply voltage is within the specified range.
FAQs
Q1: Can I use this amplifier with a stereo audio signal? A1: No, the SparkFun Mono Audio Amp Breakout is designed for mono audio signals. For stereo audio, you will need two amplifiers or a stereo amplifier module.
Q2: What is the maximum speaker power I can use with this amplifier? A2: The amplifier can drive a speaker with up to 1.4W of power at 5V and 8Ω impedance.
Q3: How can I control the volume of the audio output? A3: The amplifier has a fixed gain of 20dB. To control the volume, you can adjust the input audio signal level using a potentiometer or an external audio source with volume control.
Q4: Can I use this amplifier with a battery-powered project? A4: Yes, the amplifier is suitable for battery-powered projects. Ensure the battery voltage is within the 2.5V to 5.5V range.
By following this documentation, you can effectively integrate the SparkFun Mono Audio Amp Breakout - TPA2005D1 into your audio projects, ensuring high-quality sound output and reliable performance.