How to Use ignition switch: Examples, Pinouts, and Specs
Introduction
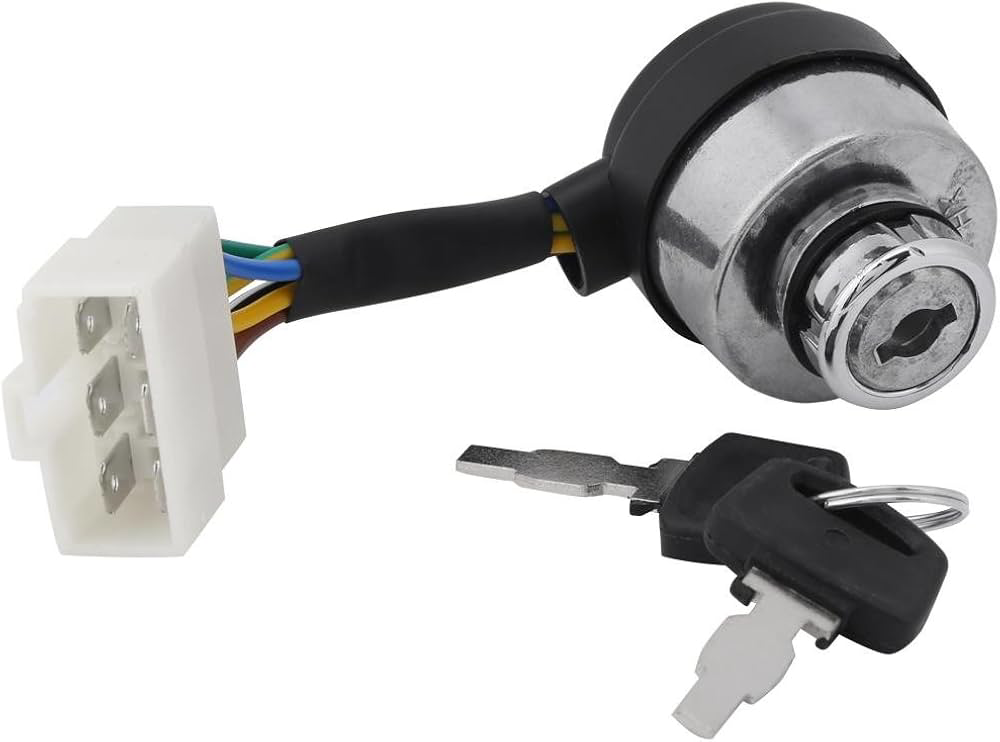
An ignition switch is a critical component in the control system of a motor vehicle, serving as the gateway to activating the vehicle's main electrical systems. It is typically located on the steering column or dashboard and requires a key or a push-button to operate. The ignition switch not only starts the engine but also controls the power to many other vehicle systems. Common applications include:
- Starting the engine
- Providing power to vehicle accessories (radio, lights, etc.)
- Enabling or disabling the fuel and ignition systems
Explore Projects Built with ignition switch
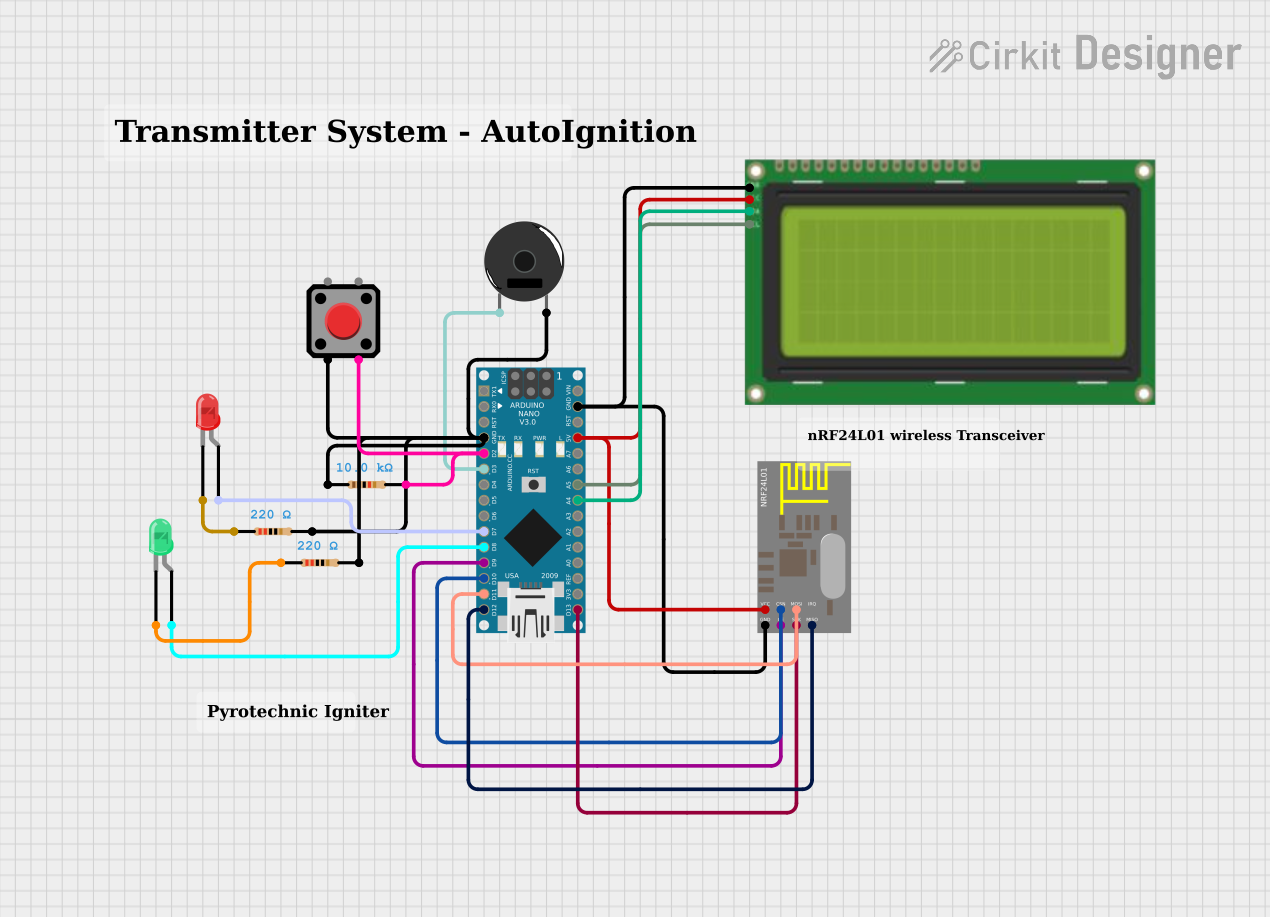


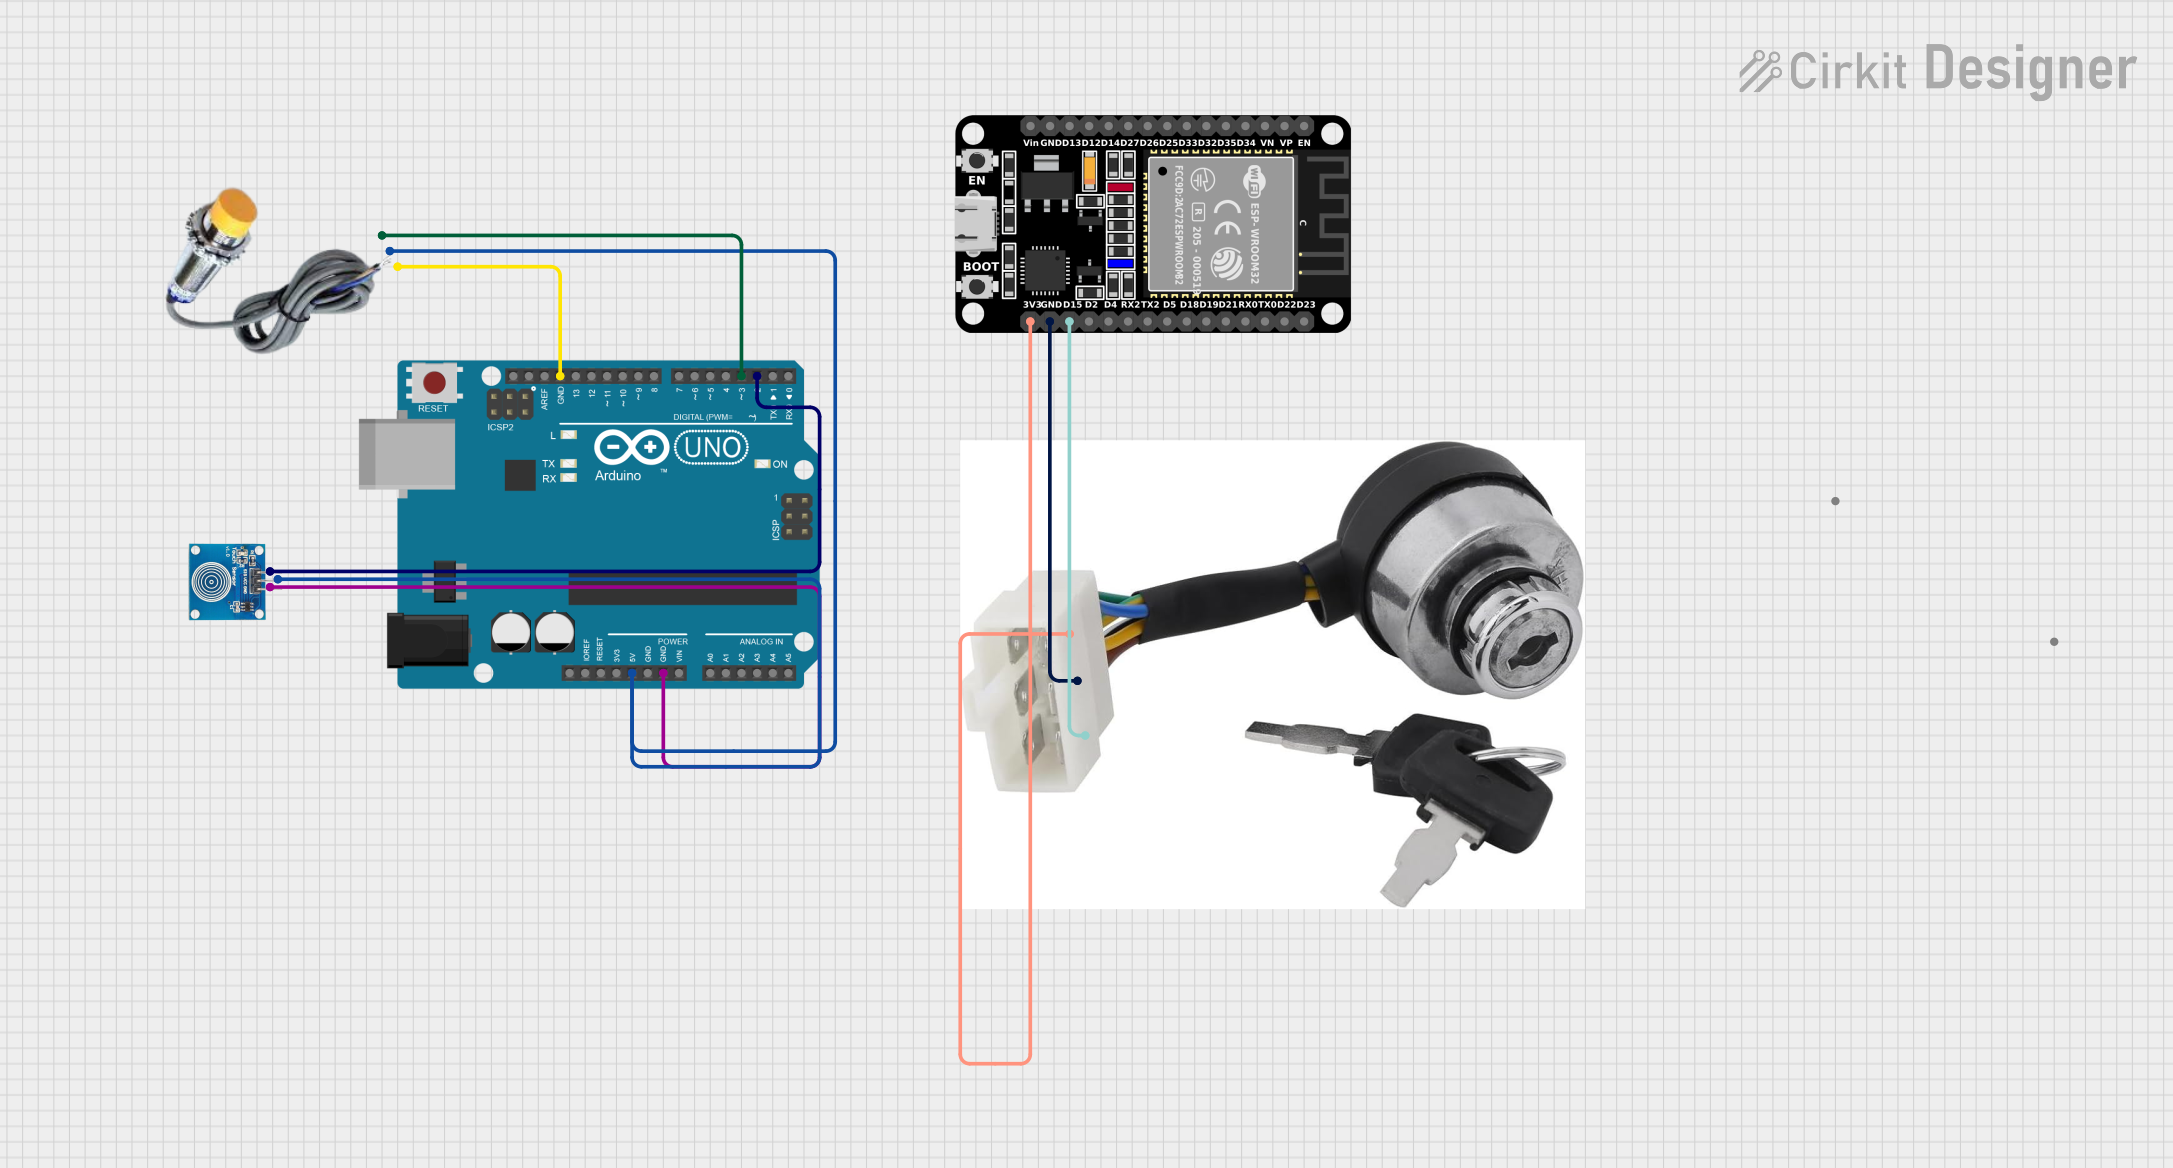
Explore Projects Built with ignition switch
Technical Specifications
Key Technical Details
- Voltage Rating: Typically 12V (aligned with standard automotive systems)
- Current Rating: Varies depending on vehicle type and additional connected systems
- Power Ratings: Dependent on the vehicle's electrical system requirements
- Durability: Designed to withstand thousands of cycles
Pin Configuration and Descriptions
| Pin Number | Description | Notes |
|---|---|---|
| 1 | Battery (+) | Connects to the positive battery terminal |
| 2 | Accessory (ACC) | Powers auxiliary components when in ACC position |
| 3 | Ignition (IGN) | Powers the ignition system of the vehicle |
| 4 | Starter (ST) | Activates the starter motor to crank the engine |
| 5 | Ground (-) | Connects to the vehicle's ground |
Usage Instructions
How to Use the Ignition Switch in a Circuit
- Installation: The ignition switch should be installed in a location that is accessible to the driver and provides enough clearance for wiring and key insertion.
- Wiring: Connect the battery, accessory, ignition, starter, and ground wires to their respective pins on the ignition switch. Ensure all connections are secure and insulated to prevent short circuits.
- Operation: Insert the key into the ignition switch and turn it to the ACC position to power auxiliary components. Turn the key further to the IGN position to power the vehicle's ignition and fuel systems. Finally, turn the key to the ST position to engage the starter motor and start the engine.
Important Considerations and Best Practices
- Security: The ignition switch should be designed to prevent unauthorized use. Consider using a switch with a unique key profile or a coded electronic system.
- Electrical Load: Ensure the switch can handle the electrical load of the vehicle. Overloading the switch can cause failure and potential fire hazards.
- Maintenance: Regularly check the ignition switch for signs of wear or damage. Replace the switch if it becomes difficult to turn or fails to maintain contact.
Troubleshooting and FAQs
Common Issues
- Engine Won't Start: If turning the key does not start the engine, check for loose connections or a faulty starter motor.
- No Power to Accessories: If accessories do not receive power in the ACC position, inspect the accessory wiring and fuse.
- Key Won't Turn: If the key won't turn, ensure it is the correct key for the switch and that there is no debris obstructing the keyway.
Solutions and Tips for Troubleshooting
- Check Connections: Verify all wires are properly connected to the ignition switch and that there are no broken or corroded connections.
- Test the Battery: A weak battery may not provide enough power to start the engine. Test the battery and replace it if necessary.
- Inspect the Switch: Look for signs of damage or wear on the ignition switch itself. Replace the switch if it is defective.
FAQs
Q: Can I replace an ignition switch myself? A: Yes, with the proper tools and knowledge, you can replace an ignition switch. However, for vehicles with advanced security systems, it may be best to consult a professional.
Q: How do I know if my ignition switch is failing? A: Symptoms of a failing ignition switch include difficulty turning the key, intermittent loss of power to accessories, and the engine not starting.
Q: Is there a way to bypass the ignition switch? A: Bypassing the ignition switch is not recommended as it can compromise the vehicle's security and electrical system. It should only be done by a professional in emergency situations.
Code Example for Arduino UNO Connection (Hypothetical)
// This example demonstrates how to simulate an ignition switch using an Arduino UNO.
// It's a simple demonstration and not intended for actual automotive use.

const int ACC_PIN = 2; // Accessory pin
const int IGN_PIN = 3; // Ignition pin
const int ST_PIN = 4;  // Starter pin

void setup() {
  pinMode(ACC_PIN, OUTPUT);
  pinMode(IGN_PIN, OUTPUT);
  pinMode(ST_PIN, OUTPUT);
}

void loop() {
  // Simulate turning the key to the ACC position
  digitalWrite(ACC_PIN, HIGH);
  delay(1000); // Wait for 1 second

  // Simulate turning the key to the IGN position
  digitalWrite(IGN_PIN, HIGH);
  delay(1000); // Wait for 1 second

  // Simulate turning the key to the ST position to start the engine
  digitalWrite(ST_PIN, HIGH);
  delay(1000); // Simulate engine cranking

  // Turn off the starter motor
  digitalWrite(ST_PIN, LOW);
  // The engine is now running, and the loop can be ended or repeated as needed
}
Note: This code is for demonstration purposes only and does not represent an actual ignition system. In a real-world scenario, an ignition switch would require a more complex setup with safety features and proper voltage/current handling.