How to Use Wireless module board: Examples, Pinouts, and Specs

Introduction
The Wireless Module Board is a versatile electronic component designed to enable wireless communication in a variety of applications. It typically integrates essential components such as antennas, transceivers, and microcontrollers to facilitate seamless data transmission over radio frequencies. This module is widely used in IoT (Internet of Things) devices, remote control systems, wireless sensors, and smart home applications. Its compact design and ease of integration make it a popular choice for both hobbyists and professional engineers.
Explore Projects Built with Wireless module board

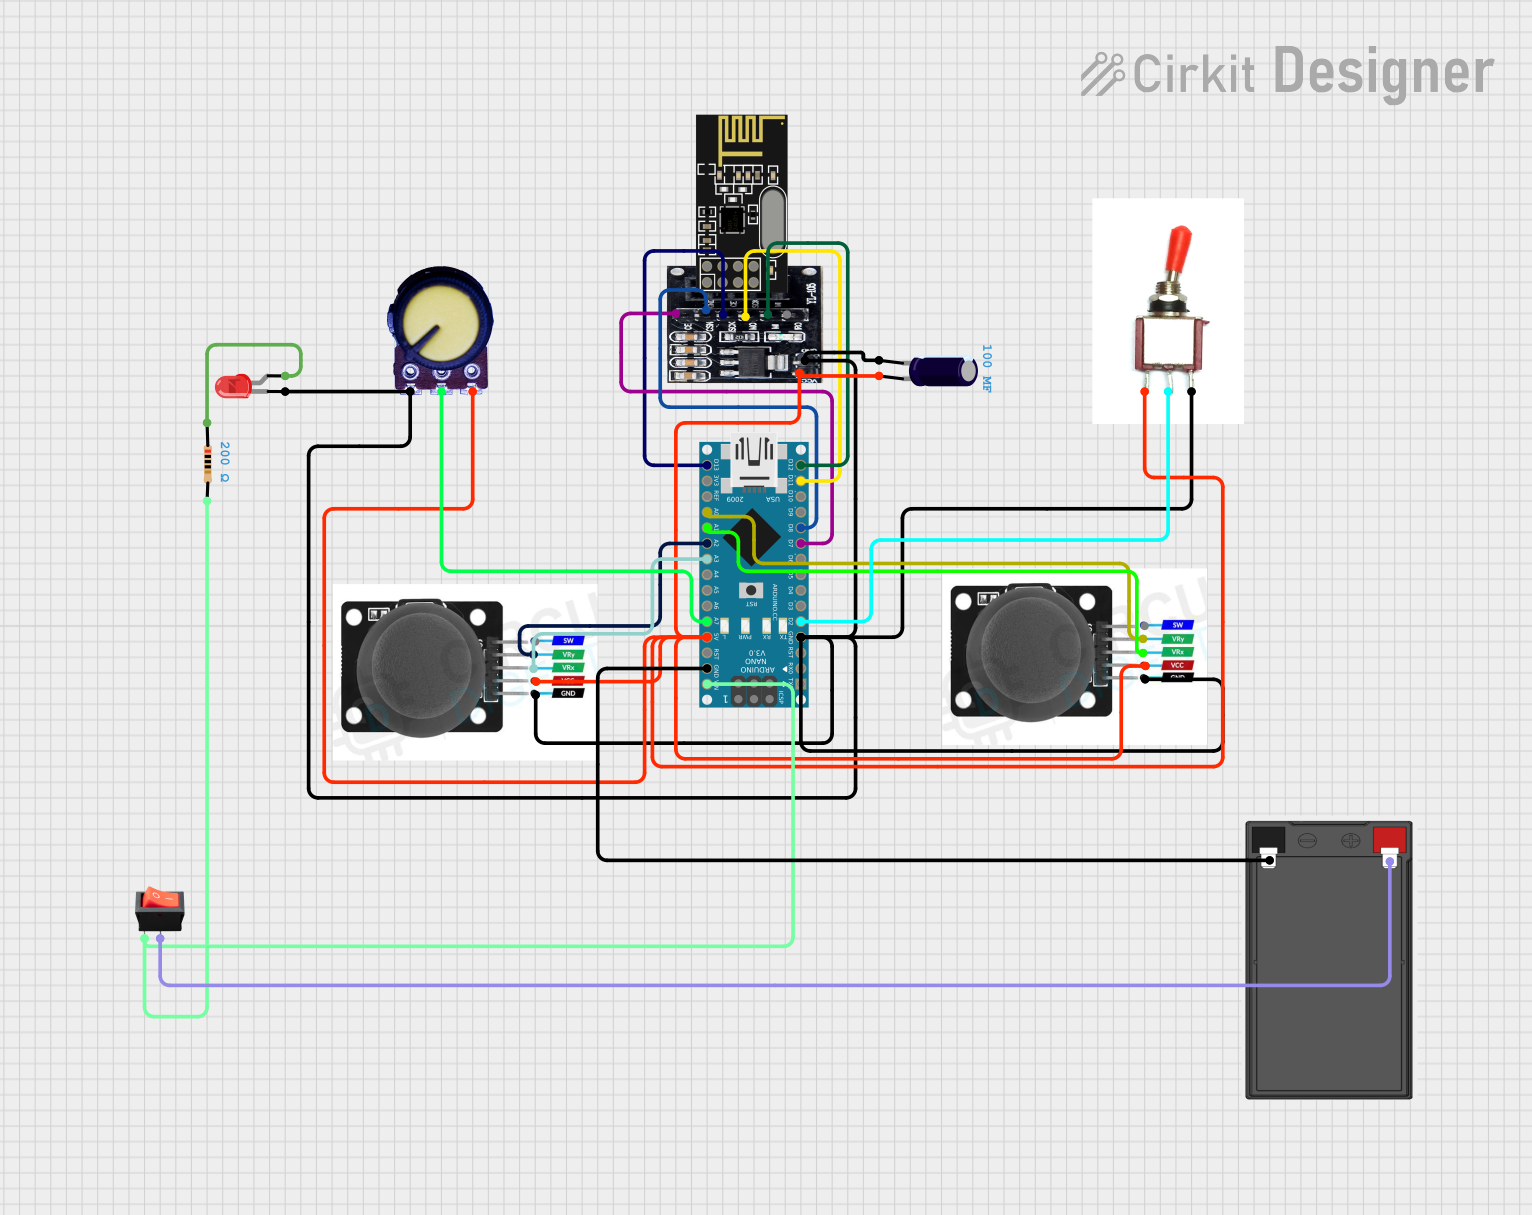

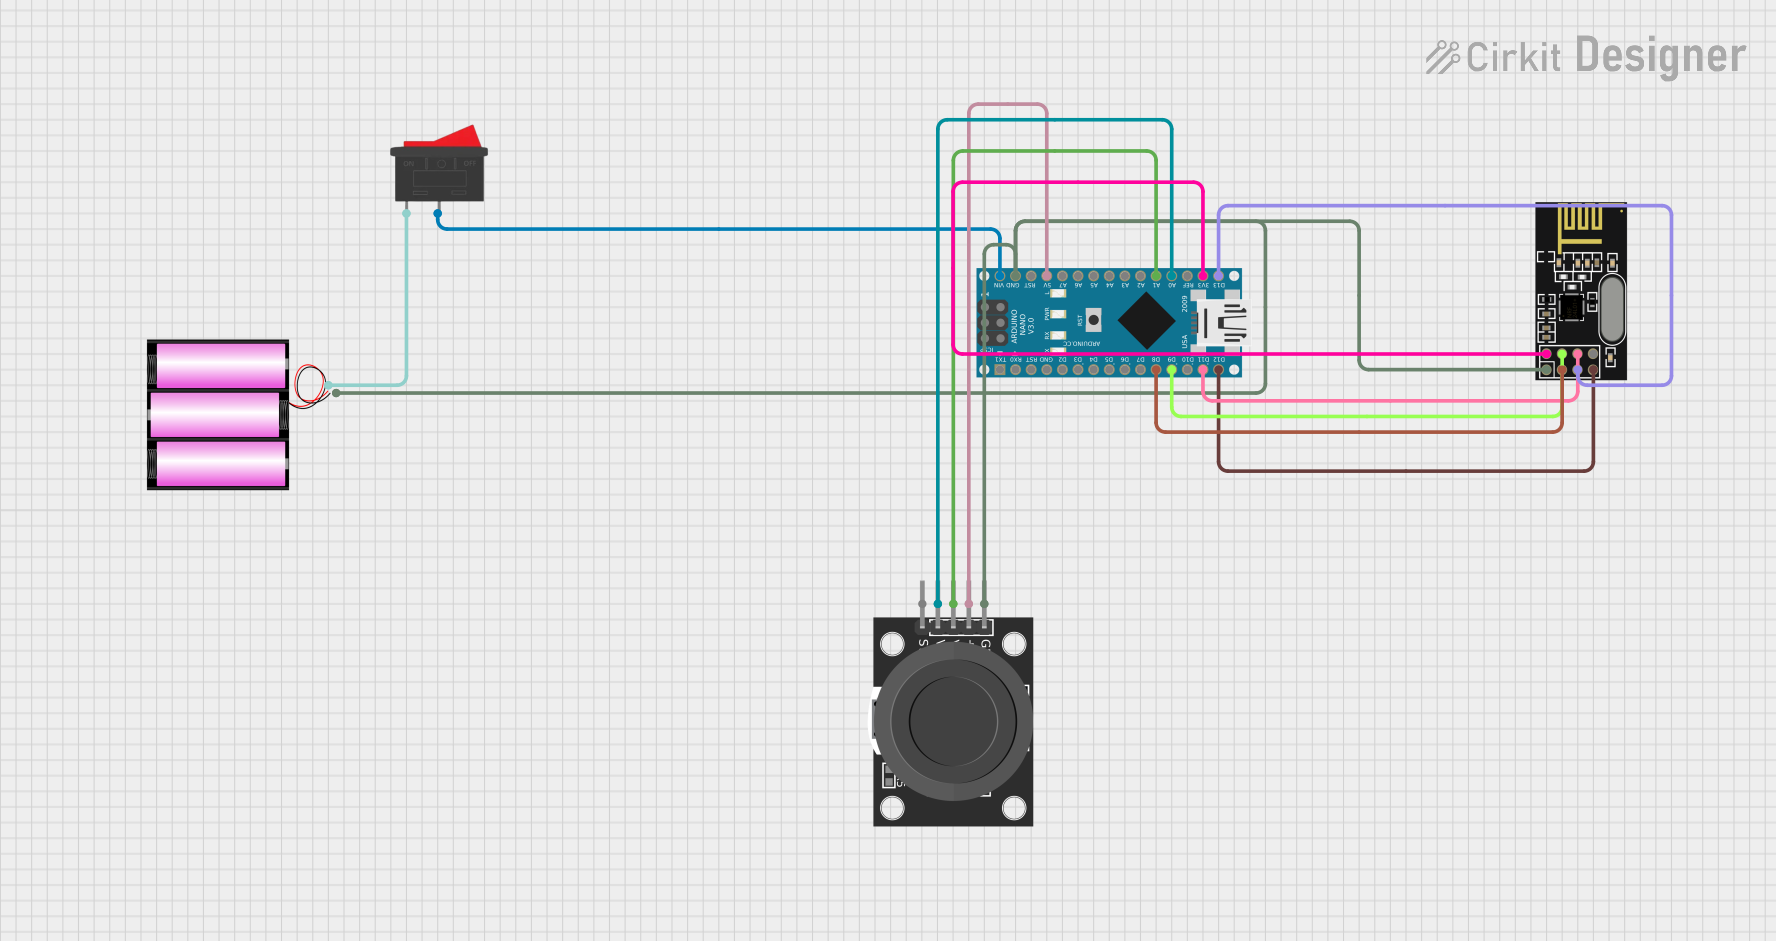
Explore Projects Built with Wireless module board
Common Applications and Use Cases
- IoT devices for smart homes and industrial automation
- Wireless sensor networks
- Remote control systems (e.g., drones, robots)
- Data transmission in wearable devices
- Wireless communication in embedded systems
Technical Specifications
Below are the key technical details of a typical Wireless Module Board:
| Parameter | Specification |
|---|---|
| Operating Voltage | 3.3V to 5V |
| Communication Protocols | UART, SPI, I2C |
| Frequency Range | 2.4 GHz (common for Wi-Fi and BLE) |
| Data Rate | Up to 1 Mbps (varies by model) |
| Range | 10m to 100m (depending on environment) |
| Power Consumption | 10mA to 200mA (varies by operation mode) |
| Antenna Type | PCB trace or external antenna |
| Dimensions | Typically 25mm x 15mm x 3mm |
Pin Configuration and Descriptions
The pinout of a Wireless Module Board may vary depending on the specific model. Below is a general example:
| Pin | Name | Description |
|---|---|---|
| 1 | VCC | Power supply input (3.3V or 5V) |
| 2 | GND | Ground connection |
| 3 | TXD | Transmit data pin (UART communication) |
| 4 | RXD | Receive data pin (UART communication) |
| 5 | EN/CH_PD | Enable pin (active high to power the module) |
| 6 | GPIO0 | General-purpose I/O pin |
| 7 | GPIO1 | General-purpose I/O pin |
| 8 | ANT | Antenna connection (if external antenna is used) |
Usage Instructions
How to Use the Wireless Module Board in a Circuit
- Power the Module: Connect the VCC pin to a 3.3V or 5V power source (as specified by the module) and the GND pin to the ground.
- Establish Communication: Use UART, SPI, or I2C to communicate with the module. For UART, connect the TXD pin of the module to the RX pin of the microcontroller and the RXD pin of the module to the TX pin of the microcontroller.
- Configure the Module: Use AT commands or a configuration script to set up the module's parameters, such as SSID, password, or communication mode.
- Connect the Antenna: If the module requires an external antenna, connect it to the ANT pin for optimal signal strength.
- Test the Connection: Verify the wireless communication by sending and receiving data between the module and another device.
Important Considerations and Best Practices
- Ensure the power supply voltage matches the module's requirements to avoid damage.
- Use decoupling capacitors near the VCC pin to stabilize the power supply.
- Place the module away from high-frequency noise sources to minimize interference.
- If using an external antenna, ensure it is properly matched to the module's frequency range.
- Follow the manufacturer's guidelines for firmware updates and configuration.
Example: Connecting to an Arduino UNO
Below is an example of how to connect and use a Wireless Module Board with an Arduino UNO:
Wiring Diagram
| Wireless Module Pin | Arduino UNO Pin |
|---|---|
| VCC | 3.3V or 5V |
| GND | GND |
| TXD | Pin 10 (RX) |
| RXD | Pin 11 (TX) |
| EN/CH_PD | 3.3V (via a pull-up resistor) |
Arduino Code Example
#include <SoftwareSerial.h>

// Define RX and TX pins for SoftwareSerial
SoftwareSerial wirelessModule(10, 11); // RX = Pin 10, TX = Pin 11

void setup() {
  // Initialize serial communication with the module
  Serial.begin(9600); // Communication with PC
  wirelessModule.begin(9600); // Communication with the wireless module

  // Send a test message to the module
  Serial.println("Initializing Wireless Module...");
  wirelessModule.println("AT"); // Send AT command to check module response
}

void loop() {
  // Check if data is available from the module
  if (wirelessModule.available()) {
    String data = wirelessModule.readString();
    Serial.println("Received from module: " + data);
  }

  // Check if data is available from the Serial Monitor
  if (Serial.available()) {
    String command = Serial.readString();
    wirelessModule.println(command); // Send command to the module
  }
}
Troubleshooting and FAQs
Common Issues and Solutions
Module Not Responding to Commands
- Ensure the EN/CH_PD pin is pulled high to enable the module.
- Verify the baud rate matches the module's default setting (commonly 9600 or 115200).
- Check the wiring connections, especially TX and RX pins.
Poor Signal Strength
- Ensure the antenna is properly connected and positioned.
- Avoid placing the module near metal objects or other RF sources.
Data Transmission Errors
- Use shielded cables for long connections to reduce noise.
- Verify that both devices are using the same communication protocol and settings.
Overheating
- Check the power supply voltage and current to ensure it is within the module's specifications.
- Avoid operating the module in high-temperature environments.
FAQs
Q: Can I use the Wireless Module Board with a 5V microcontroller?
A: Yes, but ensure the module supports 5V logic levels or use a level shifter for the TX and RX pins.
Q: How do I reset the module to factory settings?
A: Most modules support an AT command (e.g., AT+RESTORE) to reset to factory defaults. Refer to the module's datasheet for details.
Q: What is the maximum range of the module?
A: The range depends on the environment and antenna type, typically between 10m and 100m.
Q: Can I use multiple modules in the same network?
A: Yes, most modules support multi-device communication. Configure each module with a unique identifier or address.
This documentation provides a comprehensive guide to understanding, using, and troubleshooting the Wireless Module Board. For further details, consult the manufacturer's datasheet or support resources.